


Oh my gosh, are you tired of seeing those incredible, towering, perfectly layered drinks all over Instagram and feeling totally left out? I get it! I used to spend way too much money trying to justify those $8 lattes, but I finally cracked the code. We’re ditching the cafe line today because I figured out the ultimate homemade hack: the Strawberry Cloud Matcha with Cold Foam. Trust me, this isn’t just another iced latte; it’s a showstopper. This recipe is all about balancing three amazing layers: that bright, sweet strawberry, the earthy green matcha base, and the airy, dreamy cold foam topper. After trying what felt like a million ratios, I’ve perfected it so you can make this gorgeous aesthetic drink right in your kitchen! It really reminds me of the creamy goodness I use in my matcha green tea ice cream recipe—just in drink form!
Why You Will Love This Strawberry Cloud Matcha with Cold Foam Recipe
Honestly, this recipe is my favorite because it hits every single marker for a perfect homemade treat. People always ask me if it’s hard to layer, but I promise it’s all about technique, not difficulty!
- It’s Stunning! Seriously, the vibrant juxtaposition of pink strawberry, emerald green matcha, and pure white foam makes this the prettiest drink you’ll ever make at home. Perfect for showing off.
- Flavor Explosion: You get sweet, creamy, earthy, and slightly tart—all in one sip. It’s the perfect balance, never too sweet like some cafe versions get.
- Simpler Than It Looks: While it has three main parts, the actual assembly is super quick once you have your components ready. It’s faster than walking to the coffee shop, I promise!
- Perfect for Summer: This is my absolute favorite way to enjoy matcha when it’s scorching outside. It’s incredibly refreshing and definitely hits the spot.
I wasn’t kidding when I said this layered drink is worth the hype. The flavor combination is just next-level!
Gathering Ingredients for Your Strawberry Cloud Matcha with Cold Foam
Okay, to make this beautiful Strawberry Cloud Matcha with Cold Foam, we need to organize ourselves, because we’re building layers! Don’t panic; once you see the lists broken down, you’ll realize you probably have most of this stuff already. Getting the right components makes all the difference between a murky drink and those gorgeous pink and green layers we’re aiming for. If you’ve ever made my strawberry shortcake trifle, you know fresh strawberries are worth the effort!
Ingredients for the Strawberry Cloud Topping
This is where the pink comes from, and it needs just a tiny bit of cooking to get that perfect syrup consistency. You can totally use frozen strawberries here if you scored a good deal; just let them thaw slightly before cooking.
- 1/2 cup fresh or frozen strawberries (no need to chop them tiny since they cook down!)
- 1 tablespoon water
- 1 teaspoon sugar (adjust this based on how sweet your berries are!)
Ingredients for the Matcha Base
For the matcha, please, please, please use ceremonial grade if you can swing it. It makes the biggest difference in flavor; culinary grade can be bitter! We want that vibrant green tea flavor to shine through.
- 1 teaspoon ceremonial grade matcha powder
- 2 tablespoons hot (not boiling—seriously, let it sit for two minutes after boiling) water
- 1 teaspoon sweetener (like simple syrup or granulated sugar), optional
- 1 cup milk (I love Oatly or whole dairy milk for the best texture)
- 1/2 cup ice cubes
Ingredients for the Creamy Cold Foam Drink Topper
This is the component that really kicks up the “cafe style” vibe. Make sure you use heavy whipping cream for the best thick, pourable foam.
- 1/4 cup heavy cream
- 1 tablespoon standard milk
- 1 teaspoon sweetener (powdered sugar dissolves fastest here!)
Making the Strawberry Cloud Component for Your Drink
Alright, let’s tackle the first layer of this amazing Strawberry Cloud Matcha with Cold Foam—the strawberry part! We aren’t just throwing raw berries in; we need a little concentrated flavor to hold up against that strong matcha. Luckily, this is super easy, but you need high heat, which means be careful around the stove.
Grab a small saucepan and toss in your strawberries, that little splash of water, and the teaspoon of sugar. Let this bubble away on medium heat until the berries start breaking down. You want them soft enough to crush easily with a spoon, which usually takes about five minutes. If you want that professional look where the pink sits perfectly underneath the matcha, you should strain it! You can see some great ideas on how to use these fruits in my small batch strawberry cake recipe.
If you like a chunky texture, just mash it up really well right in the pot. But for that gorgeous, smooth “cloud” effect, push the cooked berries through a fine-mesh sieve right into a small bowl. Let it cool completely before you start assembling your drink. Warm puree will melt your ice instantly!
How to Prepare the Matcha Base for Your Iced Drink Tutorial
Now we move onto the star of the show: the green tea goodness! Getting this step right in your Iced Matcha Drink Tutorial is crucial because clumps are the enemy of a silky smooth beverage. I learned this the hard way when I first started making matcha drinks at home.
First order of business: grab your sifter! Never skip sifting your matcha powder, even if it looks fine. Just like flour, it clumps up tight, and we don’t want any dusty pockets floating around later. Sift that teaspoon right into a dedicated matcha bowl.
Next up, the water temperature. This is key for unlocking that bright green color and amazing grassy flavor without bitterness. The water needs to be hot—like, steaming—but definitely not boiling! If you use water straight off a rolling boil, you scorch the delicate powder and the whole drink tastes grassy and bitter. Let your boiled water sit for a full two minutes to cool down before you pour.
Add your two tablespoons of hot water to the sifted powder. Now, this is where the technique comes in. You need to whisk like you mean it! I use small, quick, back-and-forth ‘W’ or ‘M’ motions with my bamboo whisk—don’t just stir in circles! You’re trying to incorporate air, not just mix. Whisk hard for about 30 to 45 seconds until you see a nice layer of fine, light foam on the surface and absolutely zero dry clumps remaining at the bottom. If you don’t have a whisk, a tiny electric frother works wonders, too!
If you decided to sweeten your matcha itself, stir in that optional teaspoon of sweetener now before you layer it over the cold milk. That way, it dissolves while the matcha is still warm and concentrated. Easy peasy!
Assembling the Layered Drink Recipes: Strawberry Cloud Matcha
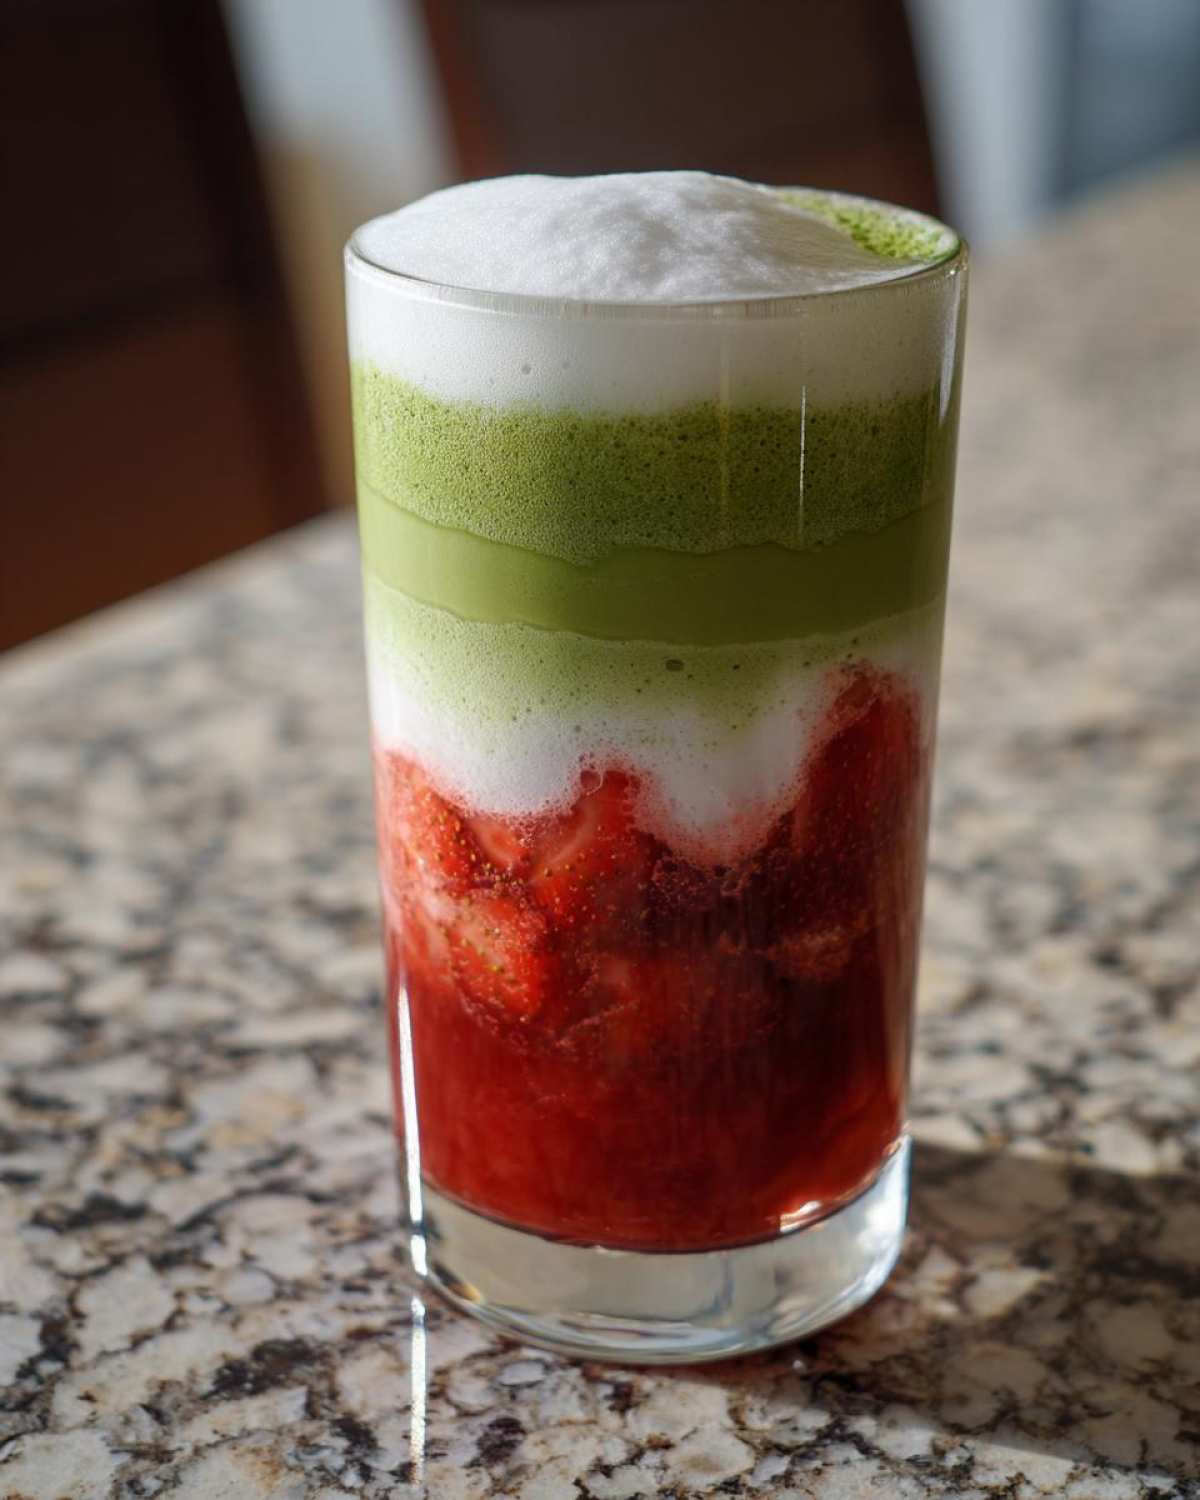
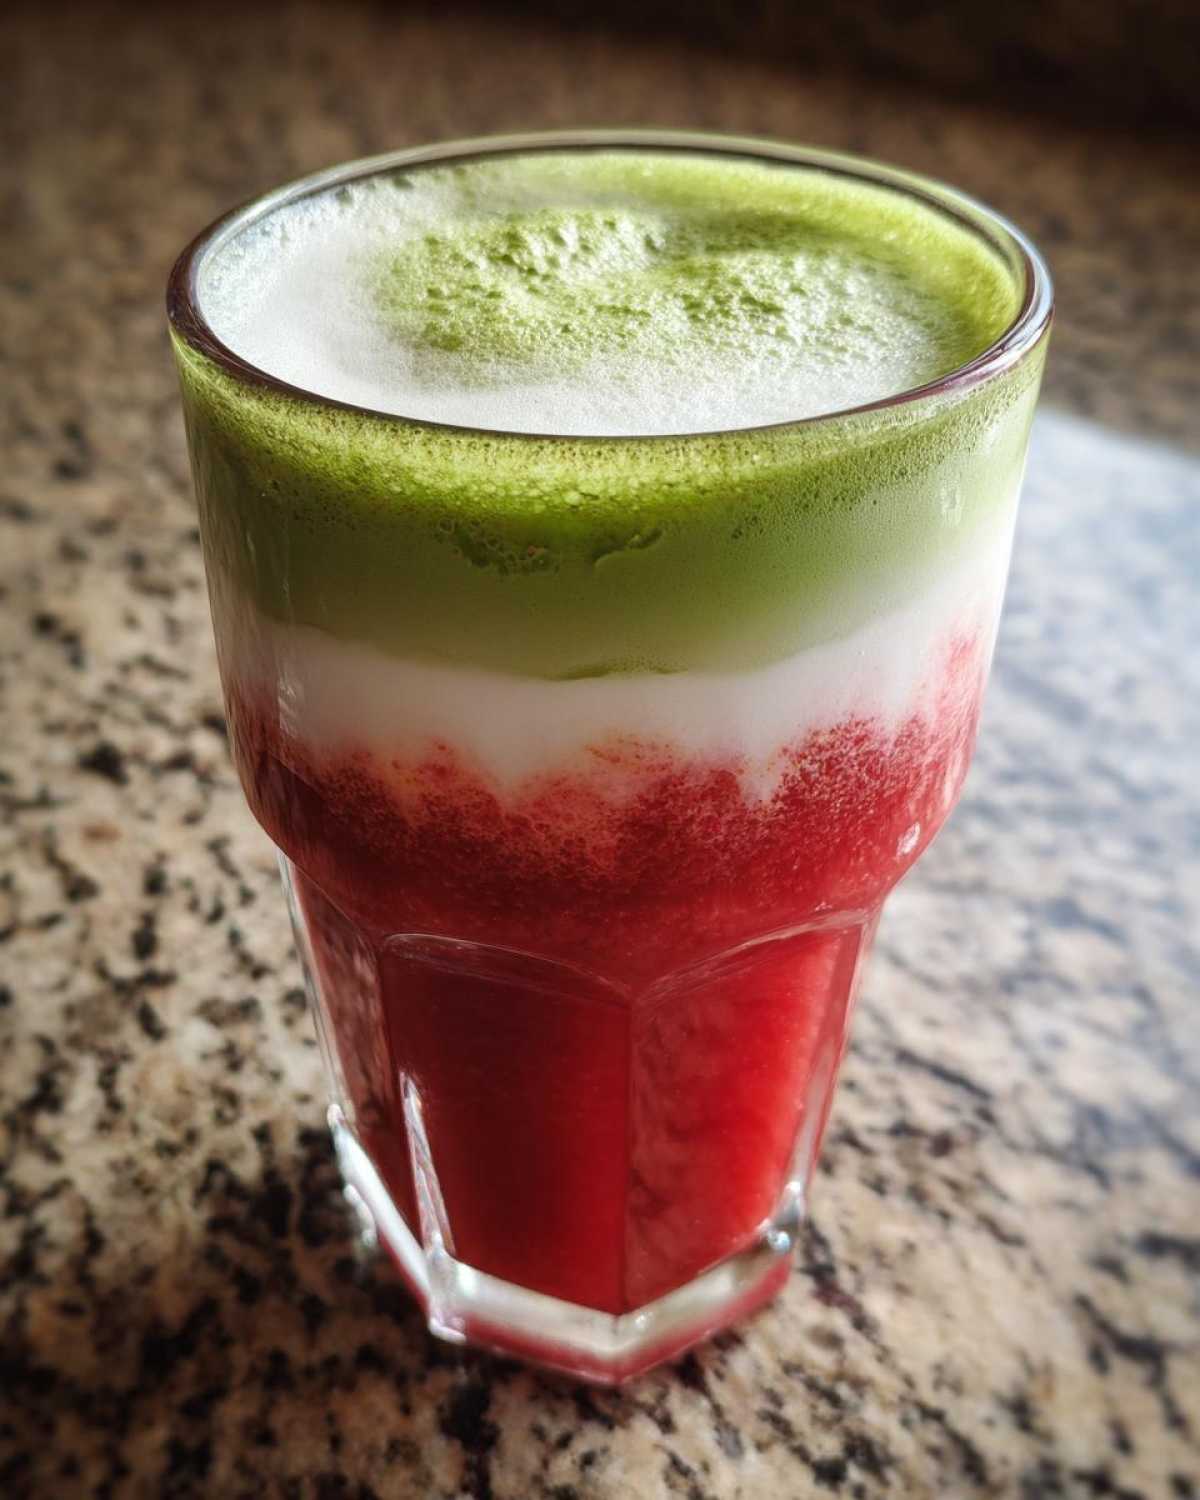
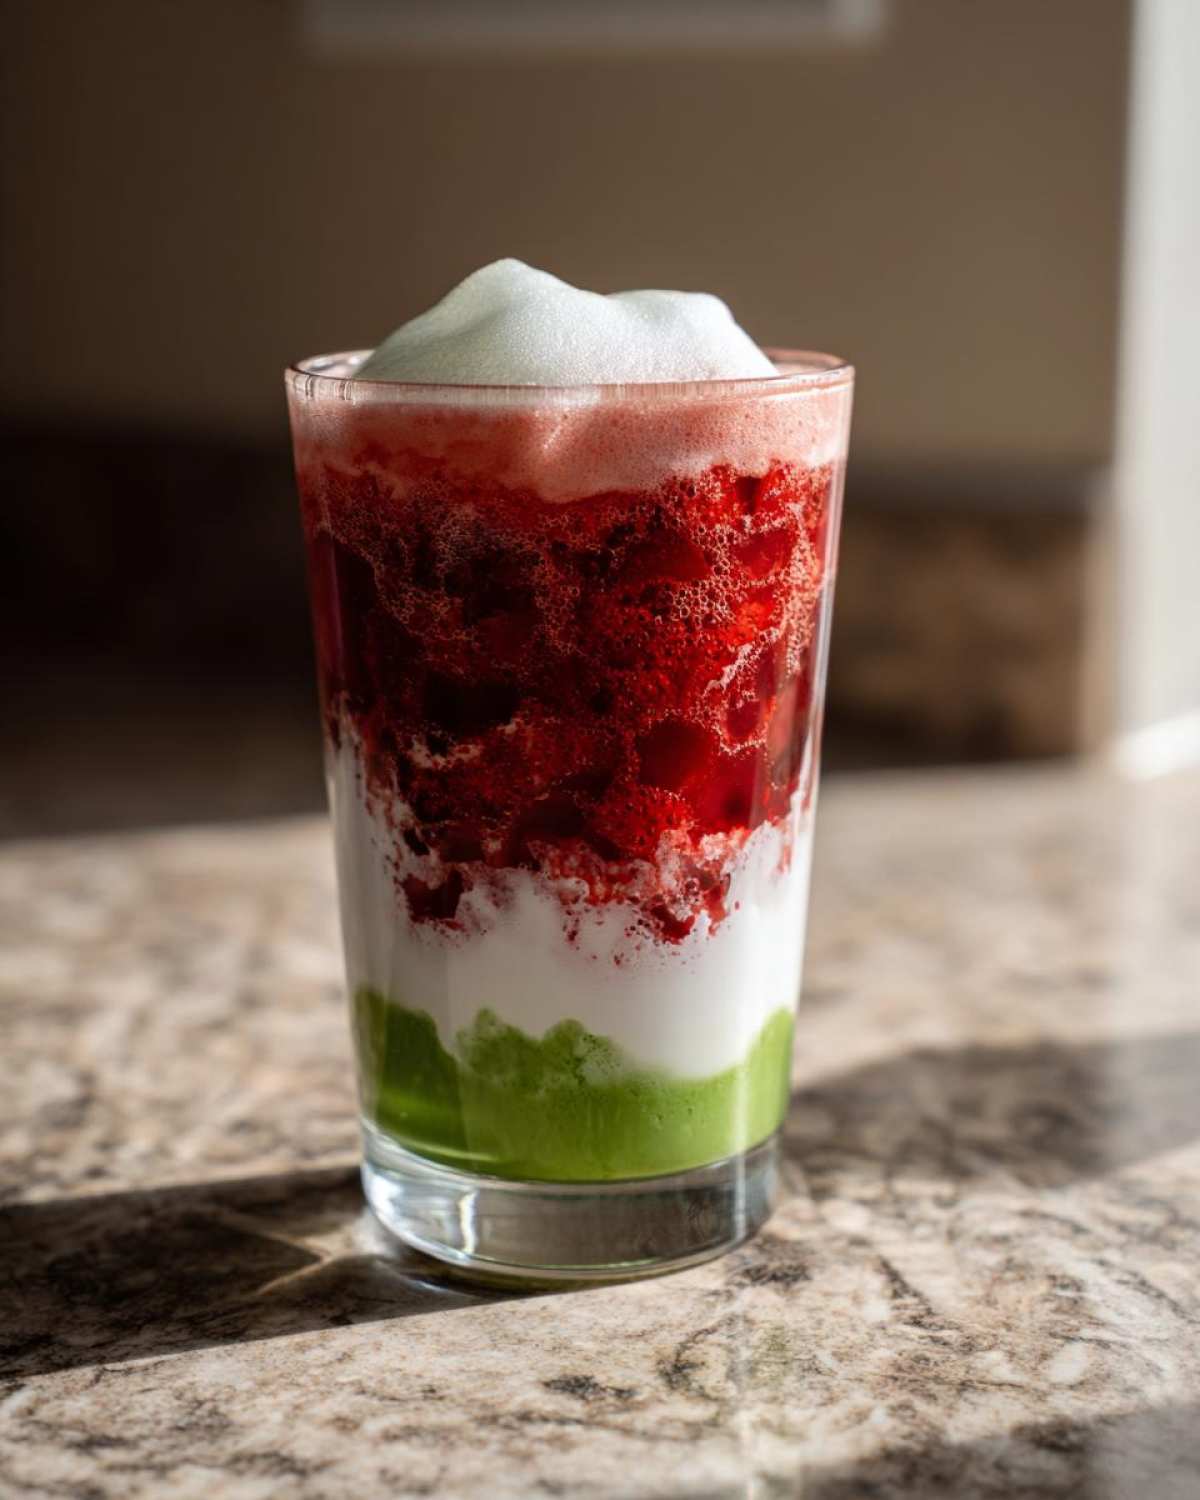
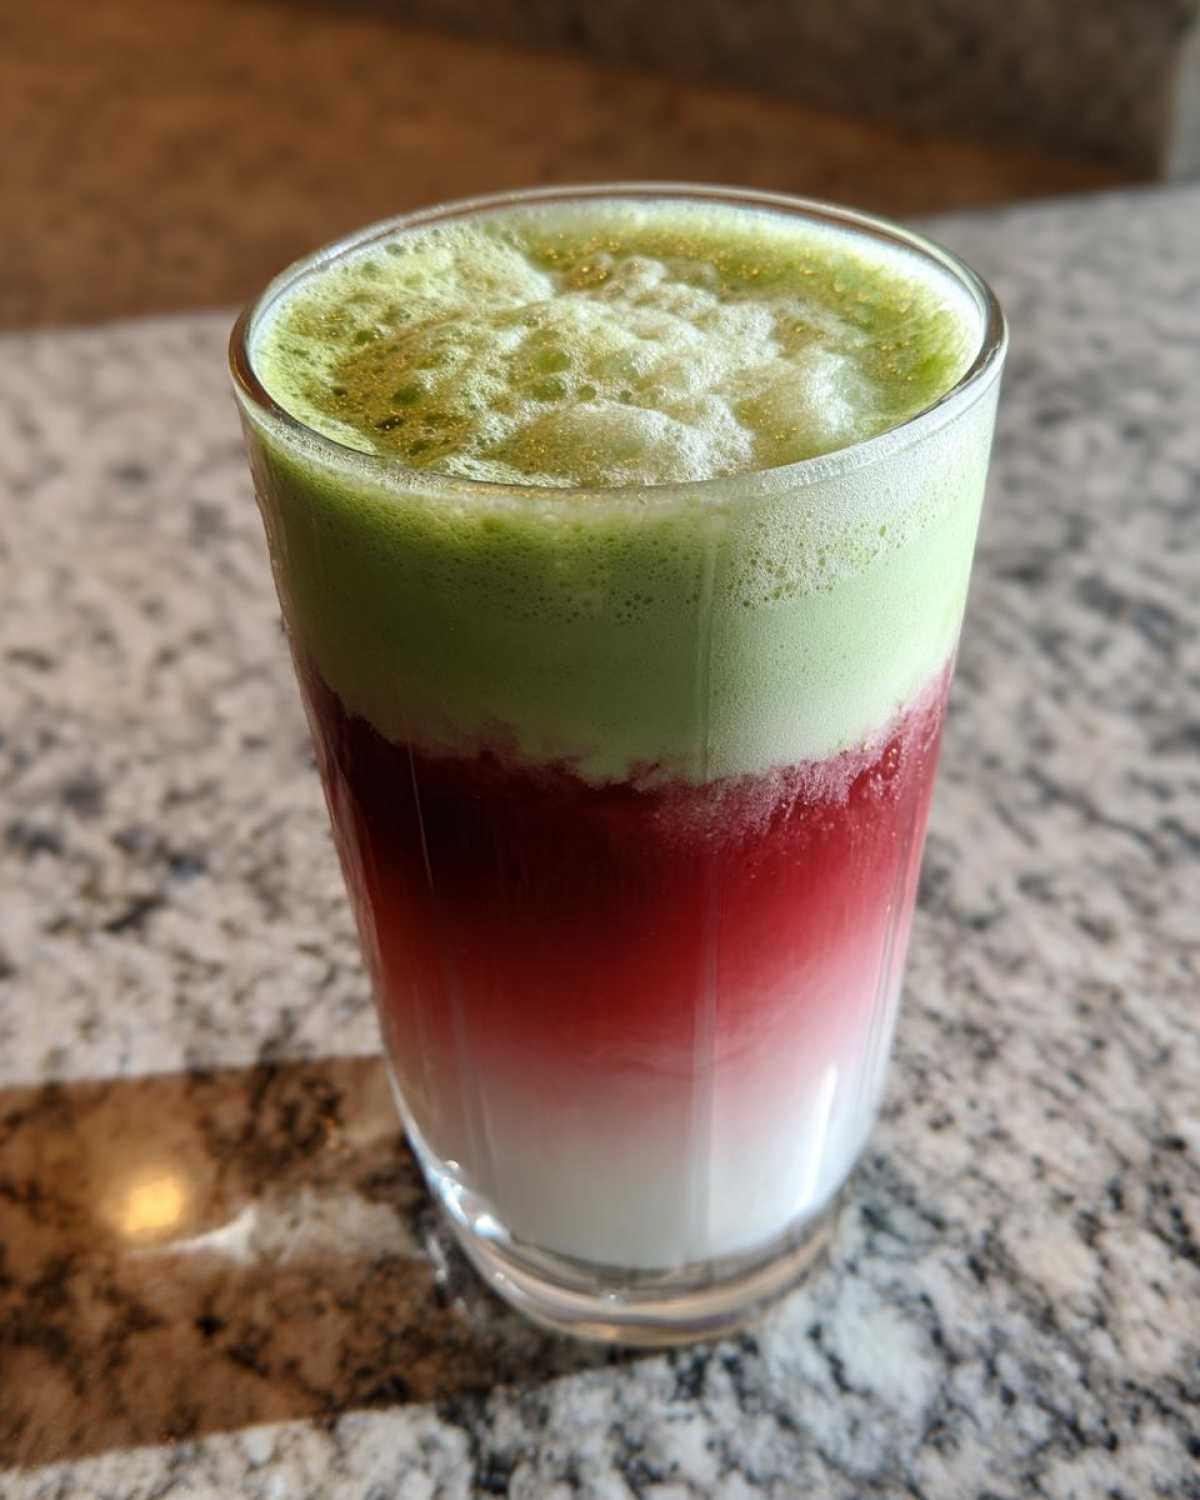
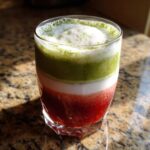
We’ve done the component prep, which means we are now on the final, most satisfying phase of creating this incredible Strawberry Cloud Matcha with Cold Foam! This is where we get those gorgeous, distinct layers, so pay close attention to the order, okay? If you mess up the order, it just becomes a green-ish, pink-ish swirl, which is fine, but we are going for aesthetic perfection here!
Grab your tallest, clearest glass—you need to show off those colors! First, carefully spoon about two tablespoons (or more, if you love strawberry!) of that cooled strawberry puree right into the bottom of the glass. This is your sweet pink foundation.
Next, load up on ice. I fill my glass right up to the top with ice cubes. The ice acts as a buffer to help keep the layers clean. Then, slowly pour your cold milk right over the ice. You should have a nice white layer waiting for the green!
This next part is crucial for beautiful Layered Drink Recipes. Take your prepared matcha base and pour it very slowly over the milk layer. If you have a small spoon, hold it just above the milk and pour the matcha onto the back of the spoon. This diffusive action spreads the matcha gently across the surface instead of letting it plunge straight to the bottom and mix everything up. You want that beautiful line where the bright green floats on top of the white!
If you followed these instructions from my iced brown sugar latte post, you should have a clean separation between the pink and the green. Now, that cold foam is coming next to crown this masterpiece!
Crafting Perfect Cold Foam for Your Cold Foam Drink
We’ve got the beautiful pink and green settled, but what good is a cafe-style drink without that luxurious topping? This is where we create the perfect, slightly sweet, and wonderfully airy cold foam. This easy technique elevates the whole experience of drinking your Cold Foam Drink. I use a similar method when I make the topping for my shaken espresso, but for this, we want it just a tiny bit lighter.
The goal here is soft peaks, guys—this is really important! If you whip it too hard, like you’re making stiff whipped cream for a pie, it will just sit like a cap and won’t blend nicely when you eventually sip through it. We want it pourable but thick enough to hold its shape for a few seconds.
In a small jar or a bowl, combine your heavy cream, the tablespoon of milk (this helps keep it a little looser), and your sweetener. Now, here’s where you get to choose your whipping tool:
If you have a handheld milk frother, that’s the fastest way. Plunge the frother right into the mixture! Whisk it around vigorously for maybe 30 seconds to a minute. Watch carefully—as soon as you see it starting to thicken and you see those soft, pillowy wisps start to form on top, stop immediately. You want gravity to pull it down slowly when you pour it.
Now, if you are more like me sometimes and you left the fancy gadgets packed away, don’t worry! You can absolutely use the jar method. Put the lid on tight and shake that jar like you’re trying to mix up a salad dressing that has separated! Seriously, shake it firmly for about 60 seconds. It works surprisingly well, gives you a great workout, and still delivers that perfect soft foam texture. You just have to trust the process!
Finalizing Your Strawberry Cloud Matcha with Cold Foam Assembly
We’ve reached the grand finale for making that gorgeous beverage; it’s time to crown this beauty! Once both your matcha base and your cold foam are ready, you want to move quickly so your drink stays perfectly chilled. This last step is what truly completes the Strawberry Cloud Matcha with Cold Foam experience.
Take that lovely, slightly thickened cold foam you just whipped up and gently spoon it right over the top of your layered matcha drink. Because you whipped it to soft peaks—and not hard cream—it should cascade slightly over the edges of the green layer, giving you that wonderful, thick “cloud” effect. Be gentle, resist the urge to dump it all in one spot, and let it settle naturally over the surface.
If you’re feeling extra fancy, sometimes I like to take just a tiny drop of that leftover strawberry puree and drizzle it right over the top of the white foam. It just adds one last pop of color! Remember, because this is an iced drink featuring a delicate foam, you want to serve the Strawberry Cloud Matcha with Cold Foam immediately. If it sits too long, the foam will start melting down into the matcha, and while it’ll still taste amazing, you lose that stunning visual appeal you worked so hard for!
Take a big sip and enjoy every layer—the sweet strawberry, the earthy matcha, and that creamy, velvety cold foam topper. You just made the best cafe drink at home!
Tips for the Best Homemade Cloud Drink Experience
I’m so glad you made it this far! Perfecting a look this good takes a little finesse, but I have a few tricks up my sleeve from obsessively testing this recipe. These tips will make sure your experience creating this Homemade Cloud Drink is as smooth as the cold foam itself. Seriously, these little details are what separate a good drink from the absolute best one!
First, let’s talk about the matcha again—I know I harp on this, but it’s my biggest area of expertise now! If you’re looking at your spice cabinet, you probably have culinary-grade matcha for baking, but trust me, switch to ceremonial grade for this. Culinary grade is chemically treated or grown differently, and it’s just going to taste way too harsh against that sweet strawberry puree and creamy foam. You want that smooth, slightly sweet, earthy flavor that only ceremonial grade brings to a cold drink. You can see how much I appreciate good matcha in my matcha green tea ice cream recipe, too!
Sweetener adjustments are another big point of difference. The recipe gives you flexibility, but here’s my recommendation: always sweeten the strawberry puree slightly, as berries vary wildly in sugar content. Then, taste your matcha base before you add it to the glass. If your matcha tastes a little too sharp on its own, add your sweetener there. If you add too much to the cold foam, the foam gets tough and resists whipping properly, so I usually keep the foam sweetener very mild.
Another critical tip for this gorgeous layered beverage is temperature control across the board. You need perfectly cold milk, ice that hasn’t melted yet, and ideally, the strawberry puree should be chilled completely. Warm puree instantly melts the ice buffer layer we created, leading to a murky transition when you pour the matcha on top. Keep all your cold components chilling in the fridge while you cook the strawberries!
Finally, think about your milk choice for the base. While the cold foam works best with higher-fat dairy cream, the base milk really affects how the matcha layer sits. Skim milk is too thin and the matcha will sink right through no matter how slowly you pour. I find 2% dairy, unsweetened oat milk, or even cashew milk work best because they have enough body to hold that beautiful green layer on top of the white for a solid few minutes!
Frequently Asked Questions About This Pink and Green Drink
Can I make the Strawberry Cloud ahead of time?
Oh yes, you absolutely should! I try to make the Strawberry Cloud puree the day before, especially if I’m rushing in the morning. Once it’s cooked down and strained, just pop it into a sealed container in the fridge. It keeps beautifully for up to four or five days. The goal is just to make sure it’s completely cold before you use it so it doesn’t melt your ice buffer layer when assembling your drink. It really makes the whole morning process smoother!
What is the best milk substitute for this Cold Foam Drink?
This is a great question, especially when we talk about stability in the Cold Foam Drink! If you’re going dairy-free, skip the basic shelf-stable almond milk for the base, because it’s too watery and the matcha will sink instantly. My absolute favorites are a rich, high-fat oat milk or cashew milk. They are thick enough to support the matcha layer while you pour. For the foam itself, though, you really need the high-fat content of heavy cream to whip properly. If you want a totally vegan version, use full-fat canned coconut cream instead of dairy cream for the topping. It whips up wonderfully!
How do I get the vibrant pink and green layers?
This is the secret to a great-looking Iced Matcha Drink Tutorial! It all comes down to two things: temperature and pouring technique. Make sure your strawberry layer is cold, your milk is cold, and your ice cubes are plentiful. When you go to pour the matcha, you must do it slowly, using the back of a spoon as a shield right above the milk layer. This diffuses the liquid so it doesn’t crash into the milk. If you pour too fast, the density difference isn’t enough, and everything just turns into one big beautifully colored, but not layered, drink!
PrintStrawberry Cloud Matcha with Cold Foam
A recipe for a layered iced drink featuring strawberry puree, bright green matcha, and a creamy cold foam topping.
- Prep Time: 10 min
- Cook Time: 5 min
- Total Time: 15 min
- Yield: 1 serving
- Category: Beverage
- Method: Mixing/Layering
- Cuisine: Fusion
- Diet: Vegetarian
Ingredients
- 1 teaspoon ceremonial grade matcha powder
- 2 tablespoons hot (not boiling) water
- 1 teaspoon sweetener (sugar or syrup), optional
- 1 cup milk (dairy or non-dairy)
- 1/2 cup ice cubes
- For Strawberry Cloud: 1/2 cup fresh or frozen strawberries
- 1 tablespoon water
- 1 teaspoon sugar
- For Cold Foam: 1/4 cup heavy cream
- 1 tablespoon milk
- 1 teaspoon sweetener
Instructions
- Prepare the Strawberry Cloud: Combine strawberries, 1 tablespoon water, and 1 teaspoon sugar in a small saucepan. Heat over medium heat until strawberries break down and the mixture thickens slightly, about 5 minutes. Mash well. Strain through a fine-mesh sieve if you prefer a smooth puree, or leave chunky. Set aside to cool.
- Prepare the Matcha Base: Sift matcha powder into a bowl. Add hot water and whisk vigorously with a bamboo whisk or small electric frother until no clumps remain and a light foam forms on top. Stir in sweetener, if using.
- Assemble the Drink: Pour the strawberry puree into the bottom of a tall glass. Add ice cubes. Gently pour the milk over the ice.
- Slowly pour the prepared matcha mixture over the milk layer.
- Prepare the Cold Foam: Combine heavy cream, milk, and sweetener in a small jar or using a handheld milk frother. Whisk or froth until soft peaks form. Do not over-whip; it should be pourable but thick.
- Spoon or pour the cold foam gently over the top of the matcha layer. Serve immediately.
Notes
- Use cold, filtered water for the best matcha flavor.
- For a sweeter drink, add sweetener directly to the matcha base or the cold foam.
- If you do not have a milk frother, you can shake the cold foam ingredients vigorously in a sealed jar for about 60 seconds.
Nutrition
- Serving Size: 1 glass
- Calories: 250
- Sugar: 18
- Sodium: 45
- Fat: 15
- Saturated Fat: 9
- Unsaturated Fat: 6
- Trans Fat: 0
- Carbohydrates: 25
- Fiber: 3
- Protein: 5
- Cholesterol: 50


Comments are closed.