


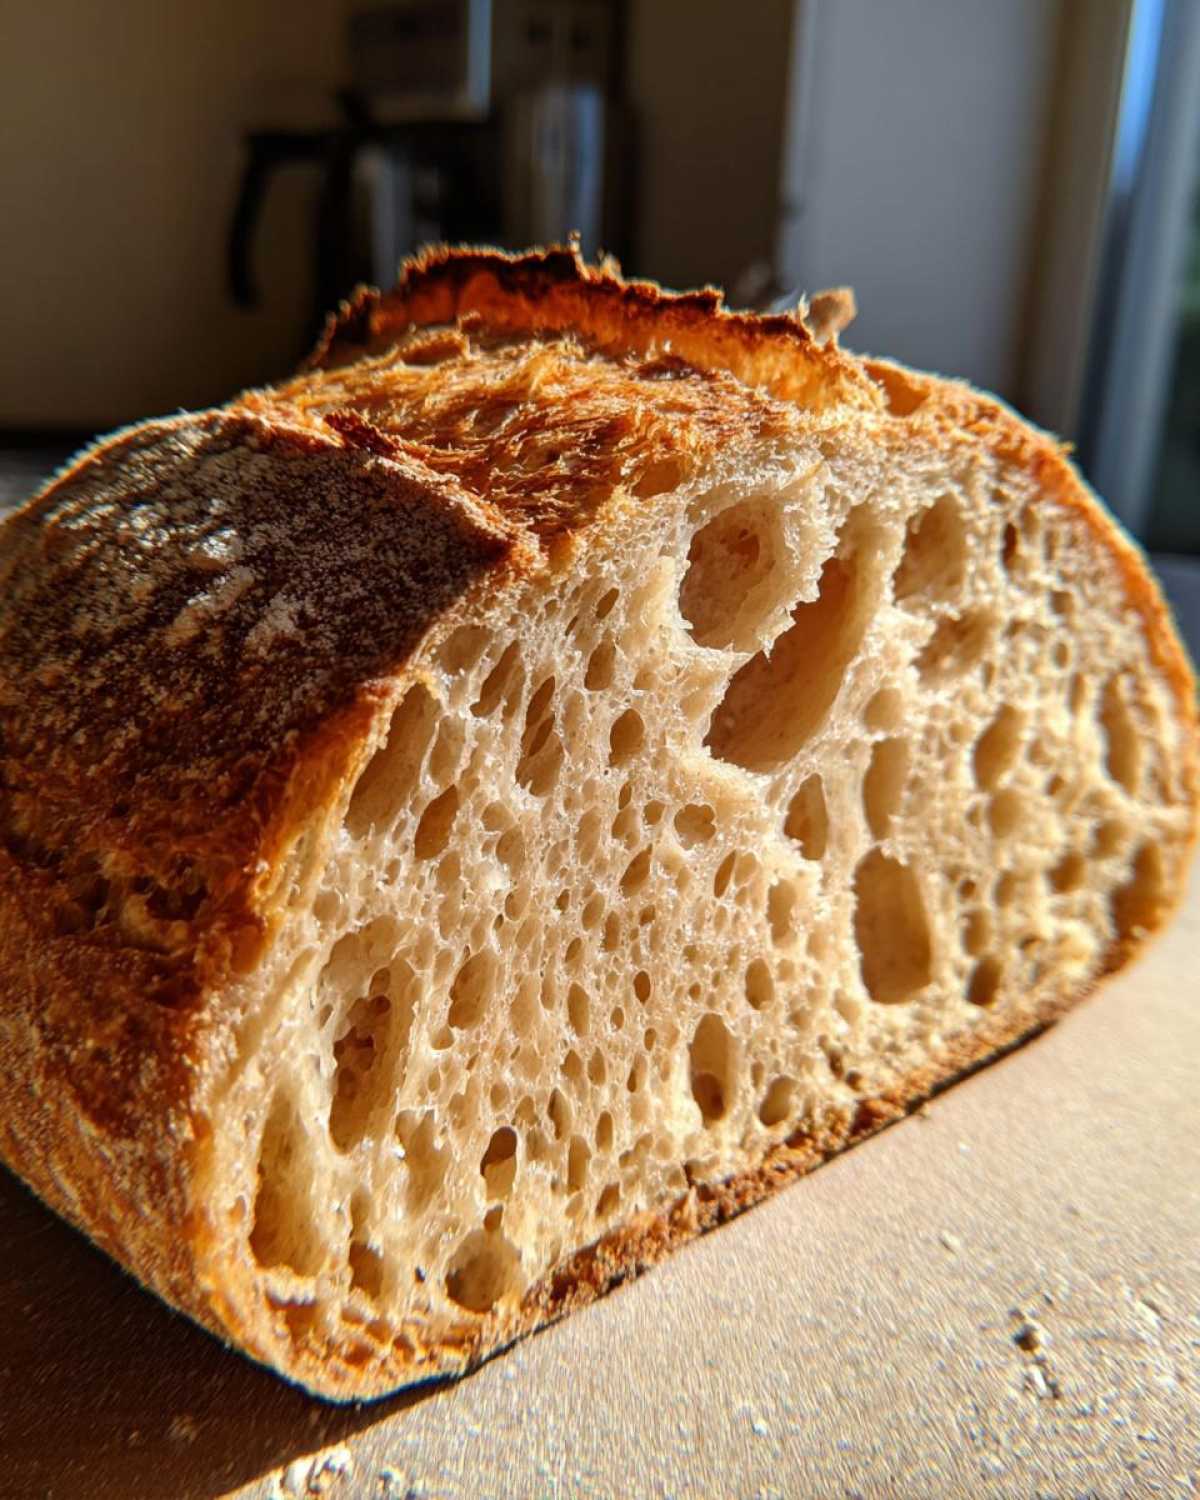
Oh, friends, there is nothing—and I mean *nothing*—that beats the smell of truly homemade bread warming up the kitchen. It just changes the whole mood of the house! When I left my office job, that freshly baked smell was the first thing I missed recreating daily. If you’ve been dreaming of tangy loaves but thought the beginning step was too complicated, I’m here to tell you that it’s not! We are going to create your very own living, breathing sourdough starter. This is our super easy, foolproof guide to making an active sourdough starter from scratch, guaranteed to work for every sourdough starter for beginners out there. Trust me, building this natural yeast starter is pure kitchen magic, and I promise we’ll have you baking in no time.
Why This is the Ultimate Guide to Your Sourdough Starter From Scratch
You might see a million complex sourdough starter recipes out there, but honestly, they stress you out before you even start! My goal with this guide is to keep things simple, reliable, and completely foolproof for you. We are only using flour and water—that’s it! This extremely approachable method for making a sourdough starter is how I learned years ago, and it focuses on consistency so you end up with a happy, bubbly sourdough starter every single time.
I know starting feels like you’re playing mad scientist, but stick with my day-by-day plan, and you’ll see incredible results. If you want to see my detailed breakdown of the seven crucial days, you can check out my full roadmap here: day-by-day routine for the starter. You’ve got this!
Ingredients and Equipment for Your Sourdough Starter Recipe
Before we dive into the mixing, let’s make sure your station is ready! The beauty of this sourdough starter recipe is how simple the list is. You really only need flour and water to get the wild yeast going. For the very first mix, I highly recommend using a whole grain flour like rye because it has all those good microbes ready to wake up. Don’t worry, we switch to plain all-purpose flour later!
Here’s what you’ll need on hand for the initial steps. If you want to bookmark my favorite starter ingredients list for when you need to refresh your pantry, it’s right over here: my favorite sourdough starter recipe page.
- Flour: 100g whole grain flour (Rye or Whole Wheat for the start) and unbleached All-Purpose Flour for later feedings.
- Water: 100g unchlorinated water—make sure it is room temperature, not cold!
For equipment, grab a clean, medium-sized glass jar—at least a 32-ounce one so you have plenty of room for growth. You just need a lid that sits loosely on top, or even a piece of cheesecloth secured with a rubber band. We need air flow for this little guy to breathe!
Step-by-Step: How to Make Sourdough Starter
Okay, this is where the fun really begins! Creating your own sourdough starter from scratch is purely about consistency for the first week. Don’t get discouraged if Day 2 looks quiet; these little wild yeasts are just waking up slowly. Check out this wonderful visual guide for making your starter, too; sometimes seeing how others mix helps a ton! It shows the process perfectly. I’ve broken down the next seven days using exactly the ratios that worked best for me.
Days 1–3: Initial Mix and First Activity
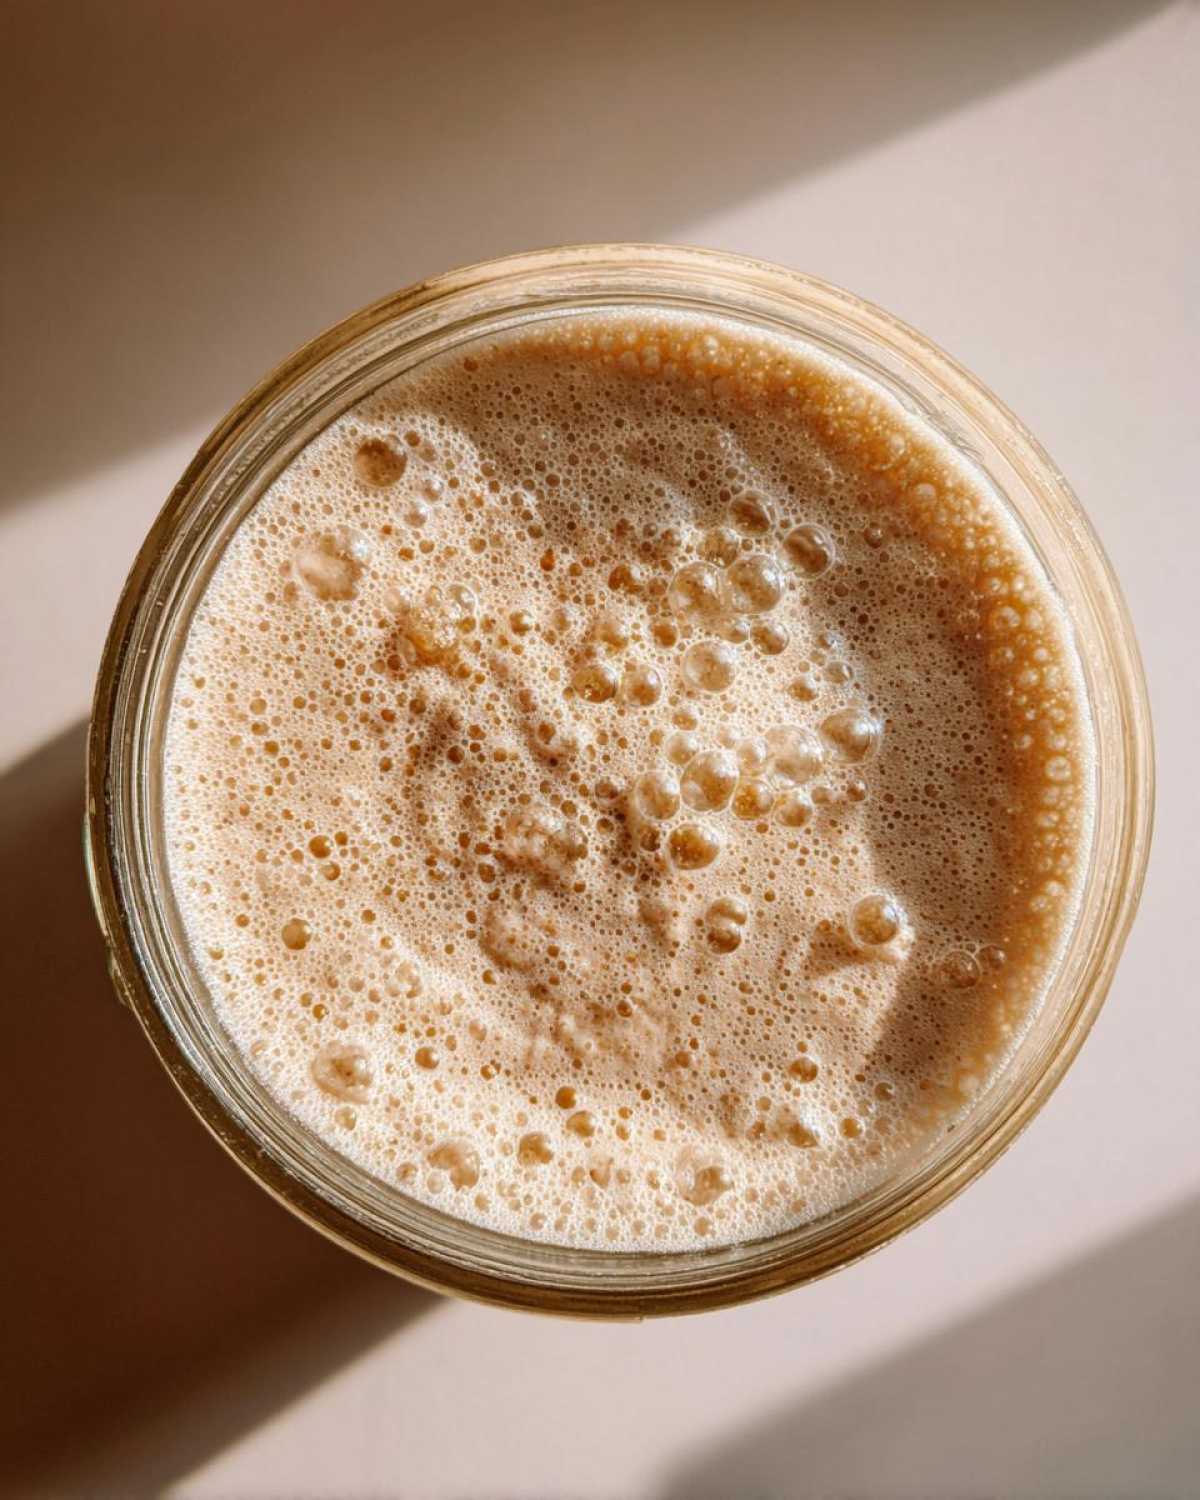
Day 1 is exciting! Take 50 grams of that whole grain flour and mix it with 50 grams of room temperature water right in your clean jar. It should look like thick pancake batter. Cover it loosely and just let it chill out for 24 hours. When you check on Day 2, you might see nothing, or maybe a few tiny specks of foam. Don’t panic! That’s normal. On Day 2 and Day 3, we discard half of what’s in the jar (yes, throwing some away feels weird, but it’s essential!) and feed the remainder with another 50g whole grain flour and 50g water.
If you notice a slightly vinegary or slightly cheesy smell by Day 3, that’s actually a great sign of microbial activity kicking off! Keep stirring it thoroughly until smooth, cover loosely, and wait another day. We are building our colony!
Days 4–6: Transitioning to the Standard Feed Sourdough Starter
By Day 4, we start treating our starter more like a pet! Ditch the whole grain flour now and switch completely to unbleached all-purpose flour for feeding. Remember the discard routine: toss half away, and then feed the rest with 50g all-purpose flour and 50g water. You should start seeing consistent, albeit small, bubbles now.
For Days 5 and 6, we continue this exact schedule every 24 hours. This consistent feeding—throwing out the old, adding the new—is what strengthens the culture and pushes out any less desirable bacteria. If you’re finding the feeding times hard to manage, this timing guide is really helpful for scheduling those daily feeds.
Day 7 and Beyond: Recognizing an Active Sourdough Starter
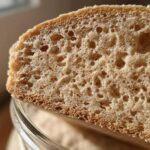
If you’ve been consistent, Day 7 is when you should see true action! A mature, active sourdough starter will reliably double in volume between 6 to 12 hours after a feeding. It’s going to look puffy and airy, much puffier than it did earlier in the week.
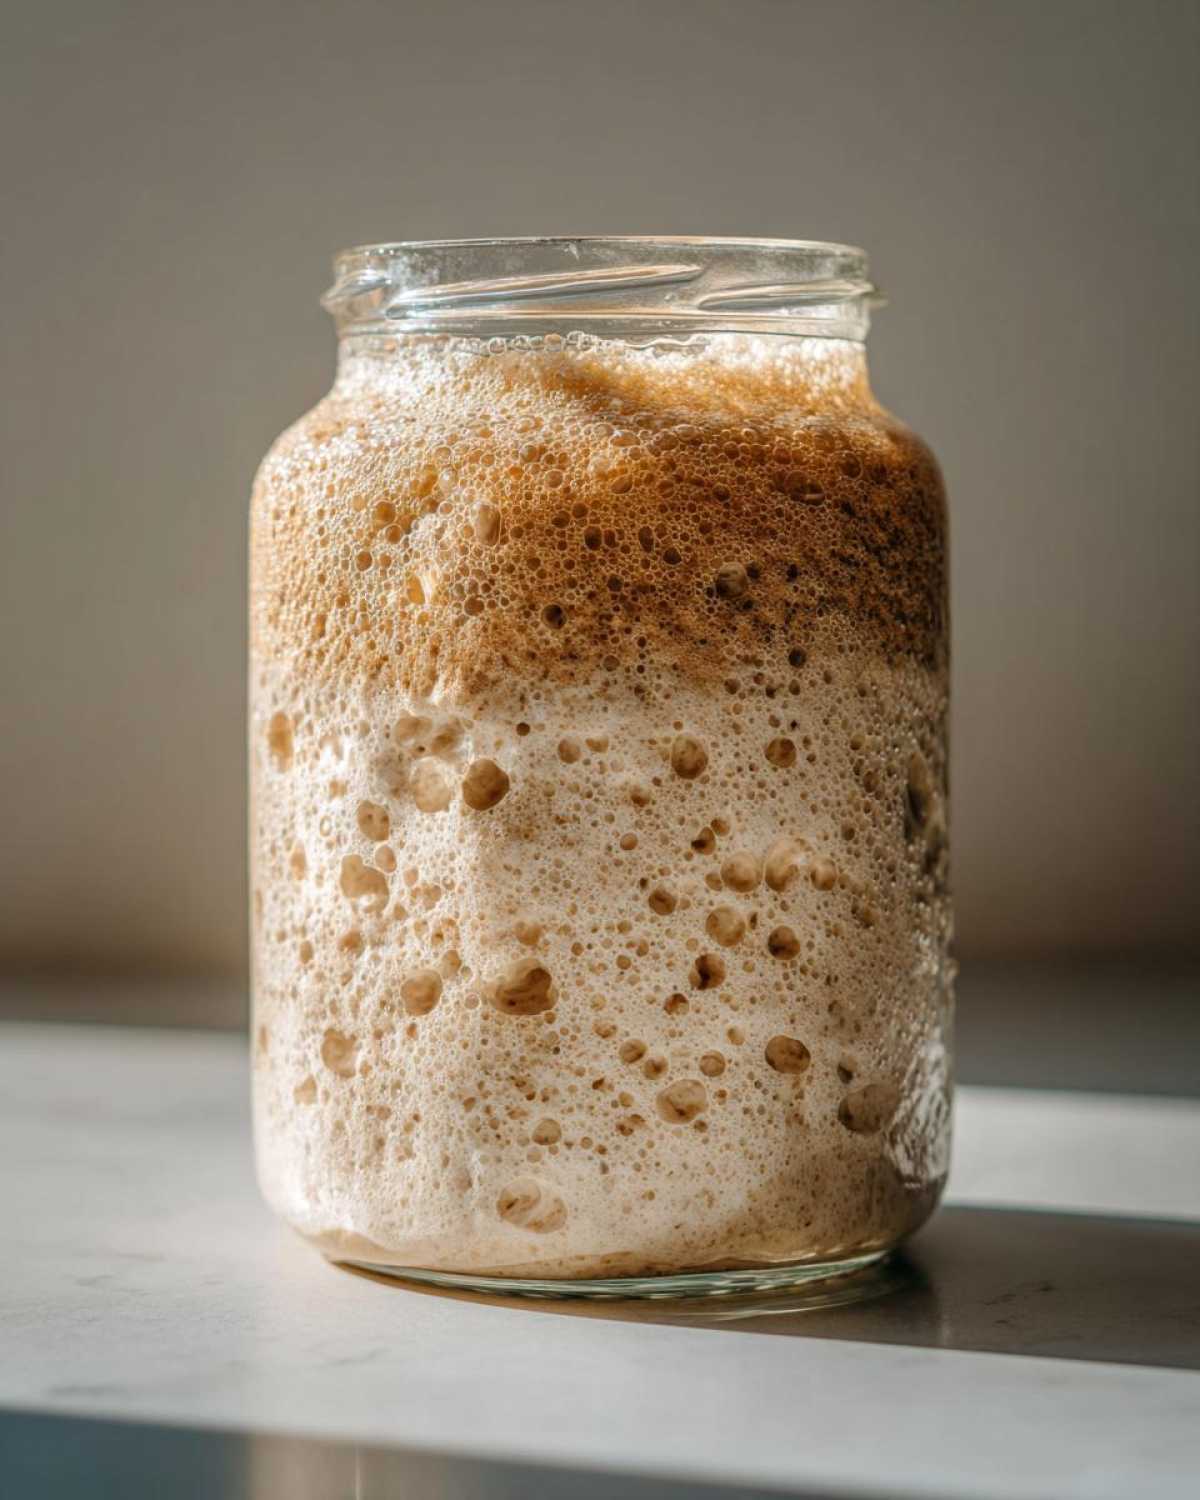
Once it’s consistently doing this, you officially have a starter ready for your first loaves! From here on out, you can feed it a simple 1:1:1 ratio whenever you pull it out of the fridge, or feed it every 12 to 24 hours if it lives on your counter.
Sourdough Starter Maintenance: Keeping Your Natural Yeast Starter Healthy
Congrats! You’ve done the hard work and now have this gorgeous, active culture living in your kitchen. Now we need to talk about sourdough starter maintenance so that you don’t have to create one from scratch again next week! You basically have two choices for care: countertop life or fridge hibernation. If you plan on baking every day or two, keeping it on the counter is great, but you’ll need to feed it twice a day or at least once every 24 hours using that 1:1:1 ratio we talked about.
If you want those slower, beautifully fermented loaves, or if life gets busy, the fridge is your friend. When you store it cold, you only need to remember to give it a good feed sourdough starter session once a week. Just pull it out a day before you plan to bake, give it two or three feedings on the counter to wake it up fully, and it will be ready to go!
Something I noticed a lot when I first started baking in the cooler months is that the yeast slows down dramatically when the kitchen temperature drops. If you’re learning during winter, just know your starter might need a little extra warmth to stay happy, which I discuss in my cold-weather baking guide. Don’t let the season worry you; just be attentive!
If you are leaving it out for a few days, make sure you are using plenty of whole grain in those feeds, as the folks over at Farmhouse on Boone suggest. It really helps keep things robust between feedings!
Troubleshooting Common Sourdough Starter Issues
Even though I’ve given you the easiest guide imaginable, sometimes things go a little sideways, right? Don’t sweat it! Every single baker, including me, has had a starter moment where they thought, ‘Oh no, what did I do?’ First thing: if you see fuzzy green or black mold, that jar has to go. It’s an easy fix; just toss it and restart with a fresh jar and fresh supplies. It’s not worth risking your beautiful bread!
But most issues are less dramatic than mold. If your starter is sluggish—meaning it hasn’t doubled after 12 hours—it probably just needs a little extra TLC. This often happens when the house is cool, like during a rainy week. You need to find it a warmer, cozy spot to work its magic. I sometimes pop my jar inside the oven with *only* the light on—it creates a perfect little humid cave for yeast!
Another super common thing you’ll see is separation, where a watery layer forms on top. That liquid is called hooch, and it just means your culture is hungry! Don’t dump it out; just stir it back in, discard, and feed it a slightly larger amount of flour next time. It really just means the little yeasties ate all their food too fast and are thirsty. A little attention goes a long way to getting that happy rise back.
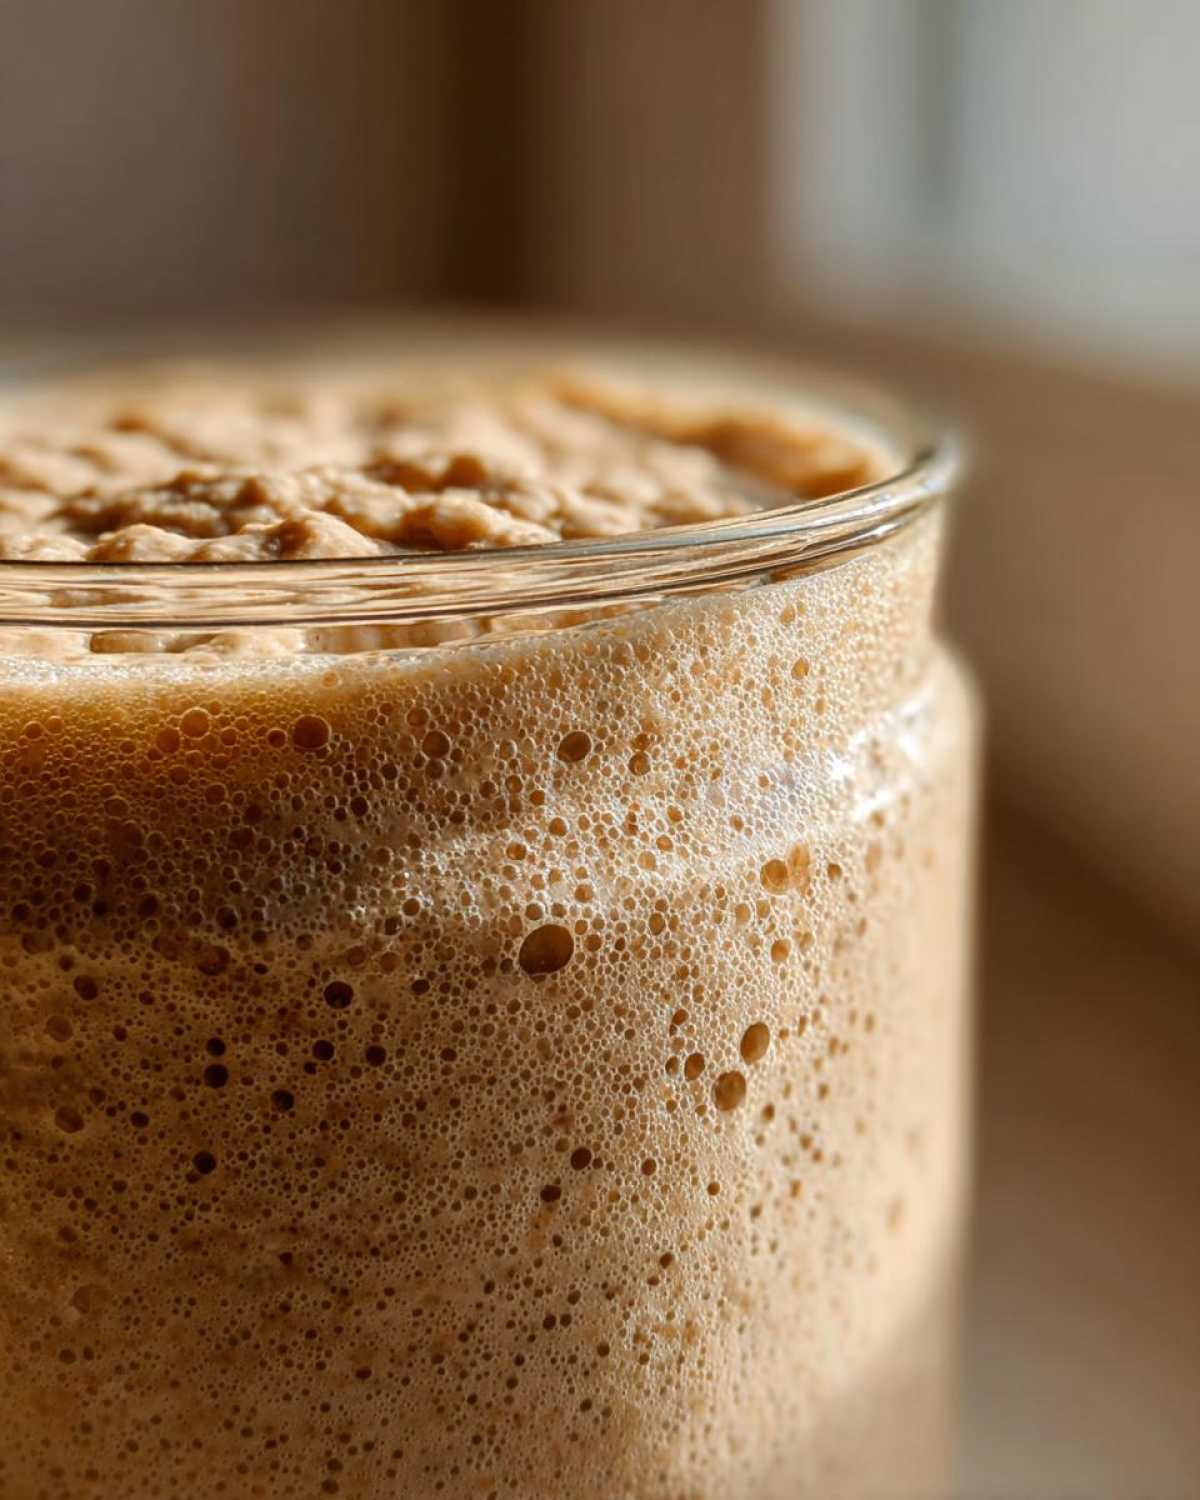
Tips for Achieving a Bubbly Sourdough Starter
Want that gorgeous, airy texture that makes everyone ask, “Did you really make that?” It all comes down to making sure your little wilderness of yeast and bacteria is having the best time possible! We’re aiming for a seriously bubbly sourdough starter, and a few little tweaks make a huge difference in how active your sourdough starter becomes.
First, let’s talk about water quality—this is huge! If your tap water is loaded with chlorine, it can actually stunt yeast growth. I always use filtered water or even bottled spring water just to be safe during those crucial first few weeks. It guarantees you aren’t accidentally wiping out your new friends before they get established.
Secondly, temperature is everything! Yeast loves to party in warmth. If your kitchen is on the chilly side, remember the inside-of-the-oven trick I mentioned earlier—light only! This creates a lovely, consistent warmth that speeds things right up. If you want a quick visual primer on getting that fluffy, active feed ratio right, check out this guide for great tips: It shows the perfect fluffy consistency.
How to Tell When Your Sourdough Starter is Ready to Bake
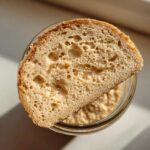
You’ve been feeding it, smelling it, watching it rise and fall—but how do you know it’s actually ready to make that perfect rustic loaf? Trust me, eyeballing it isn’t enough for your first bake! The real secret to knowing your sourdough starter is happy enough for bread-making is the float test. It’s super simple and gives you such peace of mind.
Once your starter has doubled nicely after a recent feed (it should look pillowy and light), gently drop a tiny spoonful of it into a glass of room-temperature water. If that little scoop floats right on top, congratulations! Your yeast is producing enough consistent carbon dioxide to give your bread those amazing air pockets.
If it sinks, give it one more feeding cycle, wait until it peaks again, and try the test once more. Need a refresher on making sure your recipe is spot on? Check out this great beginner recipe post!
Sourdough 101: Understanding Your Homemade Bread Starter
So, what are you actually growing in that jar? It feels like magic, but really, it’s a beautiful mix of science and time! When you make your sourdough starter, you are cultivating a small ecosystem of wild yeast and friendly bacteria, mainly lactic acid bacteria. These little guys hang out in the flour and the air, and when you give them food (flour) and water, they get busy eating and producing gases.
The yeast produces the carbon dioxide that makes your bread rise—that’s the lift you want! The bacteria create the lactic and acetic acids that give your homemade bread its beautiful, signature tangy flavor. It’s this natural partnership that replaces commercial yeast completely. If you want to dive into the slightly deeper, fascinating details about the different types of starters that exist, you can read a bit more about that dynamic culture here: See the different strains of starter. Honestly, understanding that you built this little life yourself is what makes the final loaf taste extra special!
For the secrets behind keeping this balance happy, I always check out what Mandy Clark has to say about the little things you might miss, like temperature control. You might find some surprising tips there!
Frequently Asked Questions About Your Sourdough Starter
I get tons of messages after people finish the first week, asking about little quirks their new starter has. It’s totally normal to have questions! Let me clear up a few things that pop up all the time when you’re first getting comfortable with your new kitchen pet. If you want to see my absolute top tips for keeping it thriving after the first week, I put them all together on my go-to starter support page.
What if my sourdough starter separates or develops liquid on top?
Oh, that is the famous ‘hooch’! It’s just a little layer of alcohol that forms when your culture runs out of food and starts getting thirsty. It certainly doesn’t mean it’s ruined! You can either pour it off (if it looks really dark or strong) or just stir it right back in during your next feeding. If you see hooch, it’s your cue to feed it a little more frequently or give it a slightly larger meal next time.
Can I skip feeding my sourdough starter for a few days?
You absolutely can, but where you store it makes all the difference here! If it lives on your counter, no, you really shouldn’t skip feedings because it will get way too hungry and weak. But if you pop that jar into the refrigerator, you can definitely get away with feeding it just once a week. Just remember to pull it out the day before you plan to bake and give it two regular feedings on the counter to wake it up fully!
Is it safe if my starter smells like vinegar or acetone?
Look, I startled myself the first time this happened! Yes, it is usually completely safe, especially in those early days (Days 3 through 6). That strong, sometimes eye-watering acetone or nail polish remover smell is just an indication that the wild yeasts are producing more acidic byproducts because they are working hard. It means your culture is healthy, just maybe a little gassy! Just incorporate that smell into the mix, feed it well, and the smell should mellow out significantly once it’s active and doubling consistently.
PrintUltimate Beginner’s Guide: How to Make, Feed, and Maintain a Bubbly Sourdough Starter From Scratch
Welcome to your simple, step-by-step guide to creating your own natural yeast starter. We will show you how to make an active sourdough starter using just flour and water, perfect for beginners ready to bake artisanal bread.
- Prep Time: 5 min daily
- Cook Time: 0 min
- Total Time: 7 days (active creation)
- Yield: 1 active starter culture
- Category: Baking Foundation
- Method: Natural Fermentation
- Cuisine: Global
- Diet: Vegan
Ingredients
- 100g Whole Grain Flour (Rye or Whole Wheat recommended for initial mix)
- 100g Unbleached All-Purpose Flour (for later feedings)
- 100g Unchlorinated Water (room temperature)
Instructions
- Day 1: Mix 50g of whole grain flour and 50g of room temperature water in a clean glass jar. Stir until fully combined. Cover loosely and let it sit at room temperature (ideally 70-75°F or 21-24°C) for 24 hours.
- Day 2: You may see little to no activity. Discard half of the mixture. Add 50g of whole grain flour and 50g of water to the remaining starter. Mix well, cover loosely, and wait 24 hours.
- Day 3: You might see some bubbles or smell a slight sour/vinegary scent. This is normal. Discard half. Feed with 50g of whole grain flour and 50g of water. Wait 24 hours.
- Day 4: Switch to using only unbleached all-purpose flour for feedings. Discard half. Feed with 50g of all-purpose flour and 50g of water. You should see more consistent bubbling. Wait 24 hours.
- Day 5 & 6: Continue the discard and feed process every 24 hours using 50g of all-purpose flour and 50g of water. Your starter should begin to double in size within 6-12 hours after feeding.
- Day 7 and Beyond (Maintenance): Once your starter consistently doubles in size after feeding, it is active. You can now switch to a 1:1:1 ratio (e.g., 50g starter, 50g flour, 50g water) every 12-24 hours if keeping it on the counter, or feed once a week if storing it in the refrigerator.
Notes
- Use filtered or bottled water if your tap water is heavily chlorinated, as chlorine can slow down yeast growth.
- If your kitchen is cold (especially in winter), find a warmer spot, like inside an oven with just the light on, to encourage activity.
- A mature, active sourdough starter should float when a small spoonful is dropped into a glass of water. This confirms it is ready for baking.
- Consistency should resemble thick pancake batter. If it seems too stiff, add a tiny bit more water during the next feed.
Nutrition
- Serving Size: 100g culture
- Calories: 200
- Sugar: 0.5
- Sodium: 1
- Fat: 0.5
- Saturated Fat: 0.1
- Unsaturated Fat: 0.4
- Trans Fat: 0
- Carbohydrates: 40
- Fiber: 2
- Protein: 6
- Cholesterol: 0
Comments are closed.