


How to Make Delicious Refrigerator Dill Pickles
There’s something truly special about a homemade pickle. Forget the bland, sad pickles from the store. Making your own refrigerator dill pickles is incredibly simple, and the reward is a crisp, tangy treat that tastes like sunshine. I remember when I first started experimenting with preserving summer’s bounty. It felt magical to capture that fresh cucumber flavor. This recipe for refrigerator dill pickles is my go-to. It’s quick, uses ingredients I always have on hand, and delivers that perfect pickle crunch every single time. It truly embodies the spirit of Sunday Flavor.
Why You’ll Love These Refrigerator Dill Pickles
You’ll absolutely adore these quick pickles for so many reasons! They’re a game-changer for your kitchen.
* Speedy Prep: You can have them ready for the fridge in under 30 minutes.
* Simple Ingredients: Just water, vinegar, salt, sugar, dill, garlic, and, of course, fresh cucumbers.
* Amazing Flavor: They taste so much better than store-bought. Brighter, fresher, and perfectly seasoned.
* Crisp Texture: Get that satisfying crunch you crave.
* Customizable: Easily adjust the garlic and dill to your liking.
A Taste of Summer: My Refrigerator Dill Pickles Journey
My journey with these refrigerator dill pickles started one hot summer afternoon. I had a basket overflowing with cucumbers from the farmer’s market. I wanted to capture that peak-season freshness before it faded. I remembered my grandma making quick pickles, and I decided to give it a go. It reminded me so much of why I started Sunday Flavor – taking simple, fresh ingredients and turning them into something truly joyful. Making these pickles felt like bottling up a bit of that summer sunshine. It’s a simple pleasure that brings a smile to my face.
Gathering Your Refrigerator Dill Pickle Ingredients
Let’s get our ingredients ready for these amazing refrigerator dill pickles! Having everything prepped makes the process so smooth. I always try to pick the freshest, firmest cucumbers I can find. They really make a difference in the final crunch. Don’t be shy with the dill and garlic either; they give these pickles their signature punch. Making sure everything is clean is key for great results. It’s like setting the stage for a delicious performance.
Essential Refrigerator Dill Pickle Components
- 4 cups water
- 2 cups white vinegar
- 2 tablespoons kosher salt
- 1 tablespoon sugar
- 8-10 fresh dill sprigs, washed
- 4-5 cloves garlic, smashed
- 1 teaspoon black peppercorns
- 1/2 teaspoon mustard seeds
- 4-5 large cucumbers, washed and sliced into 1/4-inch rounds
Crafting Your Crispy Refrigerator Dill Pickles
Now for the fun part – bringing these delicious refrigerator dill pickles to life! It’s a straightforward process, really. I find that breaking it down makes it super manageable. You’ll see just how easy it is to get that perfect pickle.
Preparing the Perfect Pickle Brine
First, let’s make our magic brine. Grab a saucepan. Into it, combine 4 cups of water, 2 cups of white vinegar, 2 tablespoons of kosher salt, and 1 tablespoon of sugar. Heat this mixture over medium heat. Stir it gently. You want to see that salt and sugar completely dissolve. Once they’re gone, take it off the heat. Let the brine cool down a bit. This isn’t instant; give it a few minutes. This cooling step is important. It stops the fresh dill from wilting too much. It also makes handling the jars safer.
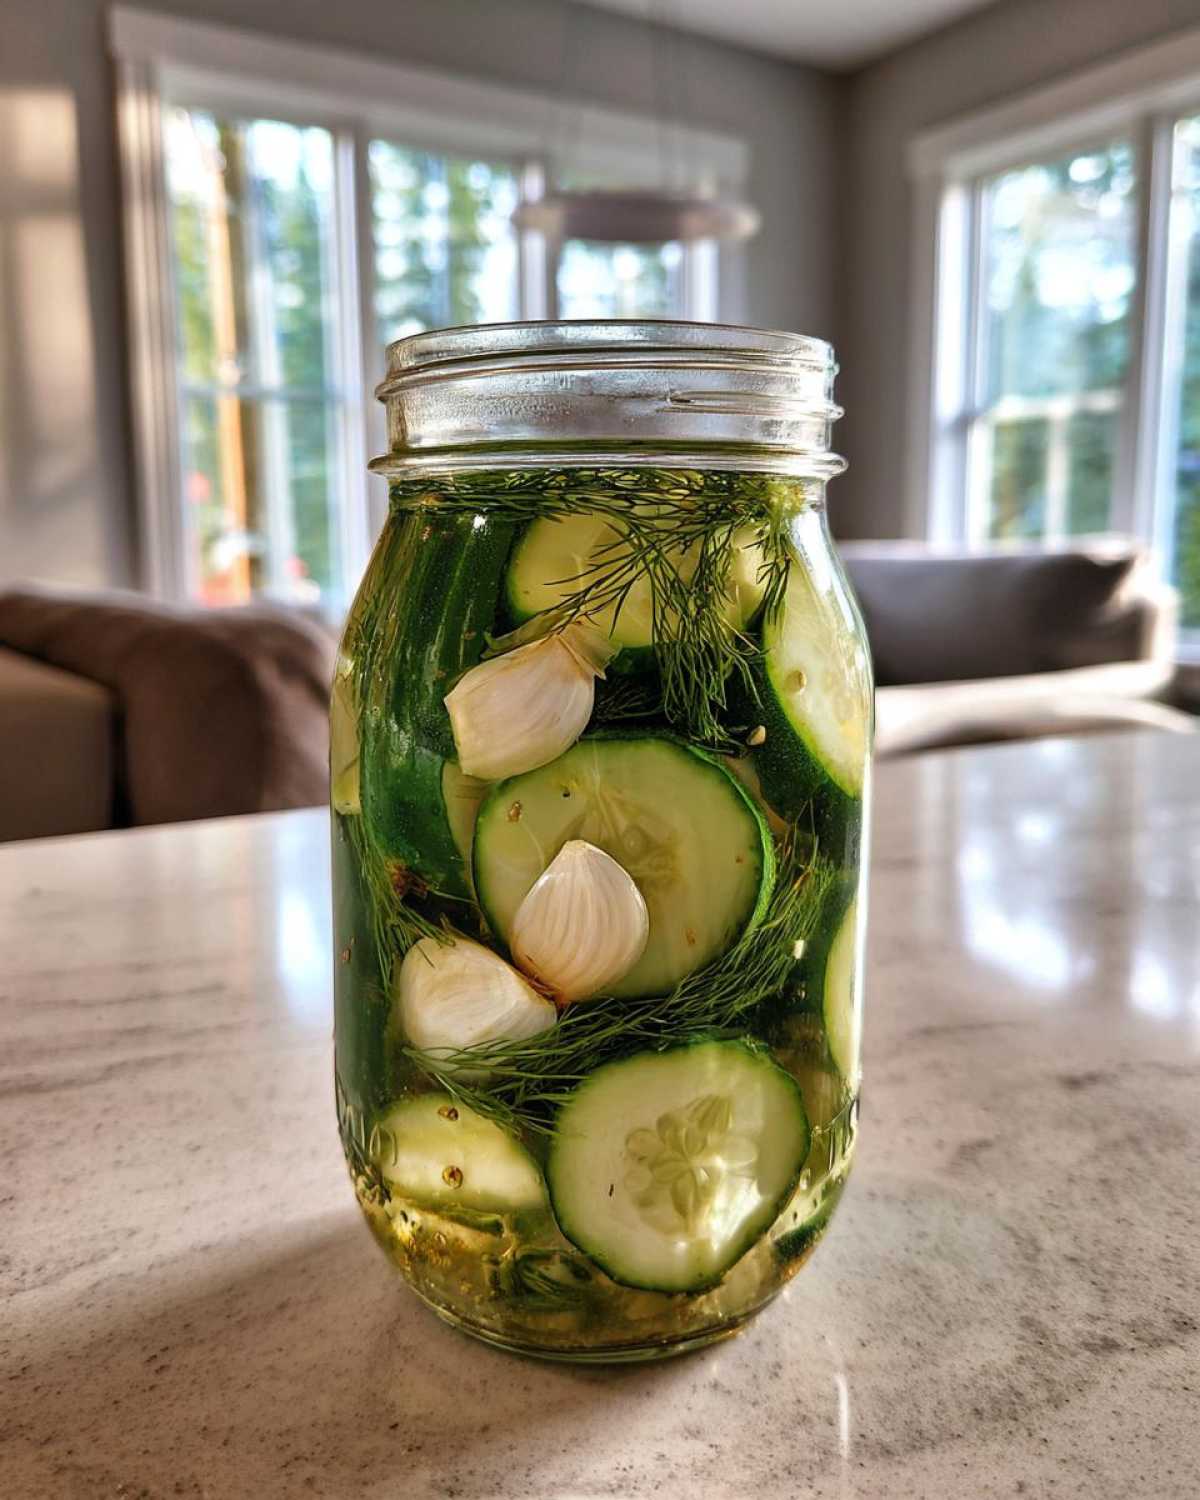
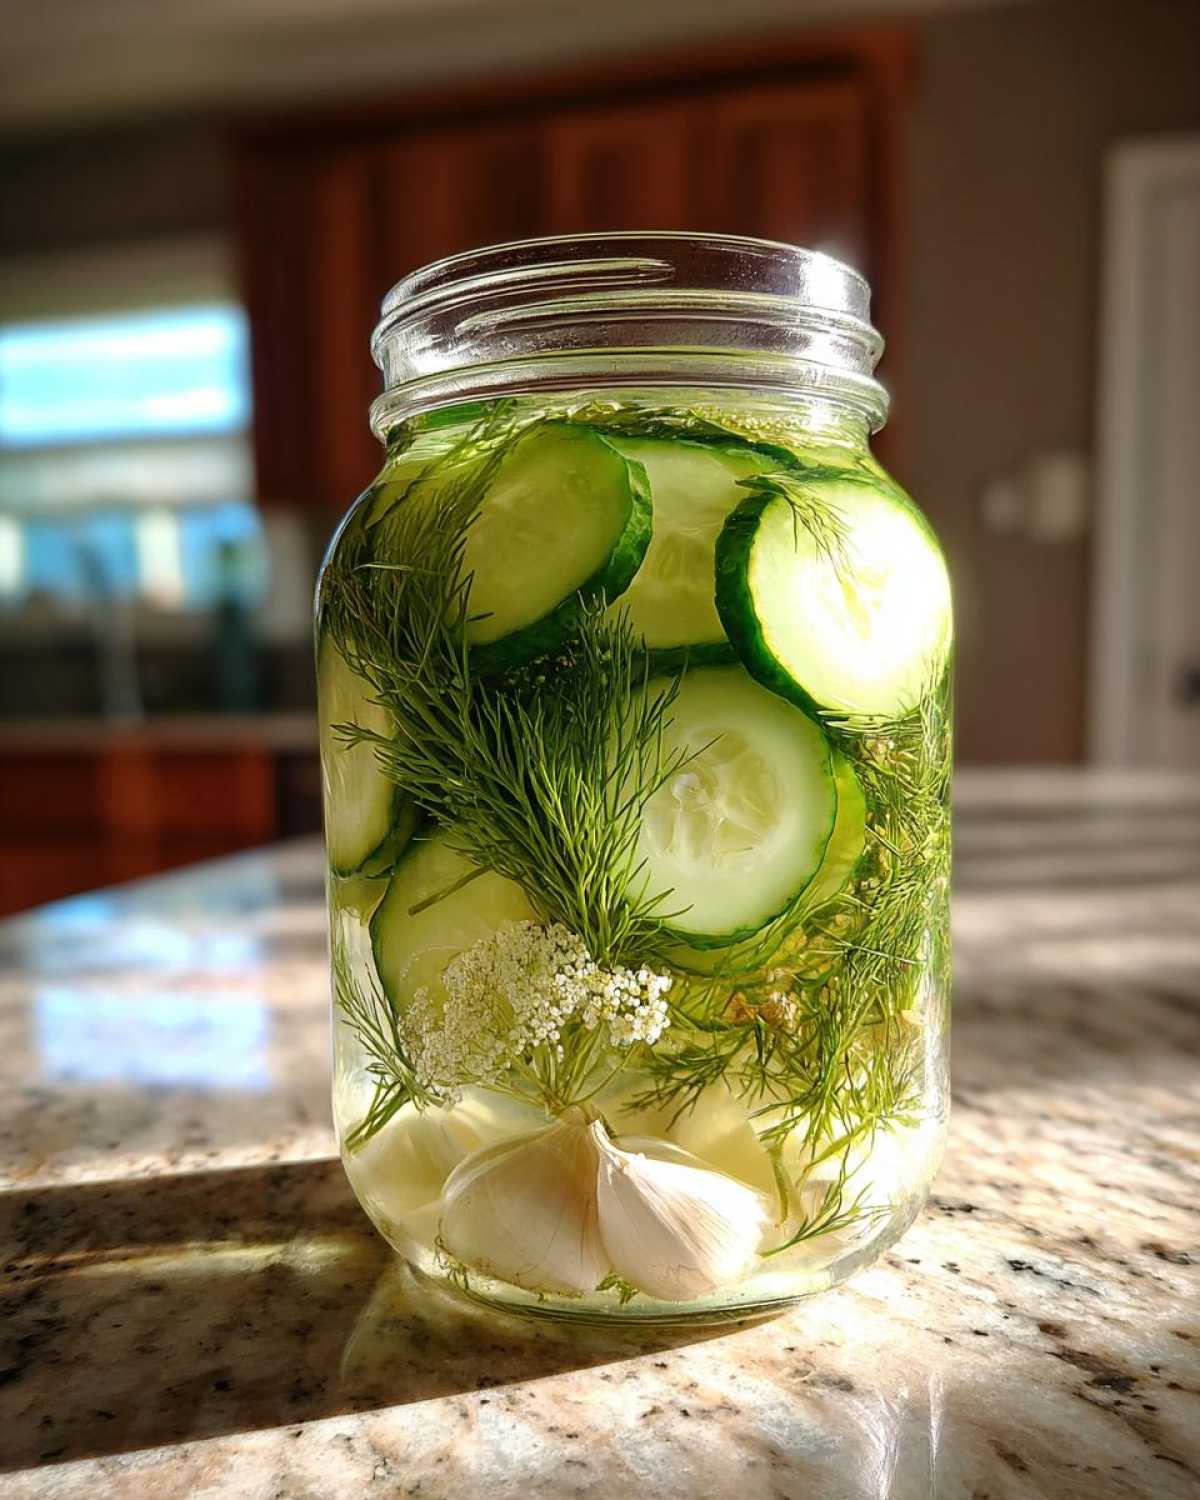
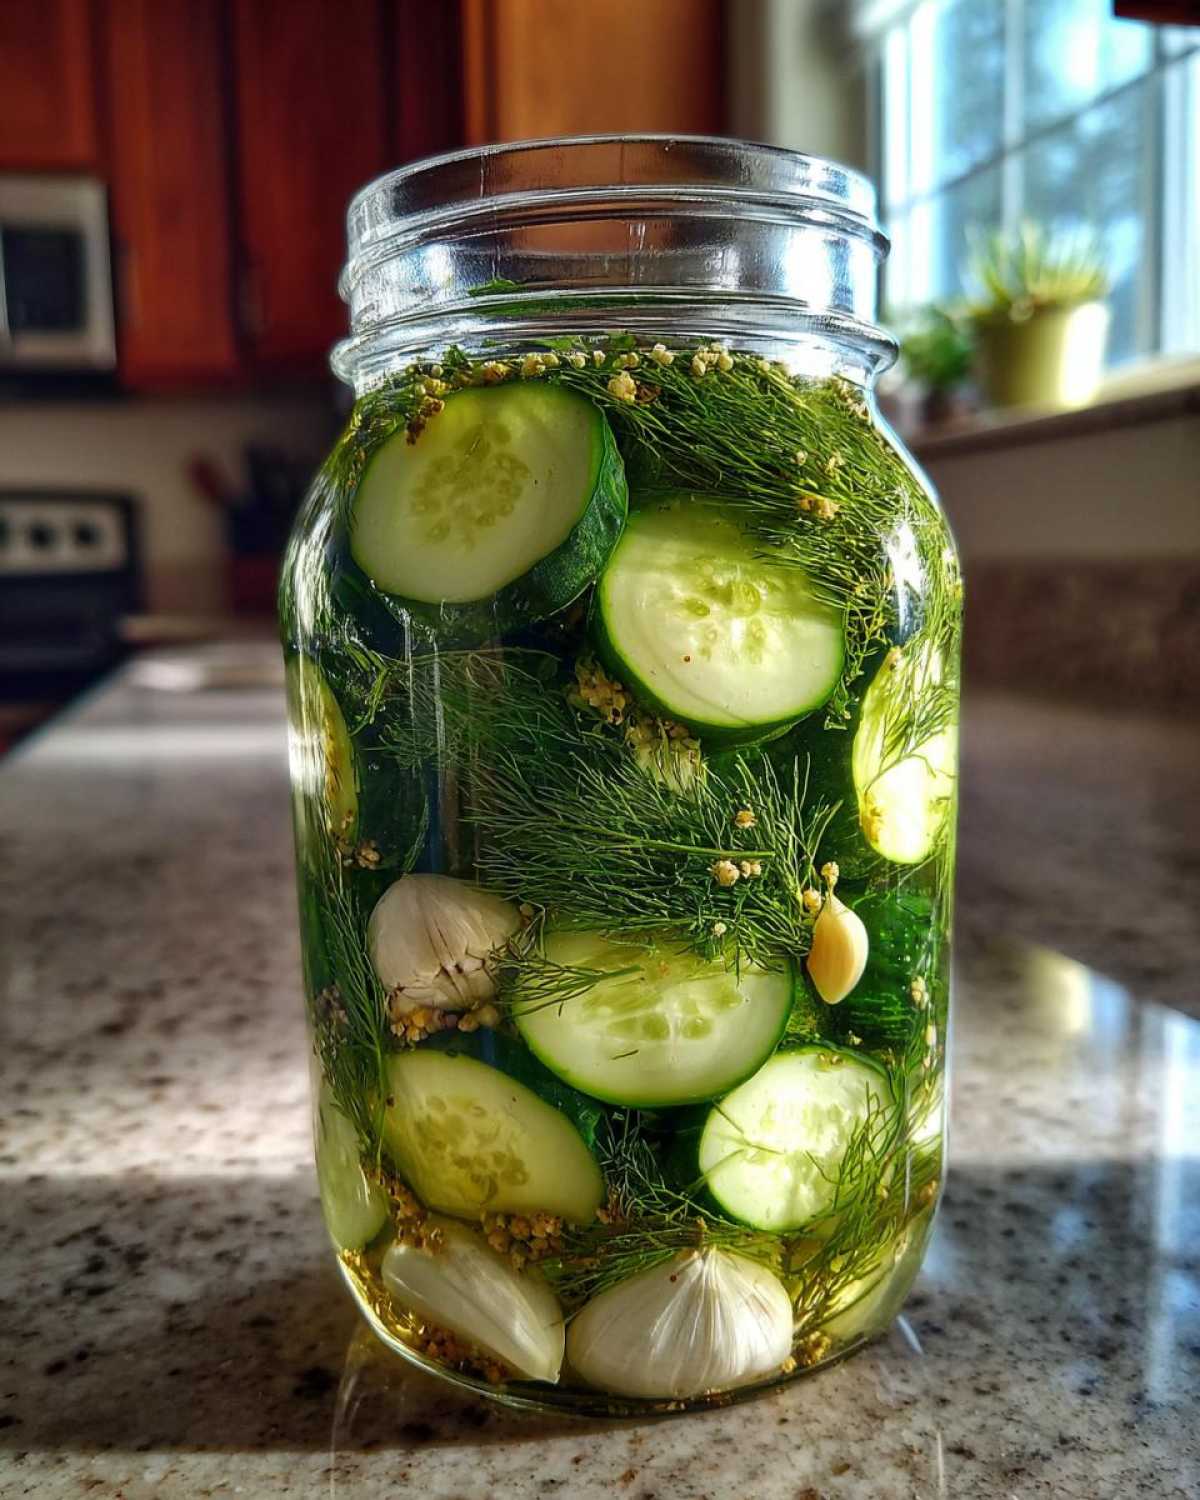
Assembling Your Jars of Refrigerator Dill Pickles
While the brine cools, let’s get the jars ready. Take your clean jars. Pack them tightly with your sliced cucumbers. I like to arrange them so they fit snugly. Then, it’s time for the flavor boosters. Tuck in 8 to 10 fresh dill sprigs. Add 4 to 5 smashed garlic cloves. Sprinkle in 1 teaspoon of black peppercorns and 1/2 teaspoon of mustard seeds. These little guys pack a big flavor punch! Make sure to distribute them evenly among the jars.
The Brining Process for Refrigerator Dill Pickles
Once your jars are packed and the brine has cooled slightly, it’s time to pour. Carefully ladle the brine over the cucumbers and aromatics. Make sure every single cucumber slice is covered by the brine. This is super important for proper pickling. Then, seal the jars tightly with their lids. Pop them into your refrigerator. Now comes the hardest part: waiting! You need to let these refrigerator dill pickles brine for at least 24 hours. Honestly, they get even better after a few days. You’ll notice the flavors deepening. Enjoy that satisfying crunch!
Tips for Perfect Refrigerator Dill Pickles
To get the best results with your refrigerator dill pickles, a few little tips go a long way. For that amazing crispness, always start with fresh, firm cucumbers. You know, the ones that feel solid and heavy for their size? Those are your best bet. And don’t forget cleanliness! Make sure your jars and lids are sparkling clean. This prevents any unwanted spoilage and keeps your pickles tasting fresh. Feel free to play around with the garlic and dill amounts too. If you love garlic, add a bit more! Prefer a stronger dill flavor? Toss in an extra sprig. These pickles will keep well in your fridge for several weeks, so you can enjoy that homemade goodness for a good long while.
Frequently Asked Questions About Refrigerator Dill Pickles
Got questions about making your own refrigerator dill pickles? I’ve got answers! It’s totally normal to have a few queries when you’re trying a new recipe.
How long do refrigerator dill pickles last?
These delightful homemade pickles will keep nicely in your refrigerator for about 3 to 4 weeks. Just make sure they stay submerged in the brine.
Can I adjust the spice level in my pickles?
Absolutely! Feel free to get creative with your spice mix. Add a pinch of red pepper flakes for a little heat. Some mustard seeds or coriander seeds also add lovely flavor notes. Don’t be afraid to experiment a bit.
My pickles aren’t very crisp. What did I do wrong?
Crispness is key! For the best results, always use the freshest, firmest cucumbers you can find. Sometimes, using older cucumbers can lead to softer pickles. Also, ensure your brine is properly cooled before adding it to the jars.
Do I need to sterilize the jars?
While these are refrigerator pickles and not canned, it’s still important to use clean jars and lids. A good wash with hot, soapy water should do the trick! This helps ensure your pickles stay fresh and delicious.
Can I use different types of vinegar?
White vinegar is classic for a clean, crisp pickle. You could try apple cider vinegar for a slightly fruitier note, but white vinegar is usually best for traditional dill pickle flavor.
Understanding the Nutrition of Your Refrigerator Dill Pickles
When enjoying these delicious homemade refrigerator dill pickles, keep in mind that nutritional values are estimates. Factors like the exact size of your cucumbers and the specific brands of ingredients you use can cause slight variations. The provided figures are a general guide for a standard serving. It’s all part of the fun of cooking at home!
Enjoying Your Homemade Refrigerator Dill Pickles
Now that you’ve made your own fantastic refrigerator dill pickles, it’s time for the best part: eating them! I love to pull out a jar on a sunny afternoon. They’re perfect sliced up on a classic deli sandwich. Burgers just aren’t the same without a few tangy pickle slices on top. They also make a wonderful side dish for a BBQ spread. Or, honestly, I just grab a fork and enjoy them straight from the jar! They really add a bright, zesty kick to any meal. So go ahead, savor that crunchy, dill-infused goodness you created yourself!

Crisp Refrigerator Dill Pickles: 4 Awesome Tips

Learn how to make crisp and delicious refrigerator dill pickles at home. This easy recipe uses fresh cucumbers and a simple brine for quick pickling.
- Prep Time: 15 minutes
- Cook Time: 5 minutes
- Total Time: 25 minutes (plus 24 hours chilling time)
- Yield: 4-5 jars
- Category: Pickles
- Method: Refrigerator Pickling
- Cuisine: American
- Diet: Vegetarian
Ingredients
- 4 cups water
- 2 cups white vinegar
- 2 tablespoons kosher salt
- 1 tablespoon sugar
- 8-10 fresh dill sprigs
- 4-5 cloves garlic, smashed
- 1 teaspoon black peppercorns
- 1/2 teaspoon mustard seeds
- 4-5 large cucumbers, sliced into 1/4-inch rounds
Instructions
- In a saucepan, combine water, white vinegar, kosher salt, and sugar. Heat over medium heat, stirring until salt and sugar dissolve. Let the brine cool slightly.
- While the brine cools, pack the sliced cucumbers into clean jars.
- Add dill sprigs, smashed garlic cloves, peppercorns, and mustard seeds to the jars with the cucumbers.
- Pour the cooled brine over the cucumbers, ensuring they are fully submerged.
- Seal the jars tightly and refrigerate.
- Allow the pickles to brine for at least 24 hours before enjoying. They will continue to develop flavor over time.
Notes
- For best results, use fresh, firm cucumbers.
- Adjust the amount of garlic and dill to your preference.
- Ensure your jars and lids are clean to prevent spoilage.
- These pickles will last for several weeks in the refrigerator.
Nutrition
- Serving Size: 1/4 cup
- Calories: 15
- Sugar: 2g
- Sodium: 250mg
- Fat: 0g
- Saturated Fat: 0g
- Unsaturated Fat: 0g
- Trans Fat: 0g
- Carbohydrates: 3g
- Fiber: 0g
- Protein: 0g
- Cholesterol: 0mg


Comments are closed.