


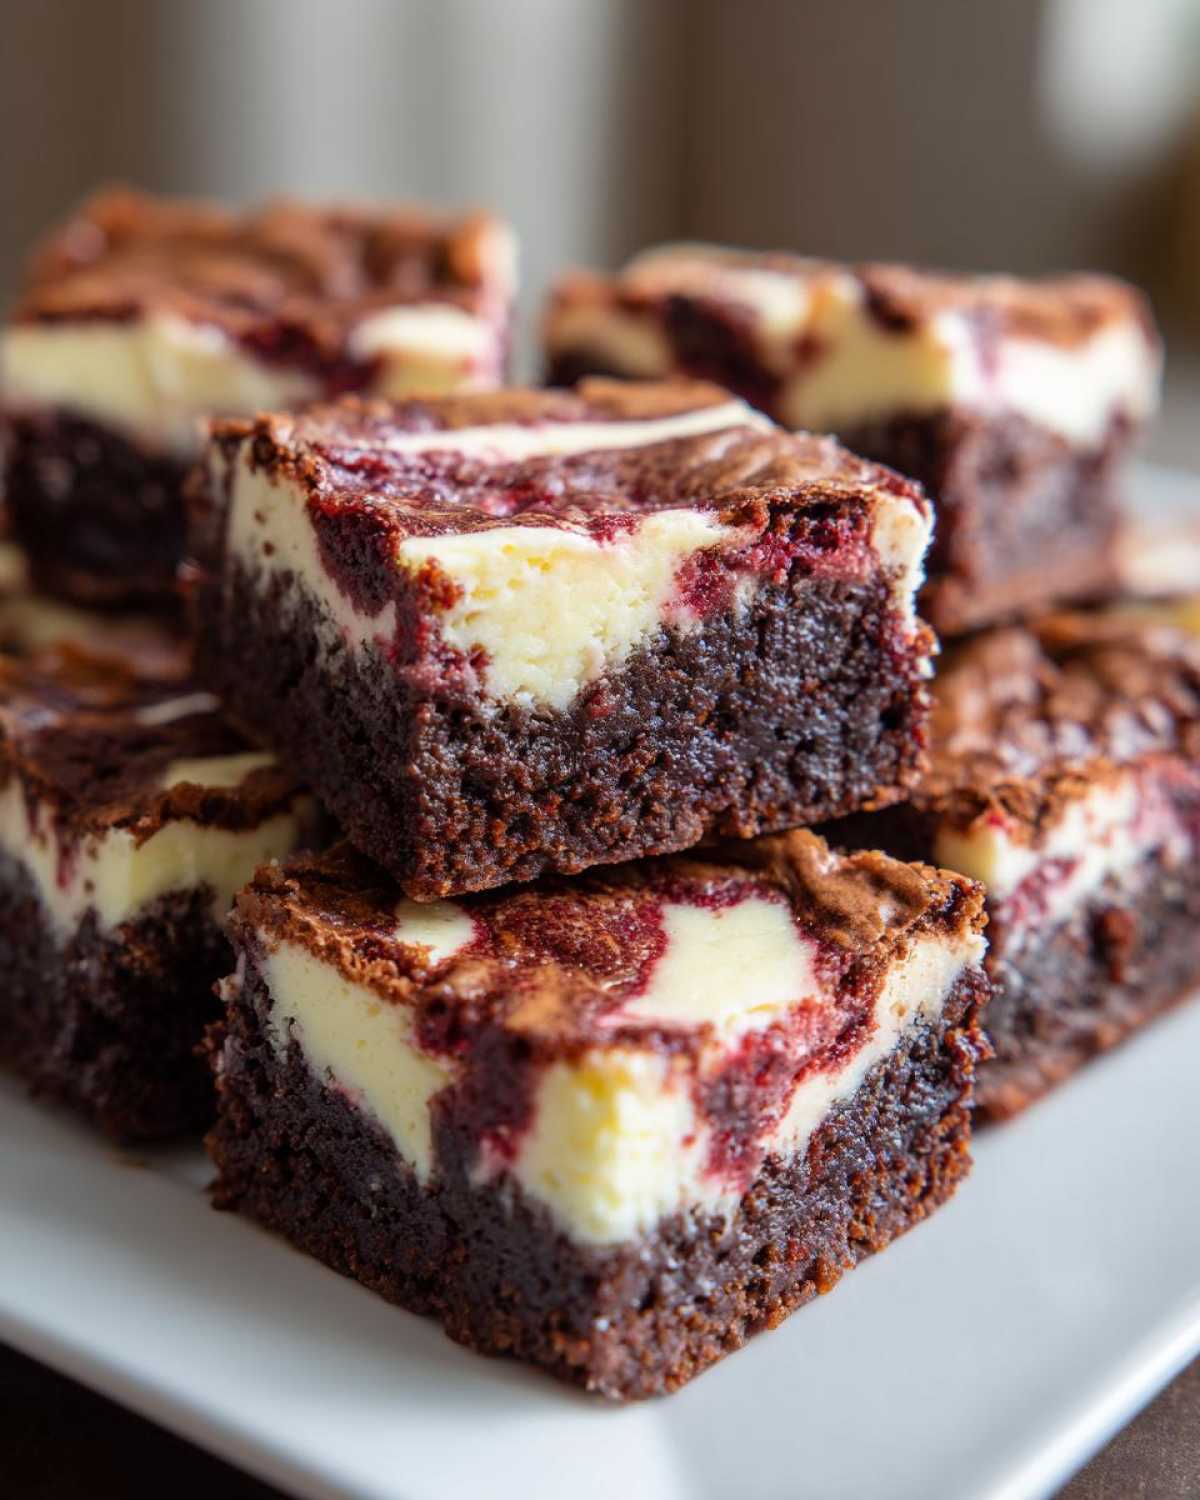
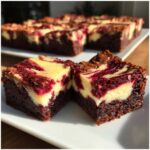
If you, like me, believe that the measure of a truly great day is how much chocolate and cream cheese you managed to work into your schedule, then I have found your new favorite bake. Forget the fuss of serving two different desserts; we are merging legacies! I’m so excited to bring you my ultimate red velvet cheesecake brownies. Seriously, these are decadent in the best way possible. They deliver that intensely fudgy texture we all crave in a brownie, but then you get that bright, tangy ribbon of smooth cheesecake swirled right through the middle. Even when my week in the office canyons felt non-stop, carving out time for something this joyful in the kitchen made all the difference. Get your mixer ready!
Why This Recipe Makes the Best red velvet cheesecake brownies
I’ve tested enough dessert bars to know the difference between good and absolutely unforgettable. These red velvet cheesecake brownies nail the trifecta. They aren’t just tasty; they are genuinely impressive when you set them out for guests. You get everything you hoped for in one stunning square!
- That deep, gorgeous ruby color that pops.
- The necessary fudgy interior—no cakey texture here!
- A rich, tangy ribbon of creamy cheesecake throughout.
- They make a fantastic showstopping dessert recipe for any holiday.
Achieving the Perfect Fudgy red velvet cheesecake brownies Base
Seriously, the key to getting that dense, melt-in-your-mouth fudgy red velvet cheesecake brownies experience is simple: melted butter and minimal mixing. Once you add the flour and cocoa, you just stir until you see no white streaks left. Overmixing develops gluten, and gluten makes a cake, not a truly decadent fudge brownie. Trust me on the gentle touch here!
Tips for a Cream Cheese Swirl Brownies Tutorial
The swirl needs to be smooth as velvet itself to give you that bakery-quality look. If your cream cheese is cold, you’ll end up with annoying little lumps, and nobody wants that in their dream dessert bar. Always use room temperature cream cheese and eggs for the swirl component. This simple step in our cream cheese swirl brownies tutorial guarantees silky-smooth ribbons every single time.
Gathering Ingredients for Your red velvet cheesecake brownies
Okay, let’s talk about what you need to pull off this masterpiece. When you’re making a recipe this rich, the quality and state of your ingredients really matter. I’ve broken down the list into the two stars of the show: the fudgy base and that glorious, tangy swirl. You’re going to notice right away that we use eggs in two different parts—don’t mix those up! Head over to my zucchini bread recipe guide if you ever need a refresher on checking if your eggs are truly room temp; it makes a difference!
For the Fudgy Red Velvet Brownie Batter
- 1/2 cup unsalted butter, melted (measure accurately!)
- 1 cup granulated sugar
- 2 large eggs, room temperature (these go into the batter)
- 1 1/2 teaspoons red food coloring (go for a good, vibrant gel if you can!)
- 2 teaspoons vanilla extract
- 1/2 teaspoon salt
- 3/4 cup all-purpose flour
- 3 Tablespoons Dutch process cocoa powder (this deepens that rich flavor!)
For the Cream Cheese Swirl
- 8 ounces cream cheese, softened (remember, really soft so it mixes beautifully)
- 1 large egg, room temperature (the second egg, just for the swirl!)
- 1/3 cup granulated sugar
Step-by-Step Instructions for red velvet cheesecake brownies
Alright, ready to see the magic happen? We’re moving fast here, but don’t rush the mixing, I promise! We’re aiming for rich red velvet cheesecake brownies that look like they came straight from a fancy bakery. First things first: preheat your oven to 350°F (175°C). I always line my 8×8 inch pan with parchment paper, making sure I leave a little overhang everywhere. That overhang is your best friend when it comes time to lift these beauties out!
Mixing the Brownie Base and Cheesecake Swirl
For the brownie batter, start by whisking that melted butter and the full cup of sugar together. Then, beat in those two room-temp eggs one by one, followed by your vibrant red coloring and vanilla. Remember what I said about gentle mixing? Now, whisk your dry ingredients—flour, salt, and cocoa—together separately, and then add them to the wet mix. Stir *just* until you can’t see white flour anymore. Stop right there! For the swirl, whip the softened cream cheese, the smaller bit of sugar, and that single egg until it’s impeccably smooth. No lumps allowed!
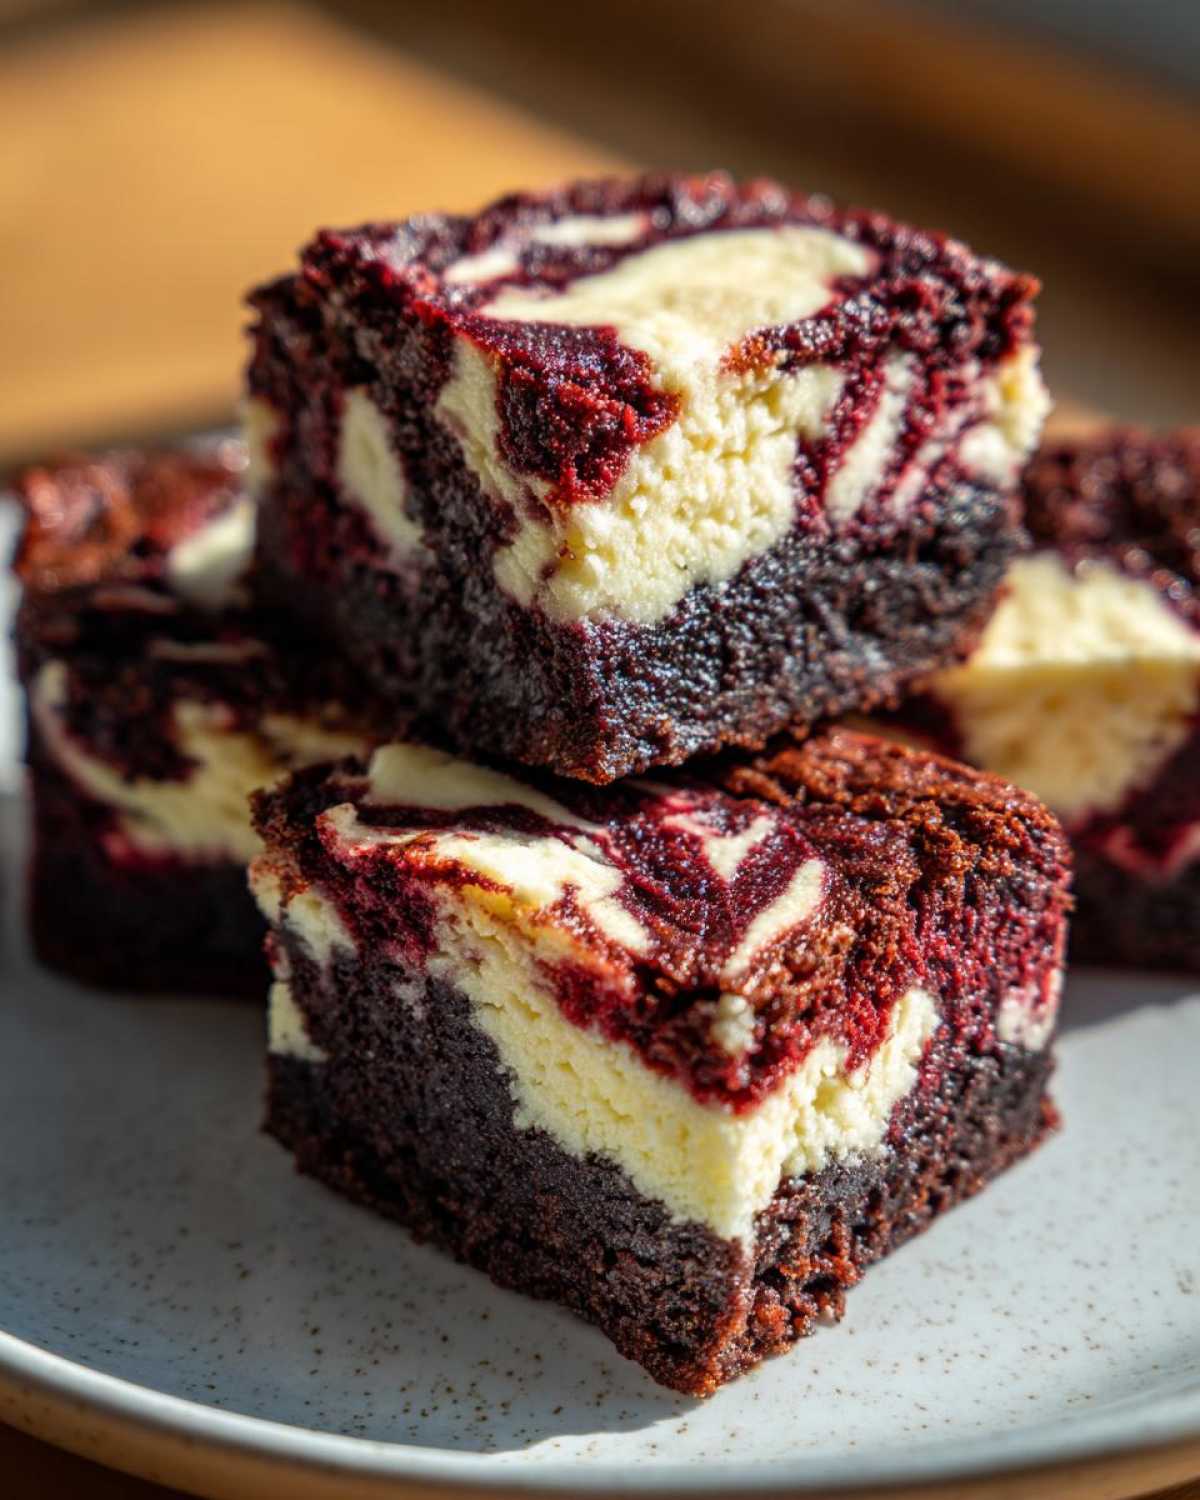
Assembling and Baking Your Marbled Dessert Bars
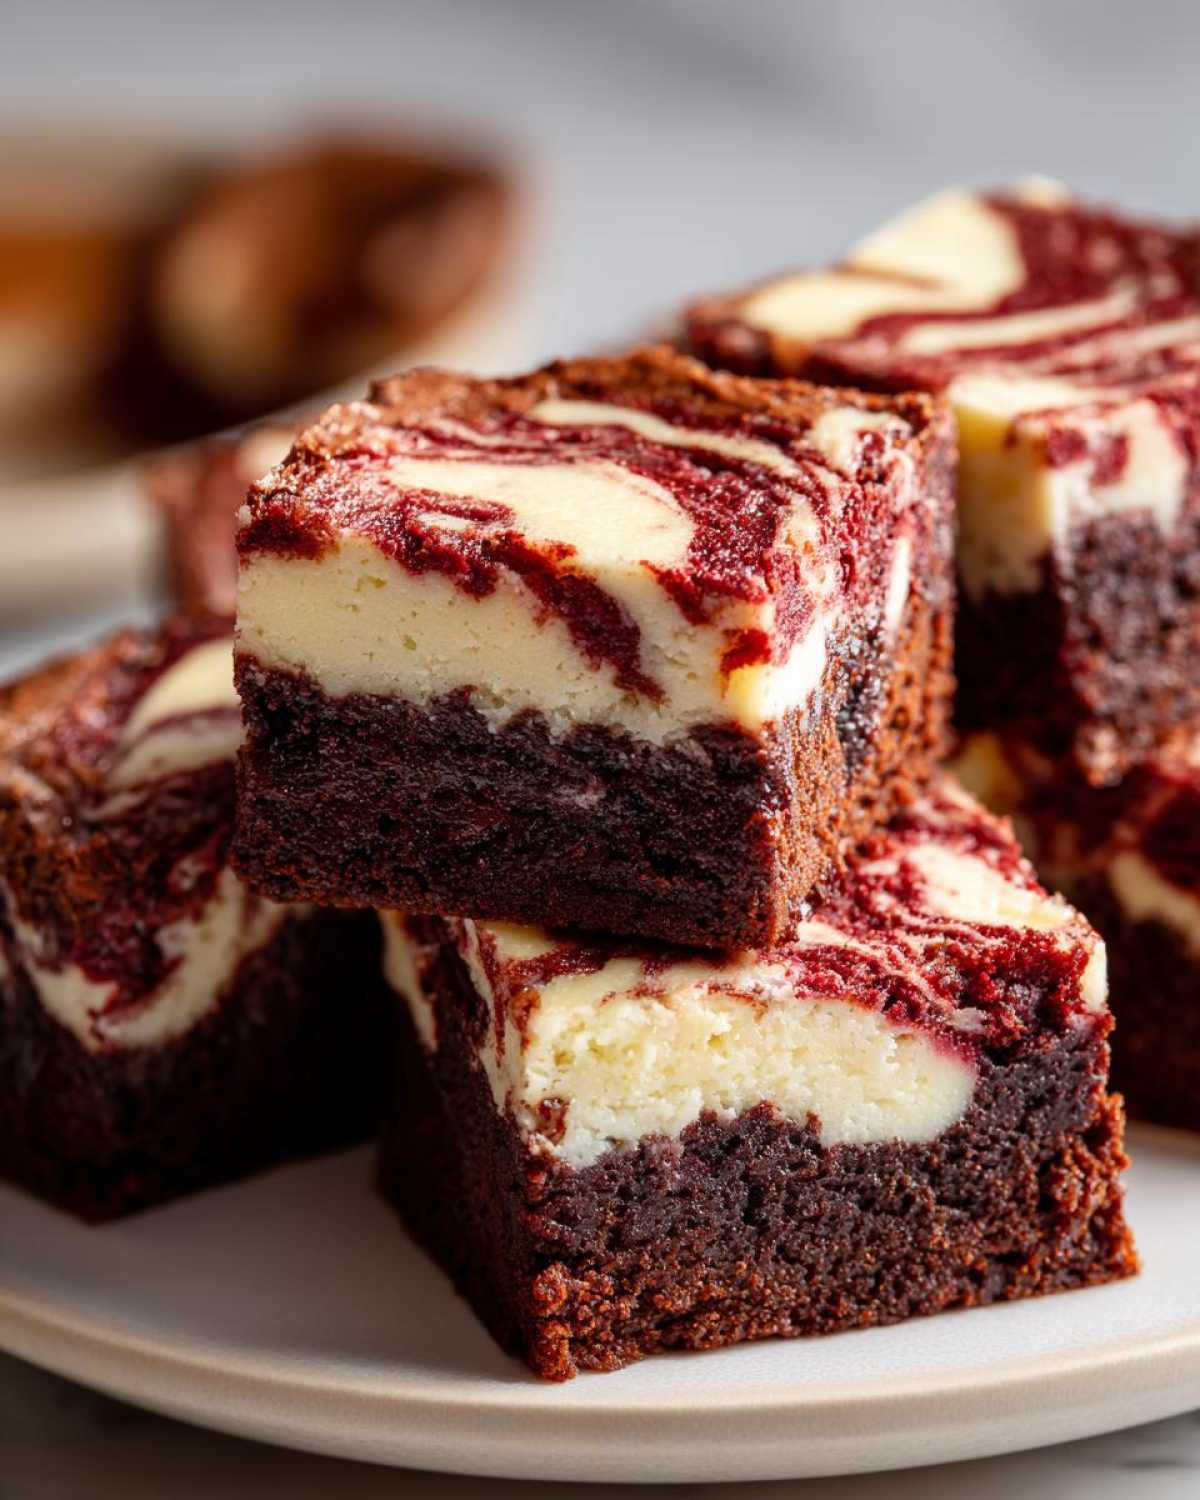
Time to build this hybrid dessert! Spread half of that ruby-red batter evenly into your prepared pan. Next, dollop on spoonfuls of that creamy cheesecake mixture all over the top. Then, gently spread the remaining red velvet batter over the cheese layer. Now, grab a knife or a skewer and gently drag it through the layers to create those gorgeous swirls. Don’t go crazy; too much swirling just mixes the color—we want marbled cheesecake swirl brownies! Bake this showstopper for about 30 to 35 minutes. You know they’re done when a toothpick comes out with moist crumbs clinging to it, not wet goo. Let them cool totally before slicing!

Expert Tips for Success with red velvet cheesecake brownies
You want these bad boys to look as amazing as they taste, right? That’s where a few little production secrets come in handy. We already talked about using room temperature ingredients for the cheesecake swirl, but it’s worth repeating because it’s so vital for that silky mouthfeel!
Also, don’t skip using Dutch process cocoa powder in your red velvet mix. It really deepens that cocoa punch, giving us the perfect contrast against the sweet cream cheese. But perhaps the most important pro tip for pristine red velvet cheesecake brownies? You have to chill them! Seriously, let those beautiful bars cool completely on the counter, then wrap them up and refrigerate them for at least two hours. This firming up period is what allows you to get those incredibly sharp, clean edges when you slice. Otherwise, they try to smoosh!
Making Ahead and Storing Your Decadent Layered Brownies
These are just as good the next day, maybe better, which is handy for big parties!
Remember I told you chilling helps with slicing? That cooling requirement is crucial—don’t even think about cutting into them warm, or you’ll get a chocolatey mess. Once they are totally cool, wrap that whole pan tightly in plastic wrap. You can keep these decadent layered brownies covered at room temperature for about three days, but honestly, I prefer them chilled. The refrigeration firms up that cheesecake layer perfectly, making them feel even richer. They keep beautifully in the fridge for up to a week!
Variations for Your red velvet cheesecake brownies
While I think this core recipe for red velvet cheesecake brownies is pretty much perfect as is—it’s a total showstopper!—you know I always love tinkering. If you want to spice things up for your weekend baking project, it’s super easy to customize the brownie layer without messing up that crucial swirl.
Try mixing in about half a cup of high-quality dark chocolate chips right before you pour the batter; it gives you an extra dimension of gooey texture. Or, if you want to lean into the flavor complexity, add just a half teaspoon of almond extract or espresso powder to the red velvet batter. It really complements that rich cocoa beautifully, making your dessert bars taste even more luxe!
Serving Suggestions for this Crowd Pleasing Dessert Squares
Wow, you made them! Congratulations! Now for the fun part—how to serve these incredible crowd pleasing dessert squares. Because they are already so rich and layered, they don’t need much help to shine.
My favorite way is just a very light dusting of powdered sugar right before serving—it always makes the red color pop! If you have fresh raspberries or sliced strawberries on hand, scattering those bright red berries around the plate adds a lovely, fresh contrast. But honestly, if you want to go all out, grab the best vanilla bean ice cream you can find. That hot/cold contrast with the fudgy brownie layer is just heavenly!
Frequently Asked Questions about red velvet cheesecake brownies
So many great questions come up when people tackle these gorgeous red velvet cheesecake brownies for the first time! Honestly, baking hybrids like this can sometimes feel a bit nerve-wracking, but don’t you worry. I’ve gathered the most common queries right here to make sure your results are perfect every time.
Can I skip the red food coloring in the red velvet cheesecake brownies?
You absolutely can, but I won’t lie, it changes the whole visual experience! The flavor in red velvet comes mostly from the reaction between the cocoa powder and the acid in the buttermilk (though we use milk here, the cocoa is the source). If you ditch the coloring, you’ll end up with absolutely delicious, rich chocolatey-maroon bars, but they lose that iconic, stunning visual pop that makes them special for holidays. For the true experience, stick with the color!
How do I get clean slices for my cheesecake swirl brownies?
This is where patience pays off! If you try to cut these gorgeous cheesecake swirl brownies while they are even slightly warm, they will definitely smear and look tragic, no matter how careful you are. You must chill the entire pan, fully cooled, for at least two hours—overnight is even better! Then, for the cleanest slice possible, run a long, sharp knife under hot water, wipe it dry, and slice. Wipe the knife clean between every single cut. It makes a world of difference!
What is the best way to store homemade decadent brownies?
Since we’re dealing with both a fudgy brownie and a creamy cheesecake component, storage is important. For immediate eating, you can keep them covered airtight at room temperature for about three days. They stay softer that way. But if you want them to last longer, or you really want to firm up that cheesecake swirl, storing these decadent layered brownies in the fridge is the way to go—up to a full week! Just let them sit out for about fifteen minutes before serving so they aren’t ice-cold straight from the fridge.
Nutritional Estimates for Your red velvet cheesecake brownies
Now, listen up, because I know some of you are curious about what you are indulging in! My goal in the kitchen is always maximum joy with minimum guilt, but let’s be real—these red velvet cheesecake brownies are definitely on the decadent side for a weekend treat. They pack a punch because we’re using real butter and rich cocoa, and that cheesecake layer adds substance!
The numbers below are just estimates based on the ingredients listed in the recipe. I always remind folks that these figures can swing depending on the brand of cream cheese you choose or how much cocoa powder clings to your measuring spoon. Use these as a general guide, not gospel!
- Serving Size: 1 square
- Calories: 280
- Fat: 16g (Saturated Fat: 9g)
- Carbohydrates: 30g
- Sugar: 25g (Yep, that’s where a lot of the wonderful flavor comes from!)
- Protein: 4g
- Cholesterol: 60mg
So, enjoy a square (or two, I won’t judge!). These are meant to be special, celebratory treats, not your everyday snack. Make them, savor them, and don’t stress over the details!
Share Your Sunday Flavor Creations
I am just so proud of you for tackling these! If you loved making your crowd pleasing dessert squares, I truly want to see them! Please tag me on social media; I absolutely adore seeing your bakes come to life.
Once you’ve enjoyed them, come back and leave a rating—five stars if they hit the spot! Let me know in the comments when you plan to bake this showstopping dessert recipe again. If you have any questions, don’t hesitate to drop a line via my contact page. Happy baking!
PrintUltimate Fudgy Red Velvet Cheesecake Brownies with Perfect Cream Cheese Swirl
Bake these stunning Red Velvet Cheesecake Brownies for a decadent treat. You get the rich, fudgy texture of a classic brownie combined with a creamy, tangy cheesecake swirl. This recipe is perfect for holidays or any time you need a showstopping dessert.
- Prep Time: 20 min
- Cook Time: 35 min
- Total Time: 55 min
- Yield: 16 servings
- Category: Dessert
- Method: Baking
- Cuisine: American
- Diet: Vegetarian
Ingredients
- 1/2 cup unsalted butter, melted
- 1 cup granulated sugar
- 2 large eggs, room temperature
- 1 1/2 teaspoons red food coloring
- 2 teaspoons vanilla extract
- 1/2 teaspoon salt
- 3/4 cup all-purpose flour
- 3 Tablespoons Dutch process cocoa powder
- 8 ounces cream cheese, softened
- 1 large egg, room temperature (for swirl)
- 1/3 cup granulated sugar (for swirl)
Instructions
- Preheat your oven to 350°F (175°C). Line an 8×8 inch baking pan with parchment paper, leaving an overhang for easy removal.
- Prepare the brownie batter: In a medium bowl, whisk together the melted butter and 1 cup of sugar until combined.
- Beat in the 2 room temperature eggs one at a time. Stir in the red food coloring and vanilla extract until the color is uniform.
- In a separate small bowl, whisk together the flour, salt, and cocoa powder. Gradually add the dry ingredients to the wet ingredients, mixing only until just combined. Do not overmix.
- Prepare the cheesecake swirl: In another bowl, use an electric mixer to beat the softened cream cheese, the remaining 1/3 cup sugar, and the remaining 1 egg until the mixture is completely smooth and creamy.
- Spread half of the red velvet brownie batter into the prepared pan.
- Carefully dollop spoonfuls of the cream cheese mixture evenly over the brownie layer.
- Spread the remaining red velvet batter over the cream cheese layer.
- Use a knife or skewer to gently swirl the layers together to create a marbled effect. Do not over-swirl, or the colors will blend completely.
- Bake for 30 to 35 minutes, or until a toothpick inserted near the center comes out with moist crumbs attached, not wet batter.
- Let the brownies cool completely in the pan on a wire rack before lifting them out using the parchment overhang.
- Cut into 16 squares and serve your ultimate dessert bars.
Notes
- For the best swirl, make sure your cream cheese and egg for the swirl mixture are at room temperature. This prevents lumps.
- Use Dutch process cocoa powder for a deeper, richer chocolate flavor in the red velvet base.
- Chill the brownies for at least 2 hours before slicing for clean, bakery-style cuts.
Nutrition
- Serving Size: 1 square
- Calories: 280
- Sugar: 25g
- Sodium: 180mg
- Fat: 16g
- Saturated Fat: 9g
- Unsaturated Fat: 7g
- Trans Fat: 0.5g
- Carbohydrates: 30g
- Fiber: 1g
- Protein: 4g
- Cholesterol: 60mg
Comments are closed.