

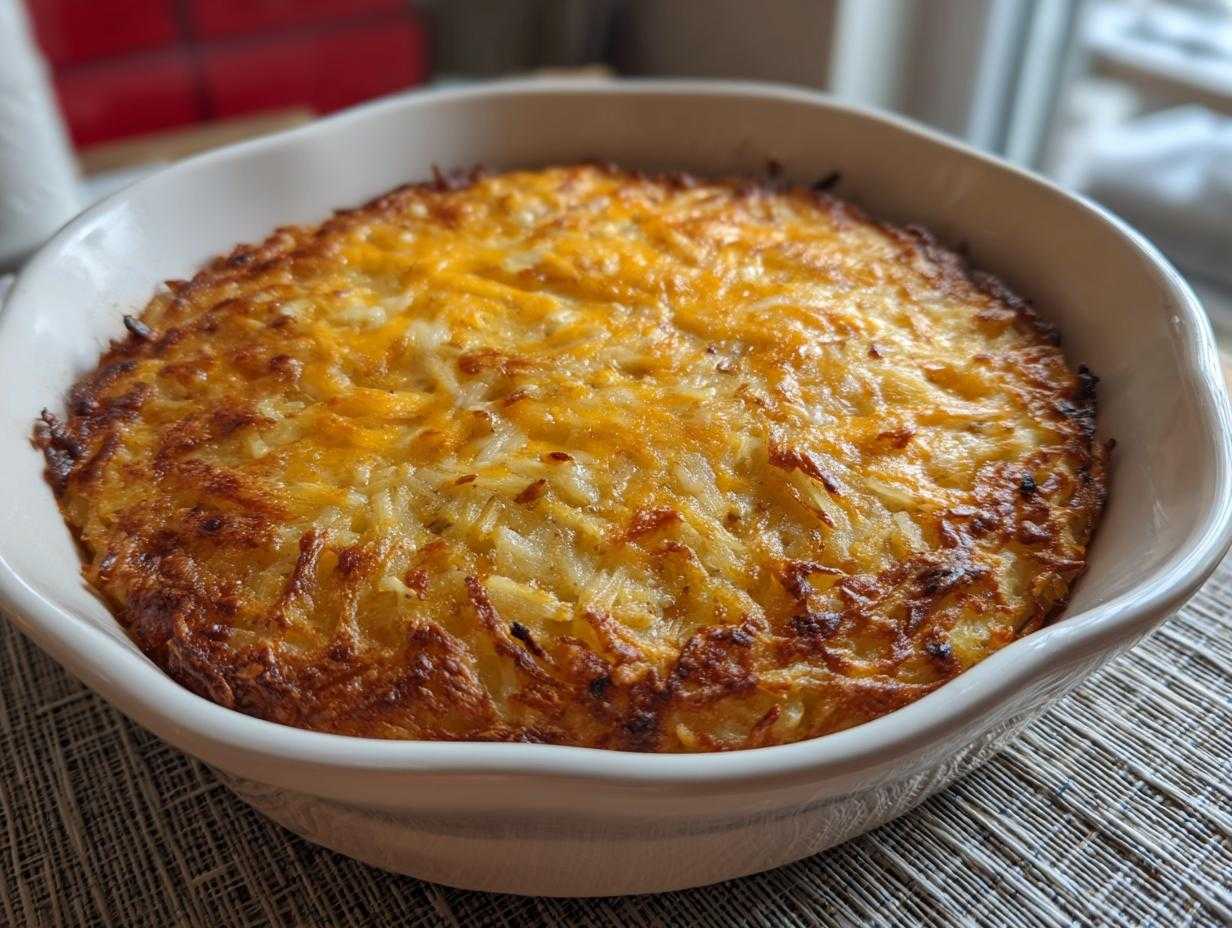
Oh my goodness, I know what you’re thinking. Hash browns have to be deep-fried or pan-fried until your kitchen smells like a French fry stand, right? Wrong! I spent way too many mornings scrubbing grease splatter off my backsplash before I finally cracked the code on baking. Trust me, moving this side dish into the oven changes everything. We are talking about achieving ultimate crispiness without all the chaos, and that’s why I’m sharing my recipe for Hash Browns in Oven with Cheesy Crust.
The real magic here isn’t just that they bake—it’s the crust. I experimented forever to get that perfect, savory, golden layer of melted cheese that sticks right to the potatoes. It took a few tries, but I found the trick! This technique guarantees you get that satisfying crunch from edge to edge. If you’re looking for the best baked cheesy potatoes that are easy on you and perfect for Sunday breakfast, you’ve found your winner.
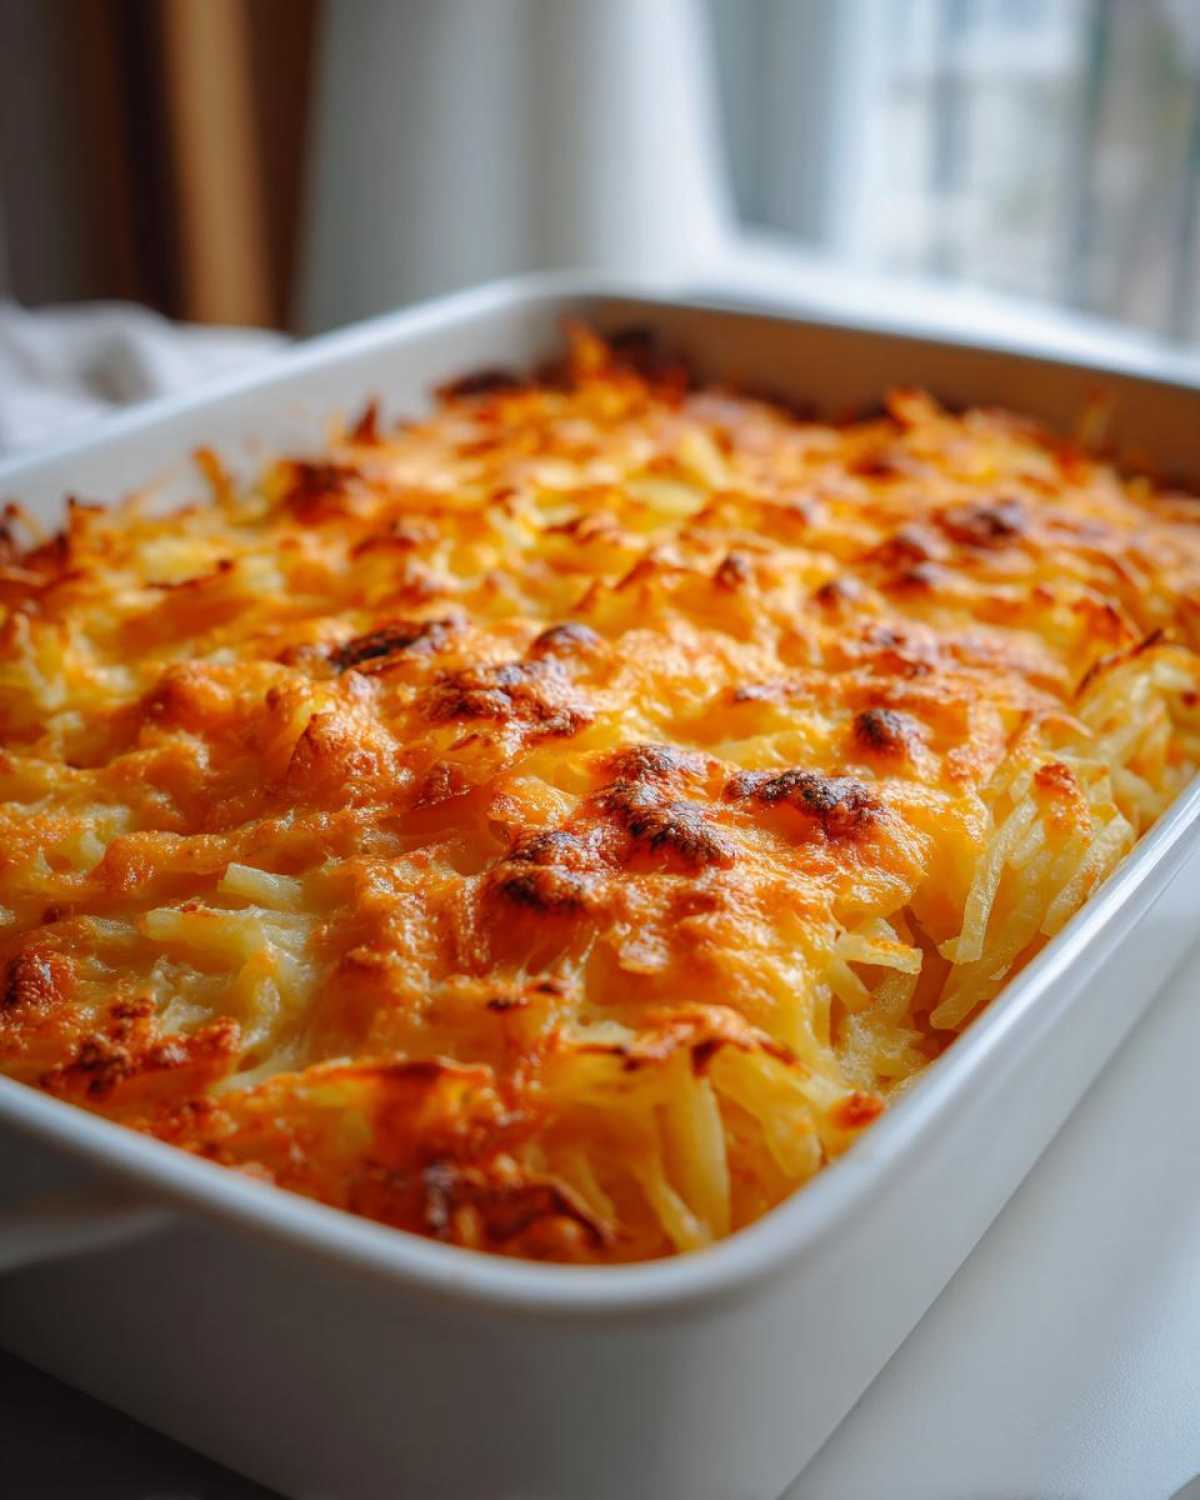
Why This Recipe for Hash Browns in Oven with Cheesy Crust Works So Well
Honestly, the biggest win here is cutting down on the mess. Frying is fun for about five minutes, then you’re dealing with oil splatter everywhere! This method keeps everything contained on one sheet pan. It’s so much easier for cleanup.
- Zero need for deep fat; everything gets perfectly cooked in the oven.
- We get that intense, savory flavor from the double hit of cheddar and Parmesan.
- The best part is how the cheese sinks into the potatoes during the first bake, creating a unified, incredible cheesy topping that doesn’t slide off!
Achieving Maximum Crispiness in Baked Cheesy Potatoes
If you skip one step, please don’t let it be this one: you HAVE to squeeze the water out of the thawed potatoes. I mean really squeeze! I wrap my thawed hash browns in a clean dish towel and twist them over the sink until my arms ache. If you leave the moisture in, you end up with Baked Cheesy Potatoes that steam instead of turning golden brown. It sounds dramatic, but it’s the difference between perfect crunch and soggy disappointment. Don’t skip that water extraction step!
Ingredients for Perfect Hash Browns in Oven with Cheesy Crust
Okay, let’s talk about what you need to gather. I’ve kept the ingredient list super short and simple because when the cooking method is this brilliant (baking!), you don’t need ten different things floating around in there. The quality of these few items really shines through, especially that cheese!
For this batch, which feeds about six hungry people (or four very hungry ones!), you will need the following items. Make sure you pay attention to the prep notes next to the potatoes!
For the potatoes themselves, grab 2 pounds of frozen shredded hash browns. But here’s the important part: you must thaw them and then squeeze every last drop of water out. I mean it—use a good, clean kitchen towel to really work on them! The key to getting that Oven Baked Hash Brown crispiness starts here.
Then we move to the binding and seasoning agents. You’ll need 4 tablespoons of unsalted butter, melted so it coats everything nicely. For seasoning, keep it classic: 1 teaspoon of salt, just about 1/2 teaspoon of black pepper, and a little dash of garlic powder for depth. My favorite part comes next, of course!
For that incredible topping, you need 1 cup of shredded sharp cheddar cheese. Sharp gives you the best flavor kick! And for the finishing crunch, grab 1/4 cup of grated Parmesan cheese. The Parmesan is fantastic because it melts, crisps up on top of the cheddar, and gives you true texture when you dig in. If you like spicy cheese, you could swap the cheddar for something like Pepper Jack, but I actually prefer the sharpness of the cheddar against the crispy potato. If you want to try adding spice another way, check out my jalapeño cheddar mix sometime!
Step-by-Step Guide to Making Hash Browns in Oven with Cheesy Crust
Alright, let’s get these beauties baking! This process is super linear, which is why I love it for busy mornings. The most important thing to remember is that we are actually baking this in two phases. The first phase cooks the potatoes and makes them crisp, and the second phase melts down that glorious cheesy layer we talked about.
First things first: get your oven screaming hot! We need 425 degrees Fahrenheit hot. You can use a 9×13 inch baking dish, but if you want the absolute crispiest sides, I really suggest grabbing a sheet pan and lining it with parchment paper first. That extra surface area is a game-changer for creating that perfect crust. Once that oven is ready, we move on to mixing up the base. If you’re also making dinner this week, you can check out my recipe for sheet pan shrimp while this simmers!
Preparing the Potato Base for a Golden Brown Potato Bake
Grab that big bowl where you already squeezed out all the water—remember that crucial step? Now, pour in your melted butter, salt, pepper, and garlic powder. Toss everything together gently but thoroughly using your hands or a big rubber spatula until every single shred looks coated and seasoned. Spread this seasoned mix evenly onto your prepared pan. Don’t just dump it; gently press it down so you create a compact base for your Golden Brown Potato Bake. Then, it goes into that hot oven for 25 minutes. This initial bake sets the shape and starts developing that desirable texture.
Adding the Cheesy Potato Crust Recipe Layer
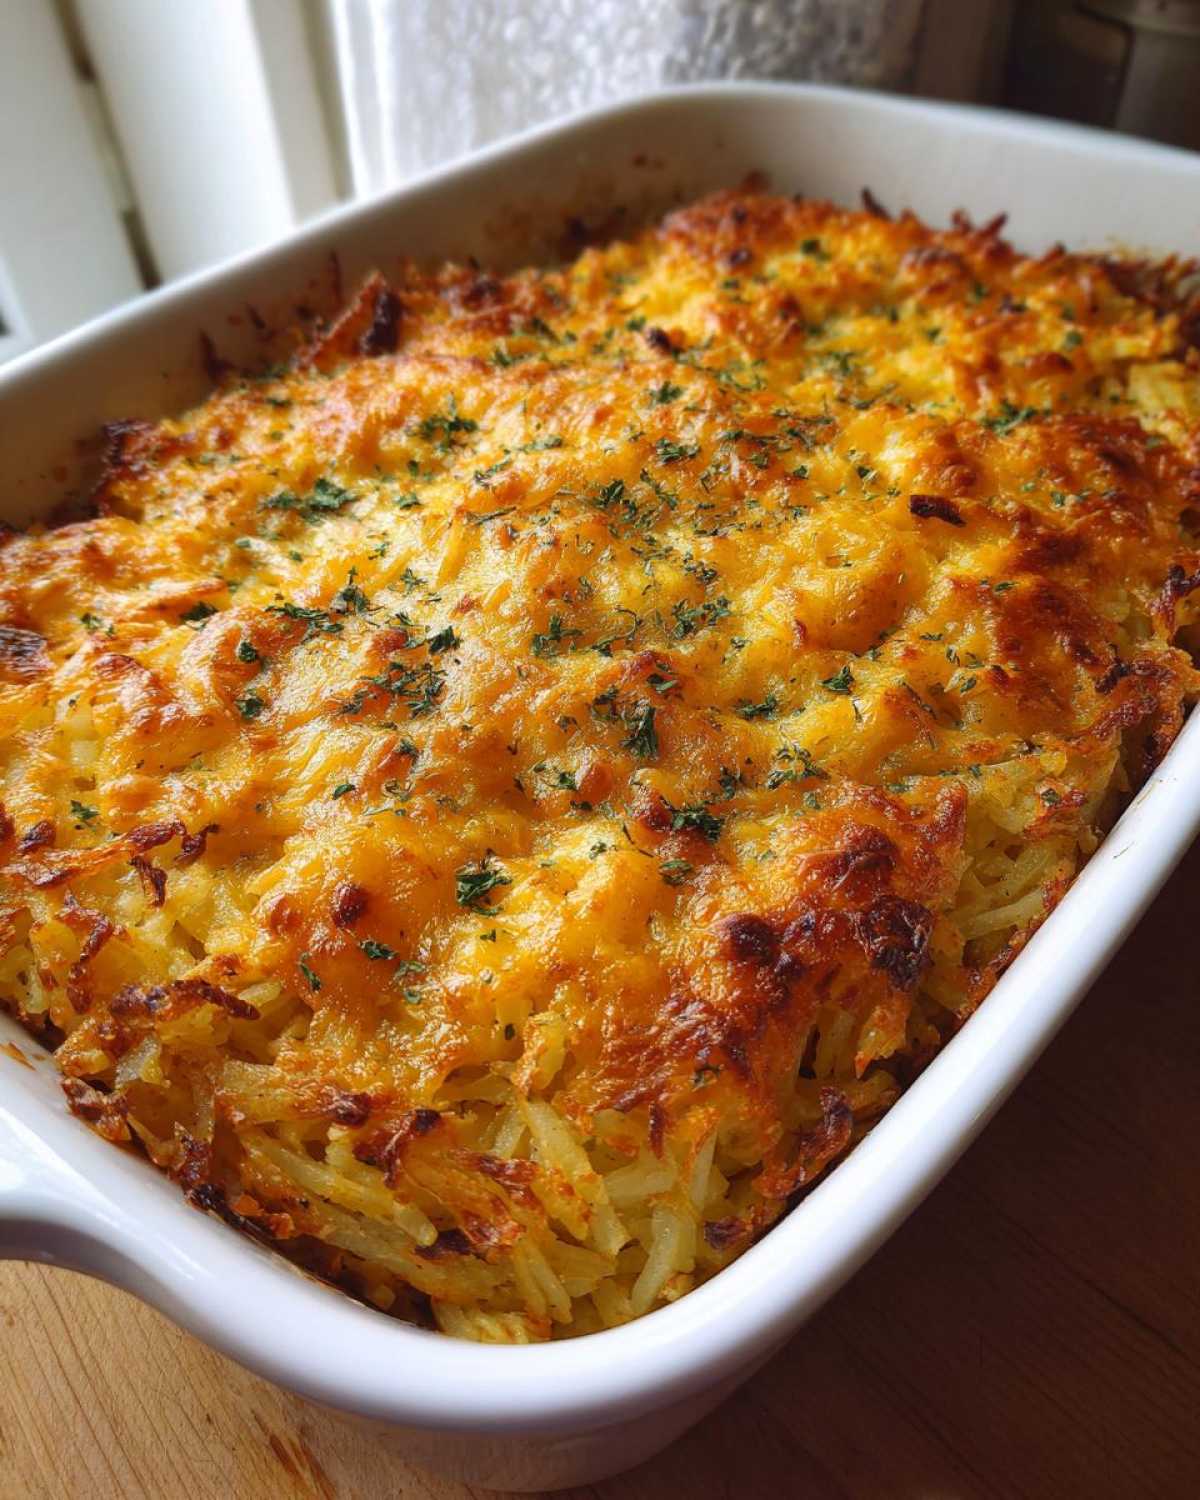
When those 25 minutes are up, pull the tray out just long enough to sprinkle on that cup of sharp cheddar cheese. Now, don’t sprinkle it right up to the edges, leave a tiny border if you want maximum potato crunch on the perimeter. Pop it back in. We bake it for another 10 to 15 minutes, watching closely for that bubble! If you’re using the Parmesan, sprinkle that on top during the last five minutes of that second bake time. It helps the top get that beautiful, lacey crisp finish, which is the hallmark of a great Cheesy Potato Crust Recipe.
Tips for the Best Oven Baked Hash Browns
Listen, getting these Best Baked Hash Browns right really boils down to a couple of tiny details besides squeezing out the water. If you follow these little tweaks, you’ll never go back to the skillet, I promise! The key is airflow and planning ahead if you have a super rushed morning.
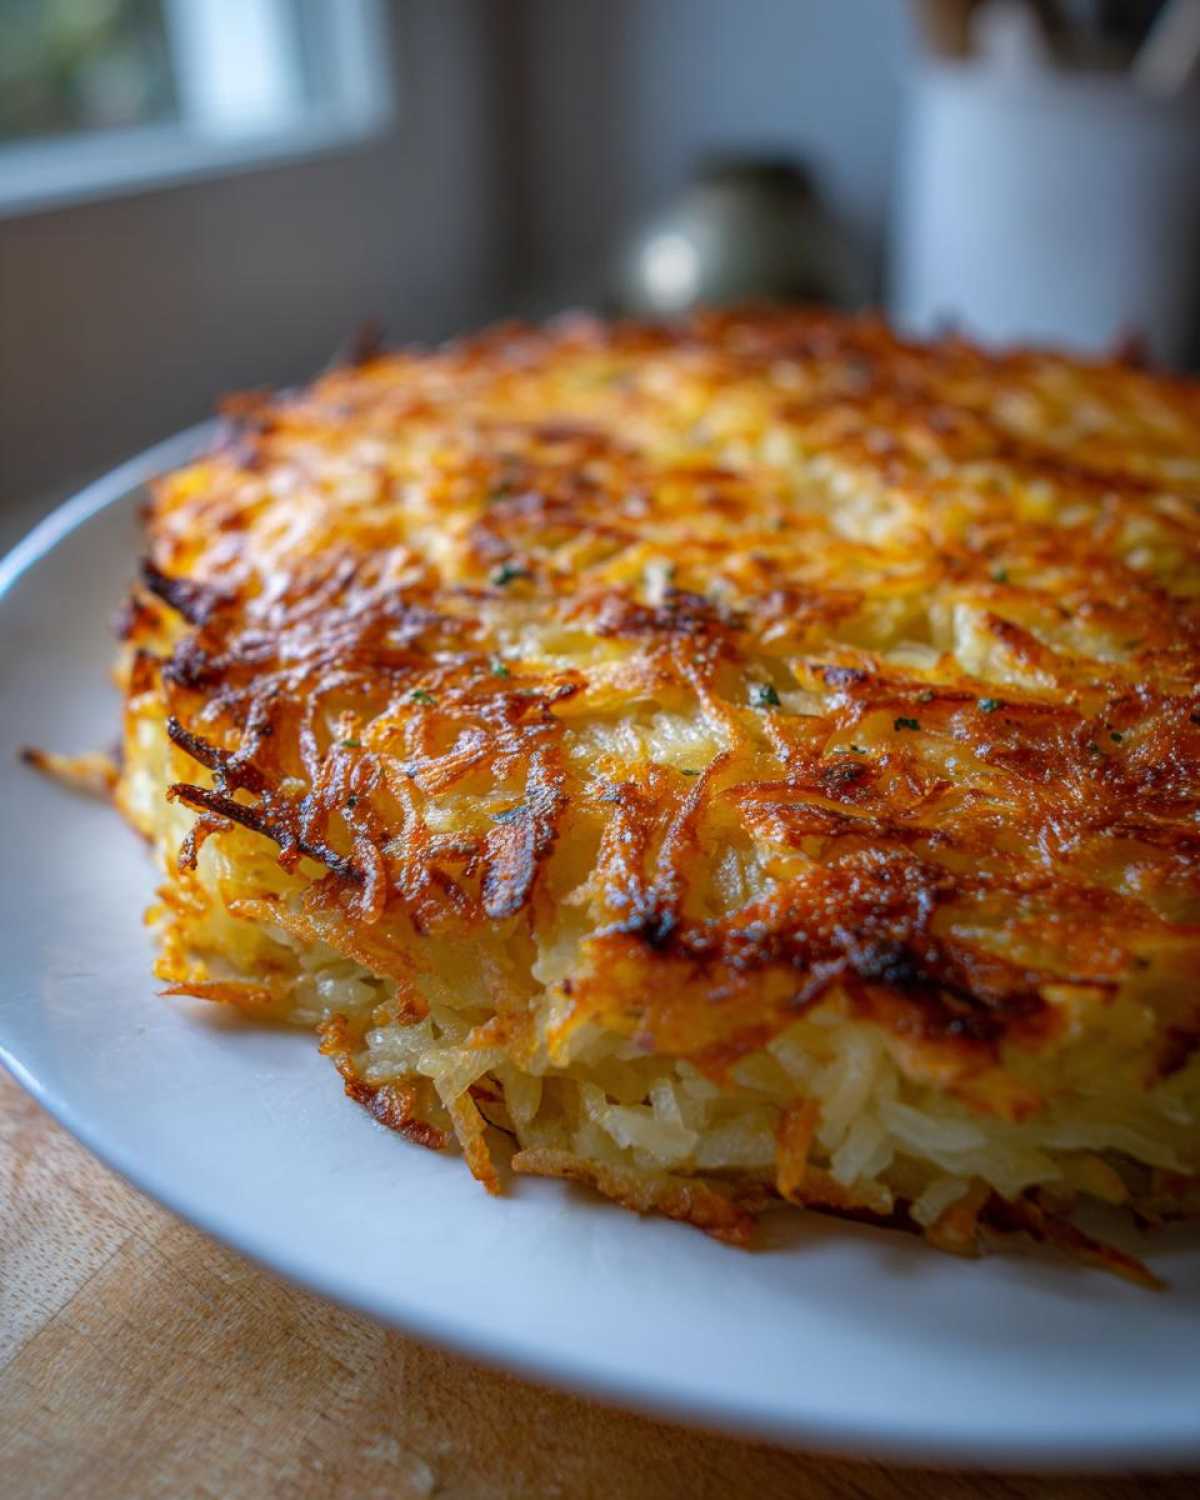
First, I always try to use a sheet pan rather than a deep casserole dish, even though the recipe works in both. Spreading the potatoes out thin means more surface area is exposed to the heat. That means more edges get super crispy! If you stack them too high, the middle parts just sort of bake sadly instead of getting that beautiful golden color we’re after. Honestly, I find that thinner layers just taste better. Want more great make-ahead ideas? Check out my guide to Make Ahead Breakfast Potatoes!
Make Ahead Breakfast Potatoes Preparation
This is my secret weapon for stress-free weekend brunches! You can absolutely mix up the potatoes, butter, and spices the night before. Mix everything well, press it into your greased pan, cover it tight with plastic wrap, and stick it in the fridge. They become fantastic Make Ahead Breakfast Potatoes!
Just remember, when you pull them straight from the fridge the next morning, they are cold, so the oven needs a little extra warming-up time to cut through that chill. I usually add about 5 to 10 minutes to that very first 25-minute baking interval to ensure the interior is hot before we even think about adding the cheese topping. So plan for about 30 to 35 minutes of initial baking time if they start out cold.
Serving Suggestions for Your Family Style Potato Side Dish
Wow, these cheesy hash browns are rich, so you need some bright flavors to cut through that goldmine of cheese! They truly shine as the perfect Family Style Potato Side Dish alongside everything on brunch menus. I usually make a huge batch when we have company over.
Of course, classic scrambled eggs are a no-brainer, but seriously consider pairing them with crispy bacon or baked sausage patties. If you’re serving these for dinner, they go amazingly well with a simple roasted chicken or pork tenderloin. For something really impressive but still easy, try serving them alongside my savory sausage and egg muffins. The different textures always hit the spot!
Storage and Reheating Hash Browns in Oven with Cheesy Crust
If you somehow manage to have leftovers—which I highly doubt after your family tries these!
You need to store them correctly to keep that cheesy flavor locked in. Just let them cool down completely, then pop them into an airtight container. They’ll stay good in the fridge for about three days. Now, for reheating, we have to defend the crispiness we worked so hard for! Please, for the love of potatoes, avoid the microwave if you can. It just turns them soft and steamy.
The best way to revive them is back in a 350°F oven for about 10 minutes, or if you have one, the air fryer is fantastic for getting that crust nice and crispy again fast. Check out my tips for crispy baked zucchini fries for general reheating principles; the oven works wonders on most baked potato dishes!
Answering Common Questions About Oven Fried Potatoes
I know you’ve got questions! We’ve covered the main steps for getting that perfect Hash Browns in Oven with Cheesy Crust, but sometimes readers have specific concerns, especially when they’re trying to adapt techniques. It’s totally normal! I always think of this as similar to getting great Oven Fried Potatoes—it all comes down to temperature and surface area. Let’s tackle the most frequent things people ask me. If you’re getting ready to make these, remember that for great sheet pan cooking, you might want to check out my pineapple shrimp tacos recipe for inspiration!
Can I use fresh potatoes instead of frozen for this Simple Potato Recipe Oven?
Yes, you absolutely can! But here’s the catch: frozen hash browns are already partially cooked (blanched) and they just have way less internal water to deal with. If you use fresh potatoes, you need to peel them, grate them—and then you have to dedicate serious effort to squeezing out the starch and liquid.
I mean, you need to grate them and then place them in a strong sieve or cloth and squeeze until your hands hurt! If you don’t get the liquid out of fresh potatoes, you end up with mashed potatoes in the oven rather than crispy gold. It takes more elbow grease, but it works great for a Simple Potato Recipe Oven!
What is the best cheese for the cheesy crust?
For the flavor punch, sticking with sharp cheddar is my top recommendation. The sharper the cheese, the more it cuts through the richness of the butter and potato, balancing everything out so it doesn’t taste one-dimensionally heavy. That’s why I specified sharp cheddar in the main recipe!
The Parmesan, though—that’s the secret weapon for texture, not just flavor. It browns beautifully where the cheddar might just melt. When you put it on late in the baking process, it guarantees you get that crunchy, lacy, golden-brown finish you want on top. It’s essential for that true crust experience!
Why are my Hash Browns in Oven with Cheesy Crust soggy?
I’m going to give you the two big culprits because I’ve certainly made this mistake before! First and foremost: moisture. If you didn’t squeeze your thawed potatoes hard enough, the water steams the bottom of the hash brown layer instead of letting it crisp up. It’s the number one reason for sogginess.
Secondly, check your pan choice! If you pile everything into a deep glass casserole dish, the sides insulate the potatoes, and the bottom gets trapped with steam. For the firmest results, especially when aiming for great Sheet Pan Hash Browns, use a rimmed baking sheet. It gives the heat all the room it needs to circulate underneath them. Better airflow equals better crispiness, every single time!
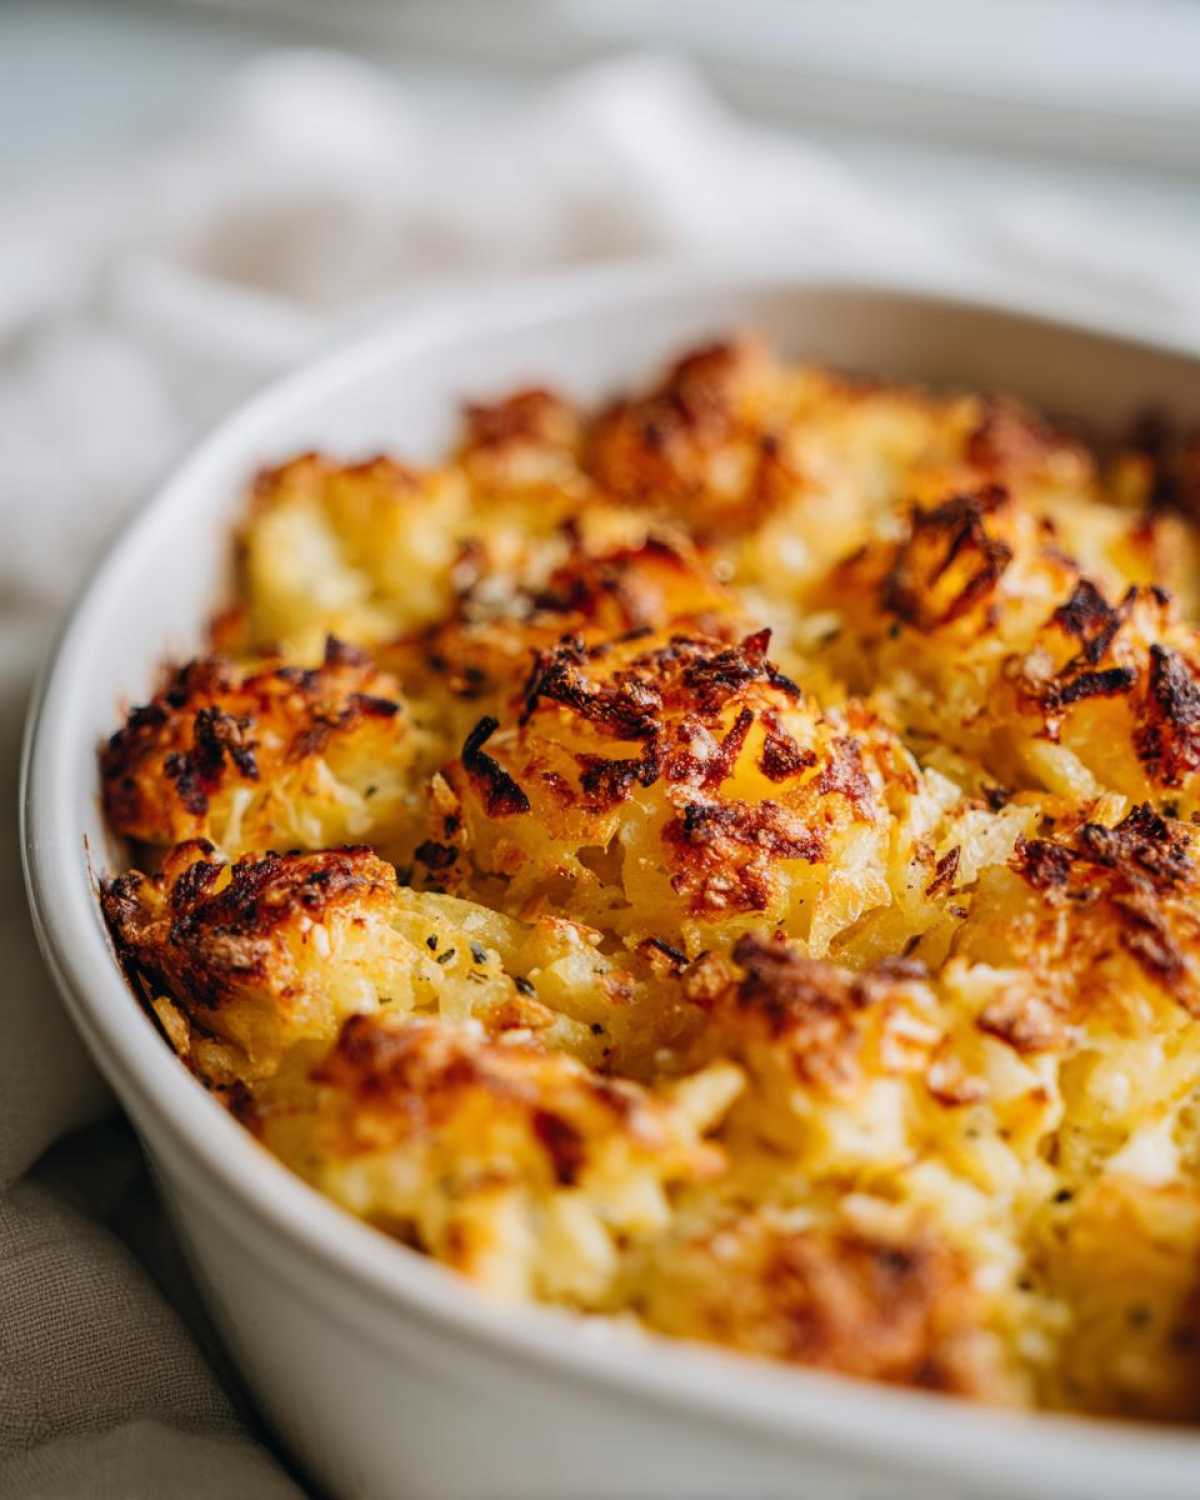
Estimated Nutritional Data for Breakfast Potato Bake
When you’re making comfort food like this, sometimes you don’t want to count every little thing, but I know many of you like to see the bigger picture! I’ve pulled together the estimated nutrition breakdown for one serving of these amazing Breakfast Potato Bake servings. Keep in mind these numbers are estimates based on the ingredients I listed, so yours might shift around a tiny bit depending on exactly what kind of cheese you used!
Here is the typical breakdown per person:
- Calories: 240
- Fat: 15g (with 9g saturated)
- Carbohydrates: 22g
- Protein: 10g
- Sodium: 450mg
It’s a pretty satisfying side dish that packs a good punch of protein without totally blowing your carb budget for the morning. If you are looking for some lighter side dishes to balance this out, you should really peek at my recipe for healthy zucchini bread—it gives you a nice sweet counterpoint!
Share Your Crispy Potato Bake Experience
I’m always so excited when you guys try one of my go-to family recipes, especially something as beloved as cheesy potatoes! Making this Crispy Potato Bake brings me so much joy, and I genuinely want to hear how it turned out on your plate.
Did you manage to get that cheese layer perfectly browned? Did you stick to the cheddar or try something wild? Don’t be shy! Drop a comment below to let me know how your Hash Browns in Oven with Cheesy Crust turned out. Did the kids devour them? Did you serve them with bacon or something totally unexpected?
If you snapped a quick photo of your golden, cheesy masterpiece, I would absolutely love to see it! Tag me on social media so I can cheer you on. Connecting with you all makes all the recipe testing worth it. If you have any fiddly questions that didn’t quite get answered above, feel free to ask them in the comments below, or reach out directly through my Contact Page. Happy baking, and I can’t wait to see your results!
PrintOven Baked Hash Browns with Cheesy Crust
Make crispy, cheesy hash browns easily in the oven instead of frying. This recipe yields a satisfying, golden potato side dish.
- Prep Time: 10 min
- Cook Time: 40 min
- Total Time: 50 min
- Yield: 6 servings
- Category: Side Dish
- Method: Baking
- Cuisine: American
- Diet: Vegetarian
Ingredients
- 2 lbs frozen shredded hash browns, thawed and squeezed dry
- 4 tablespoons unsalted butter, melted
- 1 teaspoon salt
- 1/2 teaspoon black pepper
- 1/2 teaspoon garlic powder
- 1 cup shredded sharp cheddar cheese
- 1/4 cup grated Parmesan cheese
Instructions
- Preheat your oven to 425 degrees Fahrenheit. Lightly grease a 9×13 inch baking dish or line a sheet pan with parchment paper.
- In a large bowl, combine the thawed and thoroughly squeezed dry hash browns with the melted butter, salt, pepper, and garlic powder. Mix until the potatoes are evenly coated.
- Spread the seasoned hash browns in an even layer in the prepared baking dish or on the sheet pan. Press down lightly to form a compact layer.
- Bake for 25 minutes until the edges start to turn golden brown.
- Remove the dish from the oven. Sprinkle the shredded cheddar cheese evenly over the top of the potatoes.
- Return to the oven and bake for another 10 to 15 minutes, or until the cheese is melted, bubbly, and the edges of the potatoes are crisp.
- Sprinkle the Parmesan cheese over the top during the last 5 minutes of baking.
- Remove from the oven and let rest for 5 minutes before cutting into portions and serving.
Notes
- Squeeze as much moisture out of the thawed hash browns as possible; this is key for crispiness.
- For extra crispiness, use a sheet pan instead of a deep baking dish.
- You can prepare the potato mixture and press it into the dish the night before; cover and refrigerate. Add 5-10 minutes to the initial baking time if baking straight from the refrigerator.
Nutrition
- Serving Size: 1 serving
- Calories: 240
- Sugar: 1
- Sodium: 450
- Fat: 15
- Saturated Fat: 9
- Unsaturated Fat: 6
- Trans Fat: 0
- Carbohydrates: 22
- Fiber: 2
- Protein: 10
- Cholesterol: 35

Comments are closed.