


Oh, darlings, if you’re anything like me—someone who loves incredible, decadent desserts but has zero patience for turning on the oven, you are in the absolute right place! We all deserve that pure, unadulterated joy that only sweet things bring, and I promise, you don’t need hours of fuss to get it. That’s why I treasure recipes that fit perfectly into my “Sunday Flavor” philosophy: simple, joyful, and deeply satisfying, even when made mid-week. Today, we are diving into the Oreo Pie. This isn’t just any pie; it’s the ultimate crowd-pleaser, so creamy and rich, and best of all? No oven required! If you need more ideas for easy entertaining, make sure you check out my guide on the ultimate party sub recipe, but first, grab your spatula; this is going to be the easiest dessert you make all year, and you can serve it up for everything from a simple Tuesday indulgence to your biggest party centerpiece. We’re keeping it super relaxed here.
Why This No Bake Oreo Pie is Your New Favorite Easy Oreo Dessert
Honestly, what’s better than a dessert that tastes like it took hours but actually came together faster than my morning coffee routine? That’s the magic here! This No Bake Oreo Pie is the definition of an Easy Oreo Dessert. It’s simple, it’s decadent, and it’s exactly what I crave when I want a guaranteed showstopper without breaking a sweat.
We are building layers of pure nostalgia. You get that satisfying crumble from the crust, followed by a filling so light, you swear you’re eating clouds. If you’re always looking for quick bakes that don’t need heating, check out my amazing quick bread recipe—but keep this pie handy, too!
Prep Time Magic: Ready in Under 20 Minutes
Grab your bowls, folks! The best part is the prep time clocked in at just 20 minutes. Seriously! Once the crust is pressed and chilling, the filling comes together so fast, you’ll think you missed a step. This is my go-to Quick Oreo Dessert when unexpected guests show up.
The Secret to a Truly Creamy Oreo Pie Recipe Filling
If you want that iconic, fluffy result—that perfect Cookies and Cream Pie texture—it’s all about the blending of two key players: softened cream cheese provides the perfect tang and structure, and the thawed whipped topping folds in all that beautiful air. It creates a decadent, yet light, texture that just melts in your mouth. You won’t believe how Creamy Oreo Pie Recipe this turns out to be!
Gathering Ingredients for Your Homemade Oreo Pie
Okay, now that your oven is staying wonderfully cool, let’s gather our supplies! This is what I love most about this easy Oreo dessert; it relies on simple pantry staples and those glorious black-and-white cookies we all have stashed away. Remember, precision matters when you skip the baking step, so make sure you measure accurately. Before we start mixing, if you’re looking for another simple, chill-based recipe, my no-bake cheesecake is a perfect companion!
I’ve broken down exactly what you need below. Don’t skimp on using real butter for the crust—it makes a huge difference in binding those crumbs together for a solid Oreo Cookie Crust Dessert base!
Oreo Cookie Crust Dessert Components
For that satisfying, rich foundation, here’s what you need right on hand:
- 1 package (14.3 oz) Oreo cookies, crushed into fine crumbs (Yes, you crush the whole thing, filling and all!)
- 6 tablespoons unsalted butter, melted
Fluffy Oreo Filling Ingredients
This is where the magic happens! The combination of these items creates that light, pillowy texture we’re aiming for in this Creamy Oreo Pie Recipe.
- 1 package (8 oz) cream cheese, softened (make sure it’s truly soft so it creams nicely!)
- 1 cup powdered sugar
- 1 teaspoon vanilla extract
- 1 carton (8 oz) frozen whipped topping (like Cool Whip), thawed (this is key for the fluff!)
- 1 cup crushed Oreo cookies, for topping (Save these until the very end!)
Step-by-Step Instructions for the Best Oreo Pie
Now for the fun part! Putting this gorgeous, Chilled Oreo Dessert together is shockingly easy. Since we aren’t turning on the heat, our oven is simply the refrigerator or the freezer. Pay close attention to how I describe mixing the filling; we want that airiness preserved, so folding gently is your superpower here! If you’ve ever made my no-bake cheesecake, you’ll recognize this gentle handling technique. For another fantastic no-bake option to try later, check out my peaches and cream pretzel pie recipe.
Creating the Oreo Cookie Crust Dessert Base
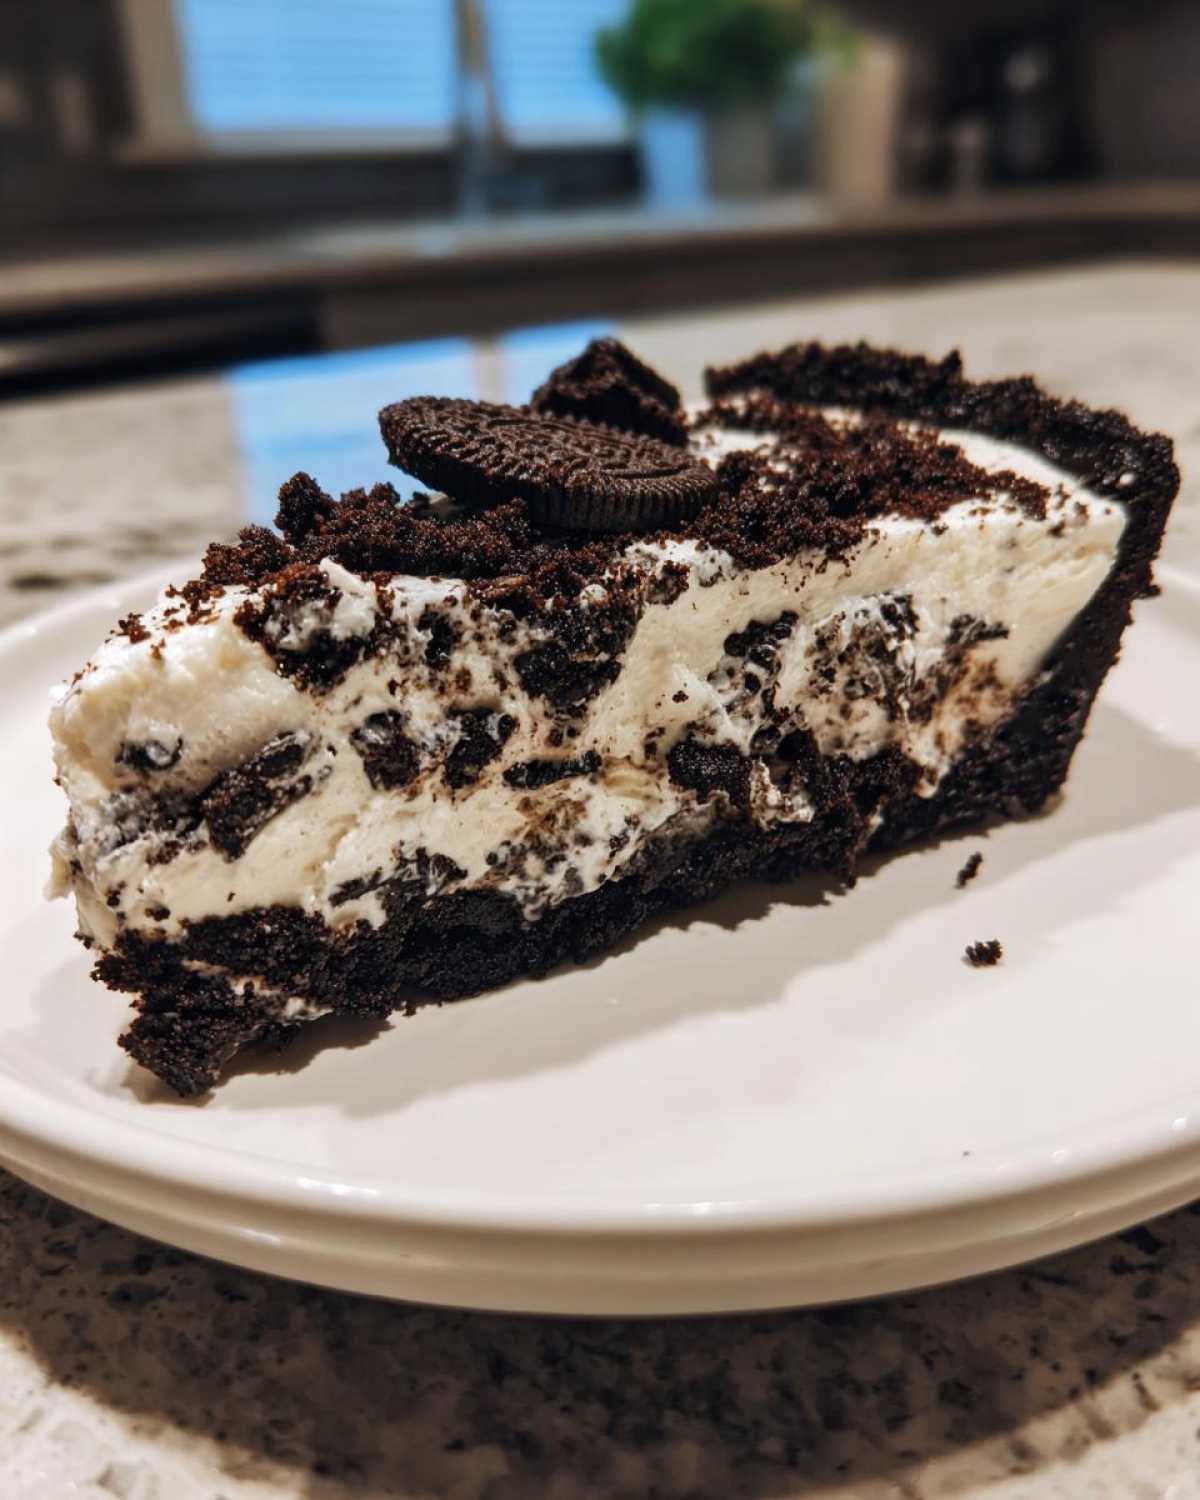
This crust needs to hold all that glorious filling, so we need to set it up for success! First, grab your finely crushed Oreo crumbs and the melted butter. Toss them together in a bowl until everything looks like wet sand—you should be able to squeeze a bit and have it hold its shape. Now, press this mixture *firmly* into the bottom and all the way up the sides of your 9-inch pie plate. I mean press it down well; use the bottom of a glass if that helps you get it nice and compact. Once it’s perfect, pop that crust into the freezer for a little while it sets up beautifully while you whip up the filling.
Mixing the Creamy Oreo Pie Recipe Filling
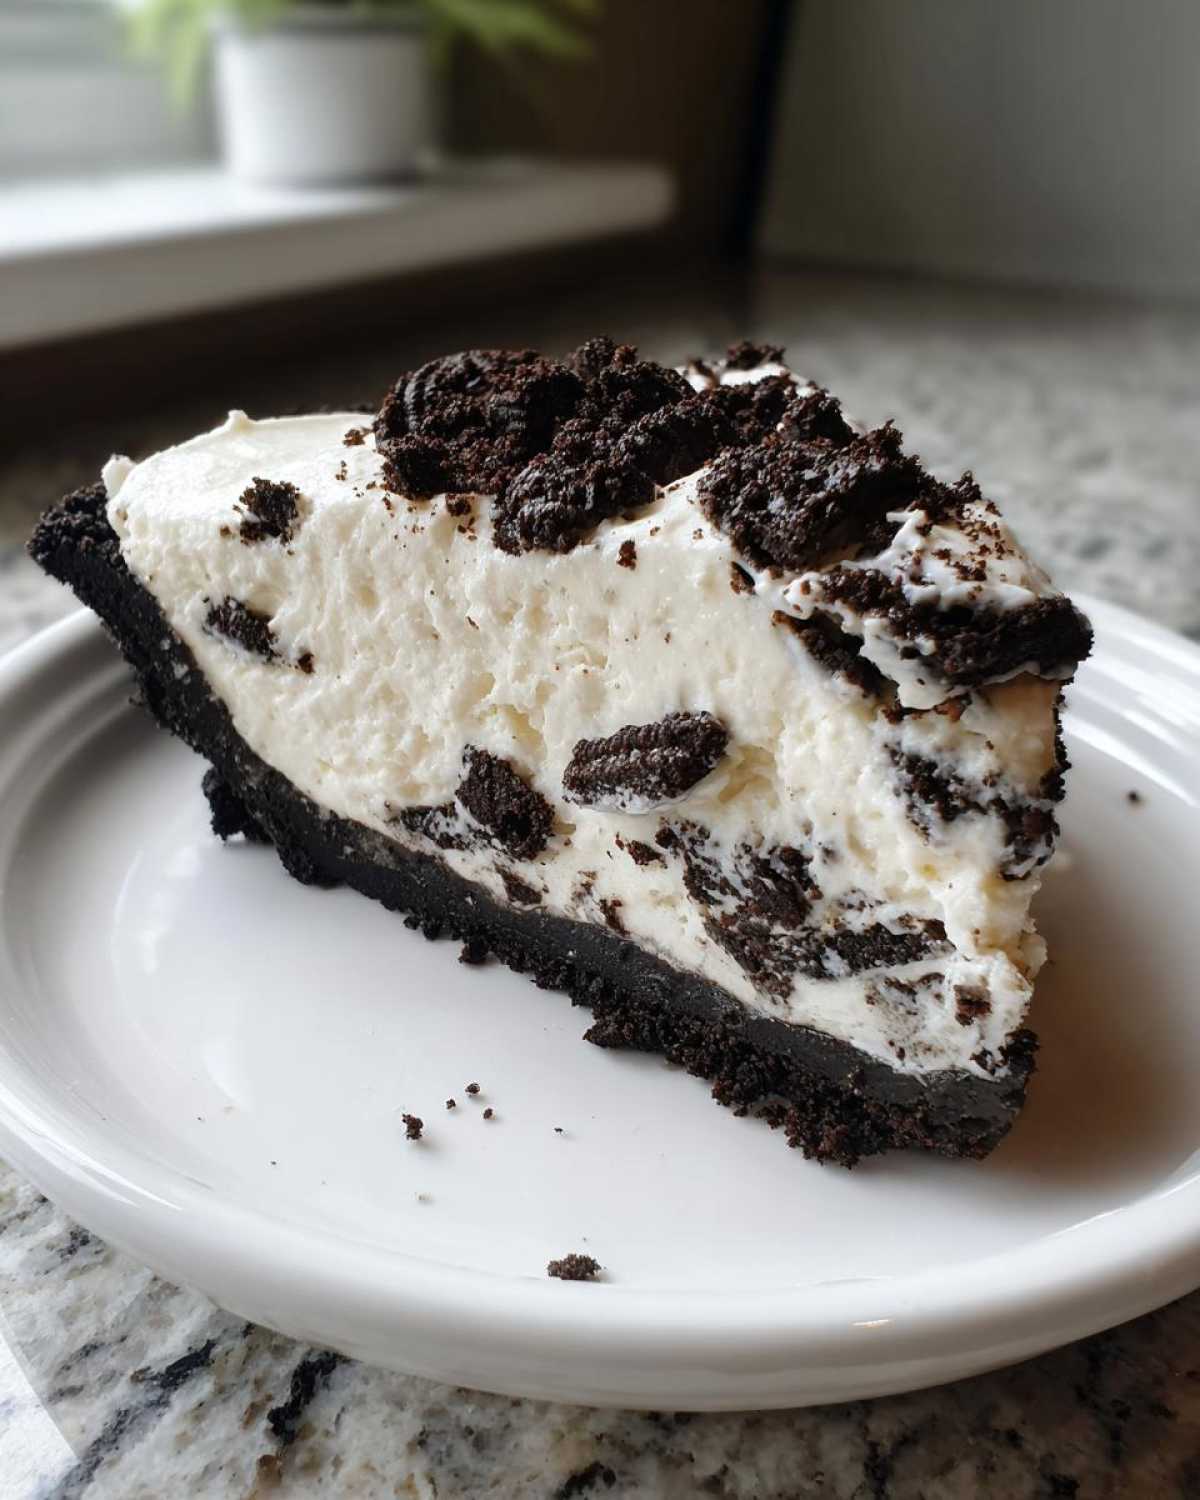
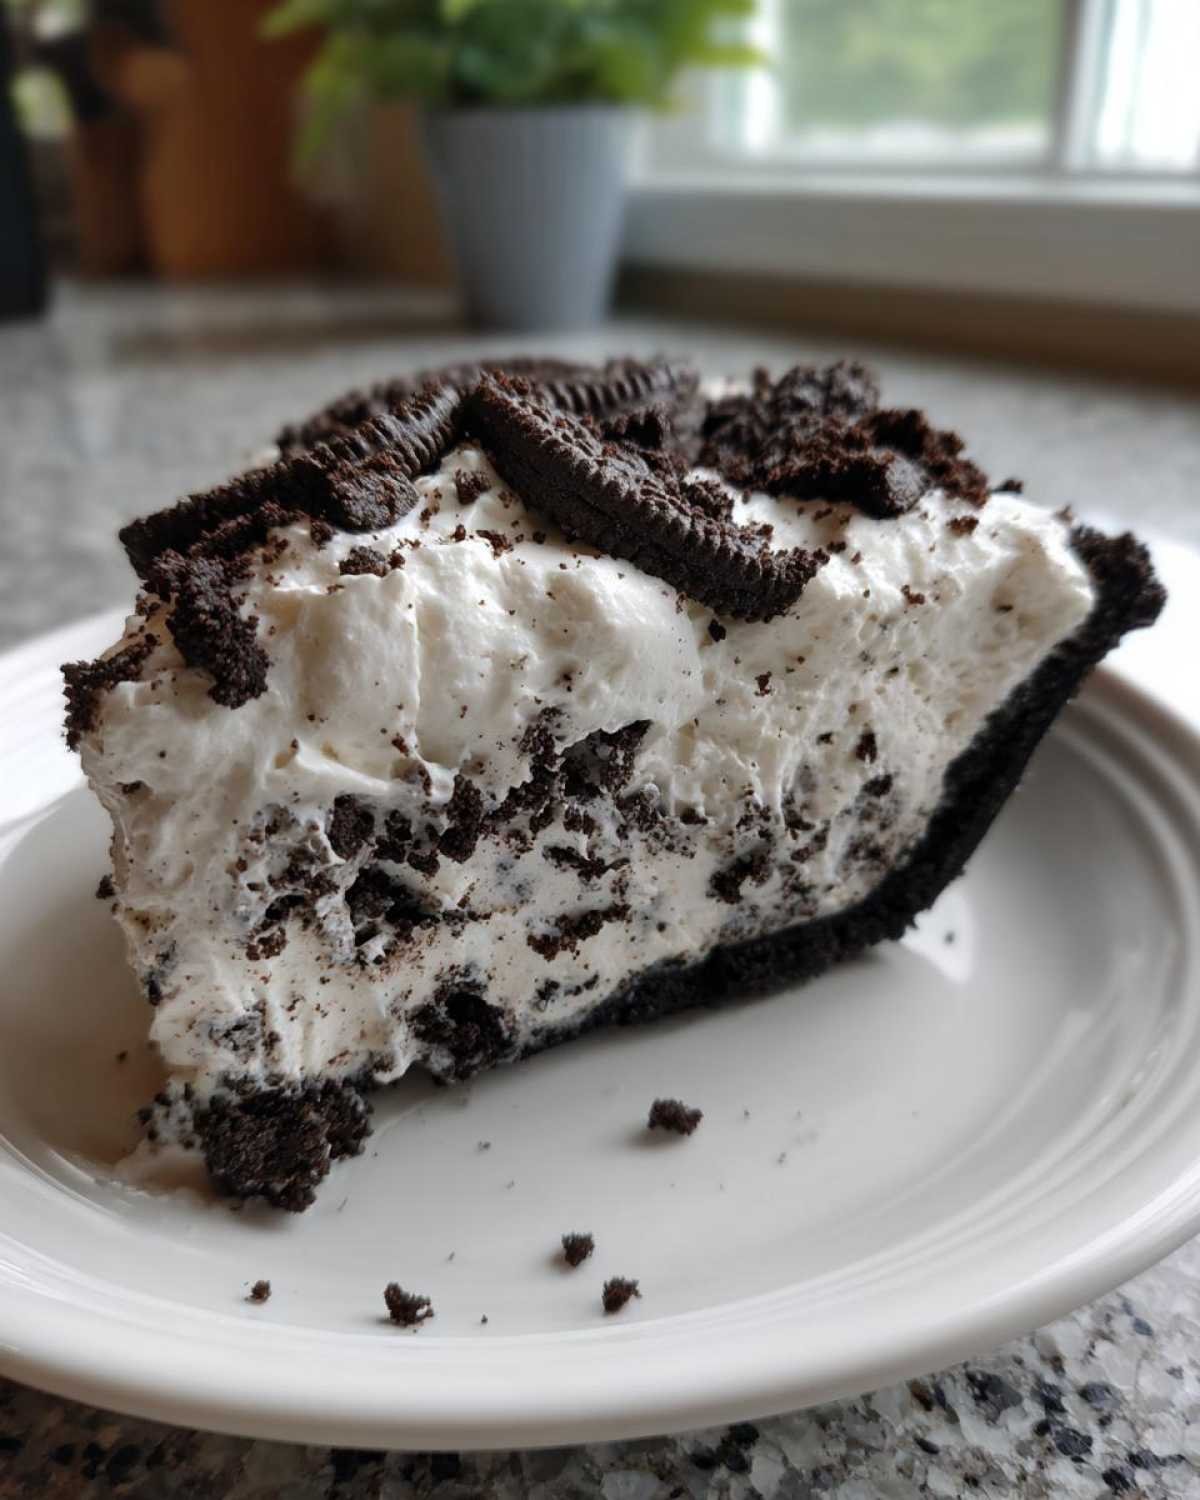
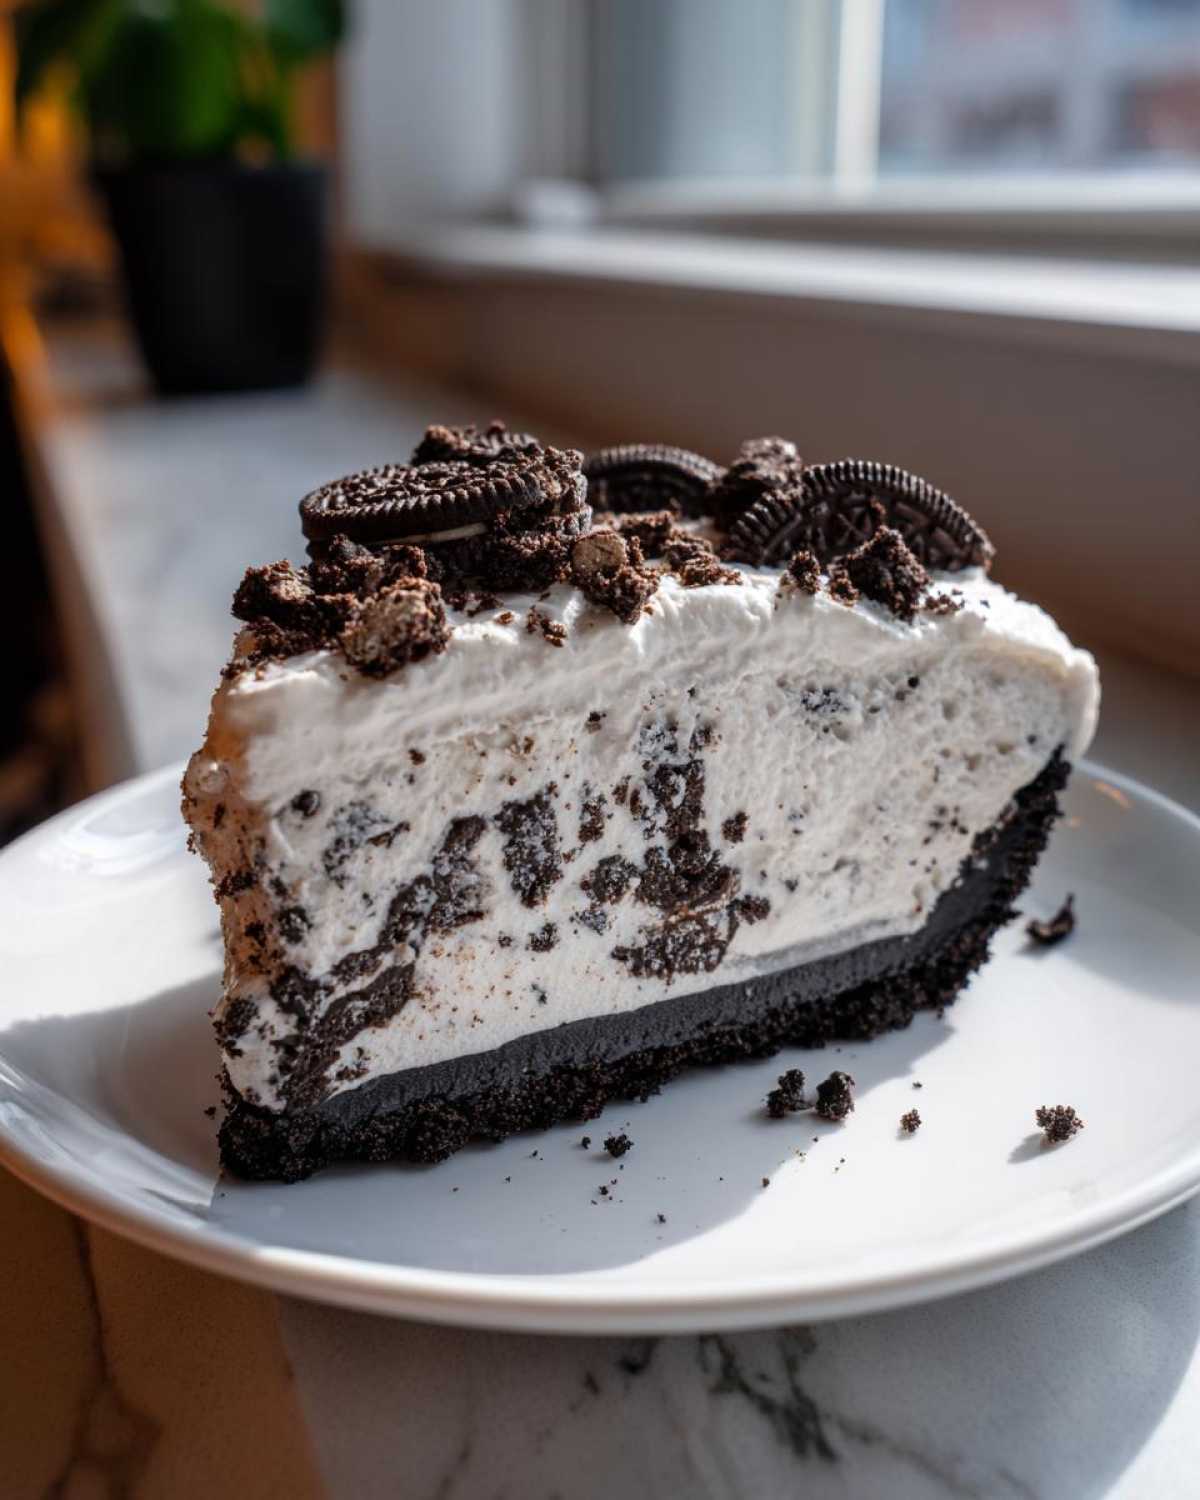
Time to get fluffy! First, take your softened cream cheese and beat it until it’s looking smooth and lovely—we can’t have any lumps in our Creamy Oreo Pie Recipe, can we? Next, gradually beat in that powdered sugar until everything is combined well. Add the vanilla extract next for that little background note of flavor. The most important part comes now: take your thawed whipped topping and very, *very* gently fold it into the cream cheese base with a spatula until you see no white streaks left. Don’t beat it again! We want to keep all that air in there. Once it’s smooth and light, gently fold in the one cup of crushed Oreos you saved. That’s your gorgeous filling!
Assembling and Chilling Your Chilled Oreo Dessert
Take that nice, firm crust out of the freezer. Spoon all that fluffy filling right into the crust and use your spatula to smooth out the top nicely. This is the final step before the waiting game begins! Cover the pie loosely with plastic wrap—make sure the wrap isn’t touching the filling if you can help it—and tuck it into the refrigerator. It absolutely needs a minimum of four hours to firm up properly, but trust me on this: the absolute best texture comes when you let this Chilled Oreo Dessert chill overnight. It makes slicing so much cleaner!
Pro Tips for a Perfect Fluffy Oreo Filling
Look, anyone can follow a recipe, but when you want that next-level experience—that truly beautiful, bakery-quality Fluffy Oreo Filling—you need a few tricks up your sleeve. These aren’t rules, they are just things I’ve learned after making about a thousand batches of this stuff because it’s just too easy to stop! Keep these tips in mind, and you will nail the texture every single time.
Achieving the Right Crumb Consistency
When you’re crushing those Oreos for the crust, the texture really dictates how the final pie holds up. If you have a reliable food processor, go for it! Just pulse it until you get fine crumbs—we don’t want big chunks in the crust because they won’t bind properly with the butter, and your slices will crumble before they hit the plate. If you are doing it the old-school way—which I still love sometimes!—put those cookies in a heavy-duty zip-top bag and attack them with a rolling pin. Keep hitting until there are very few solid pieces left. We need that sandy texture so the crust sets into one solid, buttery layer for our Oreo Cookie Crust Dessert.
Making Ahead and Storing Your Oreo Pie
This is one of my absolute favorite things about this recipe—it is a hero Make Ahead Pie! Because it’s a no-bake dessert, it actually benefits from sitting in the fridge longer. If you can manage it, chilling it for a full 24 hours makes the flavors deepen and ensures that creamy filling is perfectly firm and sliceable. I’ve found that wrapped tightly in plastic wrap, this Simple Oreo Dessert tastes fantastic for up to three or even four days in the refrigerator. We never actually have leftovers for that long, but it’s nice to know you can prepare it on a Friday for a weekend gathering!
Variations on the Classic Oreo Pie
Now, even the absolute best, Best Oreo Pie recipe can be made even more “you!” That’s the fun of making food at home, right? While this creamy version is perfect—and incredibly easy—you might be craving something a little zestier or maybe going full chocolate-crazy. Don’t worry, this Simple Oreo Dessert is incredibly flexible. If you’re someone who loves to tinker, you might also enjoy tweaking my classic no-bake cheesecake!
We can easily shift this into something totally new without needing a recipe change for the crust. Think of it as unlocking secret levels on your favorite video game—just a few ingredient swaps and BAM! Total dessert transformation.
Creating an Oreo Cheesecake Pie Twist
If you want to lean into that tangy, slightly heavier texture that screams cheesecake, you only need a tiny addition. When you are beating your cream cheese and sugar, try adding about one tablespoon of fresh lemon juice. That little bit of acid really cuts through the sweetness and mimics that “cheesecake” bite beautifully. If you’re feeling super brave and want this to behave exactly like a baked cheesecake filling, you could replace about half of that whipped topping with an equal amount of softened cream cheese, making it a full-on Oreo Cheesecake Pie.
Adding Extra Chocolate for a Chocolate Oreo Pie
If you think “more chocolate” can never be a bad idea—and I wholeheartedly agree with you—there’s a super simple route here. For a much deeper, richer interior, try folding in about half a cup of semi-sweet chocolate chips right along with the crushed Oreos in step four. Alternatively, if you’re really going for a deep mocha flavor, try swapping your standard cream cheese for chocolate cream cheese when starting out. It instantly elevates this to a decadent Chocolate Oreo Pie experience. You won’t regret ramping up the chocolate factor!
Serving Suggestions for Your Decadent Oreo Treat
When you pull this glorious, fluffy creation out of the fridge, it looks pretty perfect all on its own, right? It totally stands up as a decadent treat, but sometimes, you just want a little *extra* something on the side to balance out that richness, especially when serving it up for a crowd. Since this Oreo Pie is so intensely chocolatey and sweet, we want accompaniments that either offer a nice contrast or lean right into the indulgence!
For me, texture contrast is everything. A little bit of fresh fruit on the side, like bright raspberries or a few sliced strawberries, gives you a little sharp, fresh bite that feels amazing after a forkful of that creamy filling. It just brightens the whole plate up!
If you’re going decadent all the way (and who isn’t when Oreos are involved?), a tiny drizzle of salted caramel sauce over the top when serving is pure heaven. It adds that salty-sweet complexity that makes people ask for seconds immediately.
And, because this is the ultimate crowd-pleaser, you know I have to suggest a drink pairing! If you’re serving this in the afternoon or needed an evening pick-me-up, skip the plain water. Try making my iced brown sugar latte—that warm spice note plays so beautifully against the dark chocolate cookie crust. It’s the perfect pairing for a truly satisfying, chilled dessert experience!
Frequently Asked Questions About No Bake Oreo Pie
I know you might have a few little questions floating around, especially if you’re making this divine No Bake Oreo Pie for the very first time. Don’t worry, I’ve heard all the questions before! It’s all about making sure your Quick Oreo Dessert turns out perfectly creamy and set. Let’s tackle the common hurdles so you can get back to enjoying your baking time!
Can I make the Oreo Pie crust without butter?
Oh, I really wouldn’t recommend skipping the butter entirely if you want a stable crust. The butter melts and then quickly hardens again in the freezer, effectively gluing those cookie crumbs together. If you absolutely must substitute it—maybe you’re out of butter—you could try replacing it with melted coconut oil, but be warned, it might taste slightly different! The stability won’t be quite as robust, though. For the best hold in this Oreo Cookie Crust Dessert, melted butter is truly the champion.
How long does this Quick Oreo Dessert last in the fridge?
This is a fantastic question because these pies are so good they disappear fast! Generally, this Quick Oreo Dessert is at its absolute peak within the first 24 to 48 hours. Because the filling has a whipped topping base, it stays lovely and fluffy. If you wrap it carefully with plastic wrap right against the surface to prevent any fridge odors from sneaking in, it’s safely good for up to four days. However, if you let it sit much longer than that, the crust can start to absorb some moisture from the filling, and we don’t want to lose that satisfying crunch!
Can I use homemade whipped cream instead of Cool Whip for this Oreo Pie?
You certainly can, and it makes the filling taste even more luxurious! If you prefer homemade, you’ll need to whip about one cup of heavy whipping cream until stiff peaks form. Then, you’ll gently fold that in place of the thawed whipped topping when you’re mixing the filling. You might notice it’s slightly less stable than the commercial type—which is why my recipe notes suggest swapping *half* of the topping for heavy cream if you want that best-of-both-worlds situation. Using all homemade cream means you might need a little extra chilling time to ensure your Oreo Pie sets up perfectly firm!
Nutritional Snapshot of This Simple Oreo Dessert
Now, I know what you’re thinking! When something tastes this rich and decadent, it feels like it must be off-limits. And while this Simple Oreo Dessert is certainly a treat, not a daily staple, I always like to share the numbers so you know exactly what you’re indulging in! Remember, here at Sunday Flavor, we believe in enjoying food fully, and that includes knowing the facts.
These figures are based on cutting the pie into 8 generous slices, using the exact ingredients listed in the recipe above. Since we’re making this Homemade Oreo Pie from scratch, these numbers are generally more accurate than store-bought versions, but they are still estimates, so take them as a guide!
If you’re looking for ways to sneak in some hidden veggies next time, my recipe for healthy zucchini bread recipe might give you some good ideas for lightening up your treats down the road!
- Serving Size: 1 slice
- Calories: 410
- Sugar: 35g
- Sodium: 320mg
- Fat: 26g
- Saturated Fat: 14g
- Unsaturated Fat: 12g
- Trans Fat: 0.5g
- Carbohydrates: 42g
- Fiber: 1g
- Protein: 4g
- Cholesterol: 55mg
See? Even a totally satisfying, No Bake Oreo Pie can fit into your plans. Enjoy every single crumb!
Share Your Sunday Flavor Creations
Well, my dear friends, we’ve reached the end of the recipe, and I truly hope you feel inspired to bring this gorgeous Oreo Pie into your own kitchen. Making this dessert is such a joyful act—it’s easy, it’s fast, and it’s pure comfort in a crust. That’s the whole idea behind Sunday Flavor, isn’t it? Taking those moments of joy and stretching them across the whole week.
I absolutely love seeing how you’ve put your own spin on my recipes! Whether you sprinkled on extra chocolate chunks or managed to chill yours overnight for that perfect set, I want to see it! Please rate this recipe right down below—five stars if it earned it!—and don’t forget to snap a photo and share it on your favorite social channels. Tag me so I can share your beautiful work!
If you’re curious to know a little more about my journey leaving the corporate world behind to chase this feeling full-time, you can pop over to my About Me page. Until we bake (or, in this case, CHILL) again, enjoy every bite of that creamy, dreamy pie!
Cheers,
Chloe
PrintEasy No-Bake Cookies and Cream Oreo Pie

You need this incredibly easy, no-bake Oreo pie recipe. It features a buttery cookie crust filled with a light, fluffy, and creamy cookies and cream filling. This chilled dessert is perfect for busy cooks.
- Prep Time: 20 min
- Cook Time: 0 min
- Total Time: 4 hr 20 min
- Yield: 8 servings
- Category: Dessert
- Method: No Bake
- Cuisine: American
- Diet: Vegetarian
Ingredients
- 1 package (14.3 oz) Oreo cookies, crushed into fine crumbs
- 6 tablespoons unsalted butter, melted
- 1 package (8 oz) cream cheese, softened
- 1 cup powdered sugar
- 1 teaspoon vanilla extract
- 1 carton (8 oz) frozen whipped topping (like Cool Whip), thawed
- 1 cup crushed Oreo cookies, for topping
Instructions
- Prepare the crust: Combine the finely crushed Oreo cookies and melted butter in a medium bowl. Press the mixture firmly into the bottom and up the sides of a 9-inch pie plate. Place the crust in the freezer while you prepare the filling.
- Make the cream cheese base: In a large bowl, beat the softened cream cheese until smooth. Gradually beat in the powdered sugar until fully combined. Mix in the vanilla extract.
- Fold in the whipped topping: Gently fold the thawed whipped topping into the cream cheese mixture until no streaks remain. You want a light, fluffy texture.
- Add the cookies: Gently fold in 1 cup of crushed Oreo cookies into the filling mixture.
- Assemble the pie: Spoon the creamy filling evenly into the chilled Oreo crust. Smooth the top with a spatula.
- Chill: Cover the pie loosely with plastic wrap and refrigerate for at least 4 hours, or until the filling is firm. For the best results, chill it overnight.
- Serve: Before serving, sprinkle the remaining crushed Oreo cookies over the top of the pie. Slice and enjoy this decadent treat.
Notes
- You can use a food processor to crush the Oreos quickly, but crush them finely for the best crust texture.
- If you prefer a richer filling, substitute half of the whipped topping with heavy cream whipped to stiff peaks.
- This is a fantastic make ahead dessert; it tastes even better after chilling for a full day.
Nutrition
- Serving Size: 1 slice
- Calories: 410
- Sugar: 35g
- Sodium: 320mg
- Fat: 26g
- Saturated Fat: 14g
- Unsaturated Fat: 12g
- Trans Fat: 0.5g
- Carbohydrates: 42g
- Fiber: 1g
- Protein: 4g
- Cholesterol: 55mg


Comments are closed.