


G’day and welcome to Sunday Flavor! I’m Chloe Thompson, and I’m so excited to share my kitchen adventures with you. For years, my weeks were a whirlwind, but Sundays were sacred. I’d trade my work clothes for an apron, fill my kitchen with music, and create something truly special. That feeling of joy, that vibrant, nourishing creativity, inspired me to make every day feel a little like a Sunday. Here, we celebrate simple, delicious food that makes you feel amazing. And what better way to start any day, especially a leisurely one, than with a plate of perfectly made Classic French Toast? It’s a timeless favorite, a simple indulgence that transforms ordinary bread into something extraordinary. This recipe is my go-to for a truly satisfying weekend breakfast.
Why You’ll Love This Classic French Toast
This isn’t just any French toast; it’s a recipe designed for pure enjoyment. You’ll love it because:
- It’s incredibly quick to whip up.
- The steps are super easy to follow.
- The taste is simply delicious and comforting.
- It’s perfect for any occasion, from a lazy weekend morning to a special brunch.
- You can easily customize it with your favorite toppings.
A Taste of Sunday Morning with Classic French Toast
Imagine this: the gentle sizzle in the pan, the sweet aroma of cinnamon filling your kitchen. This Classic French Toast delivers that perfect golden-brown crust. Inside, it’s wonderfully soft and custardy. It truly captures that feeling of a relaxed, indulgent Sunday morning. This is the simple yet decadent breakfast you’ve been dreaming of, a delightful way to greet the day.
Gathering Your Classic French Toast Ingredients
Let’s get our kitchen ready for some breakfast magic! Making this Classic French Toast is all about using simple, good-quality ingredients. The beauty of this recipe is its straightforwardness. We’re not asking for anything fancy, just a few staples that come together to create something truly special. Think of it as building blocks for pure breakfast joy. I always like to have everything measured out before I start; it makes the whole process so much smoother, especially when you’re eager to get cooking.
Bread Selection for Perfect Classic French Toast
The bread is the star here, folks! For the best results, I highly recommend using thick-cut slices. Brioche, challah, or even a good sourdough really shine. These breads have a lovely texture that soaks up the custard beautifully without falling apart. If your bread is a day or two old, even better! Slightly stale bread creates that perfect contrast – a slightly crisp exterior with a wonderfully soft, custardy inside.
The Custard Base: Eggs, Milk, and Spices
Now for the dreamy custard! We’ll whisk together large eggs with milk. Using whole milk or even half-and-half makes it extra rich and creamy, which I absolutely adore. A good splash of vanilla extract adds a warm, sweet note. And of course, no French toast is complete without a gentle dusting of cinnamon and a tiny pinch of salt to balance all the sweetness. It’s this simple mix that gives our Classic French Toast its signature flavor.
How to Prepare Your Classic French Toast
Alright, let’s get cooking! This is where the magic happens and your simple ingredients transform into a glorious breakfast. I find that having everything prepped makes this part a breeze. It’s all about a few simple steps that lead to that perfect, golden-brown slice of happiness. Don’t rush the process; savor it! It’s a wonderful way to connect with your food and your kitchen.
Creating the Custard Dip
First things first, grab a shallow dish. This makes dipping the bread so much easier. Whisk your eggs, milk, vanilla, cinnamon, and that pinch of salt together until they’re beautifully combined. You want a nice, even mixture – no streaks of egg white allowed! This is the flavor bath for our bread.
Soaking the Bread for Classic French Toast
Now, take a slice of your chosen bread. Gently dip it into the custard mixture. Make sure both sides get a good coating. Let it soak for about 30 seconds on each side. We want the bread to absorb that delicious custard, but not so much that it becomes soggy and falls apart. It’s a delicate dance, really!
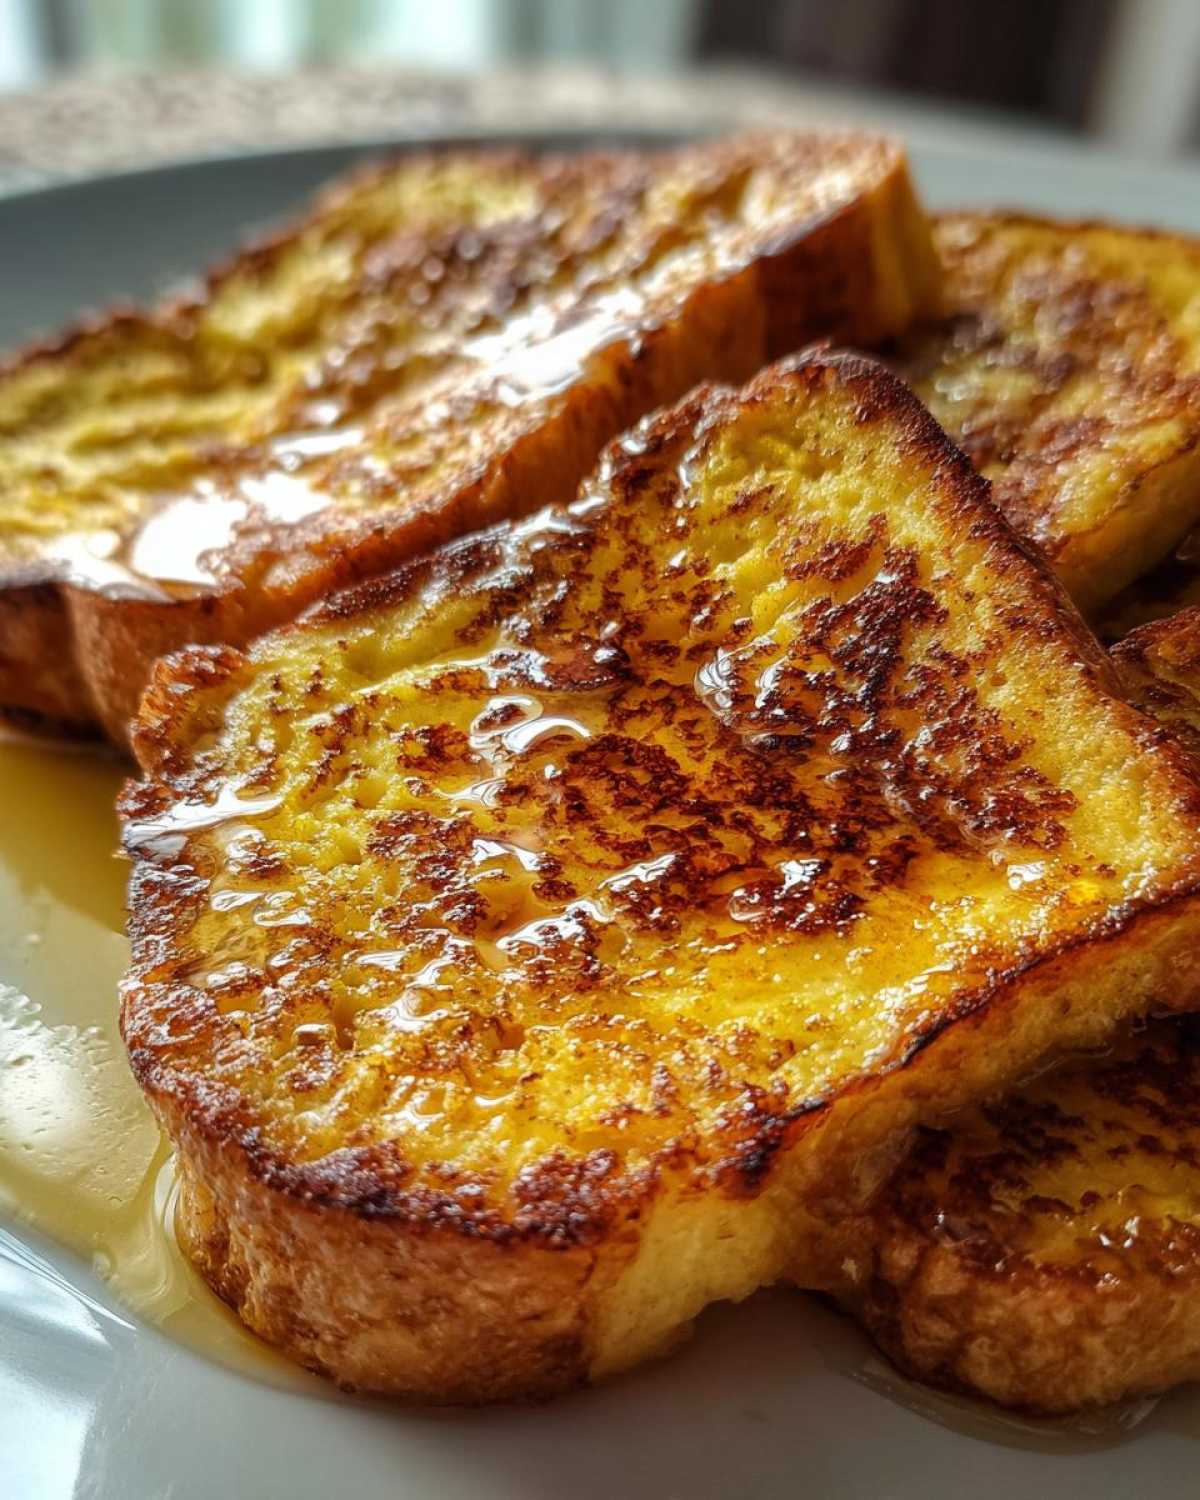
Achieving Golden Brown Perfection
Melt about a tablespoon of butter in a non-stick skillet or on a griddle over medium heat. You want it hot enough to sizzle but not so hot that it burns. Carefully place your soaked bread slices into the pan. Let them cook for about 2 to 3 minutes per side. You’re looking for that gorgeous golden-brown color. It’s a beautiful sight! If your pan isn’t big enough for all your slices, don’t cram them in. Cook in batches. Add the remaining butter for the next round. Overcrowding leads to uneven cooking, and we want every piece to be perfect.
Essential Equipment for Classic French Toast
To make your Classic French Toast dreams come true, a few key tools are super helpful. Having the right gear makes the whole process smoother and more enjoyable. It’s not about having a professional kitchen; it’s about having the right basics to help you create that perfect breakfast. These are the items I always reach for when I’m whipping up a batch.
Skillet or Griddle Choice
A good non-stick skillet or griddle is your best friend here. It ensures your French toast cooks evenly and releases easily. Cleanup is also a total breeze, which is always a win in my book!
Dipping Dish and Utensils
A shallow dish is perfect for soaking your bread. It lets you coat each slice evenly without making a mess. And don’t forget a spatula for flipping; it makes turning those golden slices simple and safe.
Tips for Extra Delicious Classic French Toast
Want to take your Classic French Toast from good to absolutely amazing? I’ve got a few little secrets up my sleeve! My recipe notes often mention using slightly stale bread, and trust me, it’s a game-changer. Day-old bread has a firmer texture that soaks up all that lovely custard without becoming a soggy mess. It also helps create that delightful crispiness when it hits the hot pan.
Another crucial tip is to avoid overcrowding your skillet. Seriously, resist the urge! Cooking in batches ensures each slice gets beautifully golden and evenly cooked. If you cram too many slices in, they steam rather than fry. Lastly, don’t be afraid to play with the spices. While I love a classic cinnamon warmth, feel free to add a pinch of nutmeg or even a whisper of cardamom if you’re feeling adventurous. Taste and adjust to your heart’s content!
Serving Suggestions for Your Classic French Toast
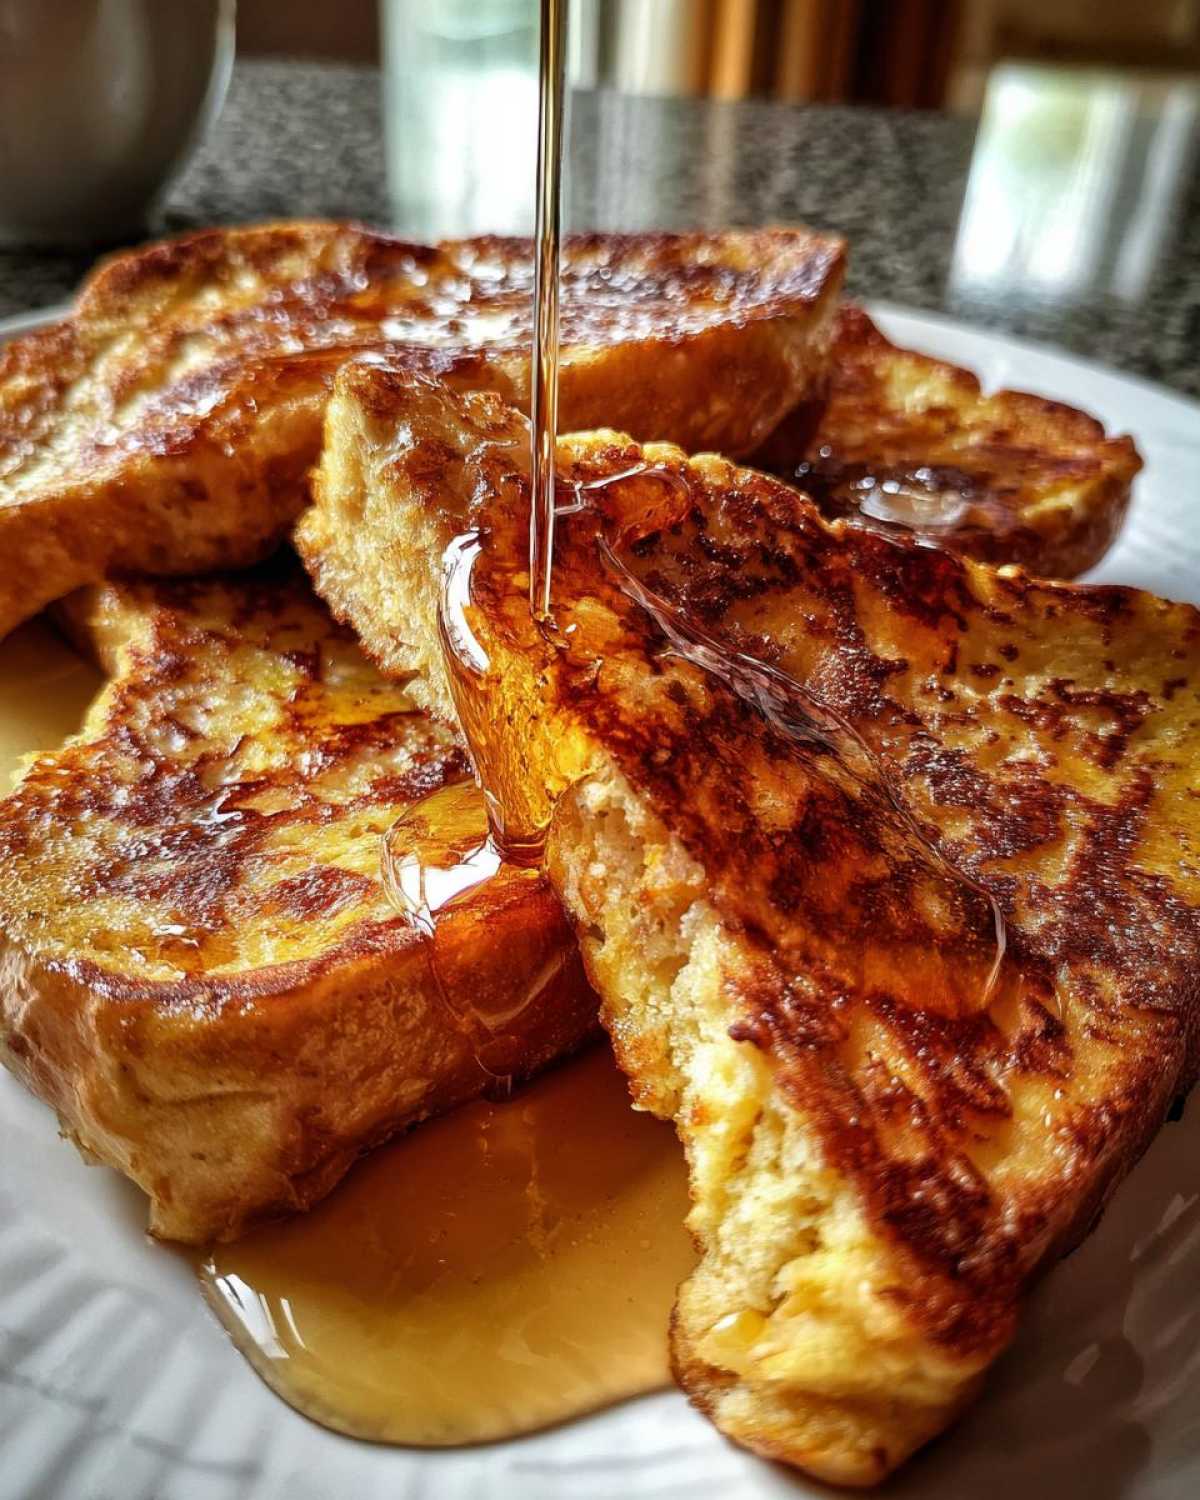
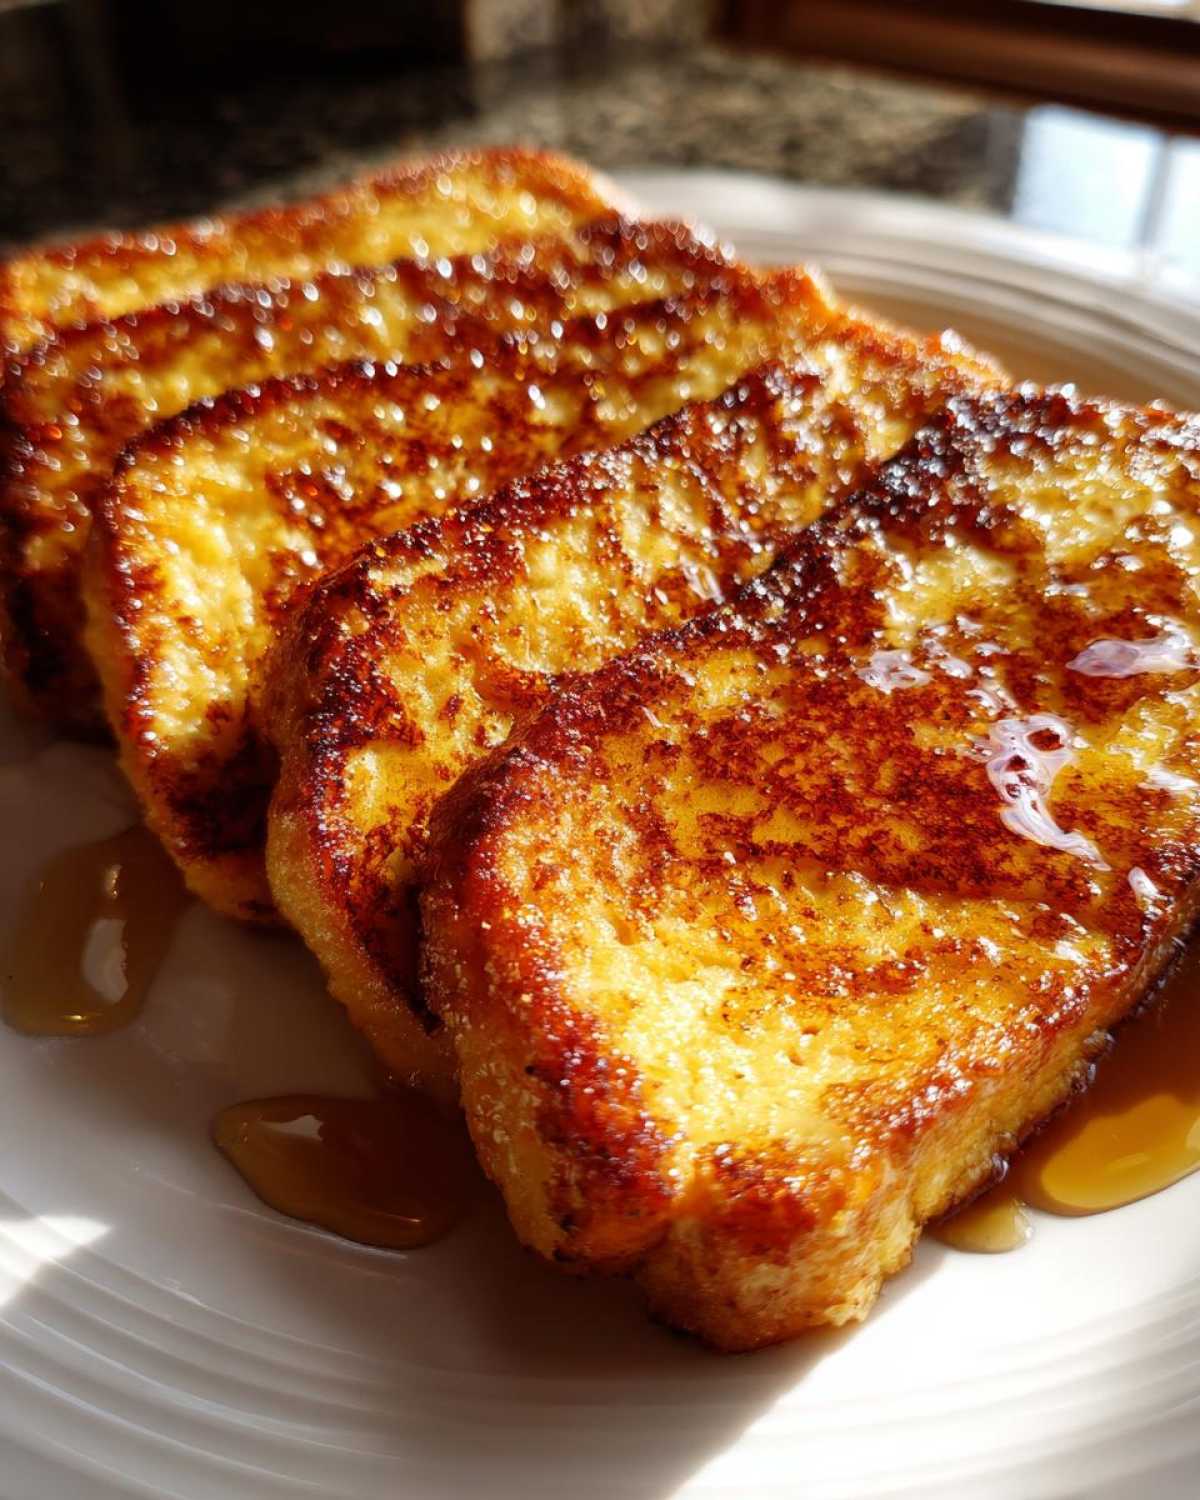
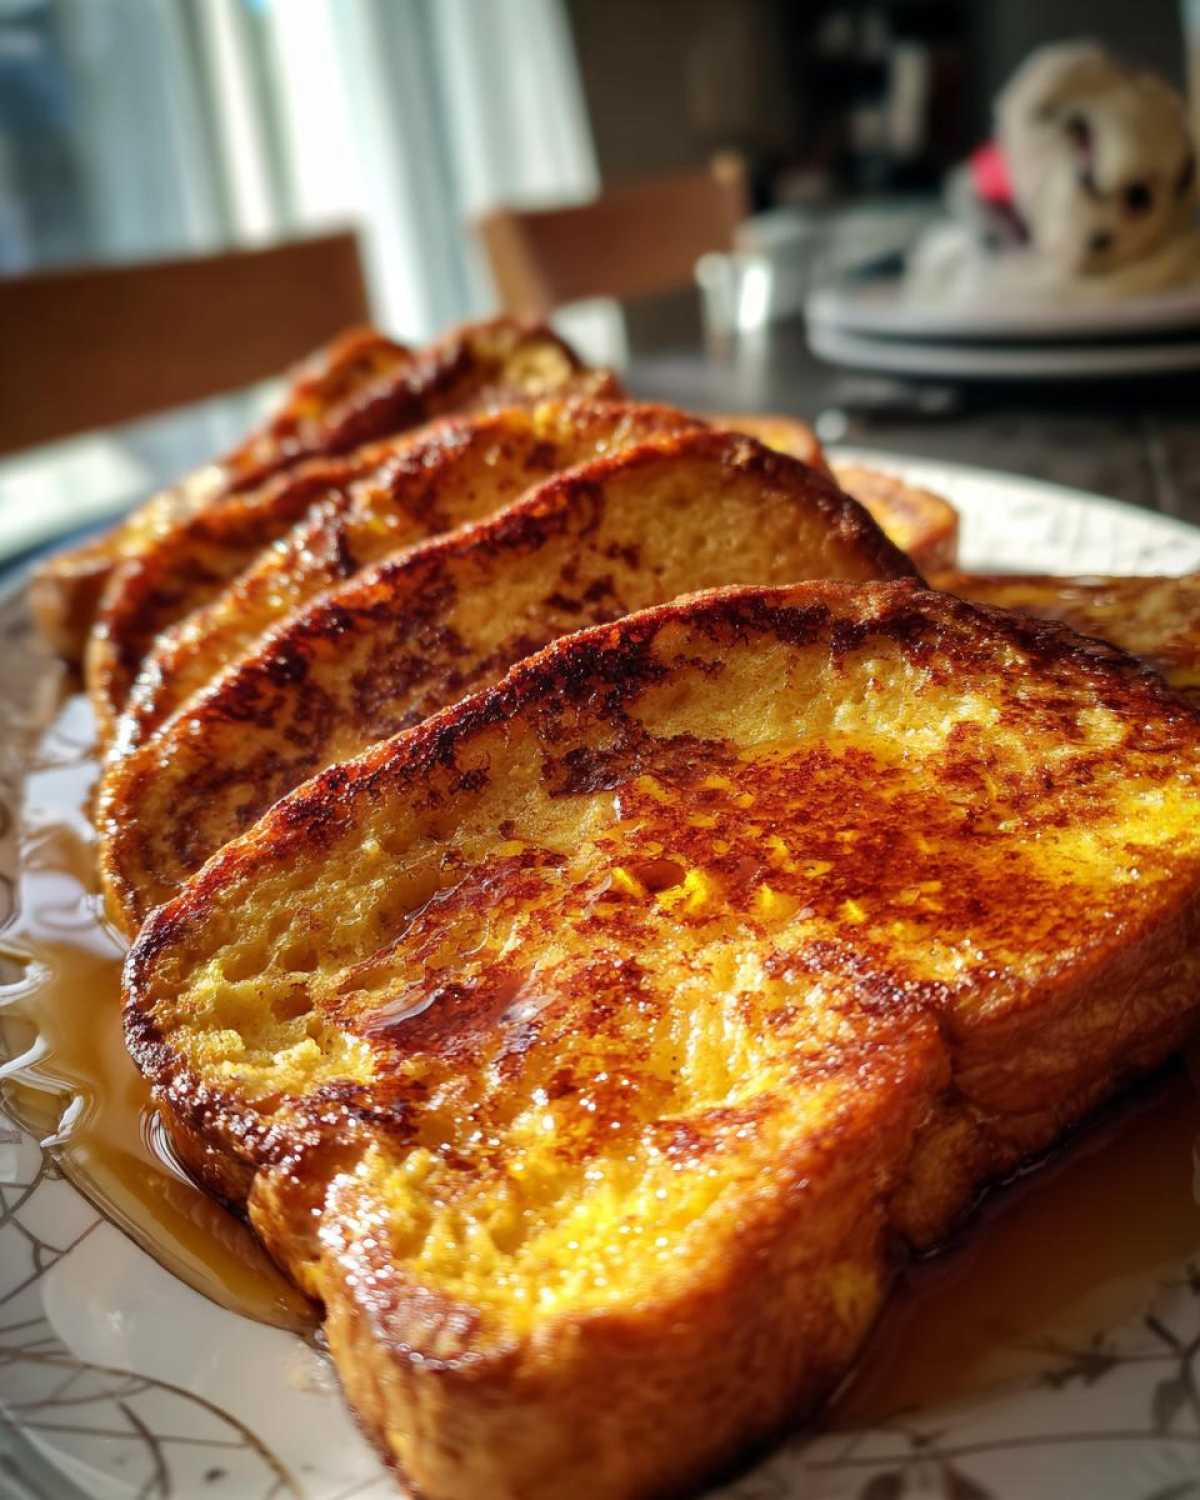
Now that you’ve made this glorious Classic French Toast, it’s time for the best part – serving it up! Presentation really does make a difference, even for a simple breakfast. I love to stack the golden slices high on a warm plate. A generous drizzle of warm maple syrup is an absolute must, cascading down the sides. It’s pure comfort food at its finest!
For a touch of color and freshness, I often scatter a handful of vibrant fresh berries around the plate. A light dusting of powdered sugar, like a gentle snowfall, adds a touch of elegance. It’s these little touches that make your homemade Classic French Toast feel extra special, a true weekend treat.
Classic Toppings for Classic French Toast
Beyond syrup and berries, the topping possibilities are endless! Fresh strawberries, blueberries, or raspberries add a lovely tartness. A little sprinkle of powdered sugar looks so pretty. You could also try a dollop of whipped cream or a scattering of toasted nuts for extra crunch. Get creative and make it your own!
Storing and Reheating Leftover Classic French Toast
Don’t you hate when there are leftovers? Me too! But fear not, your delicious Classic French Toast can be enjoyed later. For refrigeration, let the toast cool completely. Then, store it in an airtight container or wrap it well in plastic wrap and foil. It should keep well for about 2-3 days. For reheating, a quick toast in your skillet over medium heat or a few minutes in the toaster oven works wonders to bring back that lovely crispness.
Understanding the Nutrition of Classic French Toast
When you’re enjoying a delicious plate of Classic French Toast, it’s good to have a general idea of what you’re eating. Keep in mind that the nutritional information for this recipe is an estimate. It can vary quite a bit based on the type of bread you use, the richness of your milk, and how much syrup or other toppings you add. So, think of these numbers as a helpful guide rather than exact figures. For more information on general nutrition, you can consult resources like the National Nutrition Guidelines.
Share Your Classic French Toast Experience!
I’d absolutely love to hear from you! Did you try this Classic French Toast recipe? How did it turn out? Please leave a comment below and share your thoughts. And if you snap a photo of your delicious creation, tag me on social media! I can’t wait to see your kitchen creations and how you made this weekend breakfast your own. Your feedback truly makes my day!
PrintClassic French Toast: 1 Incredible Recipe

A simple and delicious recipe for classic French toast, perfect for a weekend breakfast or brunch. Enjoy golden-brown slices of bread soaked in a rich custard and fried to perfection.
- Prep Time: 5 minutes
- Cook Time: 10 minutes
- Total Time: 15 minutes
- Yield: 4 servings
- Category: Breakfast
- Method: Pan-frying
- Cuisine: American
- Diet: Vegetarian
Ingredients
- 4 slices of bread (brioche, challah, or thick-cut white bread recommended)
- 2 large eggs
- 1/2 cup milk
- 1 teaspoon vanilla extract
- 1/4 teaspoon ground cinnamon
- Pinch of salt
- 2 tablespoons butter
- Maple syrup, for serving
- Optional toppings: fresh fruit, powdered sugar, whipped cream
Instructions
- In a shallow dish, whisk together the eggs, milk, vanilla extract, cinnamon, and salt until well combined.
- Dip each slice of bread into the egg mixture, ensuring both sides are coated. Let it soak for about 30 seconds per side.
- Melt the butter in a non-stick skillet or griddle over medium heat.
- Carefully place the soaked bread slices onto the hot skillet.
- Cook for 3-4 minutes per side, or until golden brown and cooked through.
- Serve immediately with your favorite toppings and maple syrup.
Notes
- Using slightly stale bread works best as it absorbs the custard without becoming too soggy.
- Adjust the cinnamon and vanilla to your preference.
- Don’t overcrowd the pan; cook in batches if necessary.
Nutrition
- Serving Size: 1 slice
- Calories: Approx. 250-300 (will vary based on bread and additions)
- Sugar: Approx. 5-10g (will vary)
- Sodium: Approx. 200-300mg (will vary)
- Fat: Approx. 10-15g (will vary)
- Saturated Fat: Approx. 5-7g (will vary)
- Unsaturated Fat: Approx. 5-8g (will vary)
- Trans Fat: 0g
- Carbohydrates: Approx. 25-35g (will vary)
- Fiber: Approx. 1-3g (will vary)
- Protein: Approx. 8-12g (will vary)
- Cholesterol: Approx. 70-90mg (will vary)


Comments are closed.