


Sometimes you just need a dessert that looks like it took five hours of delicate artistry but actually took about fifteen minutes. You know what I’m talking about! Chocolate covered strawberries are the ultimate quick fix for turning a regular Tuesday into something special, or just making a really impressive party tray. I used to struggle so much when I first tried making them; my coatings were always dull, bumpy, or worse, seizing up right in the bowl! It was so frustrating. But trust me, once you figure out the secret to a perfectly smooth, glossy dip, you’ll never go back. This recipe for the very best chocolate covered strawberries is the one that finally clicked for me, and now I can whip up professional-looking fruit almost instantly.
Why This Is the Ultimate Easy Chocolate Covered Strawberries Recipe
If you’ve avoided making these at home because you think they require specialized candy skills, you can stop worrying right now! This technique is magic. It’s designed specifically to cut out all the tricky parts so you get beautiful, shiny results every single time. We’re talking about easy chocolate covered strawberries that look like they came from a fancy chocolatier.
Here is why I swear by this method for all my quick fruit desserts:
- The prep time is shockingly fast—you can have these done in under 20 minutes total!
- We use a little optional helper ingredient to guarantee that high-gloss, crack-free chocolate shell.
- The steps are so straightforward; even my husband can manage them without burning the chocolate (and that’s saying something!).
- It gives you a foolproof blueprint for dipping regardless of what toppings you plan to add later.
Gathering Supplies for Perfect Chocolate Covered Strawberries
Okay, so before we dive into the actual dipping, we need to chat about what tools you need ready to go. You can’t rush preparation here; having everything near the stove (or microwave, in our case!) makes the whole dipping process fly by. Since the chocolate sets fast, speed is everything.
When choosing ingredients, remember that quality absolutely matters here—this is why I always preach using the best chocolate for dipping strawberries you can find. If the chocolate tastes meh on its own, it will definitely taste dull on a berry!
Essential Equipment for Dipping
Don’t stress about fancy gadgets. You mostly need things you already own, but make sure they are clean and ready:
- A sturdy mixing bowl that’s deep enough to dunk a strawberry without splashing everywhere.
- A baking sheet. Yes, just a regular one!
- Parchment paper or wax paper to line that sheet. The chocolate peels right off later, which is half the fun.
- A few paper towels for that crucial drying stage coming up next.
Ingredient Notes and Substitutions for Chocolate Covered Strawberries
What you use in the bowl makes or breaks the look of your final product. Since there are only a few ingredients here, we need to treat each one with respect! I’ve specifically picked out a high-quality melting chocolate for this recipe. Don’t go for the cheapest grocery store bag if you can help it; a nice bittersweet or milk chocolate bar works wonders and melts cleaner.
If you’re nervous about getting that perfect, smooth dip every time, I have a tiny secret weapon: just a teaspoon of coconut oil or vegetable shortening. It’s optional, but wow, does it help thin the chocolate just enough so it coats beautifully without making the finished product overly thick.
And yes, if you want to experiment with the pretty pale versions, you absolutely can make white chocolate covered strawberries recipe variations right alongside the dark ones! Just remember to melt that white chocolate separately, as it can behave a little fussier.
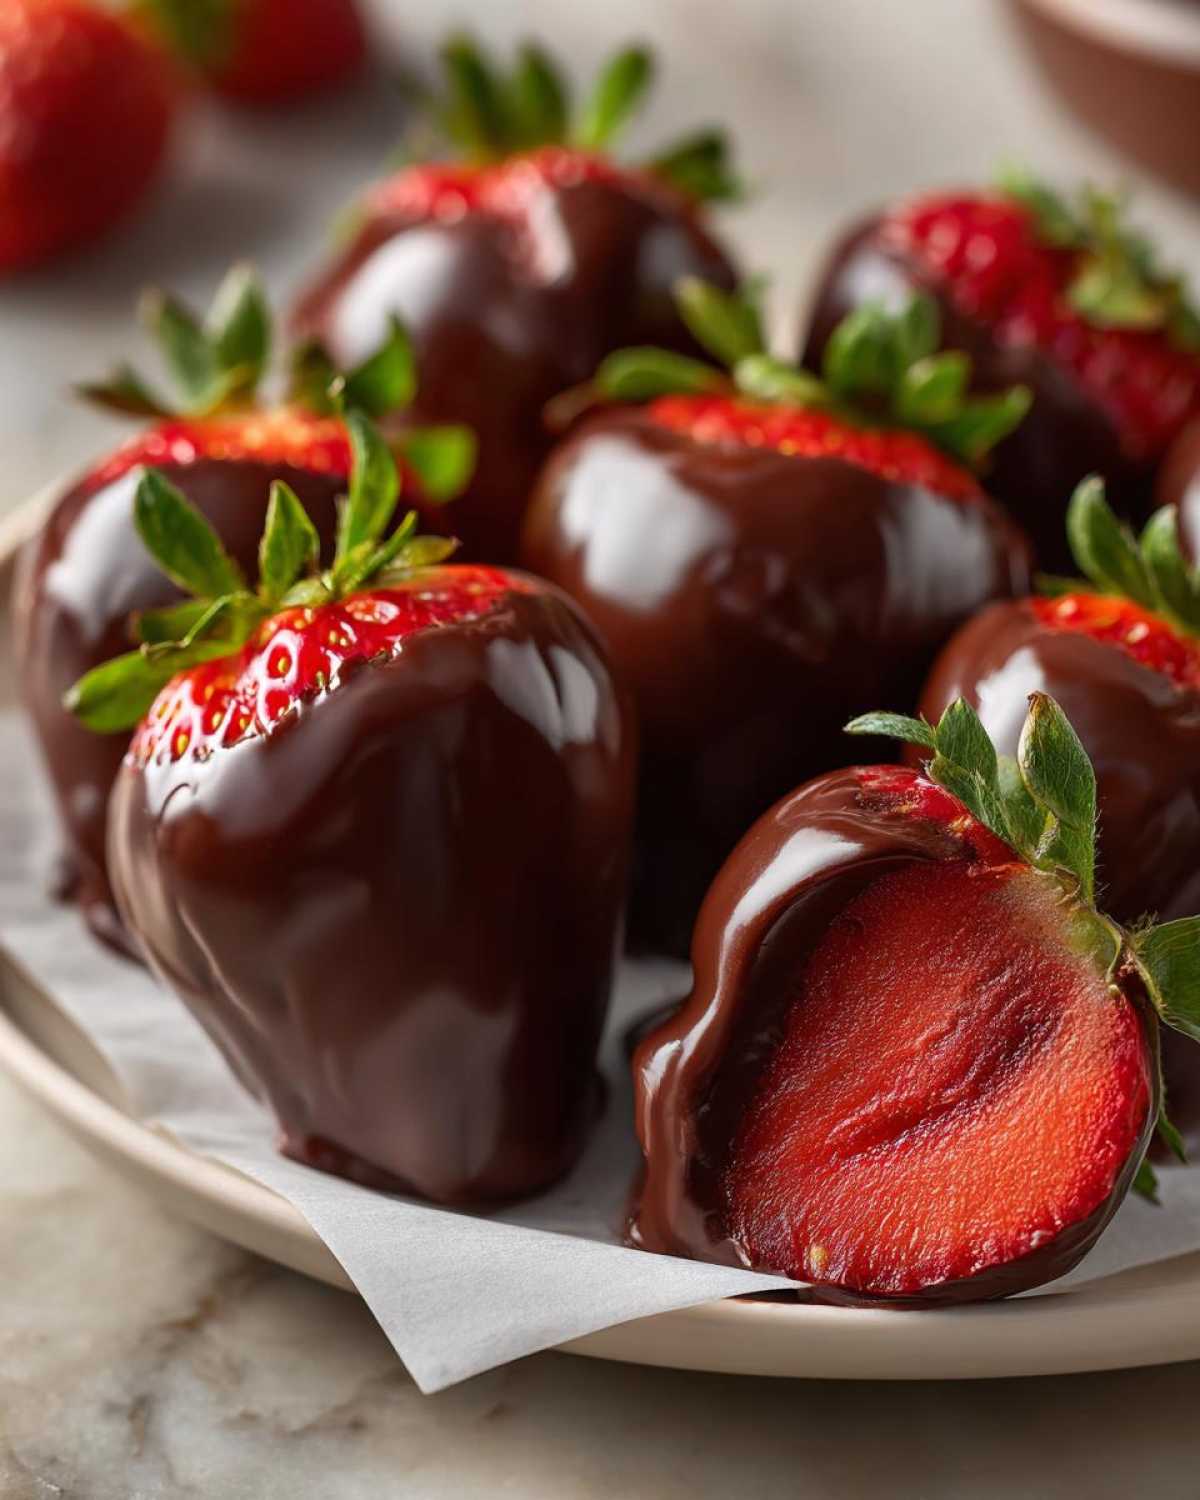
Achieving Glossy Chocolate Coating Tips
The shine is what makes people think you bought these from a fancy shop! The secret to that amazing, glassy look isn’t luck; it’s about how you handle the melting process. First, use good quality chocolate. Seriously. Second, that tiny addition of oil I mentioned isn’t just for smoothness; it keeps the cooled chocolate from looking dull and matte. We are aiming for mirror-like perfection here, and controlling the moisture content is key to getting that perfect, no-fail chocolate shell.
Step-by-Step: How to Make Chocolate Strawberries
Alright, here is where we turn those beautiful, fresh berries into edible jewelry! The timing takes us just about 15 minutes of prep and then maybe 5 minutes of actual dipping time, so you’ll see results almost immediately. Knowing exactly how to make chocolate strawberries the right way makes all the difference between a good treat and a show-stopping one.
Preparation: Drying the Strawberries is Crucial
Stop right there! Before you even touch the chocolate bowl, you have critical berry prep to handle. I cannot stress this enough: your strawberries must be bone dry. I mean towel them down like you’re getting ready for a spa day!
Why so intense? Because water and melted chocolate absolutely hate each other. If there is even a tiny bit of moisture left on the berry, the chocolate in the bowl will panic. It will seize up instantly, turning grainy, thick, and useless. We are trying to achieve that gorgeous, smooth coating, not a chunky mess! So, pull off the green tops, give them a gentle wash, and then pat, pat, pat every single one dry with paper towels. This step is non-negotiable for success.
The Melting Process for Smooth Chocolate Covered Strawberries
Now that the berries are ready, we focus on the coating. I always use the microwave for melting because it’s fast and easy—no messy double boilers needed. Put your chocolate chips (and that optional teaspoon of coconut oil, if you’re using it!) into your clean, dry bowl.
Microwave it in short bursts—only 30 seconds at a time. Between each burst, take the bowl out and stir really well. The chocolate might look like it hasn’t melted much, but stirring distributes the heat and prevents the bottom from scorching. Keep doing this until it’s almost completely smooth, then just keep stirring until the remnants melt completely. Congratulations, your perfectly dipping-consistency chocolate is ready!
Dipping Technique for a Professional Look
Grab a strawberry by the stem—this is your handle! Gently dip the berry into the melted chocolate. I usually aim to cover about two-thirds of the fruit in one swoop. You want to swirl it slightly so the chocolate creeps up evenly.
The trick to a non-messy look is the lift. Once you pull the berry out, gently tilt your wrist and rotate the strawberry a couple of times while holding it over the bowl. This allows all that thick excess chocolate to drip off cleanly. If you skip the rotation, you end up with a big chocolate puddle at the bottom of the berry when it sets—and we want sleek lines, not blobs!
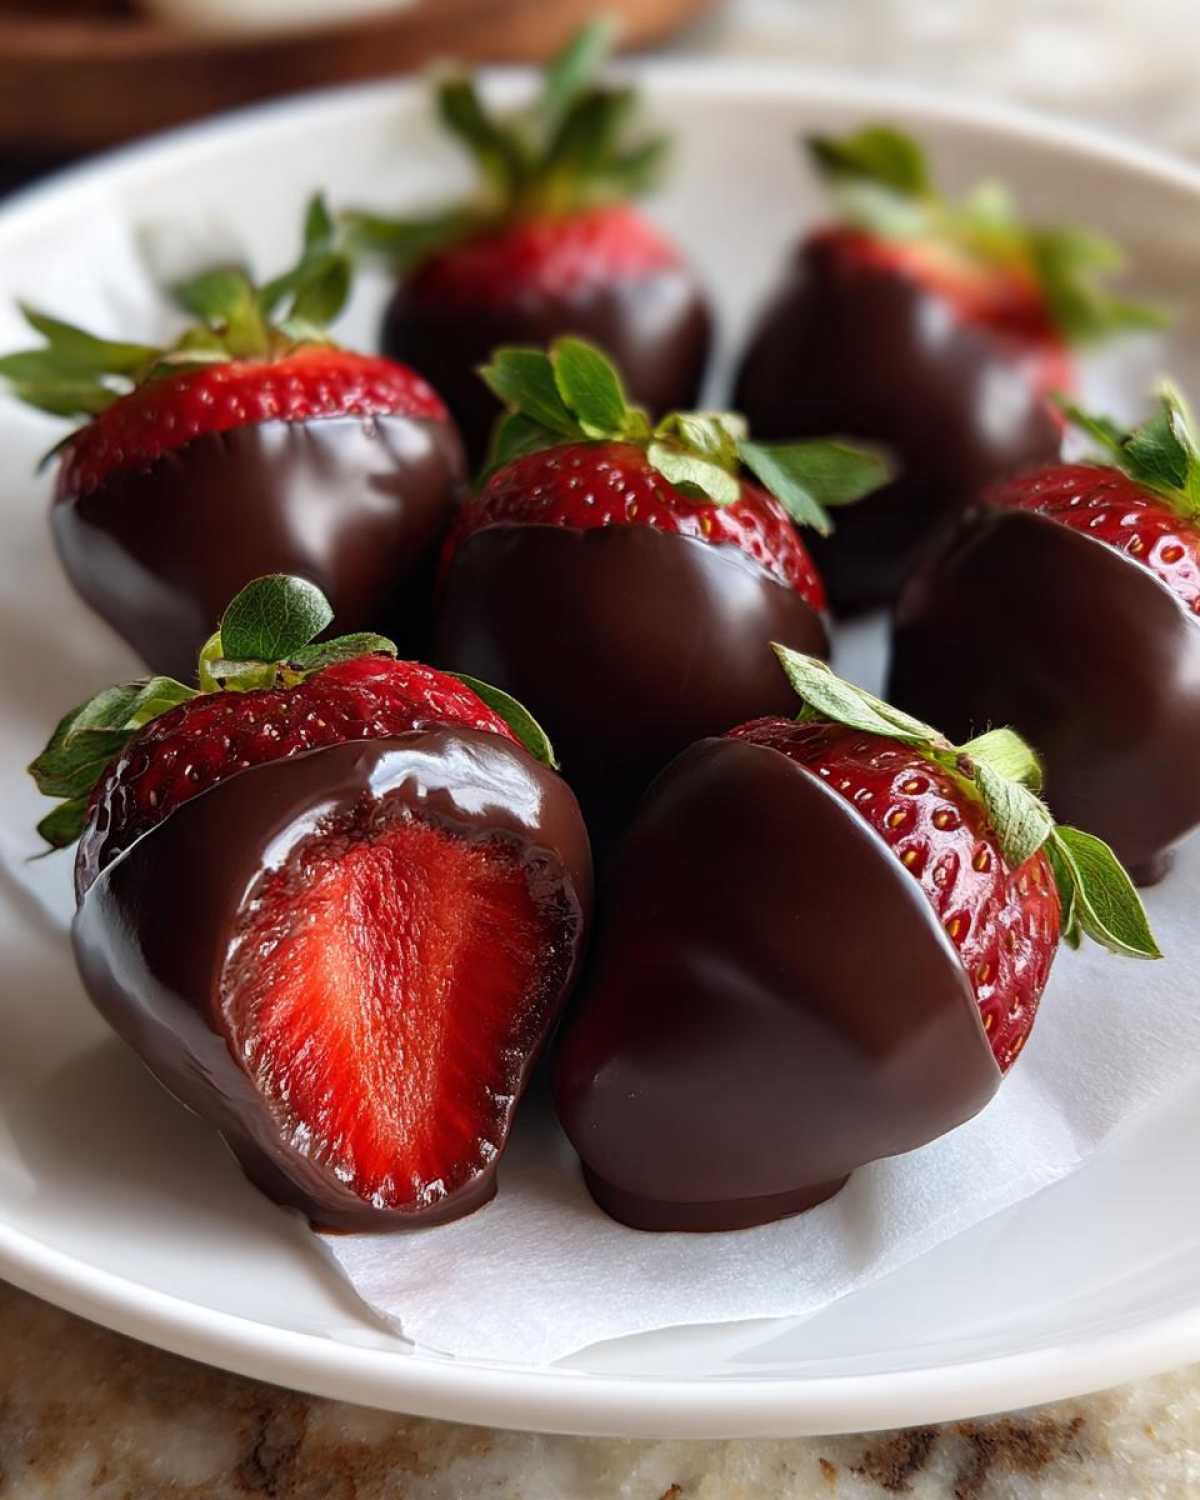
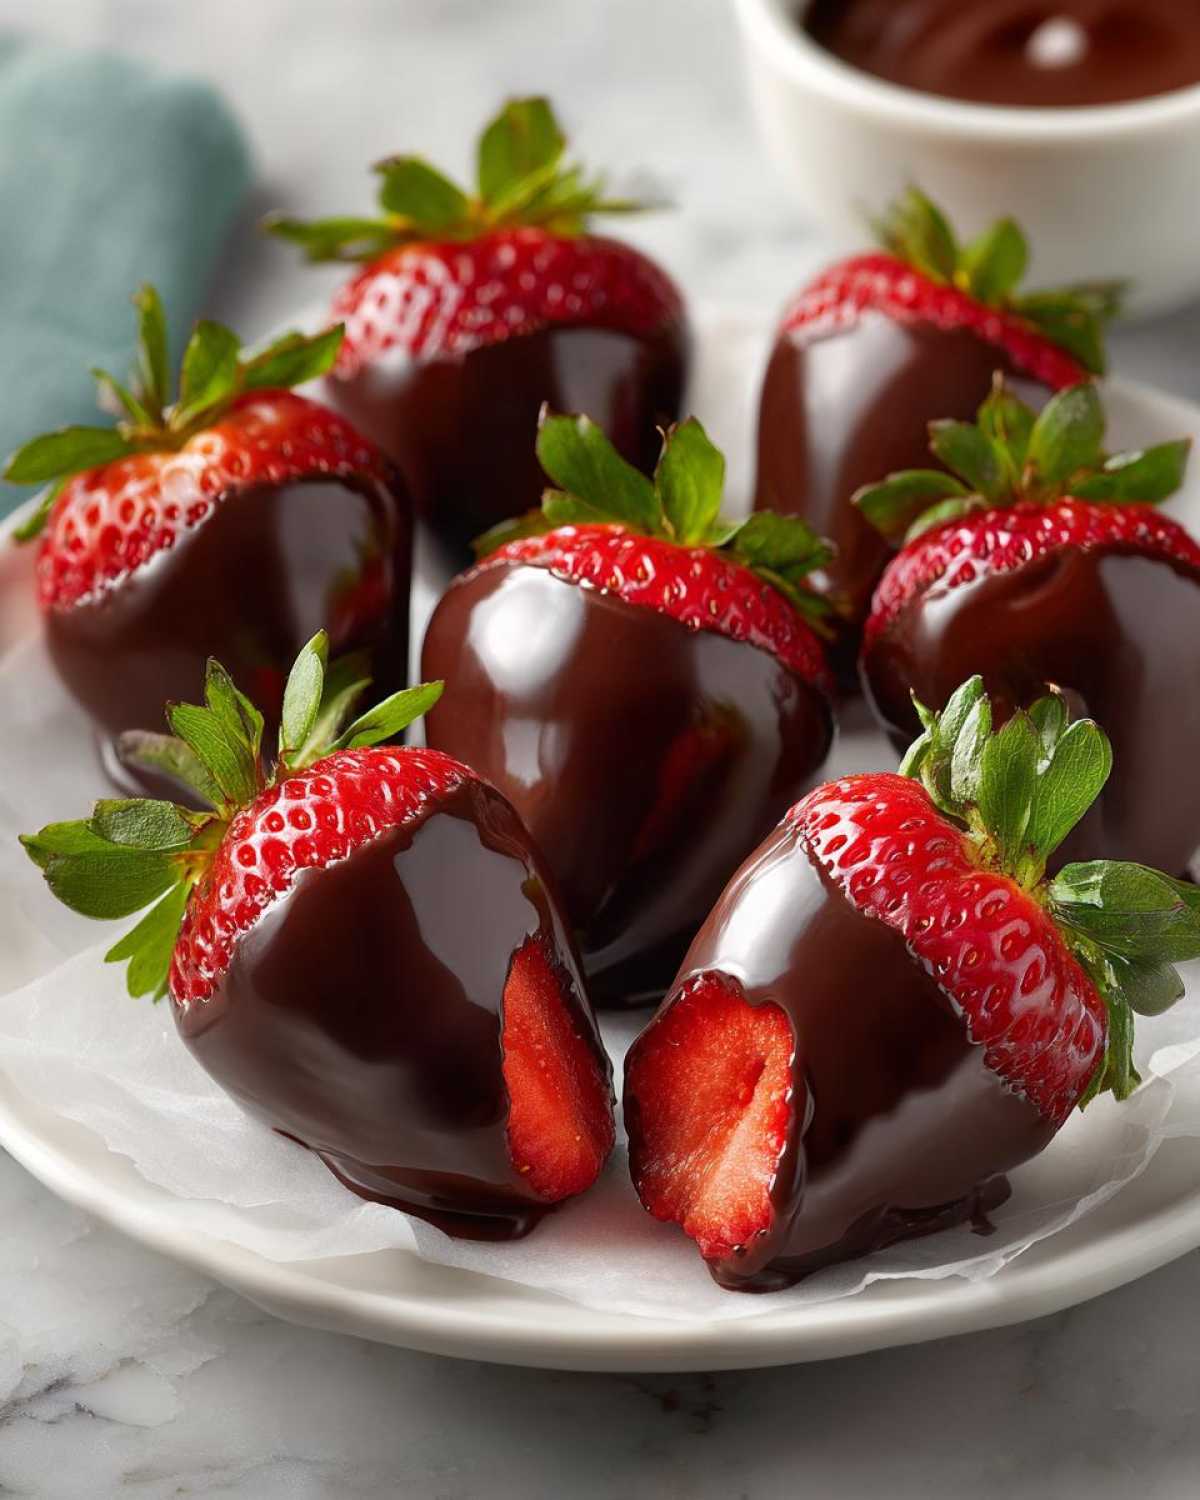
Chocolate Covered Strawberry Decorating Ideas and Toppings
The dipping is done, but honestly, this is my second favorite part! Once that chocolate is wet, you have a tiny window—maybe three seconds—to make your design before it starts to firm up. This is where we get fun with our chocolate covered strawberry toppings. Don’t feel obligated to use anything wild if you’re short on time, but a little flourish makes them feel so celebratory!
For quick hits, I love rolling the chocolate-covered portion in colorful sprinkles or finely chopped pecans. If you don’t want to dip, you can always do a quick drizzle! Melt a small bit of contrasting chocolate—maybe white chocolate if you used dark—and use a little fork to zig-zag lines right across the top. It looks incredibly elegant, and it only adds thirty seconds to your work time!
Tips for Success with Homemade Dipped Strawberries
Now that you’ve made beautiful, glossy homemade dipped strawberries, we need them to set up perfectly. You want that crisp snap when someone bites in, right? Getting a no-fail chocolate shell strawberries isn’t hard, but you do need to manage the setting temperature.
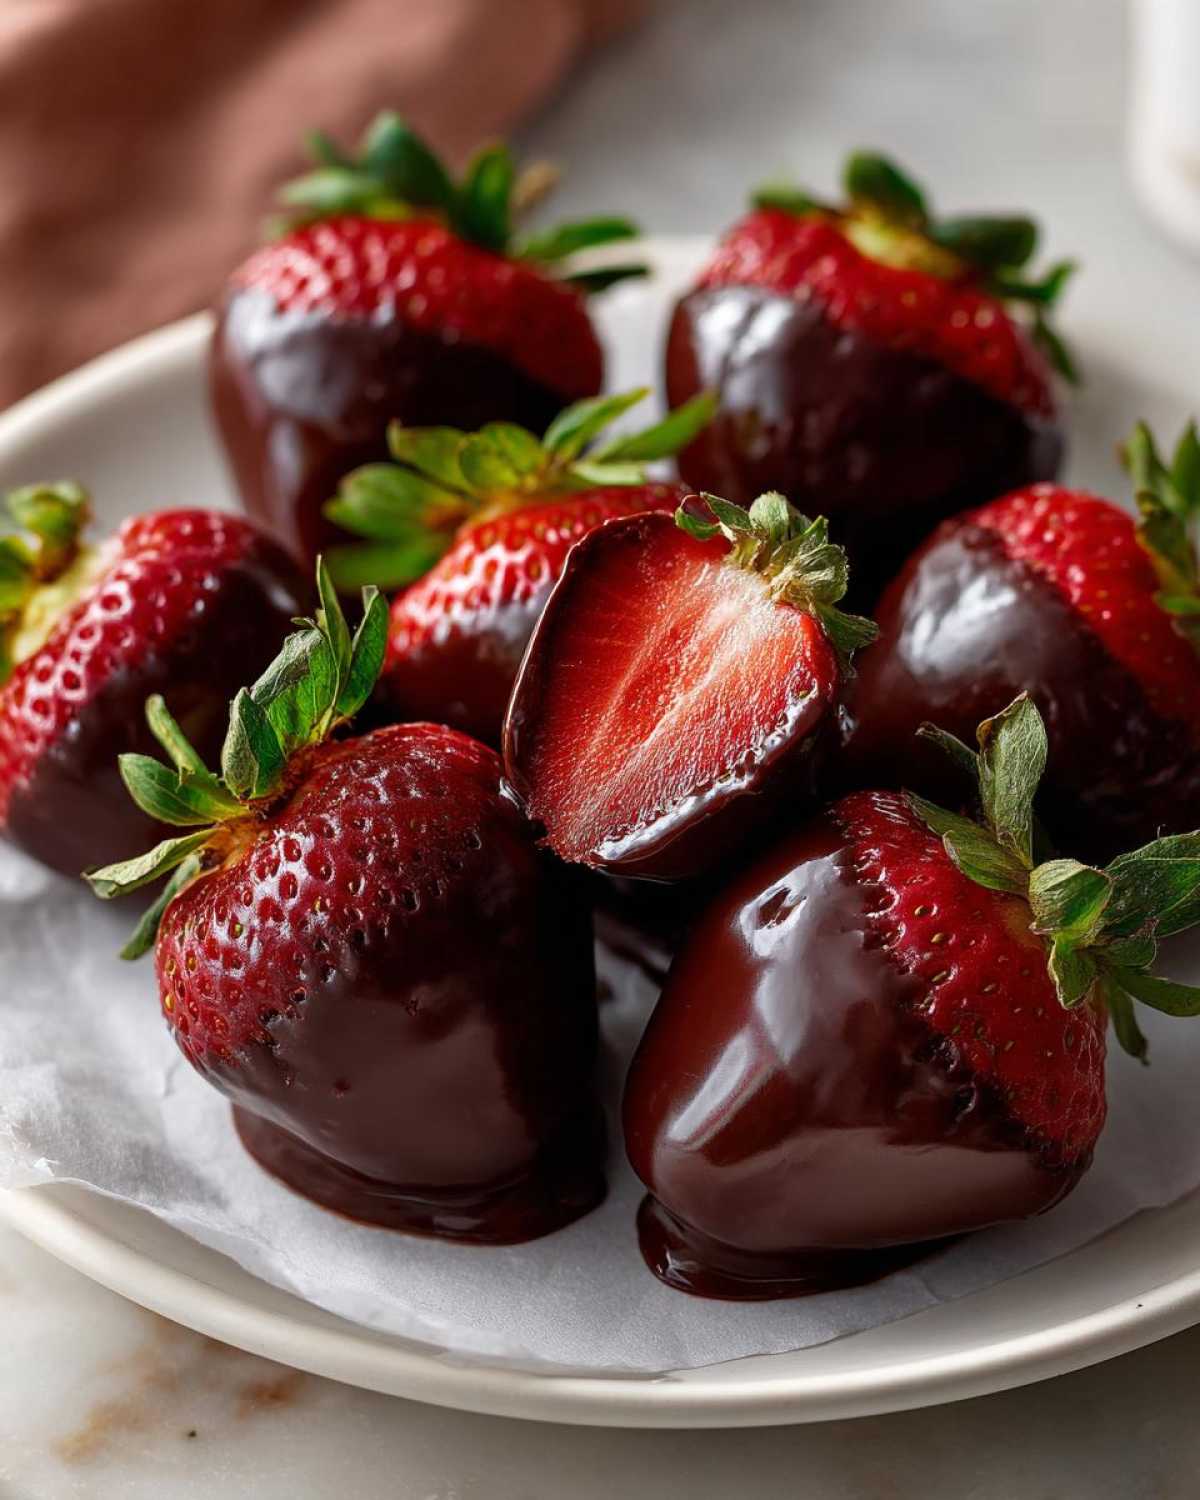
If you’re in a huge hurry, you can totally put the tray in the fridge. Five to ten minutes should do it. However, I’ve learned that sometimes the cold fridge air makes the chocolate contract too fast, which can lead to tiny cracks later on. If you have the patience, just letting them chill on the counter for about fifteen minutes at a cool room temperature works the absolute best for preserving that mirror shine. Always place them gently onto that parchment paper you lined up; we don’t want any dents on the bottom!
Remember, these are fresh fruit desserts, so they really shine the day they are made. Handle them as little as possible once they are dipped!
Storage and Serving Suggestions for Chocolate Covered Strawberries
Here’s an honest take: these are definitely best treated as a one-day wonder. The fresh strawberry is going to release water after a while, which softens the chocolate coating, and we just can’t have that lovely snap go away! If you’re making these for a party, finishing them just a couple of hours beforehand is truly ideal.
If you absolutely have leftover homemade dipped strawberries, you can store them in the airtight container. Just know that condensation can form, which might make the chocolate look a tiny bit hazy the next day. They are fantastic as last-minute romantic strawberry treats though—nothing beats bringing these out after dinner!
For serving, keep them chilled until the moment guests arrive. If they sit out too long in a warm room, that beautiful chocolate shell we worked so hard for starts to sweat! They make for the most impressive party desserts with minimal effort, so enjoy them while they look perfect.
Frequently Asked Questions About Making Chocolate Covered Strawberries
I know you might have a few last-minute worries, because perfectionists like us always do! People ask me about storage and shine all the time, especially when they are trying to use these for a big event. Here are the answers to the three questions I get asked most often about making these stunning, chocolate covered strawberries.
Can I make chocolate covered strawberries ahead of time?
Yes, you absolutely can make them ahead, but there’s a big caveat. Because we are dealing with fresh fruit, they are truly at their peak freshness—crisp chocolate and firm berry—on the day you make them. If you need to prep them early, I suggest aiming for no more than about 8 to 12 hours in advance. Store them in a single layer in the refrigerator, but be sure to let them sit out for about 15 minutes before serving so the chocolate warms up just slightly. If you leave them sitting for two full days, sometimes the moisture transfers, and the chocolate gets sneaky!
What is the best way to keep the chocolate shiny?
This is all about two things: quality ingredients and gentle melting. First, use good chocolate! Cheap chocolate often has stabilizers that make it melt poorly and look dull. Second, remember that little bit of coconut oil or shortening we added? That’s your insurance policy for that professional gloss! The other thing to avoid is splashing any water into the chocolate while melting—that makes it instantly dull and thick. Keep everything dry, use good chocolate, and you’ll get that amazing reflective finish.
How do I prevent the chocolate from cracking?
Oh man, cracking is the worst because it ruins the beautiful look we worked so hard for! Cracking usually happens because of a drastic temperature change between the cold berry and the chocolate, like slamming a frigid berry straight from the fridge into warm melted chocolate. Before you dip, pull your washed strawberries out and let them sit on the counter for about 20 to 30 minutes—just until they aren’t refrigerator-cold anymore. This ensures the temperature difference isn’t so harsh when they hit that warm coating. If the temperatures are close, the chocolate adheres better without stressing out and cracking later!
Estimated Nutritional Information for Chocolate Covered Strawberries
Okay, let’s talk fuel! Because we are using fresh fruit, these treats are actually pretty reasonable, but remember these numbers are just estimates based on the general recipe amounts we used. If you’re using extra thick layers of dark chocolate or piling the sweets high with toppings, your totals will change a little bit. But for a serving size of about three wonderful chocolate covered strawberries, this is generally what you’re looking at:
- Calories: Around 250
- Total Fat: About 15 grams
- Carbohydrates: Roughly 30 grams
- Protein: A nice little boost of 3 grams
It’s a dessert, so enjoy the sugar and fat, but know that you’re getting some nice vitamins from the strawberries in there too! Don’t stress too much about the exact numbers; just stress about making sure everyone gets seconds!
PrintEasy Chocolate Covered Strawberries: Smooth Dip and Topping Ideas

Learn how to make perfect, glossy chocolate covered strawberries with simple steps and tips for a smooth coating and creative toppings.
- Prep Time: 15 min
- Cook Time: 5 min
- Total Time: 20 min
- Yield: 4 servings
- Category: Dessert
- Method: Dipping
- Cuisine: American
- Diet: Vegetarian
Ingredients
- 1 pound fresh strawberries, washed and completely dried
- 10 ounces high-quality melting chocolate or chocolate chips (milk, dark, or white)
- 1 teaspoon coconut oil or vegetable shortening (optional, for smoother dipping)
- Assorted toppings (e.g., sprinkles, chopped nuts, crushed cookies)
Instructions
- Prepare the strawberries: Gently remove the green hulls, leaving the stems intact for easy dipping. Pat the strawberries completely dry with paper towels. Moisture prevents the chocolate from sticking.
- Melt the chocolate: Place the chocolate in a microwave-safe bowl. Microwave in 30-second intervals, stirring well after each interval, until the chocolate is mostly melted and smooth. Stir until completely smooth. If using, stir in the coconut oil or shortening for a thinner consistency.
- Dip the strawberries: Hold a strawberry by the stem or leaves. Dip it into the melted chocolate, swirling to coat about two-thirds of the berry. Lift the berry and gently rotate it to allow excess chocolate to drip off.
- Add toppings: Immediately after dipping, while the chocolate is still wet, gently roll the coated portion in your chosen toppings, or lightly sprinkle them over the chocolate.
- Set the chocolate: Place the dipped strawberries onto a baking sheet lined with parchment paper or wax paper.
- Chill: Allow the chocolate to set at room temperature for about 15 minutes, or place the tray in the refrigerator for 5 to 10 minutes until the chocolate is firm.
Notes
- For the best results, ensure your strawberries are completely dry before dipping. Any water will cause the chocolate to seize or separate.
- Use good quality melting wafers or chocolate bars for the best shine and texture.
- If you want white chocolate covered strawberries, use white chocolate chips or melting wafers, melting them separately.
- For a professional look, dip the berries quickly and use a fork or dipping tool to lift them out cleanly.
Nutrition
- Serving Size: 3 strawberries
- Calories: 250
- Sugar: 25
- Sodium: 10
- Fat: 15
- Saturated Fat: 9
- Unsaturated Fat: 6
- Trans Fat: 0
- Carbohydrates: 30
- Fiber: 2
- Protein: 3
- Cholesterol: 5
Comments are closed.