


You know those mornings, right? You blink, and suddenly it’s 7:30 AM, and you need something wholesome—like, yesterday—for lunchboxes or just to toss in your bag before rushing out the door. That frantic search for quick, grab-and-go snacks always sent me into a tailspin. That’s exactly why I perfected these no bake granola bars. I needed something chewy, sweet, and totally reliable without having to crank up the oven in the middle of July! If you love quick peanut butter fixes, you absolutely have to check out my peanut butter energy balls too.
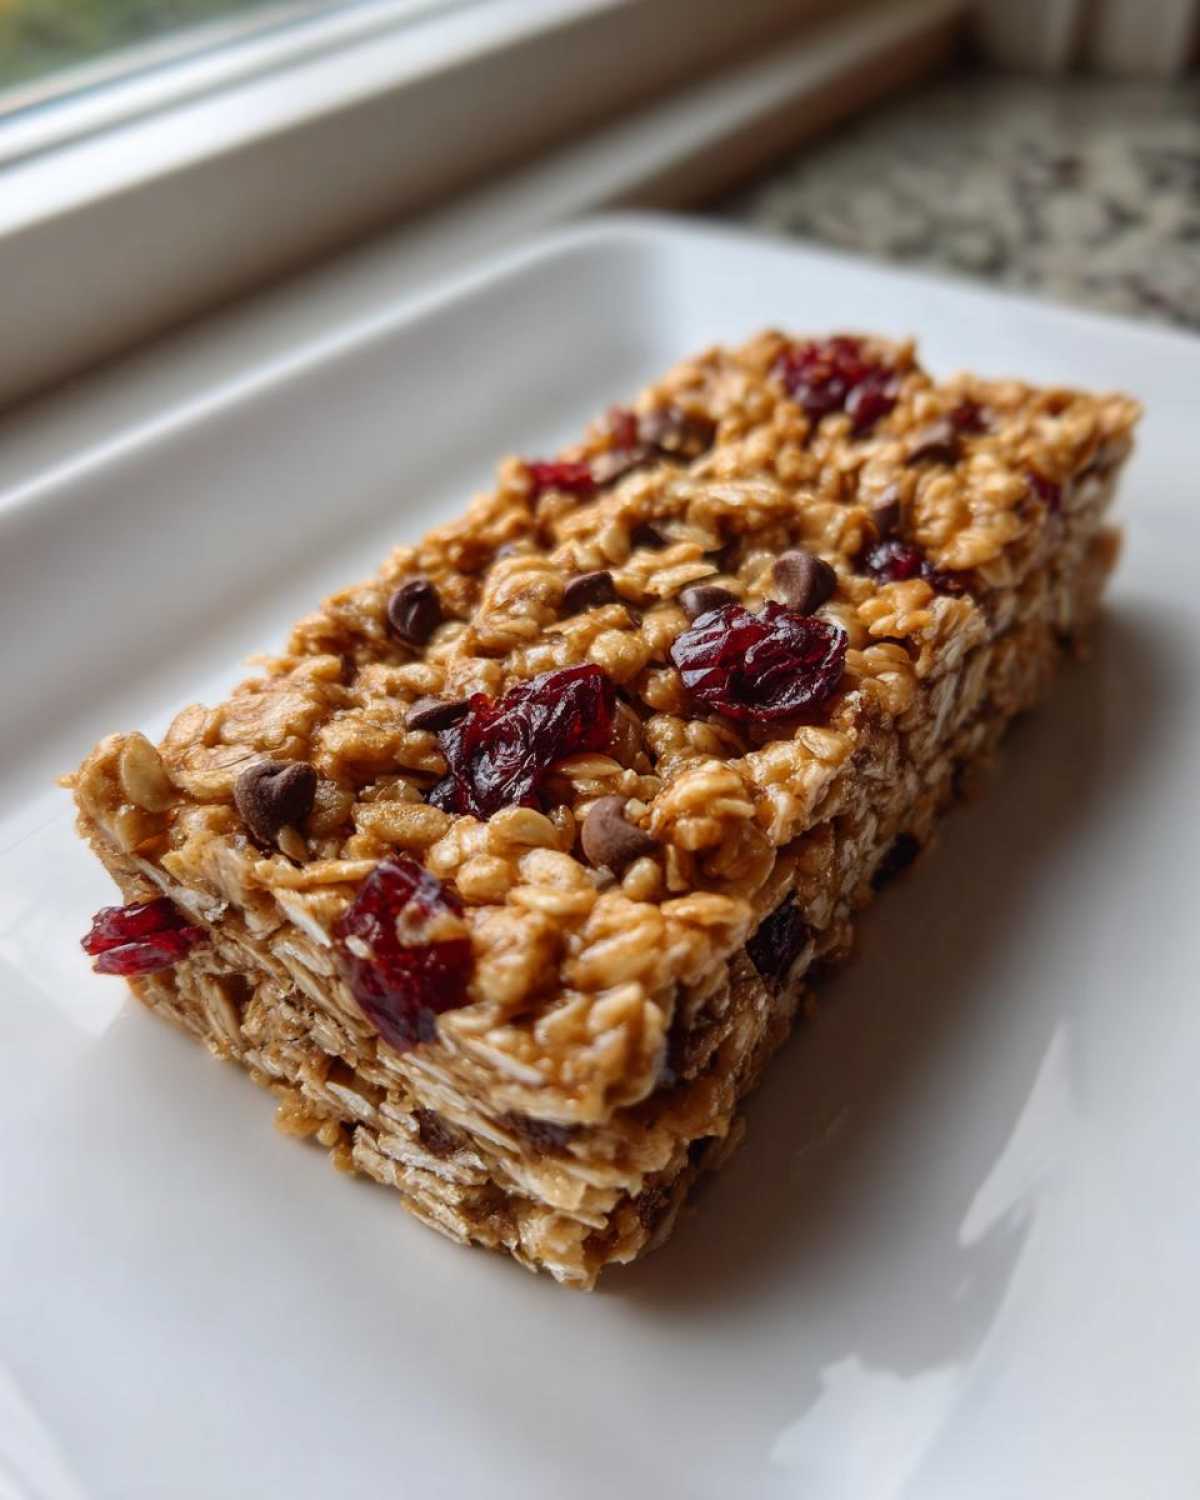
Seriously, forget those rock-hard, overly processed bars you stand in line for. These are the absolute best no bake granola bars because they come together in about 15 minutes of actual hands-on time. The secret sauce? It’s all in the binder—the perfect ratio of nut butter and sweetener guarantees they hold together beautifully. Trust me on this one; once you try this method, you’ll never go back. We’re talking about incredibly satisfying, homemade perfection that sets up perfectly chilling right in the fridge.
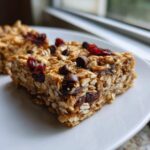
Why These Are the Best No Bake Granola Bars for Meal Prep Snacks
When you need something fast, these easy snack recipes are lifesavers. We aren’t dealing with preheating; we aren’t dealing with checking the oven temperature! These no bake granola bars are primarily about convenience and texture. They deliver that perfect chewy bite every single time. My personal favorite part is how quickly they transform from a messy bowl into portable energy packs.
- Speed is unbeatable: Prep time is just about 15 minutes before they head off to chill!
- Texture that satisfies: They stay perfectly chewy, not crumbly or hard.
- Brilliant for batch cooking: Setting them up in the fridge makes mornings so much simpler.
If you are looking for alternatives to my permanent recipe for homemade granola bars, these are definitely your winner for speed.
Quick Grab and Go Snacks Ready Fast
This is the beauty of no oven needed treats! You mix, you press, and you forget them in the fridge for a couple of hours. That’s it. The refrigerator does all the hard work of setting the binding agents. In just 120 minutes, you’ve got sturdy, sliceable snacks ready to go. It really doesn’t get any faster than this for something so satisfying.
Creating Healthy Lunchbox Ideas with No Bake Granola Bars
I feel so much better sending these off in lunchboxes knowing exactly what went into them. We are using rolled oats and flaxseed here, which makes them way more wholesome than anything I’ve seen on a grocery store shelf. These no bake granola bars are totally customizable, so hiding those nutritious ingredients is simple for picky eaters!
Gathering Ingredients for Ultimate No Bake Chewy Granola Bars
Okay, the key to great no bake granola bars is using ingredients you probably already have hanging around! We keep this list simple, but I want you to be super precise with those measurements because structure matters when you aren’t using the oven. For example, we need exactly 2 cups of rolled oats. We are skipping the big complicated shopping trip!
Here’s what you need to pull together for the perfect batch:
- 2 cups rolled oats
- 1 cup crispy rice cereal
- 1/2 cup peanut butter (or almond butter if that’s what you have!)
- 1/2 cup honey or maple syrup
- 1/4 cup ground flaxseed
- 1/4 cup mini chocolate chips
- 1/4 cup dried cranberries
- 1 teaspoon vanilla extract
- 1/4 teaspoon salt
If you’re already stocking up on nut butter treats, you might want to peek at my recipe for energy balls while you are at it!
Binding Agents for Perfect No Bake Granola Bars
This is where the structure magic happens for these no bake granola bars! We use a simple, warm mix of peanut butter and honey—or maple syrup if you are avoiding honey. Heating them just slightly makes them liquid enough to coat every single oat and chip perfectly. This gooey embrace is what keeps your bars holding their shape once they chill down.
Customizing Your Oat Snack Bars
Don’t feel locked into the chocolate chips and cranberries if that isn’t your favorite combo. These oat snack bars are meant to be flexible! If you have walnuts or sunflower seeds lying around, toss them in instead of the cranberries. You can easily swap in raisins or dried apricots. The mixer is very forgiving, just keep the total volume of add-ins about the same!
Step-by-Step Guide to Making No Bake Granola Bars
I know recipes can seem intimidating, but trust me on this—making these no bake granola bars is ridiculously simple. It’s just mixing wet and dry, then pressing it into the pan and waiting! Before you do anything, take an 8×8 pan and line it with parchment paper, making sure you leave a big overhang on the sides. That overhang is your best friend later for lifting the whole slab out cleanly. You might want to check out my recipe for easy 5-ingredient corn soup if you need a guaranteed fast side dish!
Once it’s prepped, it’s all downhill from there until chilling time. We’re going from bowl to fridge in under 15 minutes, promise!
Preparing the Binding Mixture
Grab your microwave-safe bowl first. We combine the peanut butter and honey. Pop that in the microwave for maybe 30 to 45 seconds. You just want it warm enough to stir easily into a smooth, liquid blend. Don’t go too long, or it gets too runny! Stir in that vanilla extract right away until it looks seamless before you even think about the oats.
Mixing and Pressing Your No Bake Healthy Bars
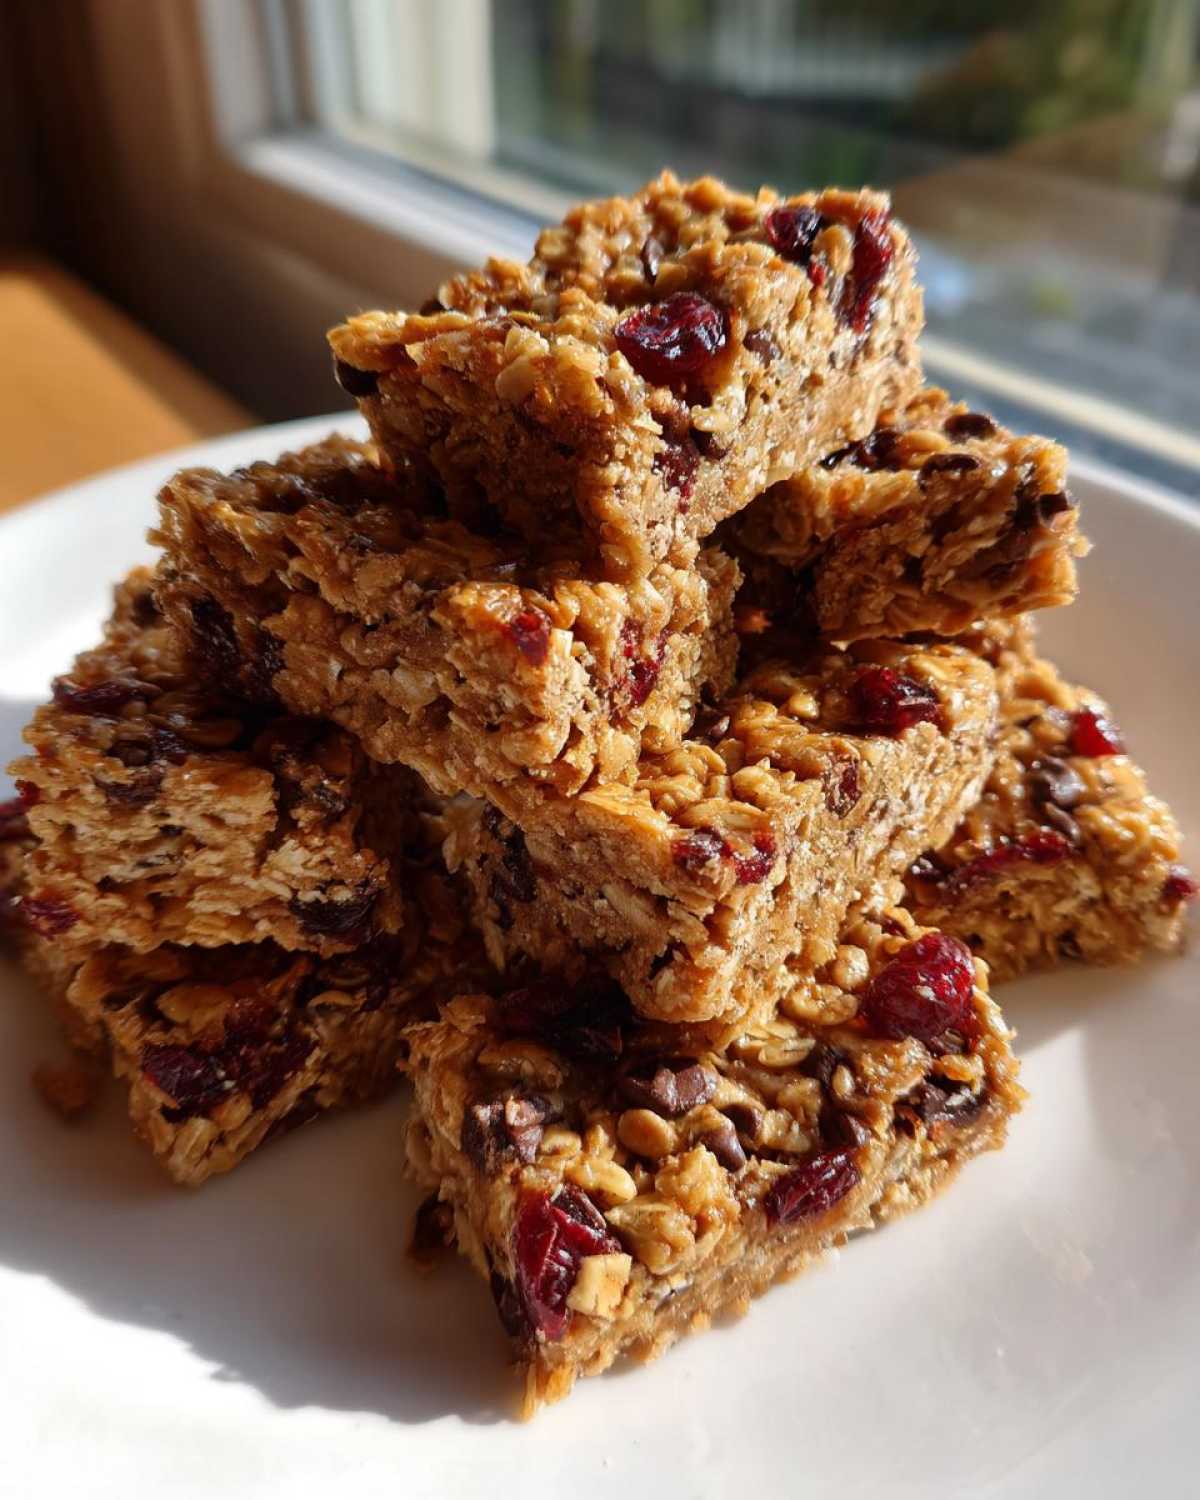
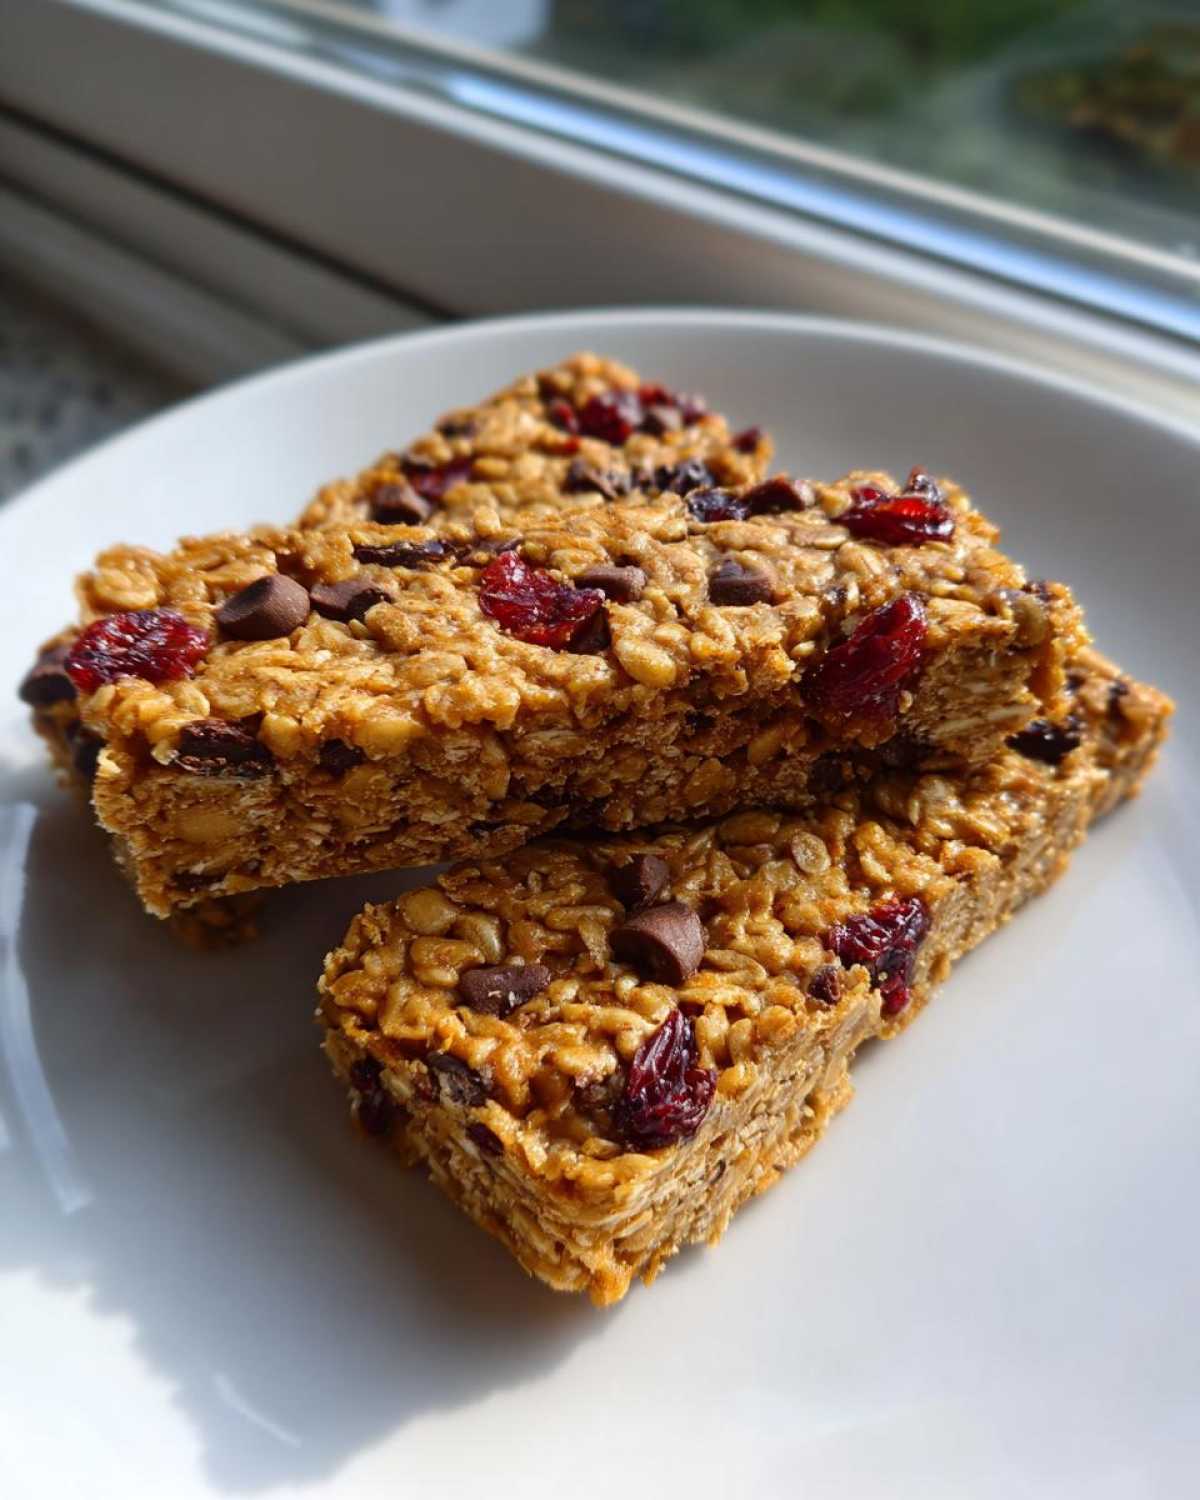
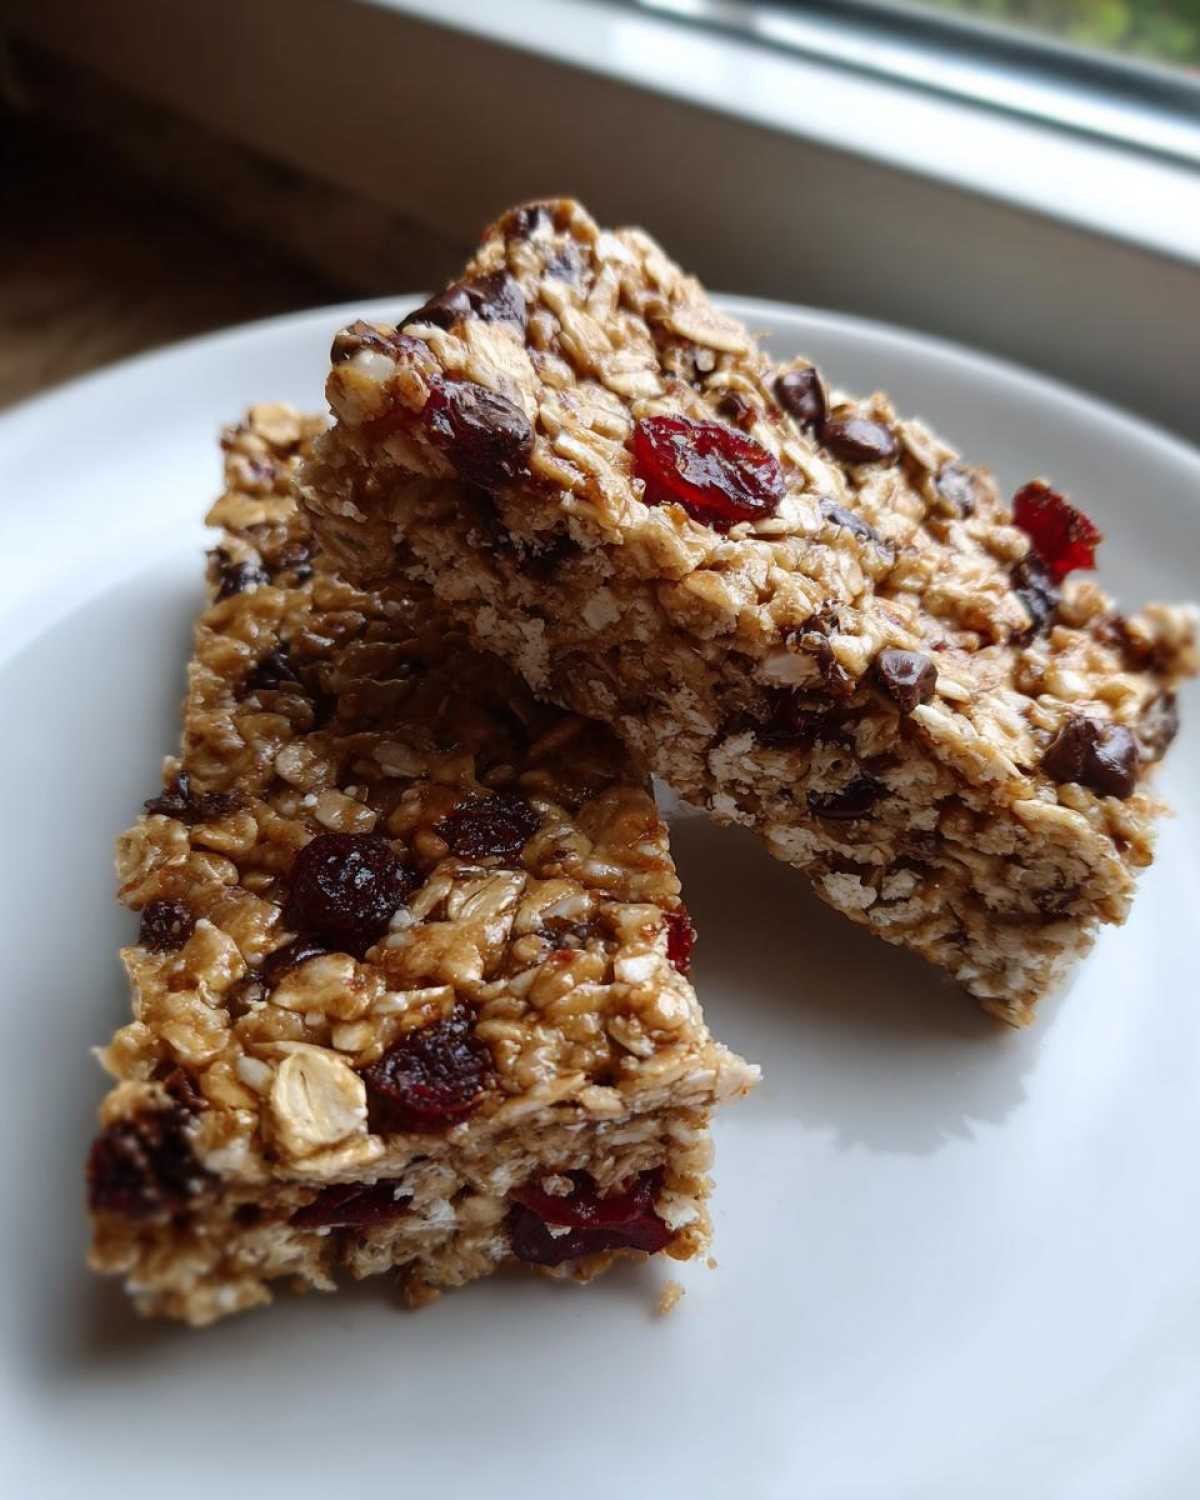
Now, dump everything else—oats, cereal, flax, the chips, and cranberries—right into that bowl. Mix it thoroughly! I mean it, every single oat needs to be coated in that sticky binder; no dry pockets allowed. Then, transfer the mix to your prepared pan. Use a spatula or even a piece of wax paper on top of the mixture to press it down hard. Compact it firmly! A dense press is what keeps these no bake granola bars from crumbling when you slice them later.
Expert Tips for Perfect No Bake Granola Bars Every Time
We’ve got the recipe down, but to make these truly the best no bake granola bars out there, you need a few tricks up your sleeve! Getting that perfect, slightly soft, chewy texture instead of something that shatters when you bite it is all about control—especially concerning temperature. It’s the difference between a satisfying snack and a broken mess in your lunch bag. Don’t worry, these small details make a huge difference in the final product!
If you’ve ever struggled with crumbling bars, mastering the press and the chill time is key. For more tips on achieving perfect structure, you can always look at my other general guide for homemade granola bars recipe, even though these don’t need the oven!
Achieving the Ideal Texture in Homemade Granola Bars
Remember how we slightly warmed the binder? That initial warmth is crucial because it allows the mixture to coat everything without scorching the honey. Once mixed, don’t rush the setting process! You need that minimum of two hours chilling. Honestly, letting them rest in the fridge overnight makes them even easier to slice cleanly, which is great for those perfect squares.
Storage and Keeping Your No Bake Granola Bars Fresh
Since we skipped the oven, these no bake granola bars rely on the fridge to stay wonderfully firm and fresh. For meal preppers, this is fantastic news! You just transfer the cut bars into a truly airtight container. I like using glass containers so I can see what’s inside!
The best part? They last really well. Storing them in the refrigerator keeps them perfectly chewy and crisp for up to a full week. Try not to leave them sitting out on the counter for days, especially if your kitchen runs warm, because that binder might get a little soft on you.
Variations for Your Nut Butter Bars
One thing I adore about making no bake granola bars at home is that you can switch things up every week! If you get tired of peanut butter, go right ahead and swap it for almond butter or even sunflower seed butter if you have a nut allergy in the family. That keeps things interesting!
Feel free to play with the mix-ins too. Swap the dried cranberries for chopped dried apricots or maybe go for a tropical flavor with shredded coconut. If you’re looking for something extra decadent, you can try swapping the chocolate chips for chopped white chocolate chunks. For more fun ideas showing off what you can do, check out my chocolate peanut butter bars for inspiration!
Serving Suggestions for These Easy Snack Recipes
These easy snack recipes are honestly perfect for anything! I love grabbing one straight from the fridge alongside my morning coffee—that little bit of sweetness is the perfect start. They’re sturdy enough for post-workout fuel, too, just toss one in your gym bag. Honestly, sometimes I crumble one over my plain yogurt for breakfast!
If you need a warmer beverage pairing, you have to try them with my rich iced brown sugar latte. It’s a real treat for breakfast or an afternoon pick-me-up!
Frequently Asked Questions About No Bake Granola Bars
I always get so many questions about these amazing no bake granola bars because people can’t believe how easy they are! Since we’re skipping the oven, people always wonder about stability and substitutions. Here are the top things I hear about making these quick and wholesome treats.
Can I make these energy bars homemade without any nut butter?
That’s a great question, especially if you have allergies! You absolutely can. If you need something free of peanuts or tree nuts, swap out the peanut butter for sunflower seed butter or even tahini. They are fantastic binders for these energy bars homemade. Just make sure the seed butter you use isn’t too thick. If it is, microwave it for just a touch longer to help it blend easily!
How long do the no bake granola bars need to chill?
This is the most crucial part for getting clean cuts! I always say you need a minimum of two hours in the refrigerator. That gives the honey and peanut butter enough time to firm up properly. However, if you want those super neat slices—perfect for kid friendly snacks—I highly recommend letting them chill overnight in the fridge. They become wonderfully firm and slice like a dream.
If you’re looking for more great ways to use up your pantry staples, you should browse all my easy snack recipes—there are so many ways to avoid turning on the oven with these no oven needed treats!
Nutritional Snapshot of These Simple Pantry Recipes
Since these simple pantry recipes rely on simple ingredients like oats and peanut butter, they offer a nice little boost! Remember, because we are customizing so much with dried fruit and chips, these numbers are just an estimate per bar. We are looking at roughly 220 calories, about 6 grams of protein, and 12 grams of sugar per serving. It’s a solid base for a healthy snack!
PrintUltimate 15-Minute No Bake Chewy Granola Bars
Make simple, chewy granola bars without turning on your oven. These bars are perfect for quick meal prep and grab-and-go snacking.
- Prep Time: 15 min
- Cook Time: 0 min
- Total Time: 2 hours 15 min
- Yield: 12 bars
- Category: Snack
- Method: No Bake
- Cuisine: American
- Diet: Vegetarian
Ingredients
- 2 cups rolled oats
- 1 cup crispy rice cereal
- 1/2 cup peanut butter (or almond butter)
- 1/2 cup honey or maple syrup
- 1/4 cup ground flaxseed
- 1/4 cup mini chocolate chips
- 1/4 cup dried cranberries
- 1 teaspoon vanilla extract
- 1/4 teaspoon salt
Instructions
- Line an 8×8 inch baking pan with parchment paper, leaving an overhang on the sides for easy removal.
- In a large microwave-safe bowl, combine the peanut butter and honey (or maple syrup). Microwave for 30 to 45 seconds until softened and easily stirrable.
- Stir the vanilla extract into the warm mixture until smooth.
- Add the rolled oats, crispy rice cereal, flaxseed, chocolate chips, dried cranberries, and salt to the bowl.
- Mix all ingredients thoroughly until everything is evenly coated with the binder.
- Press the mixture firmly and evenly into the prepared baking pan. Use the back of a spatula or a piece of wax paper to compact it well.
- Refrigerate the bars for at least 2 hours, or until completely firm.
- Lift the bars out of the pan using the parchment paper overhang. Cut into 12 even bars.
Notes
- For firmer bars, chill them in the refrigerator before cutting.
- Store leftovers in an airtight container in the refrigerator for up to one week.
- Substitute dried fruit or nuts based on what you have available.
Nutrition
- Serving Size: 1 bar
- Calories: 220
- Sugar: 12g
- Sodium: 95mg
- Fat: 10g
- Saturated Fat: 3g
- Unsaturated Fat: 7g
- Trans Fat: 0g
- Carbohydrates: 32g
- Fiber: 3g
- Protein: 6g
- Cholesterol: 0mg


Comments are closed.