


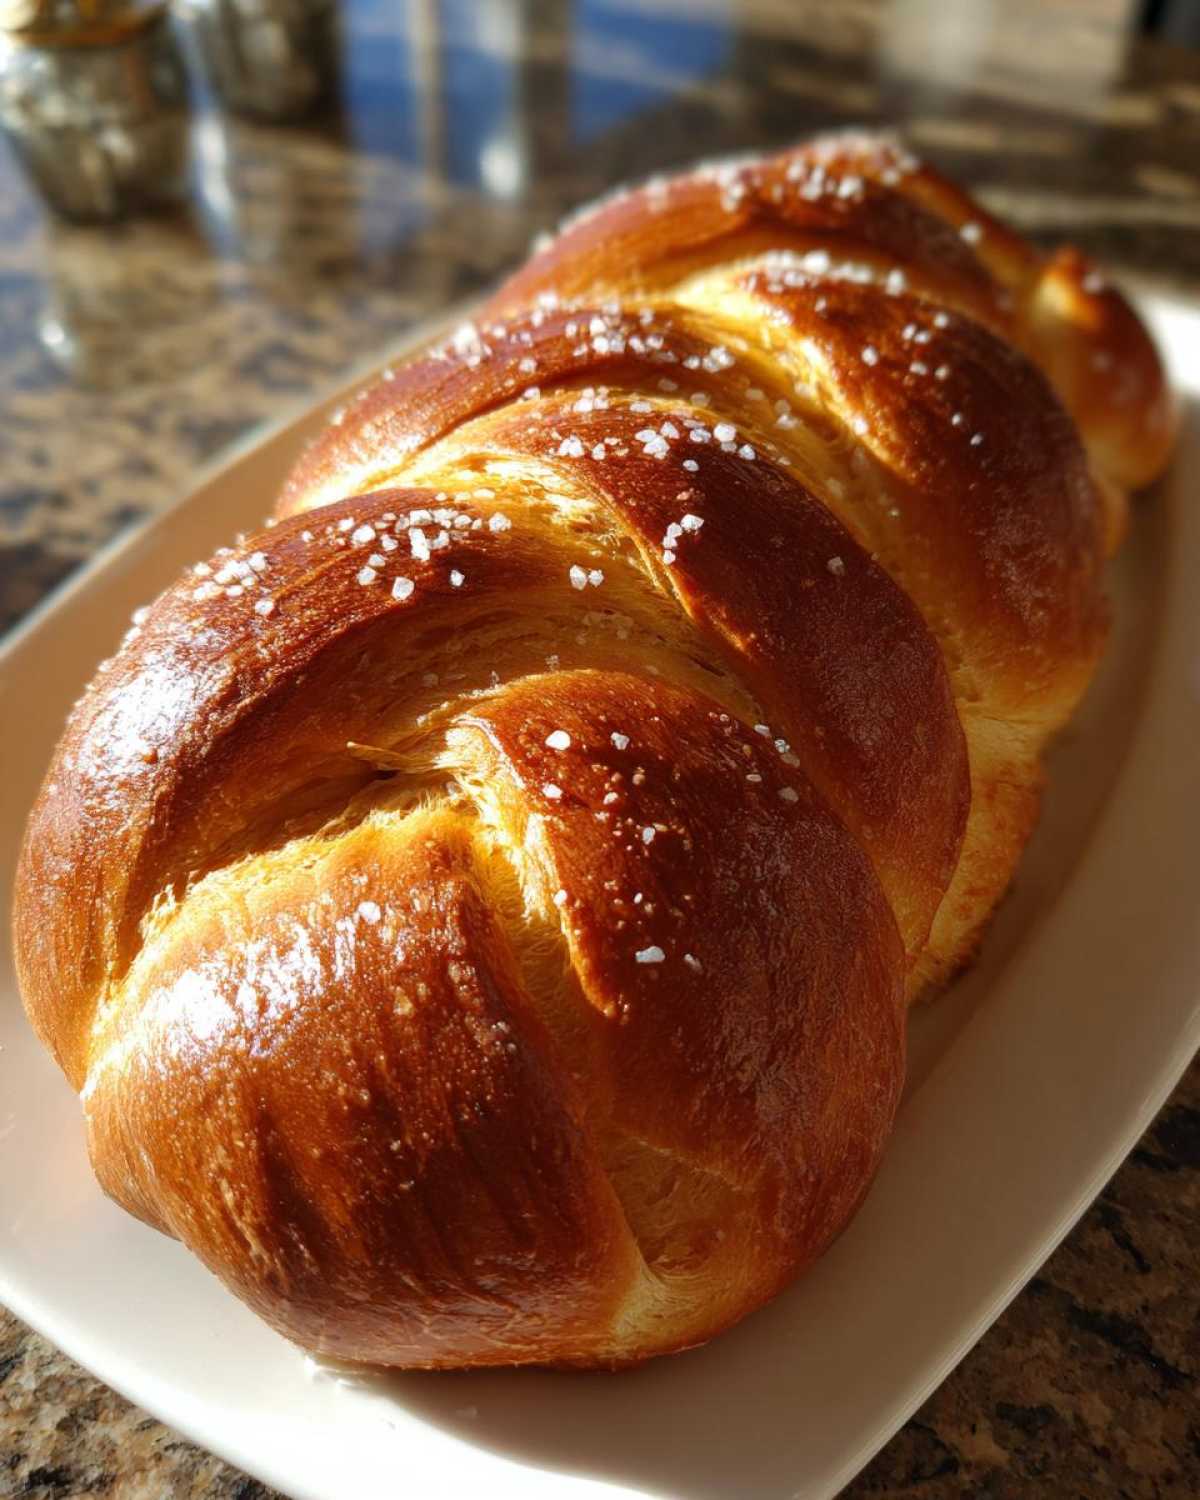
There is nothing, absolutely nothing, that beats the smell of yeast dough rising, especially when you know you’re making something truly special. I’m obsessed with enriched doughs—those beautiful, soft, buttery creations that just beg to be pulled apart. If you have ever struggled to get that perfect, fluffy interior while still maintaining a beautiful structure, trust me, I’ve fought those battles in my own kitchen! This recipe is the one that finally clicked for me. Get ready, because this Challah Bread with Honey and Sea Salt is going to change how you bake bread forever, hitting that perfect note between sweet treat and savory centerpiece.
This version is my ultimate favorite weeknight baking project. It takes a little time, but every second spent kneading or braiding is worth it. We’re using honey not just for sweetness, but for incredible moisture, and then balancing that richness with a bold sprinkle of coarse sea salt right before it hits the oven. If you follow these steps closely, you’re guaranteed a stunning loaf. You can see the technique I use for my dressings here, which relies on careful emulsification, and that same precision applies perfectly to making sure this challah dough comes out velvety.
Why This Challah Bread with Honey and Sea Salt Recipe Works (E-E-A-T)
If you’re looking for just another standard white bread, this isn’t it! What makes this recipe truly superior is the complexity we build into this soft egg bread recipe. It’s all about the interplay between the mild, earthy sweetness of the honey and that surprising, sharp bite of sea salt on top. Most recipes use sugar, but honey does double duty: it keeps the crumb unbelievably moist because it draws in humidity, and it adds that deep, slightly floral undertone that just screams quality.
My expert tip, learned after ruining a few batches early on, is this: never add honey directly to dry yeast, and make sure your water isn’t too hot! Honey is absorbed differently than pure granulated sugar, and if it gets too hot, it can actually inhibit the yeast’s happy little activities. Keep that water warm, not scalding, and you’ll get the best rise possible. This attention to temperature is what separates a good loaf from an artisan one, giving you that perfect, pillowy texture everyone talks about.
The Sweet and Savory Balance in Challah Bread with Honey and Sea Salt
When you slice into this loaf, you are going to notice the lack of gumminess—that’s the honey working its magic to keep things soft, not dense. Then comes the payoff! That sprinkle of flaky, coarse sea salt on the crust is essential. It completely cuts through the sweetness of the honey glaze underneath the salt and the richness of the eggs, creating a flavor profile that works beautifully whether you’re eating it plain or dipping it into something sweet or savory.
Gathering Ingredients for Challah Bread with Honey and Sea Salt
Alright, let’s talk about gathering our supplies! Since this is such a simple dough, the quality of what you use really shines through, especially those two key flavor drivers. You need bread flour—it gives us the structure for that great braid—and of course, we need our wet ingredients ready to go. I trust the ingredients I use for my dressings, like the ones you can find detailed in my honey mustard recipe, and that care translates straight into baking!
Make sure your warm water is exactly right, between 105–115°F, because that’s where the yeast is happiest. We’re using 1/4 cup of honey for that subtle flavor and moisture boost, two lightly beaten eggs for richness, and neutral oil. Don’t forget the salt for the dough itself, and then—the star—a teaspoon of coarse sea salt set aside just for topping. We want crunch and pop, not just dissolution!
Ingredient Notes and Substitutions for Artisan Honey Bread
When you grab your yeast, this recipe calls for instant yeast because it blends right in with the flour, but I know many bakers prefer active dry. If you use active dry, you just need to wake it up first! Bloom it gently in the warm water for about ten minutes before adding anything else—it’s a little more patience, but totally worth it for this artisan honey bread.
As for the sweetener, honey is really hard to beat here, but if you’re out, maple syrup is a brilliant substitute! It will change the flavor profile slightly, giving it a deeper, woodsy note, but it still provides that fantastic moisture density we’re after. Just make sure you measure it carefully, sticking close to the 1/4 cup measurement.
Step-by-Step Instructions for Your Challah Bread with Honey and Sea Salt
Okay, now comes the fun part where we get our hands dirty! This is where the magic of transforming a sticky mess into a beautiful, glossy loaf happens. First things first, we need to wake up that yeast. Dissolve it in the warm water—and I mean warm, not hot! Let it sit for five minutes until it looks foamy and happy. That’s your visual confirmation everything is working perfectly to start this simple bread kneading instructions journey.
Next, mix in your honey, the two eggs, and the oil. Once that’s combined, gradually start folding in the flour until you have what I call a ‘shaggy dough.’ Then, turn it out onto a lightly floured surface. Don’t be too shy; you need to knead this for a good 8 to 10 minutes until it feels smooth and elastic. It’s going to feel tacky at first, but keep working it!
Then, put it in an oiled bowl, cover it up, and let it rest for about an hour and a half until it’s doubled. That’s the first rise, the crucial time where the honey starts doing its work on the crumb structure. Once it’s puffed up, gently punch it down—don’t deflate it completely! Divide it for your braid, cover it again, and give it a final 30-to-45-minute proof before we bake. That timing is key for a light finish!
Mastering Dough Braiding Techniques Guide for Challah Bread with Honey and Sea Salt
This is the glamorous part where everyone thinks you’re a professional baker! For a standard loaf, we’re aiming for three strands. If you’re feeling brave, go for six! For the classic three-strand braid, take your three ropes of dough. Lay them side by side. You take the right end, cross it over the middle piece—now it’s the new middle. Then, take the left end, cross it over the new middle piece. You just repeat that simple ‘over-over’ pattern until you run out of dough rope. Really pull those strands gently as you go to keep the tension high; this is part of our dough braiding techniques guide for maximum oven spring!
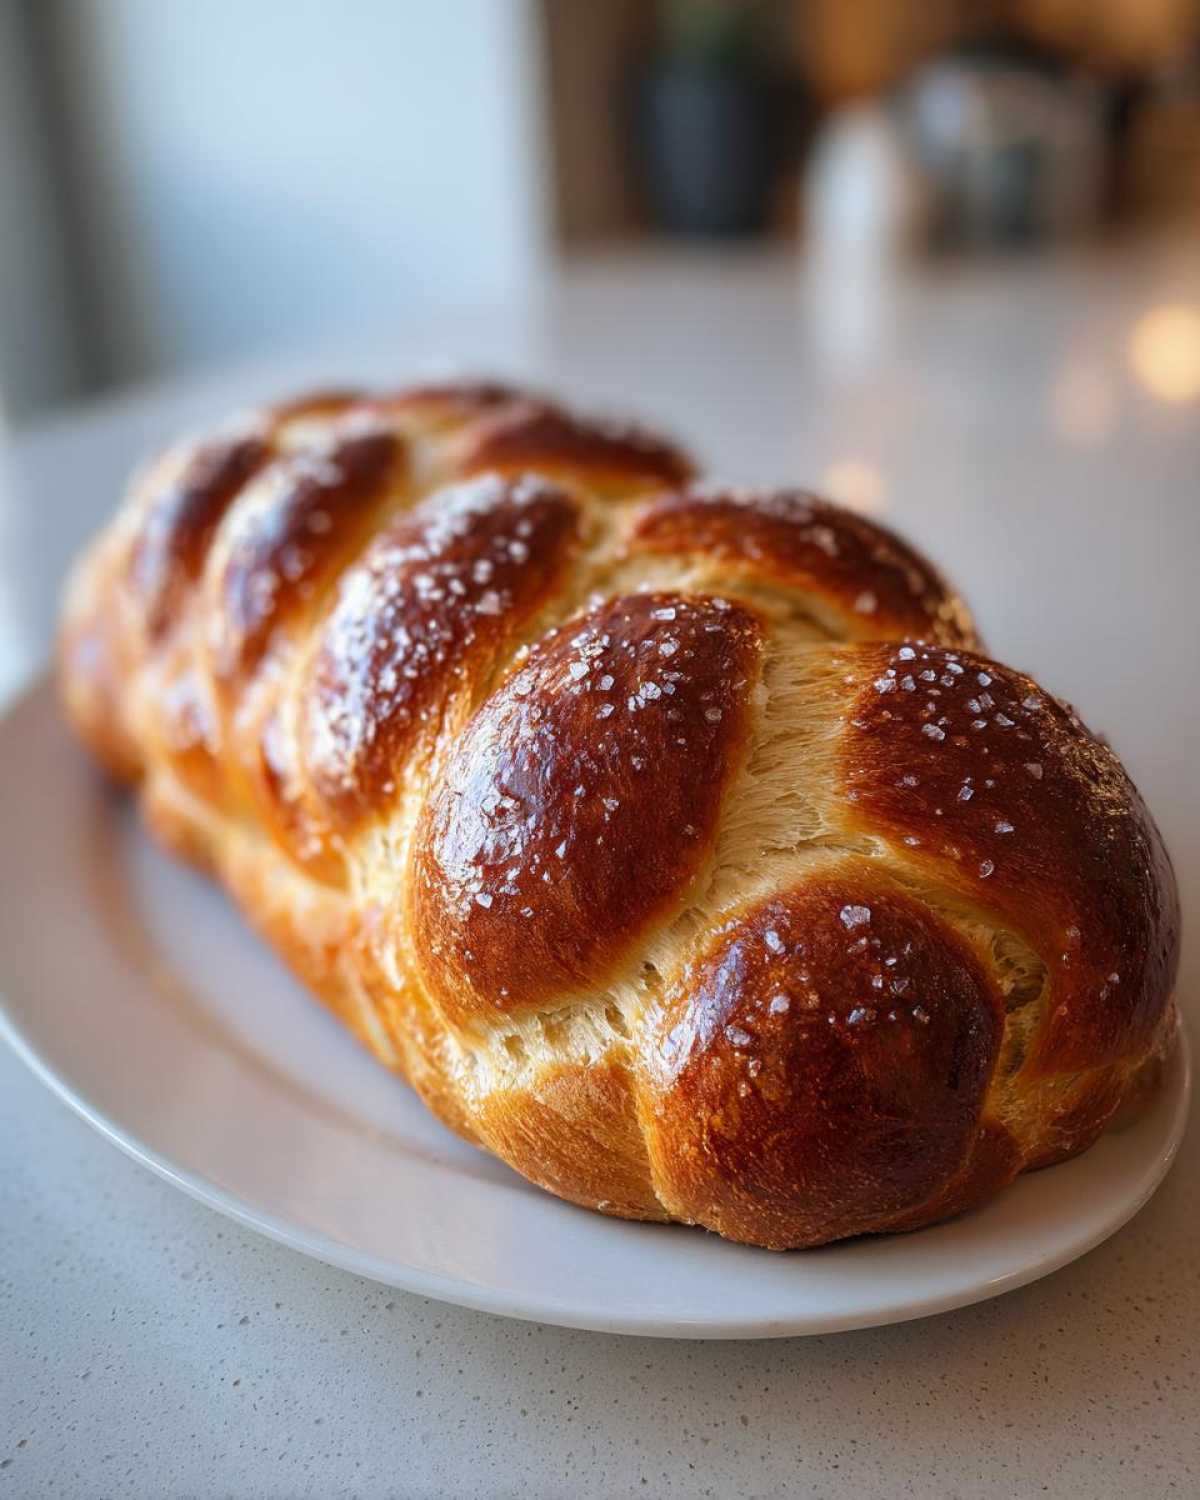
Make sure the ends are tucked securely underneath the loaf when you place it on your parchment-lined baking sheet. A tight braid results in a beautiful loaf that holds its shape when baked, which is exactly what we want for this stunning presentation.
Achieving the Perfect Crusty Bread Finishing Salt Application
Before this beautiful braid goes anywhere near the heat, we need to prepare that signature look. First, mix that one egg yolk with a tablespoon of water—that creates our egg wash. Brush this mixture over the entire surface of the braided dough. This is non-negotiable! It’s what locks in the richness and gives you that gorgeous, deep golden sheen; without it, the color will be dull.
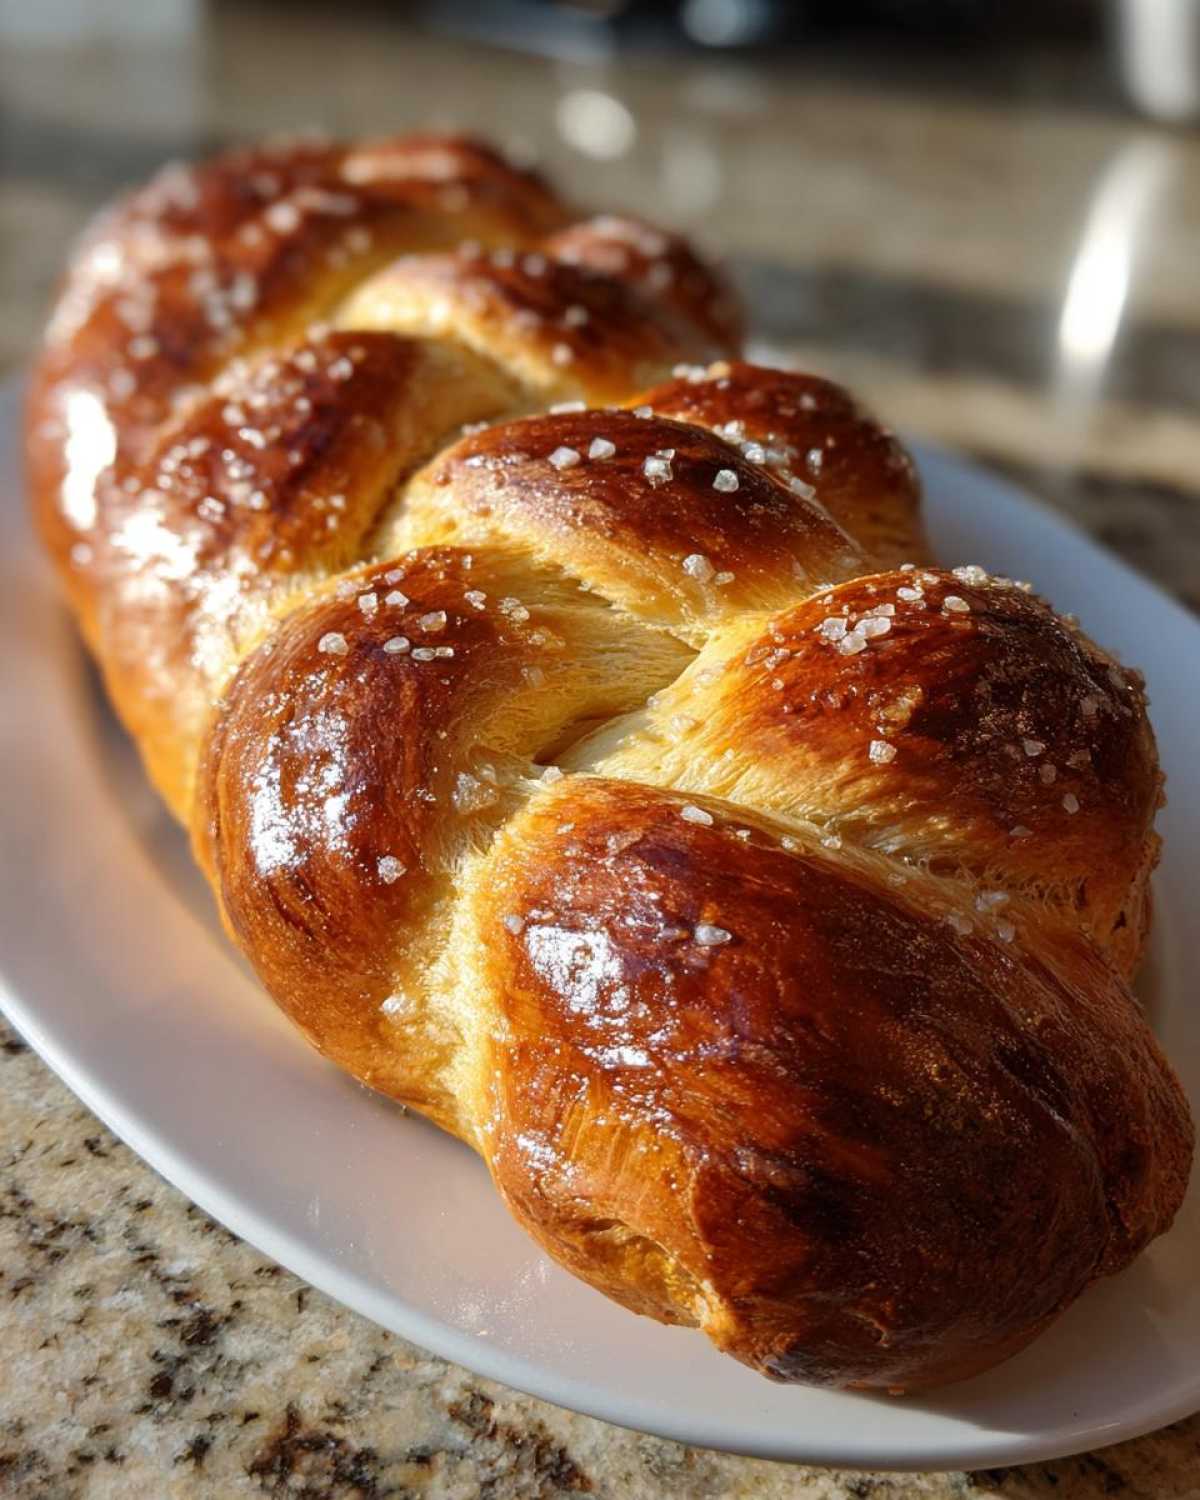
Once it’s coated, immediately grab your coarse sea salt—trust me, use the coarse kind here, not the fine stuff you used in the dough. Generously sprinkle it over the shiny surface. This is how we get that incredible visual contrast and the satisfying burst of salinity against the sweet dough. That crunch is unbeatable. I recommend checking out my salad recipes for pairings; you’ll want something bright to go with this rich bread!
Baking Temperature and Time for Challah Bread with Honey and Sea Salt
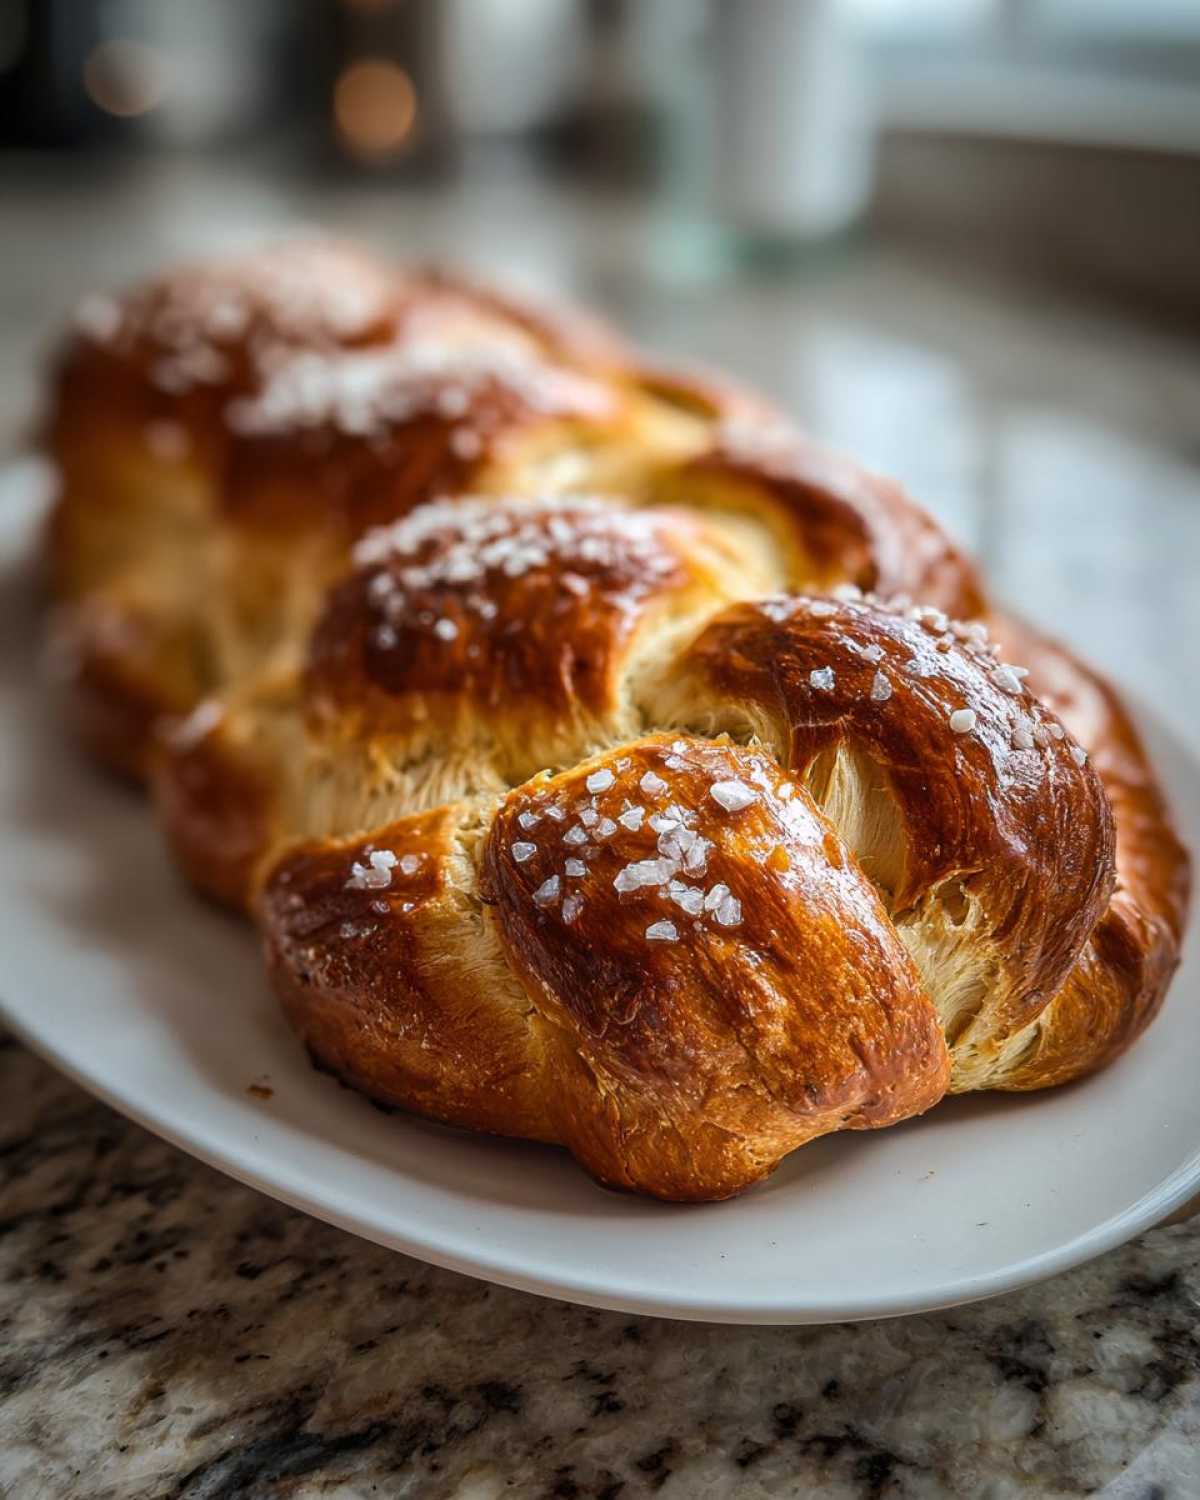
Now for the moment of truth! We need to get that oven hot and ready for our masterpiece. Preheat it to 375°F (190°C). Since this is an enriched loaf packed with honey and eggs, it browns beautifully, but that also means it can sometimes burn on the outside before the middle cooks through. That’s why checking the temperature is so important for that E-E-A-T factor!
Bake the loaf for about 25 to 35 minutes. I tell everyone to ignore the clock for the first 20 minutes, though, and focus on testing it. The absolute best way to know for sure is to use a thermometer inserted into the thickest part of the braid—you are looking for an internal temperature of 200°F (93°C). Don’t settle for just the toothpick test here!
If you notice the crust is getting too dark, say around the 20-minute mark, don’t panic! Just grab a piece of foil, loosely tent it over the top, and continue baking until you hit that 200°F mark. This gentle cover keeps that gorgeous color while letting the inside cook fully. It’s the same principle I use when making my beer can chicken—protecting the outside while slowly cooking the inside to perfection! Once it’s done, get it straight onto a wire rack to cool.
Tips for Success with Your Sweet Braided Bread Recipe
Look, baking bread takes patience, especially when you’re dealing with all those lovely eggs and honey in this sweet braided bread recipe. If you want this challah to rise like a dream and taste bakery-worthy, you have to pay attention to the little things. I’ve collected all my scribbled notes from my baking journal right here, so you don’t have to learn these the hard way!
First, remember that note about the yeast? If you only have active dry yeast on hand, don’t try to rush it! You absolutely must let it bloom in the water for a full ten minutes before you add the honey and eggs. That initial blooming step is your insurance policy for a good rise. Secondly, if you’re worried about the crust being too shiny or hard, use that foil trick I mentioned earlier during the last 10 minutes of baking. A loose tent keeps the ambient heat gentle.
My final, crucial piece of advice centers on cooling. This is an enriched bread, remember? Set that beautiful loaf on a wire rack immediately after it comes out of the oven and let it cool completely before you even *think* about slicing it. Slicing warm challah traps steam inside, which turns that beautiful, fluffy crumb into something slightly gummy. If you need a little something fun to serve it with while you wait, try my strawberry glazed doughnuts—they’re already cooled when you eat them!
Storage and Reheating Instructions for Homemade Traditional Challah
This homemade traditional challah is a treasure, and we want to keep it tasting fresh for as long as possible! Because it’s so enriched with eggs and oil, this bread stays soft much longer than a lean French baguette. However, it absolutely must be stored correctly. Once it’s fully cooled—and I mean completely cool, or you’ll steam it soft—wrap it tightly in plastic wrap, and then pop that into an airtight bag or container.
Keep it on the counter at room temperature. Don’t refrigerate it; that speeds up staling! If you find it’s softened up a bit by day two or three, don’t worry about throwing it out. Just slice what you need and give those slices a quick toast or a gentle warming in the oven. It pairs wonderfully with savory dishes, just like the chicken pesto pasta I love making!
Frequently Asked Questions About Baking with Honey versus Sugar
I always get a flood of questions when people try this specific sweet and savory challah for the first time! It’s natural when you’re changing up a traditional recipe to wonder how the ingredients will behave during the process. Here are the top things I get asked about, mainly revolving around the yeast and that amazing honey flavor.
Can I use Active Dry Yeast instead of Instant?
Absolutely, you can! If you check my notes above, I touched on this briefly, but it’s worth repeating because it’s so important for yeast bread success. Instant yeast is convenient because you toss it right in with the dry ingredients, but if you only have active dry, you just need an extra step. You must treat it gently first. Mix the active dry yeast into the warm water—and make sure that water is definitely in that 105°F to 115°F range—and let it sit undisturbed for a full ten minutes. It needs to get foamy! If it doesn’t foam up, your yeast is dead, and you’ll need to start over. That bloom is your proof that your loaf is going to rise beautifully.
How does honey affect the texture compared to granulated sugar?
Oh, this is the best question, and it gets right to the heart of why I developed this recipe this way! Granulated sugar dissolves easily and primarily sweetens. Honey, though, is hygroscopic, which is a fancy way of saying it loves to hold onto moisture. Because of that, using honey keeps the finished Challah Bread with Honey and Sea Salt incredibly soft and moist for days longer than if we used white sugar. It’s a huge textural advantage, lending a slight, almost cake-like tenderness to an otherwise structured bread.
Is this Challah Bread with Honey and Sea Salt suitable for a Weekend Baking Project Bread?
Yes, 100%! While the total time is a couple of hours—mostly hands-off rising time—this is the perfect weekend baking project bread. The active work is really only about 20 minutes for mixing and kneading, and then 15 minutes for braiding. The rest of the time is simply letting the dough do its thing in a warm spot. It’s incredibly rewarding to pull such a stunning loaf out of the oven, knowing you put in minimal active effort for such a delicious payoff!
Do I have to use coarse sea salt on top? Can I skip it?
You definitely *can* skip it, but then you’d be missing out on half the recipe’s magic! Remember, we’re balancing the sweetness of the honey inside the dough. That coarse sea salt on the crust provides the textural crunch and the necessary salty contrast. Fine salt dissolves instantly into the egg wash, so you won’t get that savory burst. I like to serve this bread alongside bright dishes, like my lemon ricotta pasta, and that salty crust makes every bite perfectly balanced.
Serving Suggestions for Your Enriched Bread with Natural Sweetener
Once you have this gorgeous, slightly sweet, slightly salty loaf hanging out on your cooling rack, you’ll realize it’s incredibly versatile! It’s too good just to eat plain, although I certainly won’t judge you if you steal a slice while it’s still warm. Because this enriched bread with natural sweetener has such a lovely, soft crumb, it performs wonders in sweet applications.
You absolutely MUST try making French toast with it; the honey soaks up the custard beautifully, and the sea salt topping gives you a stunning edge that standard bread just can’t match. It’s also the base for the most incredible bread pudding you will ever make—the texture holds up perfectly!
But don’t limit yourself to sweet things! This challah is fantastic served alongside savory, slightly acidic dishes. I love bringing it out when I serve shellfish, like mussels, because the slight sweetness complements the brine. It’s amazing mopped up with the leftover sauce from my Moules Frites—seriously, don’t skip dipping the crust in that garlic butter sauce!
Estimated Nutritional Data for Challah Bread with Honey and Sea Salt
Okay, if you absolutely *must* count calories while enjoying this incredible loaf—and trust me, I usually don’t bother when the bread is this good—here is the baseline. Remember, these numbers are just guidance based on my specific ingredient brands, especially that delicious honey! They can vary quite a bit depending on the size of your eggs or the exact oil you use.
For one slice, you’re looking at roughly 220 calories. We have about 6 grams of fat, a healthy 37 grams of carbohydrates (hello, flour and honey!), and 7 grams of satisfying protein. It’s a fairly standard breakdown for an enriched, slightly sweet bread like this. I pair my slices with spicy salmon tacos all the time, and this bread holds up beautifully!
Keep in mind that since we are using natural sugars from the honey, the sugar content is around 6 grams per slice. Take these numbers as a rough estimate, sweet bakers, and enjoy every bite!
PrintChallah Bread with Honey and Sea Salt

A recipe for traditional braided Challah bread enriched with honey for sweetness and topped with sea salt for a balanced flavor.
- Prep Time: 30 min
- Cook Time: 35 min
- Total Time: 2 hr 40 min
- Yield: 1 loaf
- Category: Bread
- Method: Baking
- Cuisine: Jewish/General
- Diet: Vegetarian
Ingredients
- 3 cups bread flour
- 1 teaspoon instant dry yeast
- 1 teaspoon fine sea salt (for dough)
- 1/4 cup honey
- 1/4 cup warm water (about 105-115°F)
- 2 large eggs, lightly beaten
- 1/4 cup neutral oil (like canola or vegetable)
- 1 large egg yolk (for egg wash)
- 1 tablespoon water (for egg wash)
- 1 teaspoon coarse sea salt (for topping)
Instructions
- In a large bowl, dissolve the yeast in the warm water. Let it sit for 5 minutes until foamy.
- Add the honey, 2 eggs, oil, and the dough salt to the yeast mixture. Mix well.
- Gradually add the flour, mixing until a shaggy dough forms.
- Turn the dough out onto a lightly floured surface and knead for 8 to 10 minutes until the dough is smooth and elastic.
- Place the dough in a lightly oiled bowl, turning to coat. Cover the bowl with plastic wrap and let it rise in a warm place for 1 to 1.5 hours, or until doubled in size.
- Gently punch down the risen dough. Divide it into three equal pieces for a three-strand braid, or six pieces for a six-strand braid.
- Shape each piece into a rope. Braid the ropes tightly. Place the braided loaf on a baking sheet lined with parchment paper.
- Cover the loaf loosely and let it proof for 30 to 45 minutes, or until puffy.
- Preheat your oven to 375°F (190°C).
- In a small bowl, whisk together the egg yolk and 1 tablespoon of water to make the egg wash. Gently brush the entire surface of the loaf with the wash.
- Sprinkle the coarse sea salt evenly over the top of the loaf.
- Bake for 25 to 35 minutes, or until the crust is deep golden brown and the internal temperature reaches 200°F (93°C).
- Transfer the baked challah to a wire rack to cool completely before slicing.
Notes
- For a richer color, use whole eggs in the dough instead of just the yolk in the wash.
- If you prefer a softer crust, cover the loaf loosely with foil for the last 10 minutes of baking.
- If you do not have instant yeast, use active dry yeast and let it bloom in the water for 10 minutes before adding other ingredients.
Nutrition
- Serving Size: 1 slice
- Calories: 220
- Sugar: 6
- Sodium: 250
- Fat: 6
- Saturated Fat: 1.5
- Unsaturated Fat: 4.5
- Trans Fat: 0
- Carbohydrates: 37
- Fiber: 1
- Protein: 7
- Cholesterol: 50

Comments are closed.