


Oh, fudge! Who hasn’t been there? You think you’re making that classic, creamy chocolate dream, and five hours later, you pull out something that looks like sparkly sand? I have wasted more perfectly good chocolate chips trying to get that smooth, perfect set. It used to drive me absolutely crazy! But listen, I finally cracked the code, and I swear, this is the one. This No-Fail Fudge with Milk Chocolate recipe is the one you need if you’ve ever struggled. We are tossing the candy thermometer and saying goodbye to graininess forever. My first attempt tasted like gritty disappointment, but using this simple condensed milk base? Wow! It’s pure, rich milk chocolate heaven, and it sets up beautifully every single time. You’re going to love how easy it is!
Why This No-Fail Fudge with Milk Chocolate Recipe Works (Beginner Fudge Tips)
You want to know the real secret behind why this is the ultimate Simple Fudge Without Failure? It’s honestly the base ingredient! Traditional fudge recipes rely on heating sugar syrup precisely to the ‘soft-ball’ stage—which is basically a recipe for disaster if your stove runs hot or you look away for two seconds. We aren’t doing that here, thank goodness! This method uses sweetened condensed milk.
This milk base already contains the perfect ratio of sugar and milk solids that are necessary for fudge structure. It’s already cooked to a certain degree, making our job incredibly easy. The constant stirring required is just to melt the chocolate chips smoothly and prevent scorching, not to actually achieve a crystal structure. This is one of the best Beginner Fudge Making Tips I can give anyone!
Key to Creamy Milk Chocolate Candy Texture
Sweetened condensed milk is the hero here. See, when you heat plain sugar and water, you risk sugar syrup crystallization, which is what gives you that dreaded grainy texture. But the condensed milk already has that sugar dissolved perfectly into the milk solids. When we gently incorporate the milk chocolate chips, we are just melting things together until they are combined.
That’s it! No more worrying about hitting 234°F on a fussy thermometer. Because the sugar structure is already stabilized by the milk, you get that guaranteed, Smooth Fudge That Sets Perfectly every single time. If you want to know more about other easy chocolate recipes that skip the fuss, check out my easy chocolate fudge recipe—though I still think this milk chocolate version is the ultimate comfort food!
Gathering Ingredients for Your No-Fail Fudge with Milk Chocolate
Okay, listen up, because this is where we make sure we have everything ready to go! The beauty of this recipe being so foolproof is that the ingredient list is ridiculously short. Seriously, you probably have most of this at home right now. We need four things to make this amazing candy, and precision matters, even though the method is simple.
You’ll need that full can of sweetened condensed milk—make sure it’s the sweetened kind, not evaporated milk, or you’ll cry later! Then grab your milk chocolate chips, butter, and vanilla extract. Setting everything out first means when it’s time to cook, you just drop and stir, which keeps the heat even and prevents mistakes.
Ingredient Notes and Substitutions
Since we are relying on the chocolate for all our main flavor here, please, please, please use a chocolate chip you actually like eating straight from the bag. Good quality really does make a difference in the final taste of this Condensed Milk Fudge Milk Chocolate version. If you use cheap chips, you’ll get a cheaper flavor, plain and simple.
The butter is essential—we need real unsalted butter for richness. As for substitutions, stick close to what I listed! This recipe is tailored for milk chocolate chips. If you tried to swap them out entirely for dark chocolate, you’d end up needing different ratios because the sugar content would be totally off. Trust me, for this particular batch of Creamy Milk Chocolate Candy, just stick to milk chocolate for guaranteed success!
Step-by-Step Best Homemade Fudge Instructions for Rich Milk Chocolate Squares
Alright, now we get to the fun part! This is where we turn those simple ingredients into the base for your Rich Milk Chocolate Squares. The key thing to remember here is patience. We are working low and slow to protect that smooth texture we worked so hard to guarantee with this recipe. If you rush it, you risk scorching the bottom, and that tiny burnt film can throw off the flavor of the entire batch. Keep your eye on the pot!
If you want a great guide on how to kick your chocolate game up another notch later on, I highly recommend checking out my post on ultimate fudge brownies, but for now, focus right here on that pure, simple fudge.
Preparing the Pan and Melting the Chocolate
First things first: get your pan ready! Grab an 8×8 pan and line it with parchment paper. The trick (that I learned the hard way) is to make sure that paper hangs over two sides like little handles. That overhang is your secret weapon for lifting the whole block of fudge out later without cracking it. Grease the paper slightly, just in case.
Now, for the cooking part. Over low heat—and I mean *low*—combine your condensed milk and the chocolate chips in a medium saucepan. You need to stir constantly! I mean it, keep those hips moving! Stir until every single chip is melted and the mixture is shiny and uniform. This is the most important rule in the No Grainy Fudge Guide: DO NOT LET THIS BOIL. If you see angry bubbles forming on the edge, pull the pan off the heat immediately until it calms down, then return it.
Finishing the No-Fail Fudge with Milk Chocolate Mixture
Once everything is smooth and velvety—no gritty bits left—take the entire saucepan off the heat source. We aren’t cooking anymore; we’re just folding in the last bit of magic. Stir in that tablespoon of butter until it’s totally melted and mixed in. It adds such a lovely richness to the final product.
Next, splash in your vanilla extract. Give it one final, gentle stir just until it disappears into the mixture. That’s it! The mixing is done! Immediately pour all that glorious, luscious chocolate into your prepared pan. Spread it evenly with a spatula, but don’t overwork it. We want it smooth, but we don’t want to deflate the air we just ensured was never created in the first place!
Setting and Cutting Your Creamy Milk Chocolate Candy
Resist every urge you have to touch this mixture! Place your pan somewhere safe where it won’t get bumped—like a quiet counter—and let it set completely at room temperature. This usually takes about 3 to 4 hours. I know it’s tempting to shove it in the fridge because you want that Creamy Milk Chocolate Candy right now, but refrigerating it while it’s still warm can make the texture weird and sometimes watery. You need that slow, natural set.
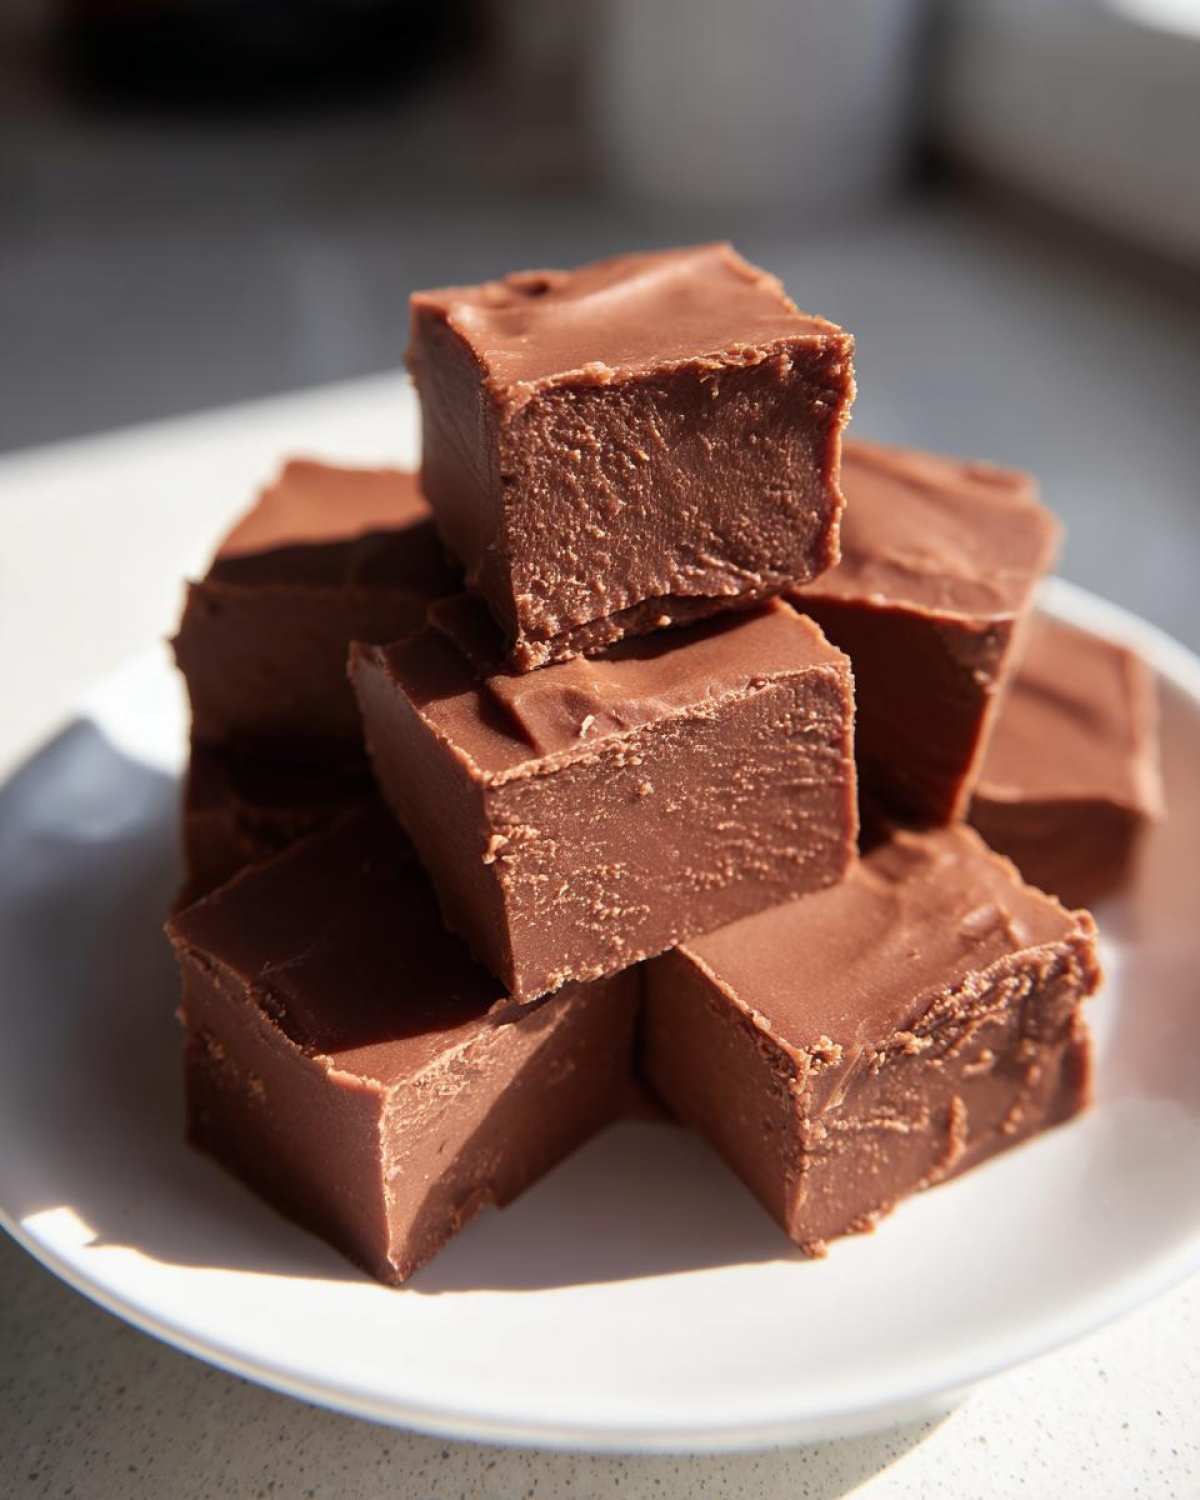
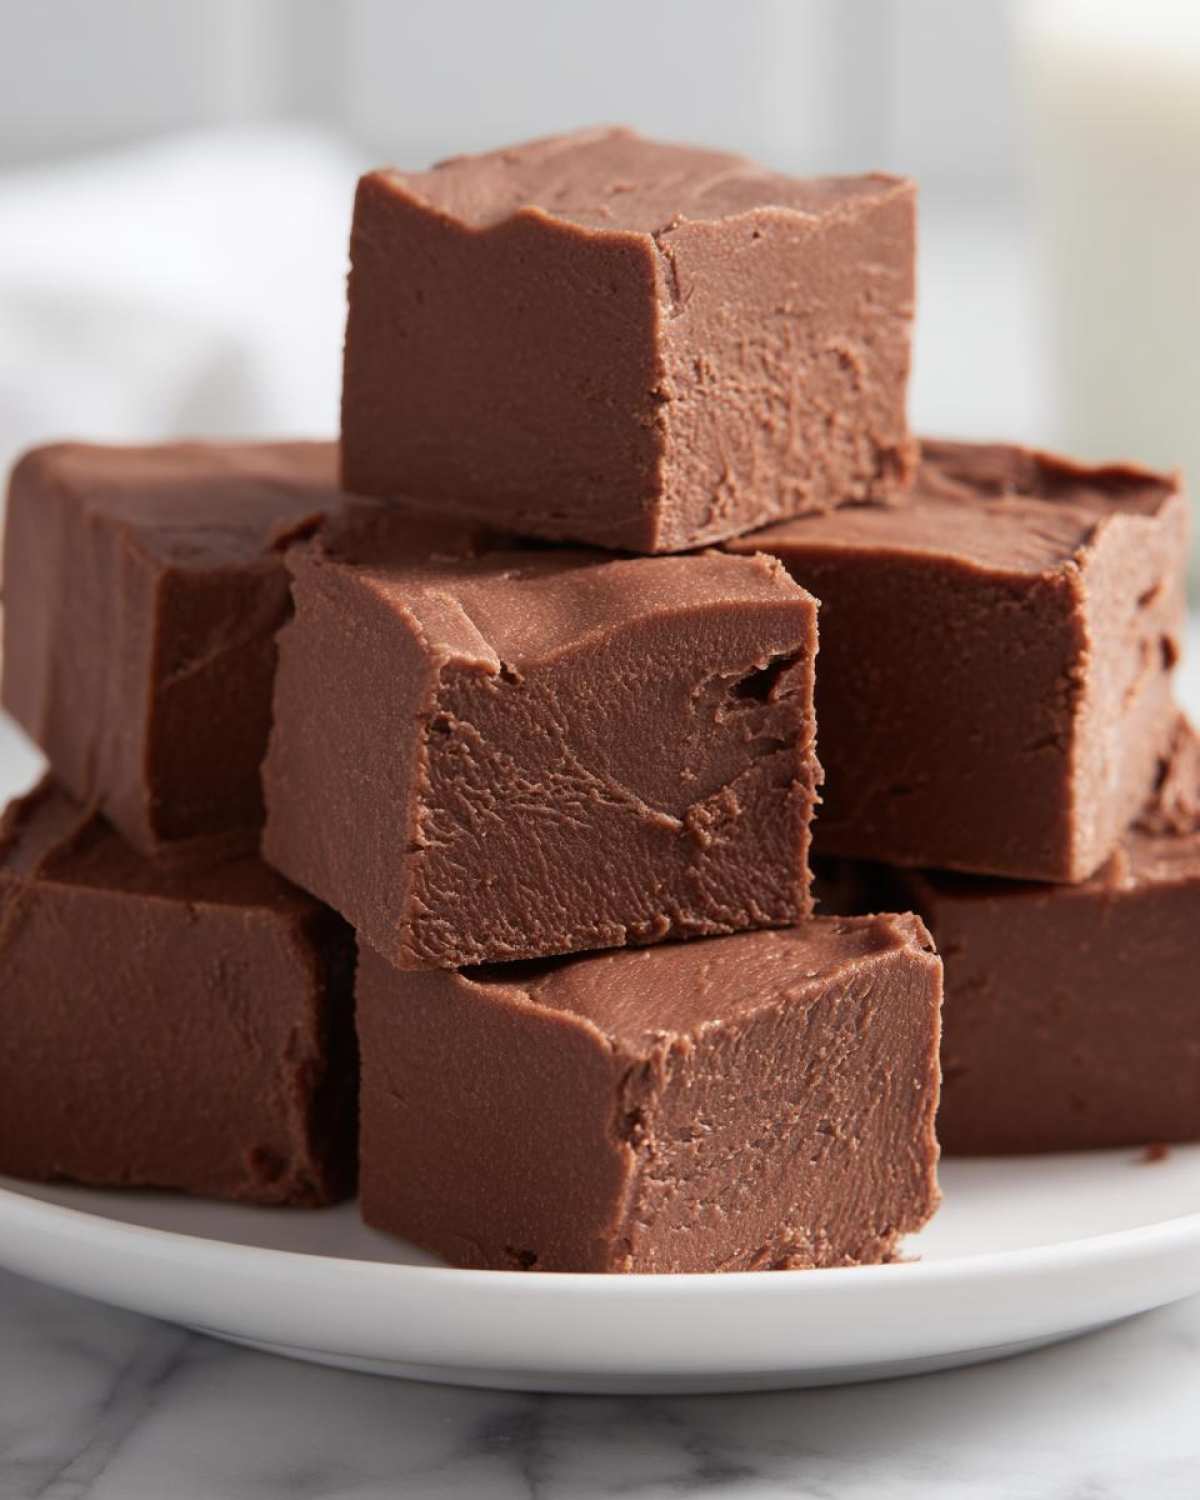
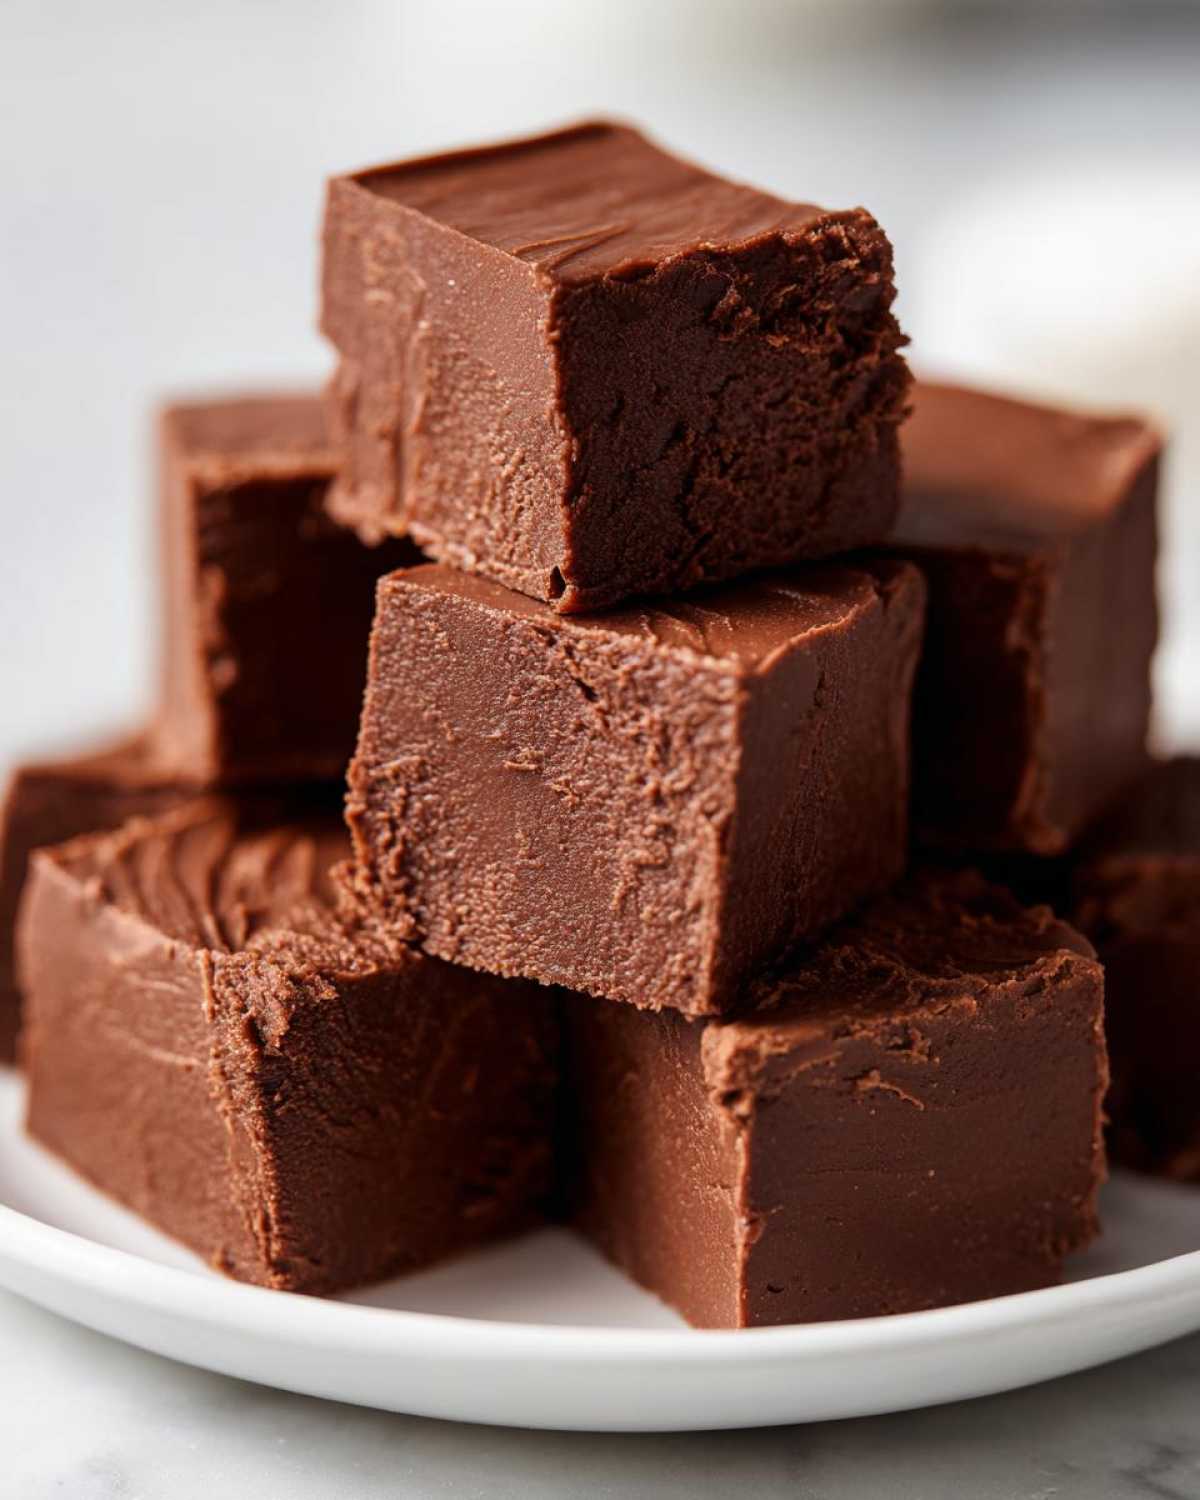
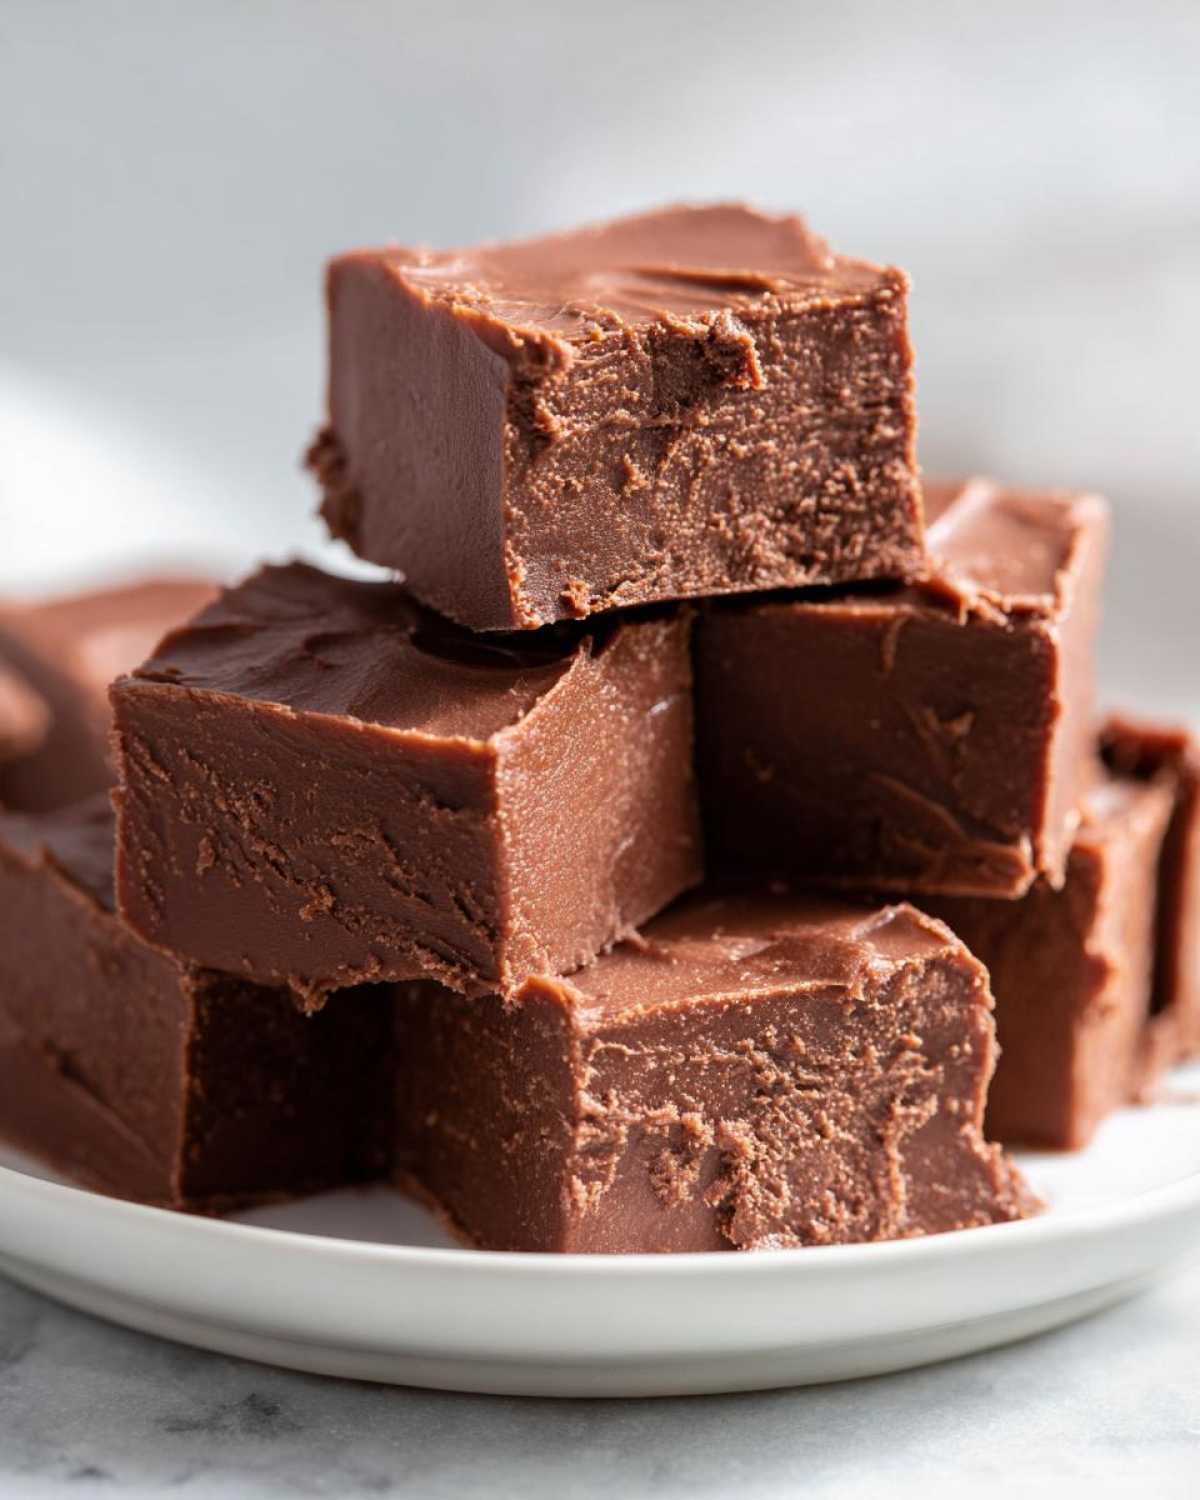
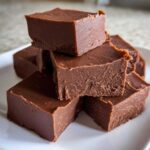
When it’s totally firm—you shouldn’t feel any softness when you press gently—use those parchment handles to lift the whole brick out onto a cutting board. Then, grab a sharp knife and slice it into whatever size squares make your heart happy. Sixty is a good number if you’re sharing for the holidays!
Tips for Success Making Perfect Chocolate Fudge at Home
Achieving that flawless, rich milk chocolate melt is all about respecting the heat. Honestly, if you follow the recipe, you’re 99% of the way there for Making Perfect Chocolate Fudge at Home. That one little slip-up everyone makes is cranking the burner too high when melting the chocolate and condensed milk together. If you see it bubble, stop immediately!
My personal pro-tip? Before I even take the pan off the heat when I think it’s done, I dip the very tip of my spatula in and let a tiny droplet sit there for a second. If it remains liquid and drippy, I know it’s ready to come off. If it looks stiff or starts to pull away from the edges like it’s turning into paste, I stir it for another thirty seconds on the lowest flame possible. Don’t forget to check out my guide on fudgy chocolate brownies if you want another great chocolate fix that doesn’t require fussy setting times!
Storage and Reheating Instructions for Your Classic Milk Chocolate Confectionery
Because this fudge sets up so nicely at room temperature, storing it is a breeze! Once you cut those squares, just place them in an airtight container. You can layer them between pieces of wax paper so they don’t stick together, but honestly, they barely ever do with this recipe. You can keep this Classic Milk Chocolate Confectionery on the counter for a good week, maybe even ten days, and it stays perfectly creamy.
Now, if you’re making a huge batch for the holidays, you *can* freeze it! Wrap the uncut block tightly in plastic wrap and then foil, and it will last happily for about three months. Seriously though, you usually won’t need to reheat this fudge. If you happen to have a piece that dried out slightly after a week, a quick 10-second zap in the microwave will bring the creaminess right back without turning it soupy!
Variations for Your Quick Milk Chocolate Dessert Bars
See, this recipe is so foundationally sound that it’s practically begging you to mess with it just a little bit! Since we are adding the mix-ins after we take the pot off the heat in Step 5, we don’t disrupt that crucial melting process. This is perfect for making your own custom Quick Milk Chocolate Dessert Bars.
Do you love crunch? Fold in about half a cup of toasted pecans or walnuts right before you pour it into the pan. If you want a fun, slightly chewy surprise, mini marshmallows melt just enough when the fudge cools to be perfectly gooey. Honestly, my favorite trick? A tiny sprinkle of flaky sea salt right on top before it sets. It seriously elevates the milk chocolate flavor!
If you’re ready to pivot from fudge to something a little cakier but still super gooey, you should absolutely check out my amazing chocolate chip blondies recipe next weekend.
Frequently Asked Questions About No-Fail Fudge with Milk Chocolate
I get so many emails asking about specific issues, which just proves how many people struggle with fudge! Don’t you worry, though. Since this is built as a foolproof recipe, we can usually troubleshoot any minor issues by looking back at the heat and stirring methods. Here are the top questions I hear about making this amazing treat.
Can I use dark chocolate instead of milk chocolate in this recipe?
Oh, you absolutely *can* swap it out, but hold on just a second! If you want the exact flavor profile of this No-Fail Fudge with Milk Chocolate—that sweet, creamy, nostalgic taste—you need the milk chocolate. Dark chocolate has less sugar, so if you use it, your fudge will automatically be much richer and slightly less sweet. It will still set perfectly because we are using the condensed milk base, but it won’t taste the same as the recipe I gave you. It’s a different, but still delicious, candy entirely!
Why did my fudge turn out grainy or crumbly?
If you followed the recipe and it still got grainy, chances are your heat was a little too high during the melting stage. That’s the one weak spot in this entire method! If the mixture starts boiling or gets too hot, the sugar in the condensed milk starts to recrystallize, and that turns into graininess. You need very low heat and constant, gentle stirring. If you missed that warning, go check out the section on the No Grainy Fudge Guide steps, especially where I talk about pulling the pan off the heat if it bubbles up!
How long does this simple milk chocolate fudge last?
This is the best part about the condensed milk version! Since it has so much sugar and fat, it’s incredibly shelf-stable. I generally tell people that this simple milk chocolate fudge is good stored in an airtight container at cool room temperature for a solid week. Seriously! If you seal it up tight, it stays moist and soft the whole time. If you want it to last longer for gifting—maybe a month or two—pop it in the freezer, wrapped well. It thaws out beautifully back to its original texture.
If you want to see another recipe that’s just as simple but uses slightly different ratios, take a peek at my easy chocolate fudge recipe! Happy baking!
Estimated Nutritional Data for Rich Milk Chocolate Squares
I know some of you are counting macros, or maybe you’re just curious about what you’re happily devouring! Since this is a classic confectionery treat, it’s definitely on the sweeter side, but because the recipe is so simple, the ingredients are straightforward.
Here is the estimated nutritional profile for just one of these delectable little squares. Remember, this is based on calculations from the core ingredients—the milk chocolate chips, the condensed milk, and the butter—so these numbers are a good ballpark figure, but they are estimates based on standard ingredient breakdowns. Trust me, the flavor payoff is worth every single number!
- Serving Size: 1 square
- Calories: 110
- Sugar: 15 grams
- Protein: 2 grams
- Fat: 5 grams (Saturated Fat: 3 grams)
- Carbohydrates: 16 grams
- Cholesterol: 10 mg
This gives you a good idea of what you’re dealing with when you cut up a batch of your Rich Milk Chocolate Squares. Enjoy them guilt-free, knowing you made them perfectly smooth!
Share Your Homemade Milk Chocolate Candy Success
And that’s it! I’m so thrilled you’re going to try this method for your own batch of Sweet Treat Fudge Recipes. You just made foolproof fudge using milk chocolate, and I bet it looks and tastes like it came straight from a classic candy shop!
I genuinely want to know how it turned out for you! If you made it and it set up perfectly smooth, please do me a favor and leave a quick comment below and give it a solid 5-star rating. Seeing those perfect results makes my day because I know you skipped the frustration I used to have!
This fudge is just the best for quick gifts, especially around the holidays when you need something rich that doesn’t take all day. If you decide to make extra for gifts, maybe wrap up a few squares alongside some of my holiday pecan sticky buns—talk about a stunning gift basket!
Happy making, and enjoy every single creamy square of that perfect milk chocolate confection!
PrintNo-Fail Milk Chocolate Fudge
A simple, reliable recipe for making smooth, creamy milk chocolate fudge that sets perfectly every time.
- Prep Time: 5 min
- Cook Time: 10 min
- Total Time: 4 hours 15 min
- Yield: About 64 small squares
- Category: Dessert
- Method: Stovetop
- Cuisine: American
- Diet: Vegetarian
Ingredients
- 1 (14 ounce) can sweetened condensed milk
- 2 cups milk chocolate chips
- 1 tablespoon unsalted butter
- 1 teaspoon vanilla extract
Instructions
- Line an 8×8 inch baking pan with parchment paper, leaving an overhang on two sides for easy removal. Lightly grease the paper.
- In a medium saucepan over low heat, combine the sweetened condensed milk and milk chocolate chips.
- Stir constantly until the chocolate is completely melted and the mixture is smooth. Do not let the mixture boil or scorch.
- Remove the saucepan from the heat. Stir in the butter until fully melted and incorporated.
- Stir in the vanilla extract.
- Pour the fudge mixture into the prepared baking pan. Spread it evenly.
- Allow the fudge to cool completely at room temperature for about 3 to 4 hours, or until firm. Do not refrigerate to set, as this can affect texture.
- Once firm, use the parchment overhang to lift the fudge out of the pan. Cut into 1-inch squares.
Notes
- Use good quality milk chocolate chips for the best flavor.
- Stirring constantly over low heat prevents the sugar from crystallizing and the fudge from burning.
- If you prefer a slightly firmer fudge, you can chill it for 1 hour after it has cooled to room temperature for 2 hours.
Nutrition
- Serving Size: 1 square
- Calories: 110
- Sugar: 15
- Sodium: 30
- Fat: 5
- Saturated Fat: 3
- Unsaturated Fat: 2
- Trans Fat: 0
- Carbohydrates: 16
- Fiber: 0
- Protein: 2
- Cholesterol: 10


Comments are closed.