


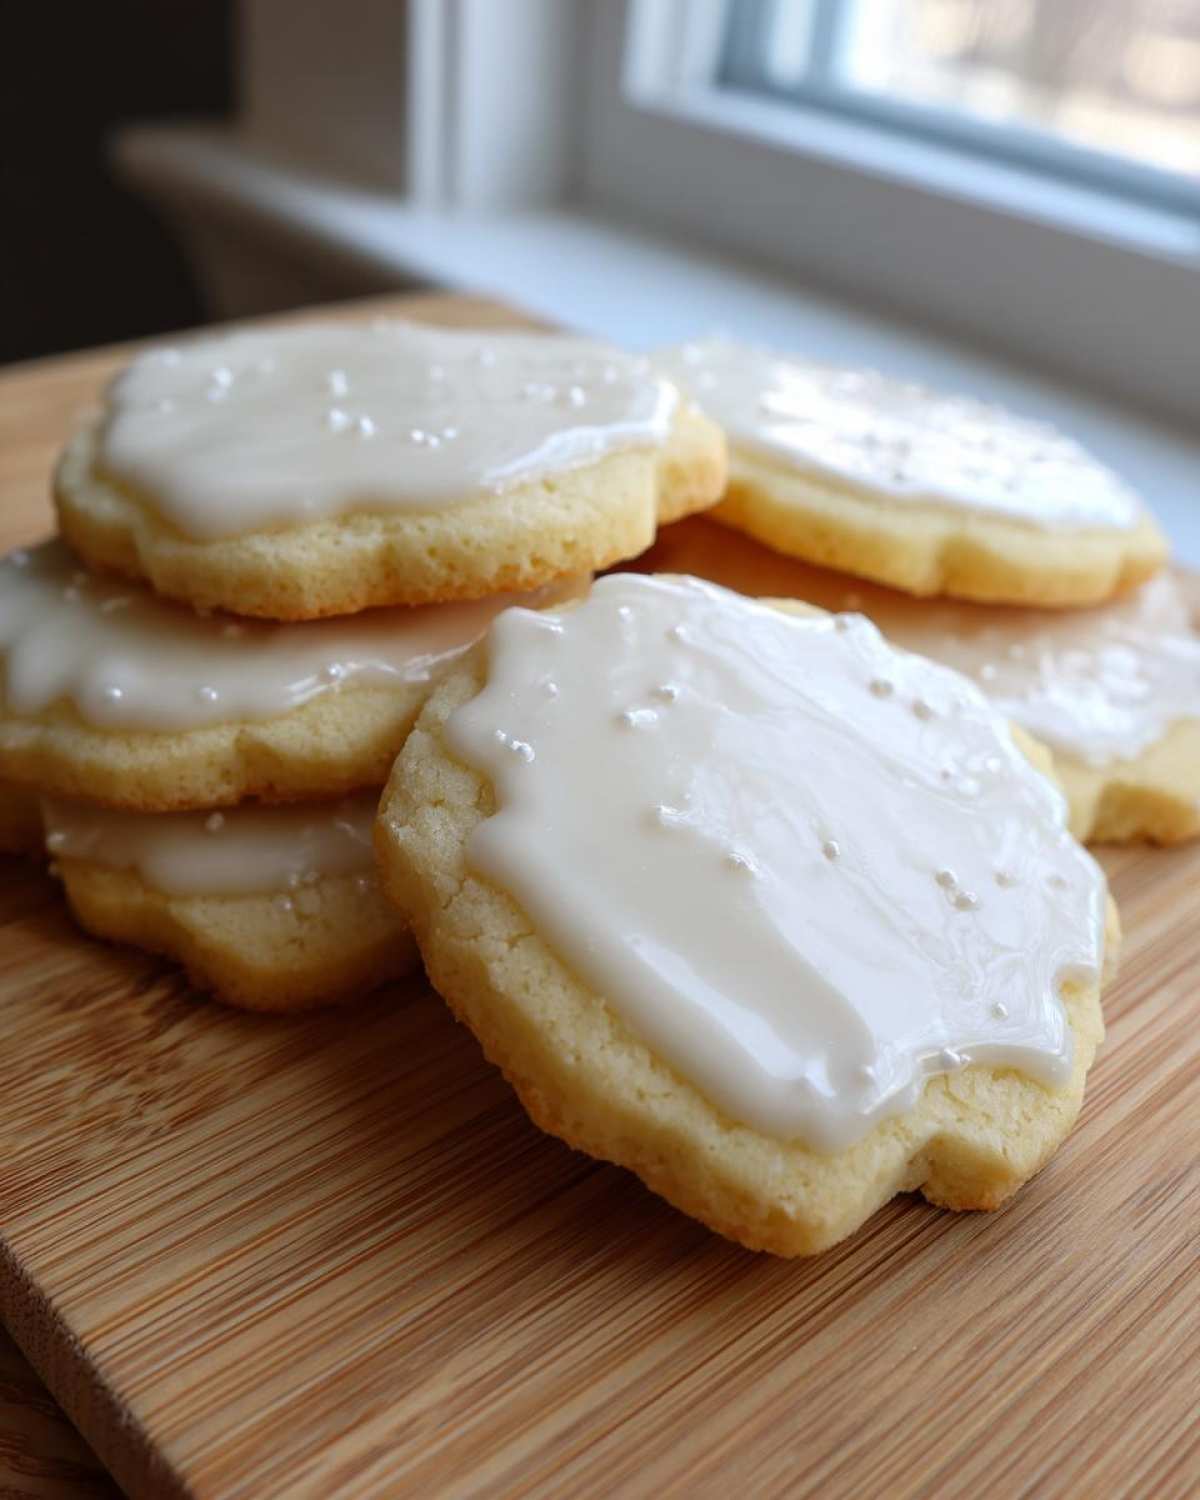
Oh, I just love getting the sugar cookies baked perfectly—golden edges, nice and flat—but then comes the moment of truth: the icing! If you’ve ever spent hours piping beautiful little designs only to have them smudge when you stack the plate, or worse, stay gummy for two days, trust me, I’ve been there. After one particularly messy holiday disaster involving melted icing everywhere, I swore I’d never use the watery glaze again. This is why I practically guard this specific sugar cookie icing recipe with my life! It’s the one that always dries hard, gives you that super glossy, professional finish, and truly is foolproof. It’s the secret weapon every serious cookie decorator needs in their back pocket.
Why This is the Best Sugar Cookie Icing Recipe for Decorating (E-E-A-T)
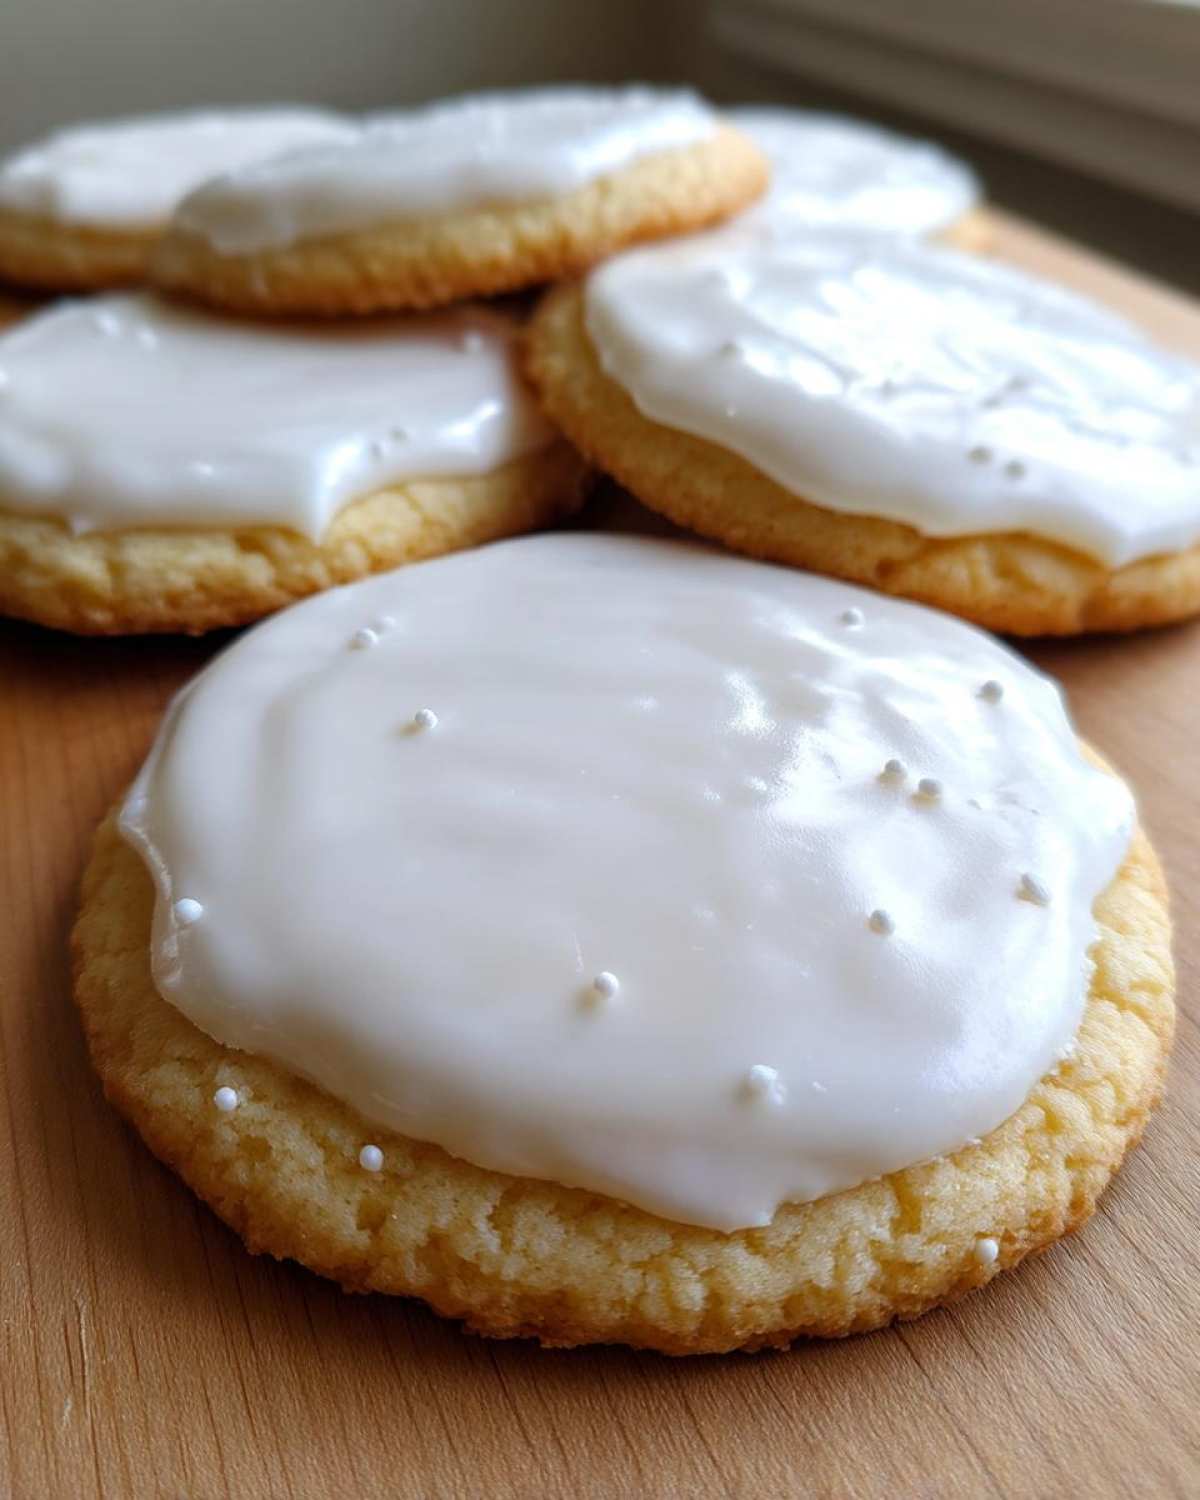
So, what makes this recipe unbeatable? It’s all about structure, my friends! We aren’t messing around with simple powdered sugar and milk here; that stuff stays soft forever. This method relies on meringue powder, which is honestly a lifesaver for consistency and sanitation because we skip raw egg whites entirely. That chemical magic is what guarantees this **icing for sugar cookies that hardens** so completely you can stack them a mile high without worry.
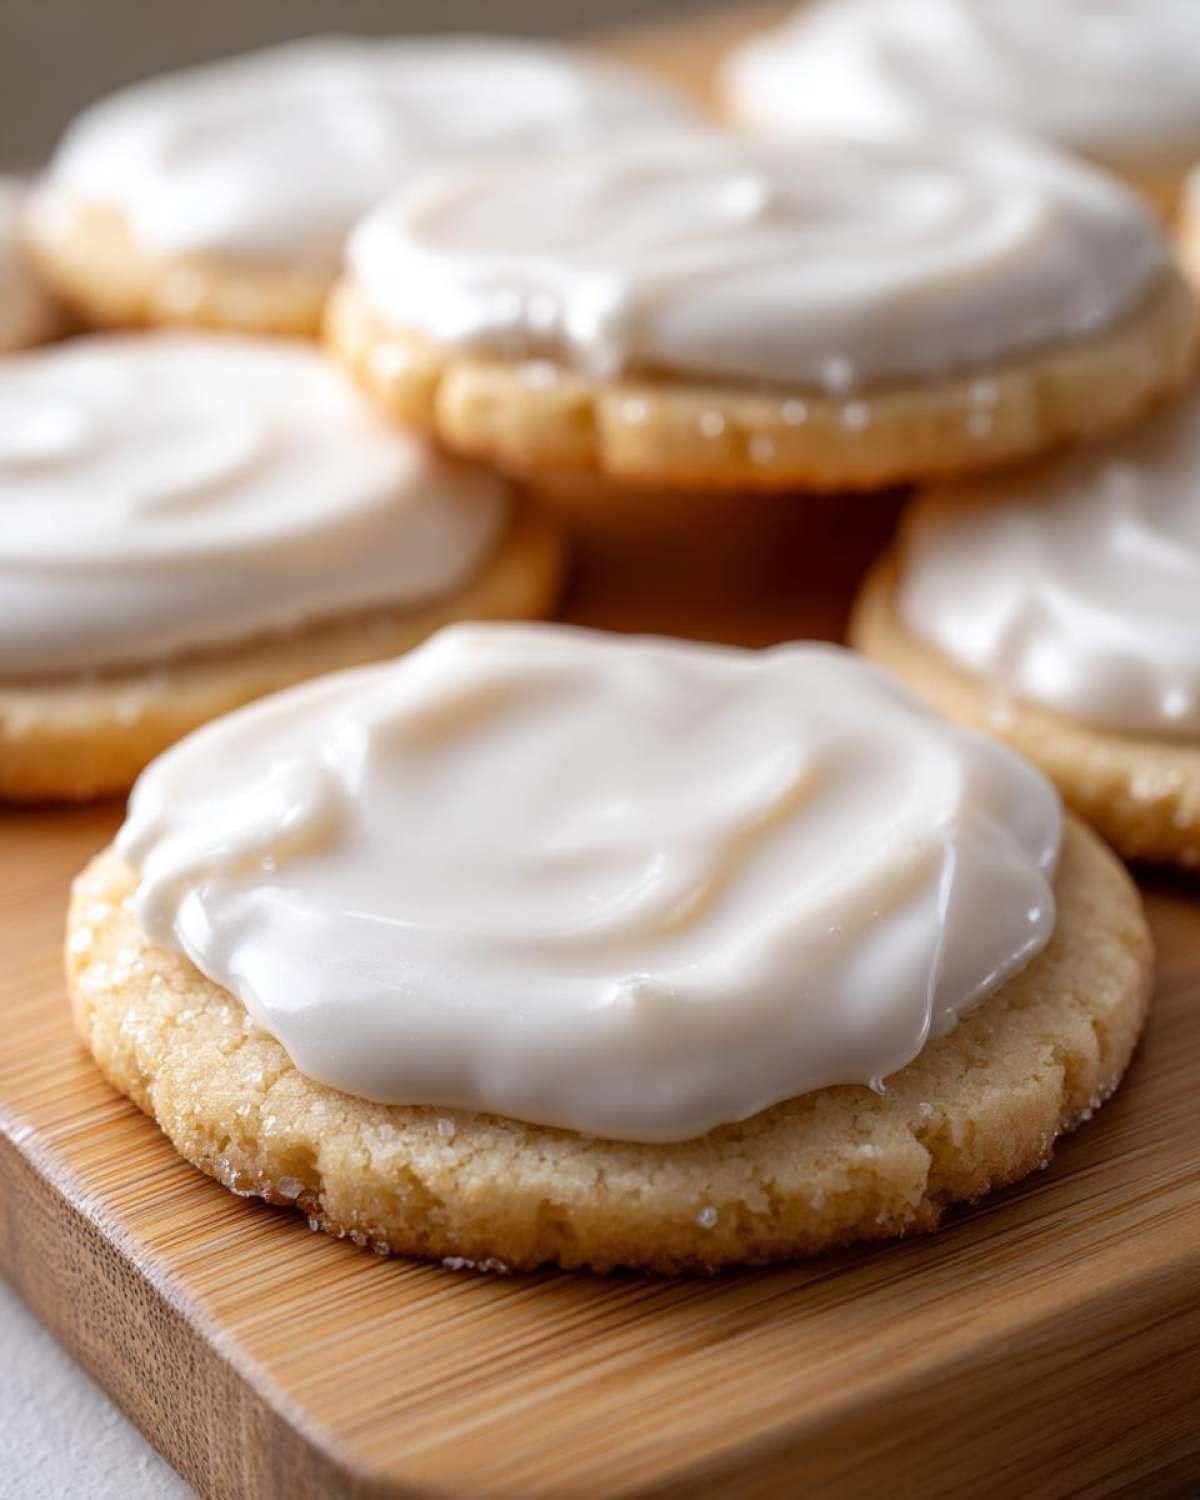
When I first started decorating cookies, getting that perfectly smooth surface on my cut-outs was a nightmare. This blend creates a naturally **smooth cookie frosting for beginners** because it naturally levels itself beautifully during the initial flood stage. It gives you that incredible, high-gloss sheen that looked straight out of a bakery display case—it’s the secret to that professional look I talk about over at my personal page! If you want that durable finish that lasts through the holidays, this is the technique you need to adopt. I learned early on that investing in good meringue powder saves you hours of frustration later!
Ingredients for Your Perfect Sugar Cookie Icing Recipe
When we talk about making the dreamiest, most reliable sugar cookie icing recipe, the starting line-up matters big time. This isn’t guesswork; this is chemistry that tastes amazing. We keep the ingredient list short because the quality of these few things really shines through.
- 4 cups powdered sugar, sifted (and I mean really sifted, no lumps allowed!)
- 1/2 cup meringue powder (this is your structural engineer!)
- 1/2 cup warm water
- 1 teaspoon vanilla extract
- 1/4 teaspoon almond extract (optional, but wow, what a flavor lift!)
Ingredient Notes and Substitutions for this Sugar Cookie Icing Recipe
Let’s talk about that meringue powder. People ask if they can use egg whites, but honestly, skip it. Meringue powder means you get that incredible, stiff royal icing texture without messing with pasteurization or worrying about raw egg safety. It’s just pure reliability! The almond extract is subtle—it boosts the vanilla and makes everything taste a little brighter.
Now, for those asking about going corn syrup-free, I totally get it! While this base recipe needs the water for hydration, if you happen to have some light corn syrup sitting around and want that extra touch of shine, you can swap it out. Just swap 1/4 cup of that warm water for 1/4 cup of light corn syrup. It just gives the final dry icing a slightly different, almost glass-like sheen. Try both ways and see which one you prefer!
How to Make This Icing for Sugar Cookies That Hardens
Making this perfect icing for sugar cookies that hardens is shockingly fast—we’re talking 10 minutes, max! You’ll want a good electric mixer for sure, because beating this icing properly is what creates those strong bonds that set up hard later. First, whisk your dry stuff—the sifted powdered sugar and the meringue powder—in a big bowl. This gets everything distributed before we risk making a cloud of sugar dust!
Next, add in your warm water and extracts. Start the mixer slow just to bring it all together, otherwise ingredients explode everywhere. Then, crank that speed up! You need to mix this really well, about five to seven minutes. It needs to look super smooth and hold stiff peaks before you even think about coloring it. This high-speed whipping is the secret to getting that glossy look, trust me.
Achieving the Right Consistency for Your Cookie Decorating Icing That Sets
This is where most beginners panic, but don’t you dare reach for the whole measuring cup of water! If your icing is too stiff for piping outlines, add water one tiny teaspoon at a time until it pulls a stiff peak and doesn’t droop much. For flooding—getting that wide area smooth—you need it thinner. For flooding, test it by drawing a line through the icing with a spoon; if the line disappears completely in about 10 to 12 seconds, you’re dead on. Too fast? Add just a little more water.
Tips for a Glossy Sugar Cookie Glaze That Dries Flawlessly
We’ve got the structure, now let’s talk about that *shine*. Nobody wants a dull, matte cookie, right? Achieving that beautiful, mirror-like look for your **glossy sugar cookie glaze** is all about restraint after the mixing is done. My biggest warning here is: put the mixer down once it looks smooth! If you keep whipping past the 7-minute mark, you are incorporating way too much air, and that air pocket chaos causes the icing to dry dull and sometimes even crackle. Just stop when it’s stiff and glossy!
Once your cookies are iced, give the tray a little gentle tap on the counter—just one or two soft thumps. This small movement helps bring any trapped air bubbles up to the surface where they can pop, leaving you with that perfectly smooth canvas. If you do see a tiny bubble escape, pop it quickly with a toothpick before it sets. If you let them dry in a humid spot, they’ll never truly shine, so if it’s raining outside, maybe put them near the AC vent, like I do when I make my baked glazed doughnuts. Patience during the drying process is your other secret weapon here!
Troubleshooting Common Issues with Your Sugar Cookie Icing Recipe
Okay, so you’ve mixed it perfectly, but now the cookies are fighting you? Don’t panic! This icing is usually rock-solid reliable, but sometimes the weather or a little human error throws things off. My biggest historic headache was always bleeding colors—you know, you pipe a blue border and the white flood washes right over it! That usually means your flood consistency was too loose, or you didn’t let the outline set up for at least 15 minutes underneath it. Give your layers a little breathing room!
The one thing that drives me nuts is when the icing just won’t dry hard, especially here in the summer humidity. If it’s tacky after 12 hours, nine times out of ten, you didn’t use enough meringue powder, or your ambient humidity level is just plain evil. Another classic culprit for cracking is adding too much food coloring at once, which throws off the precise sugar-to-liquid ratio. If you’re coloring white icing, stick to gel colors and only add enough to get the shade you need. Remember, this powder-based icing relies on dry ratios to set up strong, so guard those measurements!
Storage and Reheating Instructions for Leftover Powdered Sugar Cookie Icing
If you haven’t used every drop of your amazing **powdered sugar cookie icing**—which is rare because I usually eat the leftovers with a spoon—you need to store it right! The absolute key is preventing air exposure. Grab airtight containers, and here’s the pro move: cut a piece of plastic wrap and press it *directly* onto the surface of the icing before you seal the lid. If you don’t do that, you’ll wake up to a rock the next morning.
If you open the container the next day and the icing looks stiff, don’t just dump it out! That just means it’s done its job protecting itself. You can bring it right back to life. Just add one tiny drop of water—seriously, just one—and mix it slowly by hand or with a fork. Before you go check out my soup recipe, give it a quick whisk, and it’ll be perfect for touch-ups!
Frequently Asked Questions About This Easy Cookie Frosting Recipe
I know decorating can feel fussy, but seriously, once you have this recipe down, you’ll feel like a decorating wizard! Here are the few things folks usually ask me after they give this **easy cookie frosting recipe** a whirl.
Can I use regular egg whites instead of meringue powder?
You technically *can*, but I really, really advise against it unless you absolutely have no other choice. If you make that switch, you’ll need to use fresh egg whites and often pasteurize them first, which adds a huge headache and you still might not get the exact stiff structure we need. Meringue powder gives you perfect consistency every single time, and it’s just so much safer and simpler for beginners trying to master **how to make icing that dries hard**.
How long does this icing take to dry completely?
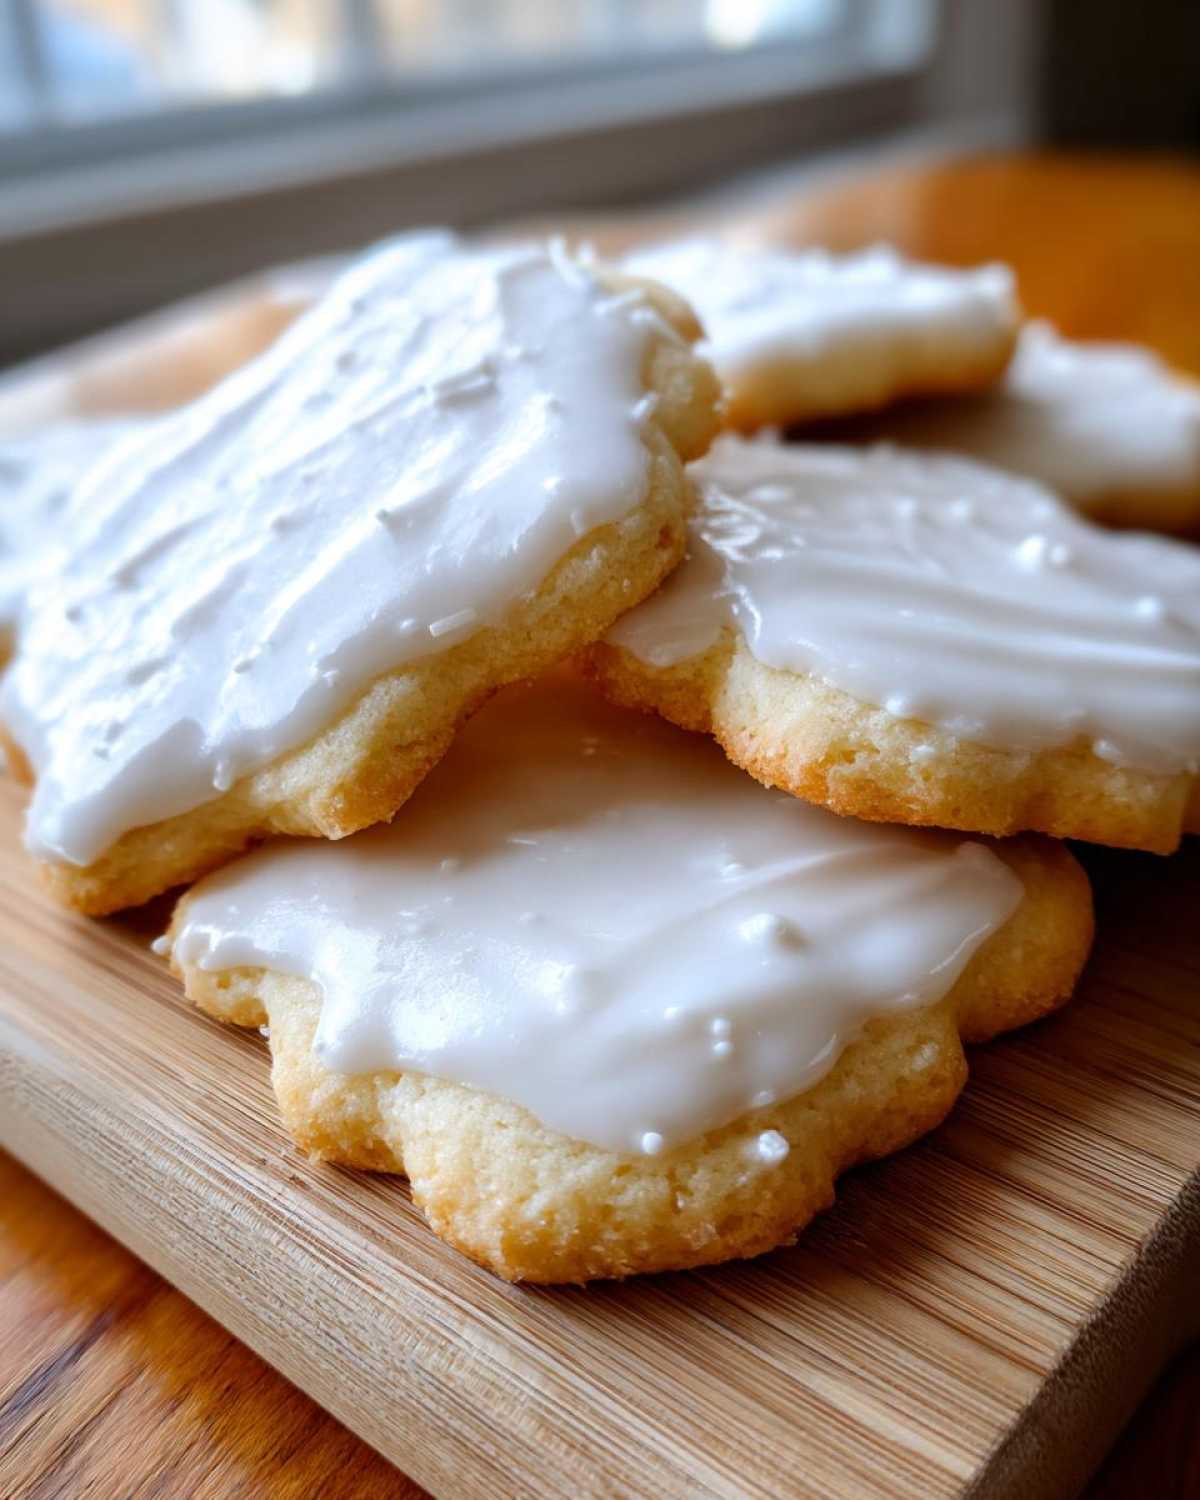
This is the million-dollar question! It depends so much on humidity, but typically, if you have applied a decent flood layer, plan on needing at least 6 to 10 hours minimum until they are fully dry to the touch. If you are doing heavy detail work, or if it’s raining outside, you might need to leave them overnight. If you want that rock-solid feel for gifting or shipping, always default to giving it a full 12 hours of dry time at room temperature. This is truly the best **durable sugar cookie icing** once it’s set!
I want a really shiny finish, not just glossy. What do I do?
Ah, the quest for the ultimate shine! If you try the corn syrup substitution I mentioned earlier—swapping some water for corn syrup—it tends to yield a subtly shinier result than the all-water version. Also, don’t over-beat after the icing turns smooth while mixing; incorporating too much air dulls the finish. When you look at my photos of the prettiest **shiny cookie frosting recipe** batch, it’s because I controlled the air and used just a touch of that corn syrup!
Can I make this ahead of time?
Yes, absolutely! This is perfect for holiday baking prep. Just make sure you seal it up tight like I explained—plastic wrap pressed directly onto the surface sealed into an airtight container. It keeps beautifully on the counter for a couple of days, or you can pop it in the fridge for almost a week. Just let it warm up to room temperature slowly, then give it a gentle whisk with a fork and maybe a tiny splash of water if it got stiff before you head over to my contact page to ask more questions!
Serving Suggestions for Your Decorated Cookies
Now that you have perfected the most amazing, rock-hard **sugar cookie icing recipe**, it’s time to show them off! These cookies are almost too pretty to eat, but don’t let them hide! They look incredible piled high on a tiered white platter for any party. Honestly, they pair perfectly with a hot cup of coffee or maybe one of my famous iced brown sugar lattes, which really cuts through the sweetness. They truly make the centerpiece for any holiday cookie tray, so make sure to bake extra!
Easy Sugar Cookie Icing Recipe That Dries Hard and Glossy

This recipe provides a simple method for making smooth, glossy icing for sugar cookies that sets firmly, perfect for decorating.
- Prep Time: 10 min
- Cook Time: 0 min
- Total Time: 10 min
- Yield: Covers approximately 3 dozen standard cookies
- Category: Baking
- Method: Mixing
- Cuisine: American
- Diet: Vegetarian
Ingredients
- 4 cups powdered sugar, sifted
- 1/2 cup meringue powder
- 1/2 cup warm water
- 1 teaspoon vanilla extract
- 1/4 teaspoon almond extract (optional)
Instructions
- In a large bowl, whisk together the sifted powdered sugar and meringue powder.
- Add the warm water, vanilla extract, and almond extract (if using) to the dry ingredients.
- Beat with an electric mixer on low speed until the ingredients are just combined.
- Increase the mixer speed to medium-high and beat for 5 to 7 minutes until the icing is very smooth and stiff peaks form.
- Test the consistency: If the icing is too thick for piping, add water, 1 teaspoon at a time, until you reach your desired consistency. For outlining, the icing should hold a stiff peak. For flooding, it should level itself slowly when a line is drawn through it.
- Color the icing using gel food coloring, if desired, mixing thoroughly until the color is uniform.
- Use immediately for decorating cookies. Allow decorated cookies to dry completely at room temperature for several hours until the icing is hard to the touch.
Notes
- For a glossy finish, avoid over-beating once the icing is smooth, as this can incorporate too much air.
- If you need a thinner glaze consistency, add more water, one half teaspoon at a time.
- To make a no-corn-syrup variation, substitute the 1/2 cup of warm water with 1/4 cup warm water and 1/4 cup light corn syrup.
- Store unused icing covered tightly with plastic wrap pressed directly onto the surface to prevent drying.
Nutrition
- Serving Size: 1/4 cup
- Calories: 180
- Sugar: 45
- Sodium: 5
- Fat: 0
- Saturated Fat: 0
- Unsaturated Fat: 0
- Trans Fat: 0
- Carbohydrates: 45
- Fiber: 0
- Protein: 1
- Cholesterol: 0


Comments are closed.