


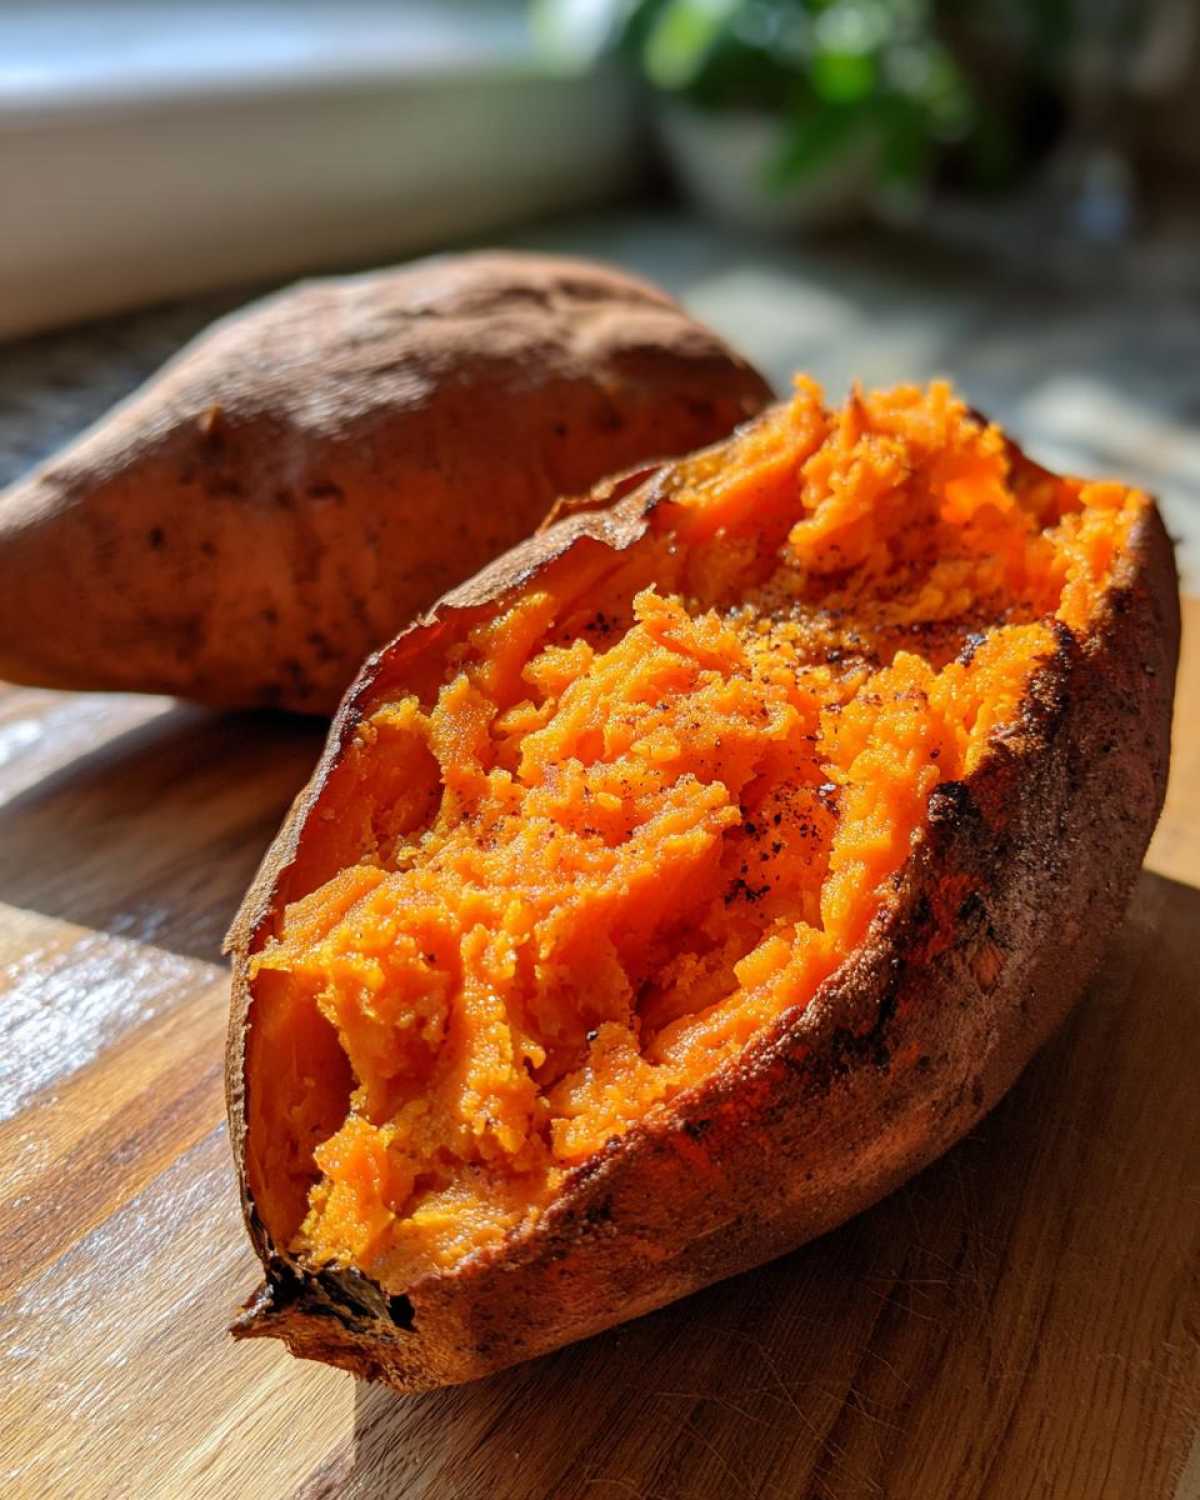
Oh, the dreaded baked potato saga! We’ve all been there—cutting into a sweet potato only to find an interior that’s somehow both gummy and dry? It’s frustrating when you just want that perfect, pillowy texture paired with salty, crackly skin. Trust me, I used to waste so many perfectly good tubers trying to get it right during my stressed-out marketing days. But since starting Sunday Flavor, I’ve perfected the technique. I’m sharing my foolproof method for perfectly baked sweet potatoes now, and the best part? We aren’t even using foil! This simple oven trick guarantees that fluffy interior and incredible, caramelized skin every single time. It’s all about bringing a little bit of that intentional ‘Sunday Flavor’ into your quick weeknight sides!
Why This is the Perfect Baked Sweet Potato Recipe
So many recipes overcomplicate this beautiful vegetable, but honestly, the best results come from doing less! We skip the wrapping because foil traps steam, which is the enemy of a great texture. Instead, we are focusing on two things: getting that light, fluffy sweet potato inside and making the skin actually edible (and delicious!). This specific oven baked sweet potato method is all about high heat and maximizing surface exposure. If you want that restaurant-quality result, you need to try this naked baking approach. It’s the difference between a mushy potato and an absolute dream side dish. You can easily take these perfect beauties and turn them into something amazing, like my recipe for Loaded Sweet Potato Skins!
Achieving the Fluffiest Sweet Potato Inside
The secret to that incredible fluff starts before the oven even hits 400 degrees. You absolutely must pierce your potatoes all over with a fork. Think of it as venting for the built-up steam! If that steam gets trapped, it basically boils the inside of your potato, leading to that dense, gummy texture we are trying to avoid. By letting the steam escape, the interior cooks up dry and light. This is how we guarantee that fluffy sweet potato inside!
The Secret to Crispy Skin Sweet Potato Oven Results (No Foil Needed)
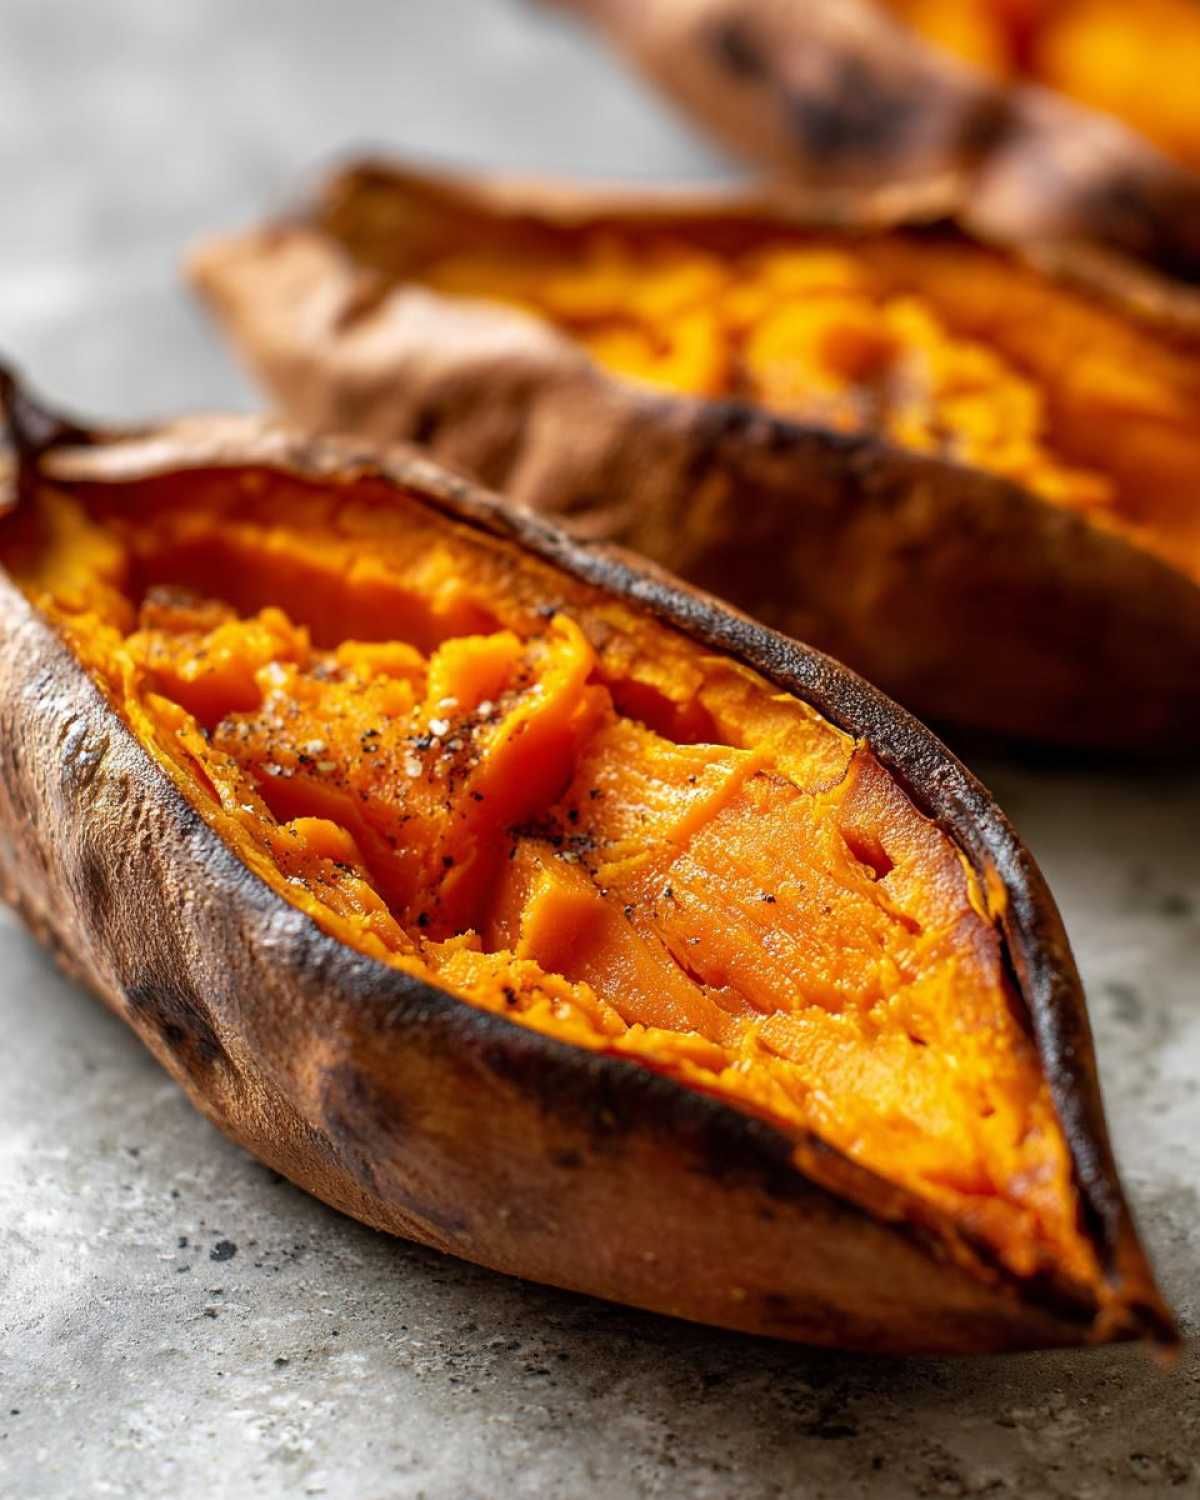
This is where we cheat for flavor! Wrapping them in foil keeps the skin soft and steamed, which is fine for a traditional russet, but not for our star sweet potato. By rubbing them generously with olive oil and sprinkling them with coarse salt, we create a barrier that fries the skin slightly in the oven’s dry heat. Placing them directly on the center rack ensures air hits every surface, delivering those incredible crispy skin sweet potato oven results. Trust me, you won’t miss the foil one bit; these are the perfect no foil baked sweet potatoes!
Gathering Ingredients for Perfectly Baked Sweet Potatoes
Good cooking starts with knowing exactly what you need, right? When you’re aiming for perfection, there’s no room for guesswork with your shopping list. For this simple, yet absolutely stellar way to get baked sweet potatoes, the ingredient list is wonderfully short. This lets the natural sweet flavor of the potato really shine through. No long list of spices needed here, just the essentials that promise that fluffy center and crisp skin.
You’ll want to grab four medium sweet potatoes. I always look for ones that are roughly the same size because that helps them cook evenly, which is super important if you need them ready fast! Make sure they feel firm, not squishy at all.
Here is what you need to pull together for this absolute winner:
- Four medium sweet potatoes (aim for about 8 to 10 ounces each so they get nice and fluffy inside).
- One tablespoon of good olive oil—don’t skimp here, this helps the skin crisp up!
- One teaspoon of coarse salt. I specify coarse because the larger crystals give you a better crust on the skin than fine table salt does.
- One half teaspoon of black pepper, freshly cracked is always superior if you have it on hand!
That’s it! Olive oil, salt, pepper, and your potatoes. See? It’s already feeling like a Sunday afternoon project—easy, simple prep for maximum payoff later. You can’t mess this up!
The Oven Baked Sweet Potato Method: Step-by-Step
Alright, let’s roll up our sleeves and get these beauties into the heat! This is the easiest part, provided you remember to start hot and dry. Getting your technique right here is what separates a good potato from a spectacular one. We’re moving quickly because the preheat is crucial for crisping the skins on our baked sweet potatoes. Ready to see how simple the best way to cook sweet potatoes really is?
Preparation and Seasoning for Great Baked Sweet Potatoes
First things first: we need heat! Preheat that oven to a reliable 400 degrees Fahrenheit. You want that nice, strong blast of dry heat right away. Next, grab your potatoes and give them a super thorough scrub in the sink. Don’t skip this! Once they are clean, take a paper towel and pat them until they are bone dry. I mean it—wet potatoes become sad, steamy potatoes. Moisture prevents crisping, so dry them completely!
Now for the important part of how to bake sweet potatoes: steam release. Take a sharp fork—a sturdy one!—and stab each potato deeply about six or eight times all over its body. This allows the internal steam an escape route. After piercing them, cover them completely in that olive oil we talked about, then season well with the coarse salt and pepper. They should look slick and ready for their close-up!
Baking Time and Testing Doneness for Your Baked Sweet Potatoes
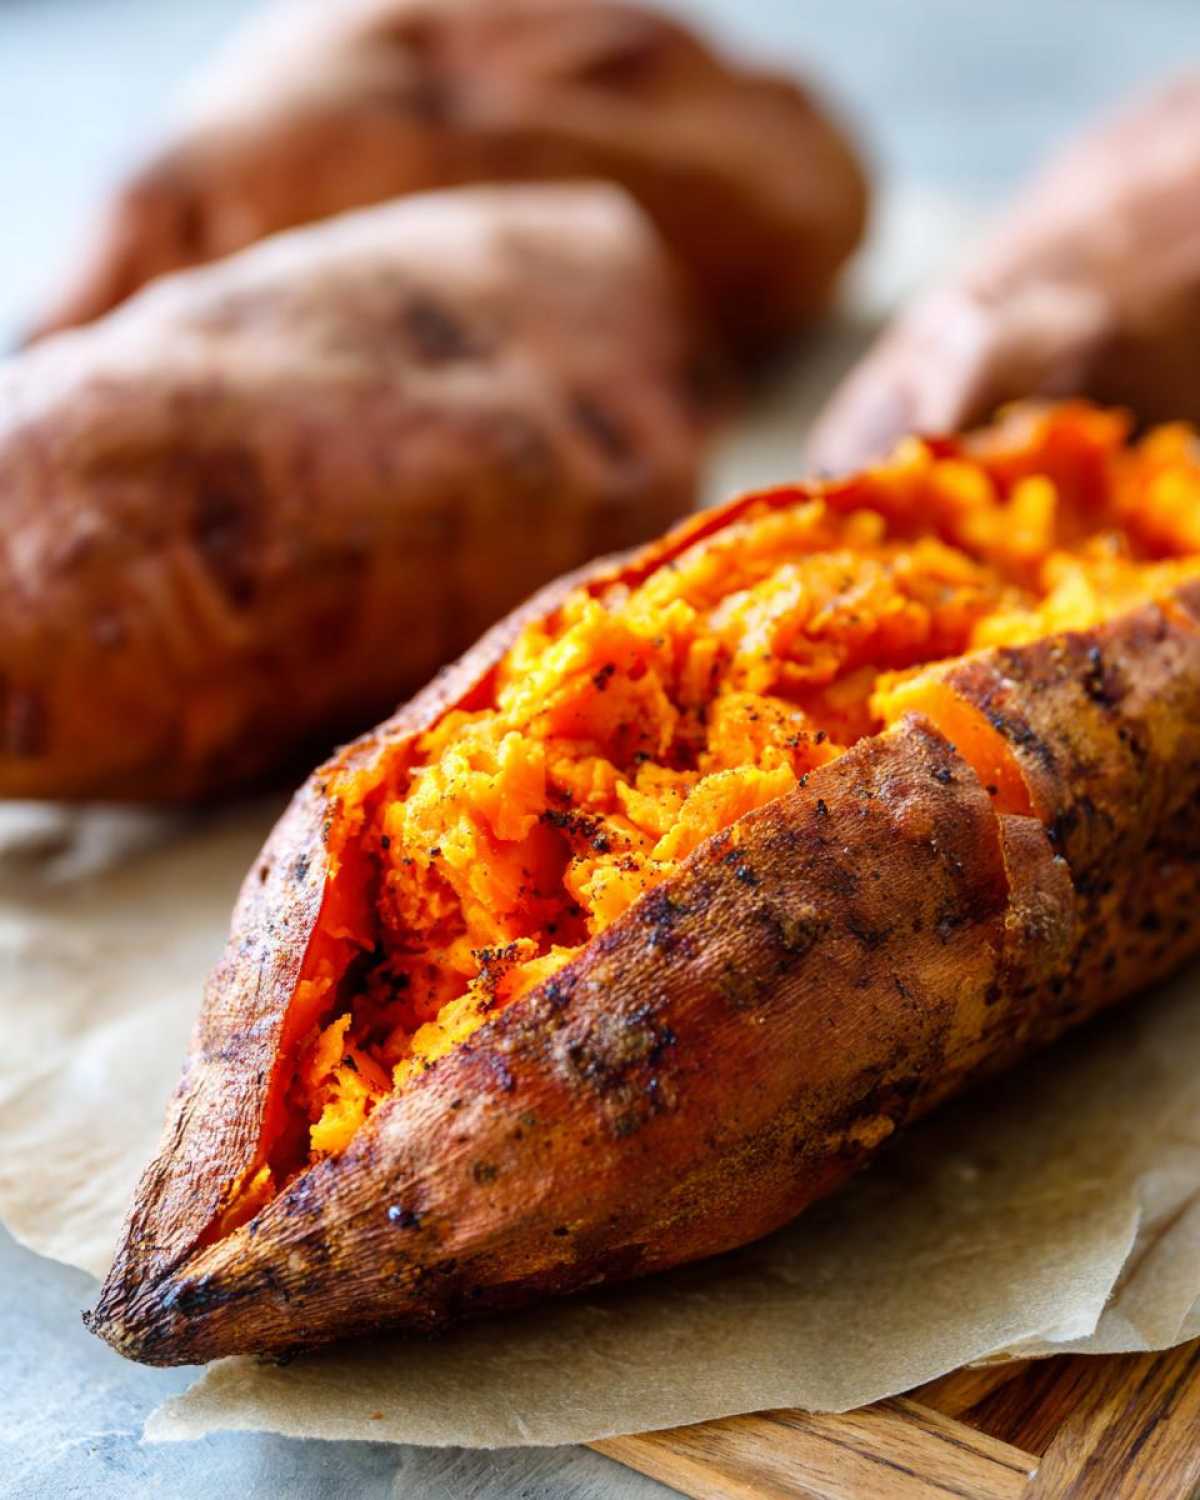
Here is the big difference: Do not put them on a tray! Place the seasoned potatoes directly onto the center rack. This lets that hot air circulate all around them for maximum skin crisping. They generally take between 40 and 55 minutes, depending on how big they were at the start. Start checking them around the 40-minute mark. You’re looking for a skin that’s slightly wrinkly and feels firm when you touch it.
The real test, though, is sliding a thin knife right into the center. If it goes in smoothly, without wrestling you, they are done! When you pull those beauties out, they’ll be the most satisfying baked sweet potatoes you’ve ever made. If you need more foolproof guidance, you can check out the tips linked over at Carla’s place, they have a great breakdown too! That specific recipe hammers home the texture focus.
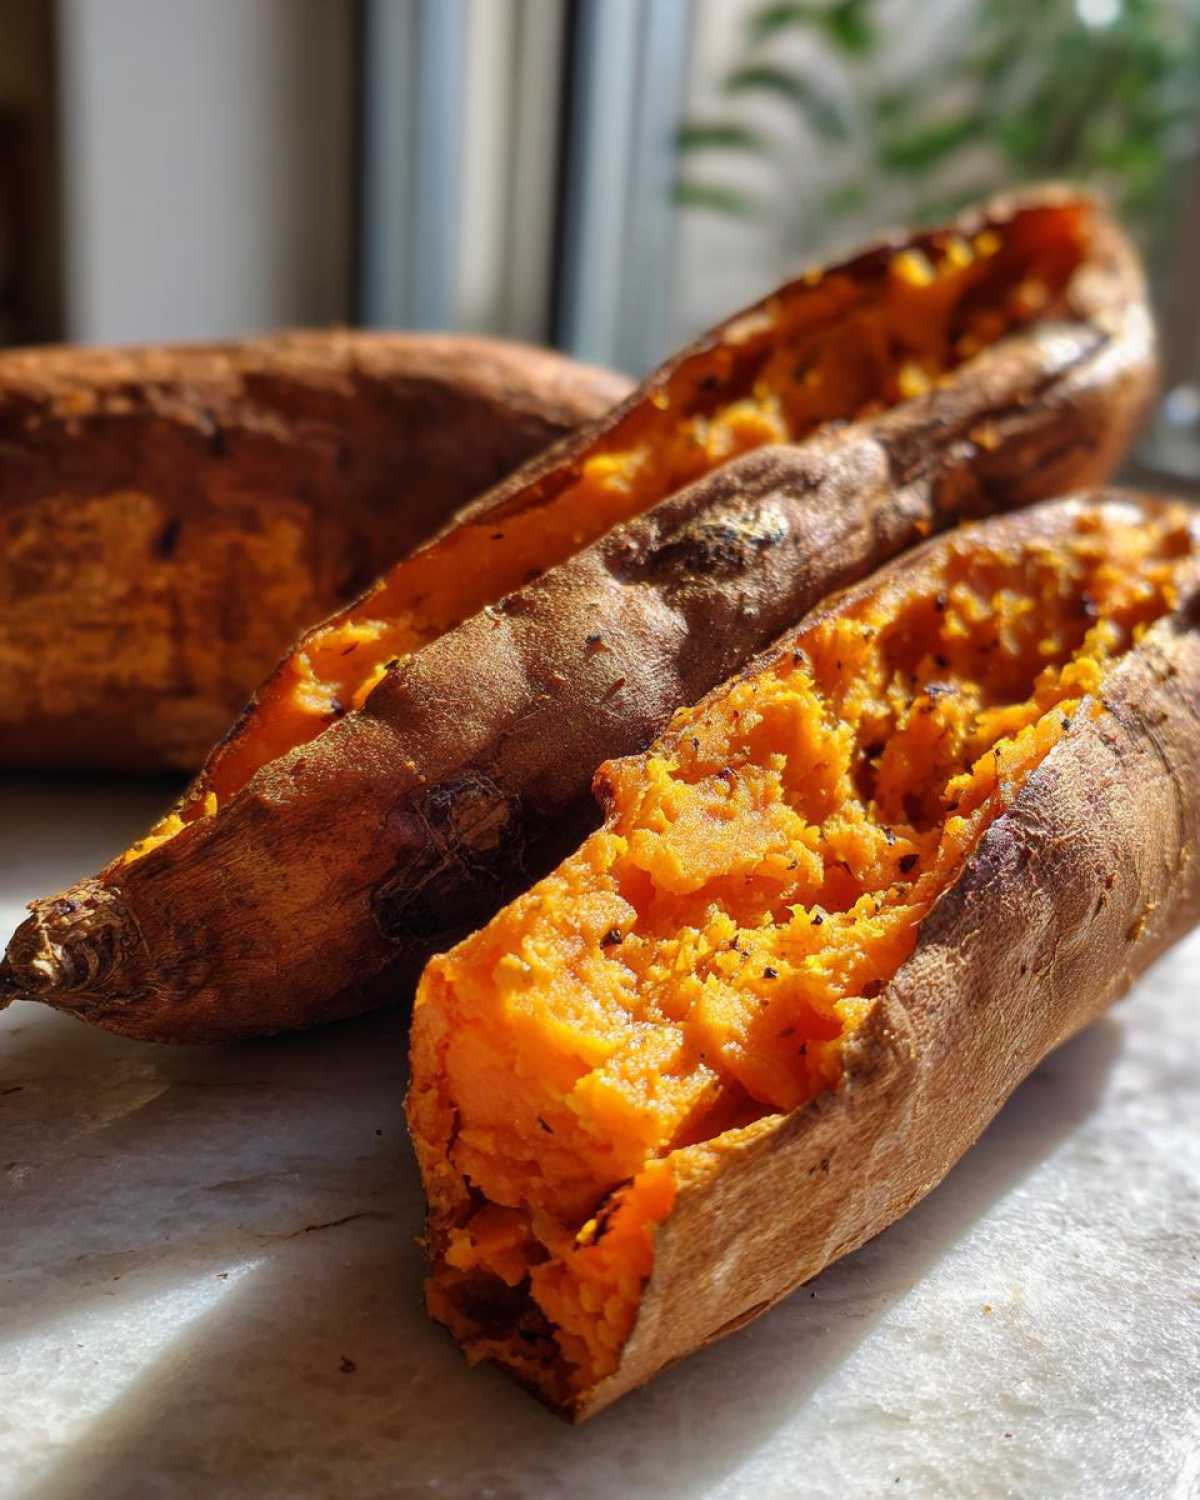
Once they are out, slice them open lengthwise right away and use a fork to gently fluff up the insides before adding your toppings. If you want to try making a batch for later, check out my tips on using these for sweet potato fries next time!
Transforming Baked Sweet Potatoes into an Easy Sweet Potato Side Dish
Okay, the oven has done its job and those delicious, crispy-skinned beauties are out! This is where we make these baked sweet potatoes shine as an easy sweet potato side dish. Honestly, you can’t go wrong here, especially if you’re aiming for something hearty but still totally healthy for dinner tonight. The natural sweetness is already built in, so we just need a little nudge of flavor to make it pop.
Simple Toppings for Naturally Sweet Potato Dishes
My absolute favorite thing to do is grab a fork and just gently rake through that fluffy interior to break it up a bit. While it’s steaming hot, a pat of regular butter melts instantly—that’s the classic comfort move! If you’re feeling the fall vibes, a quick sprinkle of cinnamon and a drizzle of brown sugar makes these the most naturally sweet potato dishes imaginable.
But if you want a savory kick, I highly recommend melting down a tiny bit of butter and stirring in one minced garlic clove and maybe a pinch of dried thyme—just layer that magic mixture on top! See how easy it is to take these simple baked sweet potatoes and make them dinner-worthy? If you really want to step it up, use them as a base for something like my Garlic Herb Dip, although that’s less of a side and more of an event!
You can find so many fun ways to top these over at Sarah’s blog too; her suggestions always inspire me when I need a quick upgrade for my simple roasted sweet potatoes.
Tips for Success with Your Oven Baked Sweet Potato Method
Even though this is truly the best way to cook sweet potatoes, you might have a few questions, especially if you’re planning ahead. Getting that beautiful texture once isn’t always enough; we want that texture to last! I’ve learned a few tricks over the years, especially when trying to keep sides ready for my busy weeks. Since leaving the corporate grind, I cherish my weekend prep time, and these potatoes are perfect for batch cooking for those busy weeknights.
Making Baked Sweet Potatoes Ahead for Meal Prep
If you managed to bake a few extra—and you totally should, because leftovers are the best—storing them properly is crucial for maintaining that ideal texture. Once the potatoes are completely cooled down after baking, wrap them individually or store them in an airtight container. They hold up perfectly in the fridge for about four days. That’s four days of ready-to-go sweet potato meal prep!
Now, when it comes to reheating, this is where the magic happens to keep them from getting soggy. Forget the microwave if you can! To revive that crispy skin we worked so hard for, you need dry heat again. Pop your cooled, whole sweet potatoes back into a 350-degree oven for about ten minutes. This second blast of gentle heat warms them through while setting that skin right back up. It makes them taste almost freshly baked, I promise!
Oh, and if you want to go the extra mile for that intense caramelization, take them out after the 10 minutes of reheating time and slip them under the broiler for just a minute or two. Watch them like a hawk, though—they go from caramelized to burnt faster than you can say “Sunday Flavor!” If you love easy breakfast prep using sweet potatoes, you should check out my recipe for Sweet Potato Hash with Cinnamon Apples!
Variations: Creating Savory Garlic Butter Sweet Potatoes
While the plain salted version of our baked sweet potatoes is fantastic, sometimes I just crave something a bit bolder, especially when serving them alongside something purely savory like roast chicken. That little bit of garlic butter I mentioned earlier is a game changer, making them totally irresistible. But don’t stop at garlic!
For a quick flavor boost that still highlights the natural sweetness, try swapping out the herbs for just a pinch of smoked paprika or a tiny dash of cumin and chili powder mixed into that butter. It gives the potato a lovely warmth without masking that beautiful fluffy interior. Imagine how great those spice notes would taste mixed into a hearty dish like my Turkey Sweet Potato Skillet! If you want more robust ideas, check out how they do a full bake over at K-Recipes, too!
Storage and Reheating Instructions for Baked Sweet Potatoes
So, you followed the instructions, you got the perfect result, but you made too many! That’s the sign of a good cook, really. Don’t worry one bit about the leftovers because these potatoes reheat beautifully, provided you use the right technique.
When storing them, make sure they have cooled down fully after baking. You don’t want to trap any residual heat, as that creates condensation, and condensation equals slime, which we absolutely cannot have near our beautiful crispy skins!
Once cool, I usually just wrap them tightly in foil or pop them into a zippered bag. They stay fantastic in the fridge for about four days—sometimes even five if I’m lucky! That’s a fantastic asset for quick lunches during the week, honestly.
Now, for the reheating part—this is non-negotiable if you want that crispy skin back. Do not put them in the microwave! The microwave is great for speed, but it turns that glorious skin soft and steamy all over again. Instead, preheat your oven (or toaster oven, if you’re only reheating one or two) to a lower temperature, around 350 degrees Fahrenheit.
Toss them right back onto the center rack and let them warm through for 8 to 10 minutes. That gentle, dry heat essentially dries out the skin again and warms the fluffy interior without overcooking it. When they come out, they are nearly as good as when they were first baked. It’s the perfect simple solution for keeping your great cooking around longer!
Frequently Asked Questions About Perfect Baked Sweet Potatoes
I hear from so many people who struggle to get past the gummy middle when they just want a simple side dish. Don’t worry! These are the questions I get asked most often when people try this method for the first time. Getting the technique down just takes a tiny adjustment, and then you’re set for life!
Why do I need to use such a high oven temperature for baked sweet potatoes?
We crank the heat up to 400 degrees Fahrenheit primarily for that exterior texture! High, dry heat is the secret weapon for achieving that appealingly crispy skin sweet potato oven result we want. If the temperature is too low, the potato steams itself before it can properly caramelize on the outside.
Can I really skip the foil? Is this the best way to cook sweet potatoes?
Yes, you absolutely can skip the foil, and I strongly encourage it! For the absolute best way to cook sweet potatoes that are both flaky and crispy, leaving them naked on the rack allows moisture to escape. Foil traps everything in, leading to a baked, steamed texture instead of that wonderful fluffiness.
How long does it take to get a fluffy sweet potato inside?
For medium-sized potatoes, you’re generally looking at 40 to 55 minutes. Always start checking around the 40-minute mark, though! It depends on how plump your potatoes were to start with. If you’ve got massive spuds, they might take closer to an hour, but that fork test will tell you everything you need to know.
What if I want a quicker way to make baked sweet potatoes on a weeknight?
If you need something truly fast, I always suggest roasting cubes instead, but if you need the whole potato done quickly, make sure you are pricking them extra well and check them early. For another quick idea that pairs well with potatoes, you might like my recipe for Easy 5-Ingredient Corn Soup!
If you ever just want the basic guide on cooking potatoes, check out the tips provided on Belly Full; sometimes seeing another trusted resource helps solidify the method!
Nutritional Snapshot of These Healthy Baked Potatoes
Because we are using such simple, whole ingredients—just the potato, a little oil, salt, and pepper—these baked sweet potatoes are naturally such a fantastic option for eating clean all week long. I love that they don’t need any heavy sauces or strange additives to taste amazing; it’s just pure, comforting nutrition! I always keep track of what I’m eating, even when it’s a simple side dish, because tracking helps me make sure I’m getting enough fiber and staying on track with my energy goals.
Remember that when we talk about numbers in the kitchen, these are always going to be estimates, right? We are basing this snapshot on one medium potato prepared with the olive oil and salt as specified in the recipe above. If you add my garlic butter variation or a heap of brown sugar on top, those numbers are definitely going to jump around!
For a single serving (one medium potato), here is a general overview:
- Calories: Around 180
- Fat: About 5 grams (Mostly healthy fats from the olive oil!)
- Carbohydrates: Roughly 35 grams
- Fiber: A wonderful 6 grams—that’s helping keep everything moving smoothly!
- Protein: Just 3 grams
- Sugar: Approximately 13 grams (all natural sweetness from the potato itself!)
It’s pretty amazing how much goodness is packed into something so easy to prepare. These are truly some of my favorite healthy baked potatoes because they offer such great energy without weighing you down. Enjoy that fluffy inside knowing you’re fueling your body well!
PrintThe Foolproof Method for Perfectly Baked Sweet Potatoes: Crispy Skin and Fluffy Interior

Learn the best way to cook sweet potatoes in the oven for a guaranteed fluffy inside and caramelized, crispy skin every time. This easy oven baked sweet potato method requires no foil and is perfect for a healthy side dish or meal prep.
- Prep Time: 5 min
- Cook Time: 50 min
- Total Time: 55 min
- Yield: 4 servings
- Category: Side Dish
- Method: Baking
- Cuisine: American
- Diet: Vegetarian
Ingredients
- 4 medium sweet potatoes (about 8-10 ounces each)
- 1 tablespoon olive oil
- 1 teaspoon coarse salt
- 1/2 teaspoon black pepper
Instructions
- Preheat your oven to 400 degrees Fahrenheit (200 degrees Celsius). This high heat helps achieve that crispy skin.
- Scrub the sweet potatoes well under running water to remove any dirt. Dry them completely with a paper towel; moisture prevents crisping.
- Prick each sweet potato deeply 6 to 8 times all over using a sharp fork. This allows steam to escape and helps create a fluffy sweet potato inside.
- Rub the entire surface of each potato with olive oil. Distribute the coarse salt and black pepper evenly over the oiled skins.
- Place the seasoned sweet potatoes directly onto the center oven rack. Do not use foil or a baking sheet. Baking directly on the rack allows air to circulate, which is key for crispy skin sweet potato oven results.
- Bake for 40 to 55 minutes. The exact time depends on the size of your potatoes. Start checking at 40 minutes.
- The sweet potatoes are done when the skin is slightly wrinkled and crispy, and a knife inserted into the center slides in with no resistance.
- Remove from the oven and let them cool slightly for about 5 minutes before slicing them open lengthwise. Fluff the interior with a fork.
- Serve immediately with your favorite toppings for an easy sweet potato side dish.
Notes
- For a savory variation, try topping your hot, fluffy sweet potato with 1 tablespoon of softened butter mixed with 1 minced garlic clove and a pinch of dried thyme.
- If you are meal prepping, you can bake these ahead of time. Store cooled, whole potatoes in the refrigerator for up to 4 days. Reheat in a 350 degree oven for 10 minutes to crisp the skin again.
- To achieve extra caramelized skin, you can briefly place the potatoes under the broiler for 1-2 minutes at the very end, watching carefully to prevent burning.
Nutrition
- Serving Size: 1 medium potato
- Calories: 180
- Sugar: 13
- Sodium: 230
- Fat: 5
- Saturated Fat: 1
- Unsaturated Fat: 4
- Trans Fat: 0
- Carbohydrates: 35
- Fiber: 6
- Protein: 3
- Cholesterol: 0


Comments are closed.