


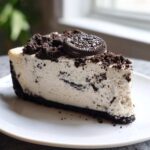
Oh, if there’s one thing that instantly makes me feel like I’m home, it’s the smell of Oreos mingling with sweet cream cheese. Seriously, they are just magic, aren’t they? If you’ve ever wanted that decadent, impossibly rich flavor of a perfect Oreo cheesecake but absolutely dread the thought of turning on your oven in the middle of summer—or maybe you just don’t trust your springform pan not to leak—then stop right there. You found it!
After about a million different tests involving too much gelatin and some sadly sunken centers, I finally cracked the code on the Ultimate No-Bake Oreo Cheesecake. This isn’t one of those wobbly, overly airy versions. No way! Trust me, I spent weeks perfecting this so the texture is just as silky and indulgent as the baked kind, but it’s so much easier. You’re going to love how simple this becomes your go-to Oreo dessert idea.
Why This No Bake Oreo Cheesecake is the Best Oreo Cheesecake Recipe
I know there are a million no bake Oreo cheesecake recipes out there promising the world, so why bother with mine? Honestly, it comes down to texture and simplicity. I focused on keeping this as an easy Oreo cheesecake while guaranteeing that rich, melt-in-your-mouth experience people really want.
This recipe is my absolute winner because it delivers exactly what we crave:
- No Oven Needed: Perfect for those blazing hot summer days when you don’t want the kitchen heating up!
- Silky Smooth Filling: We use a precise doubling-up on the cream cheese and heavy cream to guarantee that intensely creamy Oreo cheesecake finish every single time. No grit, no graininess, ever.
- Quick Prep Time: You’re looking at maybe twenty minutes of hands-on work before it heads to the fridge. That’s seriously fast for such an indulgent cheesecake.
If you want a foolproof, stunning dessert for your next gathering, you should definitely check out my main guide on making the no bake Oreo cheesecake version!
Essential Ingredients for Your Ultimate Oreo Cheesecake
Okay, let’s talk supplies! Because this is a no-bake recipe, the quality and state of your ingredients really matter. You can’t hide anything under a baked crust, right? So we need to make sure everything is at its peak performance, especially that cream cheese. If it’s straight from the fridge, your filling is going to fight you every step of the way.
When you gather your items, pay close attention to the descriptions. I’ve broken down exactly what you need for the crust and the starry filling below. This isn’t the time to grab low-fat anything; we need the real deal for that super thick, homemade Oreo cheesecake texture!
For the Crushed Oreo Crust
This is the foundation of our entire operation. Don’t skimp on the Oreos here; they give us that perfect snap!
- Crust requires 1 1/2 cups crushed Oreo cookies (that’s about 25 cookies if you’re counting!). Chop them up coarsely—you want some texture, not dust.
- You’ll need 6 tablespoons of unsalted butter, and make sure it’s fully melted before you start mixing.
For the Creamy Oreo Cheesecake Filling
This is where the magic really happens. The temperature of these ingredients is crucial for a totally smooth result. Remember what I said about fighting the cream cheese? Don’t let it happen!
- Get three full 8-ounce packages of cream cheese, and they absolutely HAVE to be softened to room temperature.
- We need 1 1/2 cups of powdered sugar, which dissolves beautifully into the cream cheese mix.
- Don’t forget 1 teaspoon of vanilla extract for that classic depth of flavor.
- For the first liquid component, measure out 1/4 cup of heavy cream—just regular heavy cream here.
- The secret weapon for fluffiness is 1 cup of heavy whipping cream, which must be kept chilled until you are ready to whip it into stiff peaks for folding.
Step-by-Step Instructions for Perfect No Bake Oreo Cheesecake
Alright, time to put on our aprons! Even though this is a no-bake recipe, the sequence matters just as much as when you’re baking. We need structure so that this magnificent oreo cheesecake stands tall and proud when it’s time to slice. Follow these steps exactly, and you’ll have that incredibly creamy Oreo cheesecake everyone raves about.
Preparing the Oreo Crust Base
First things first, let’s build our support system. In a medium bowl, you’re going to mix up your 1 1/2 cups of crushed Oreos with those 6 tablespoons of melted butter. Don’t use a stand mixer for this—just a rubber spatula or a wooden spoon works perfectly for coating all those cookie crumbs. Press that mixture down *firmly* into the bottom of your 9-inch springform pan. I mean it, pack it in there! We want a sturdy base. Once it’s tight, slide that pan into the fridge to chill for a good 15 minutes while you tackle the filling. This short chill helps it set up nicely.
Creating the Smooth Cream Cheese Filling for Your Oreo Cheesecake
Grab your mixing bowl and that temperature-perfect cream cheese. Start by beating the softened cream cheese all by itself until it looks smooth, almost like thick icing. This is key! Then, you can gently add your powdered sugar and vanilla extract, mixing just until those powders disappear. Now, pour in that 1/4 cup of heavy cream and beat it a bit until everything looks homogenous and creamy. Here’s a big tip: in a separate, clean bowl, whip your remaining 1 cup of chilled heavy whipping cream until you get firm peaks. See? We’re using the folding technique here to keep the air in—gently fold that fluffy whipped cream into your cream cheese mixture using a spatula until you don’t see any white streaks. Whatever you do, don’t overmix it now, or all that glorious air escapes!
Chilling and Finishing the Homemade Oreo Cheesecake
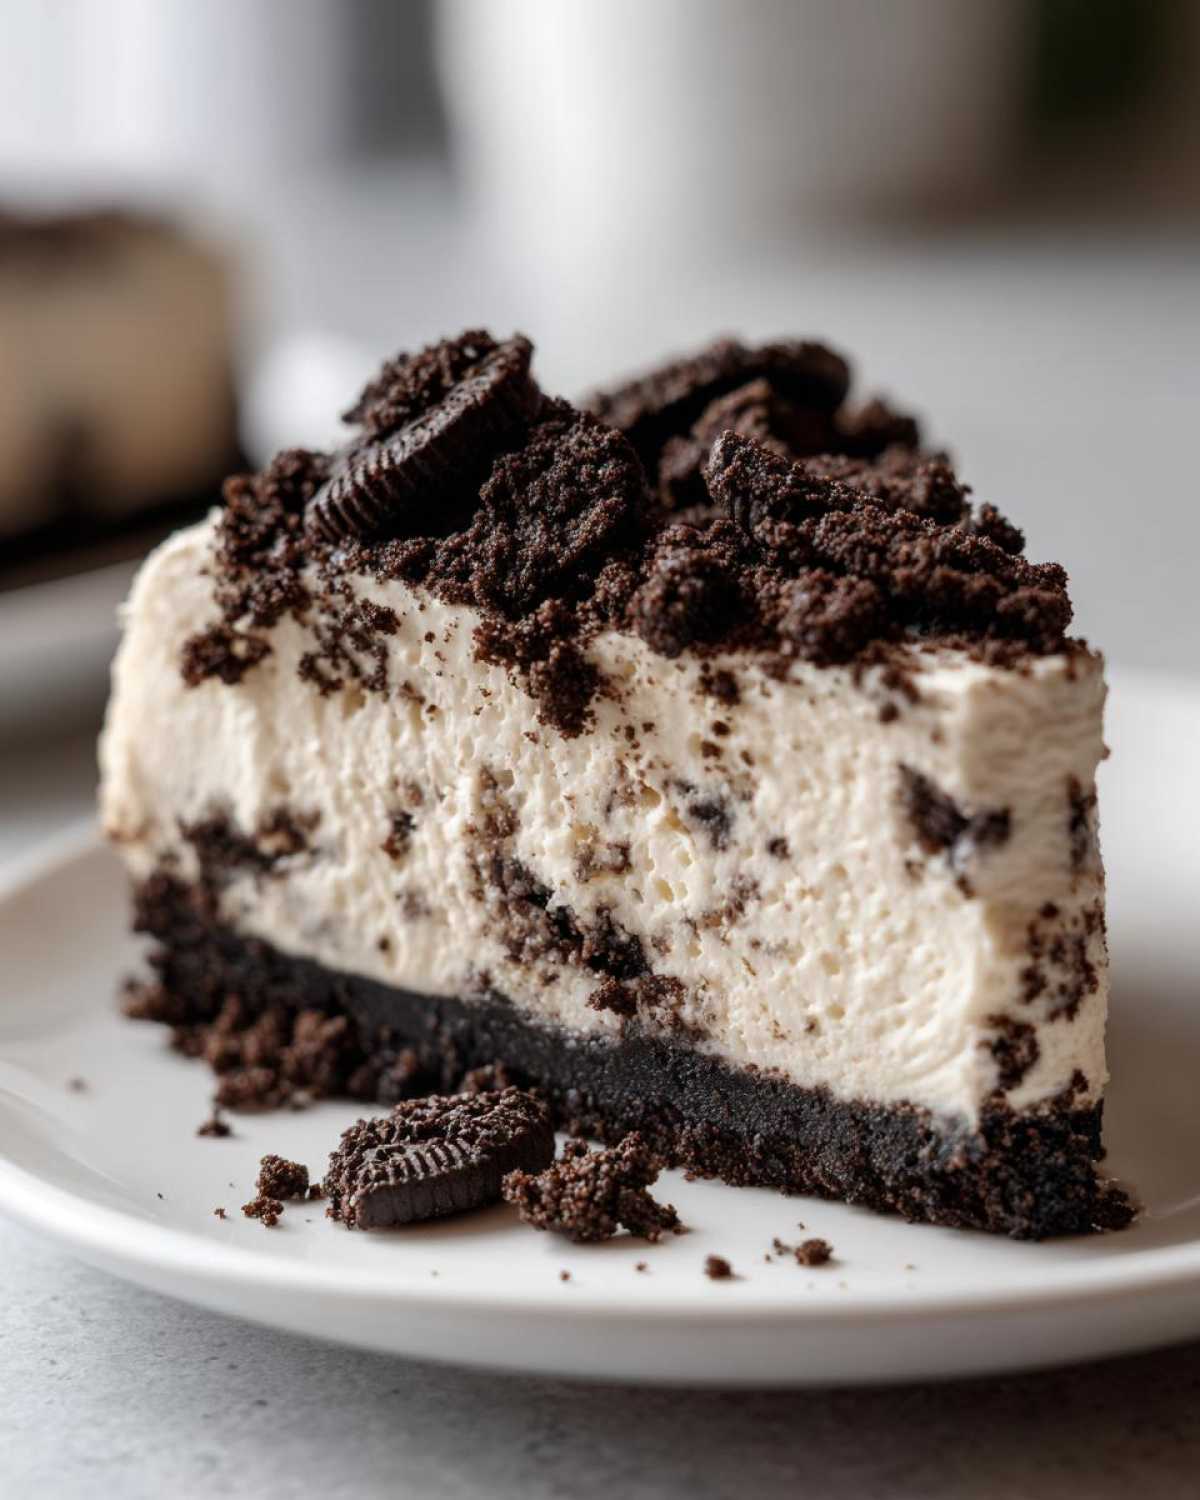
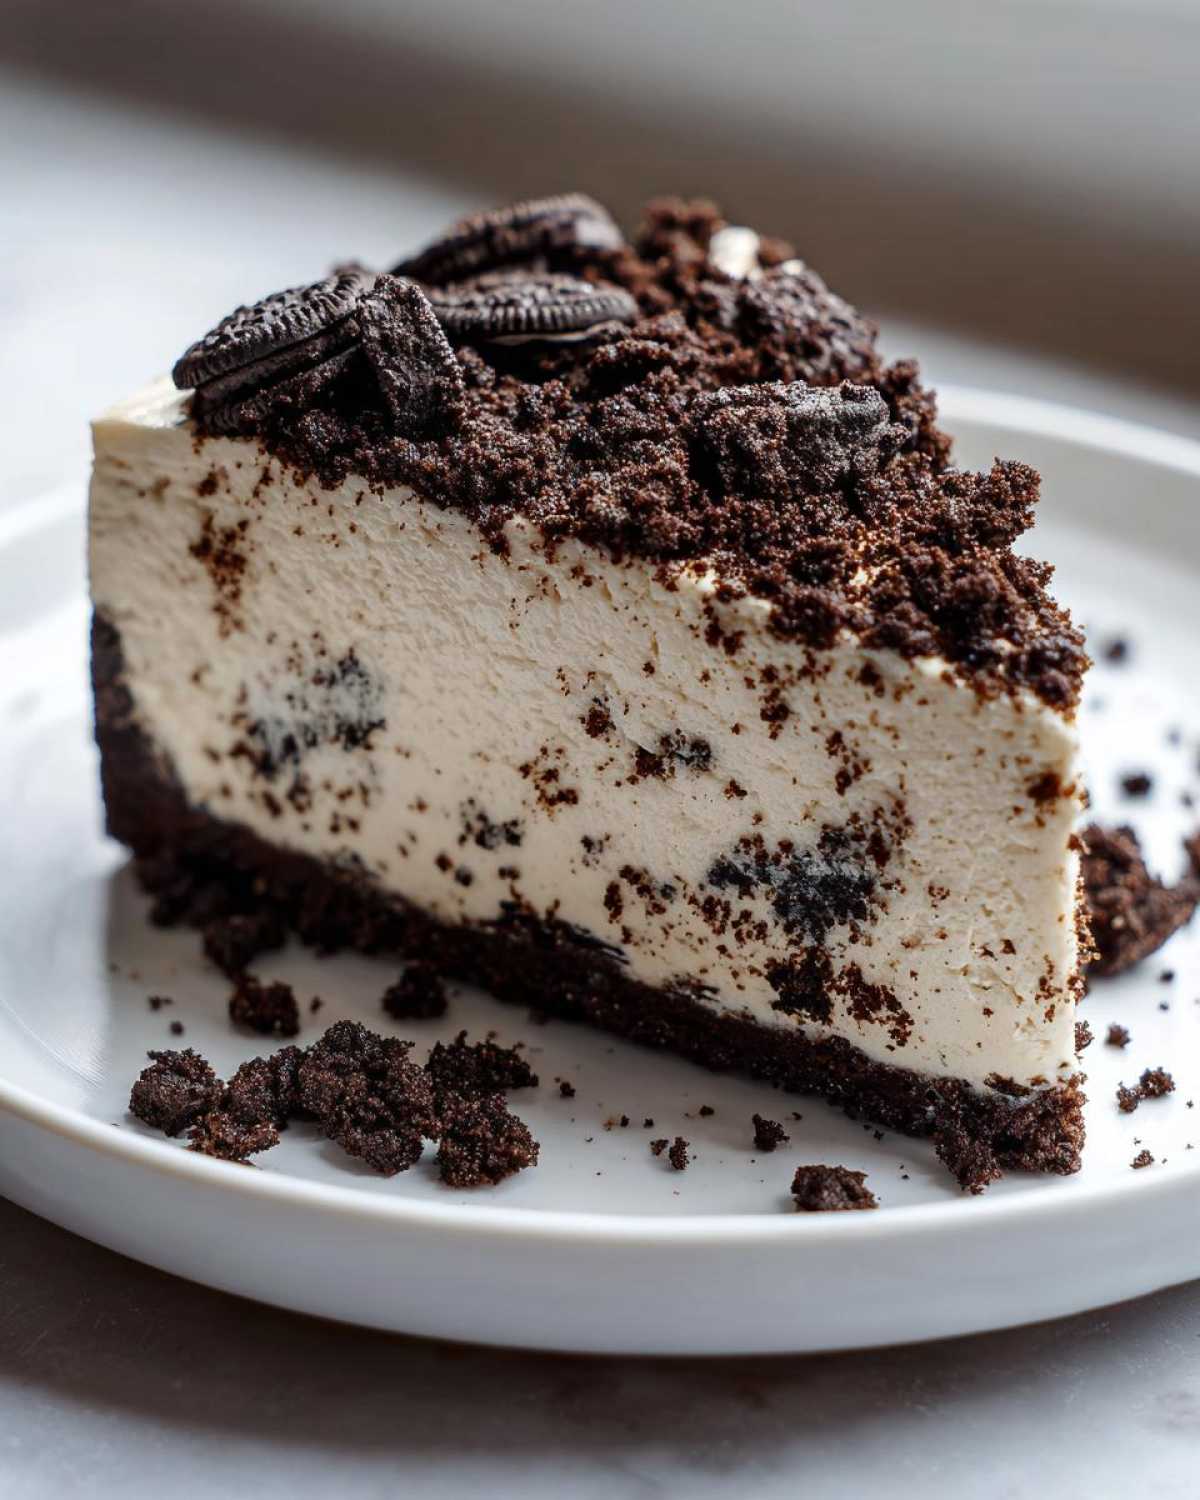
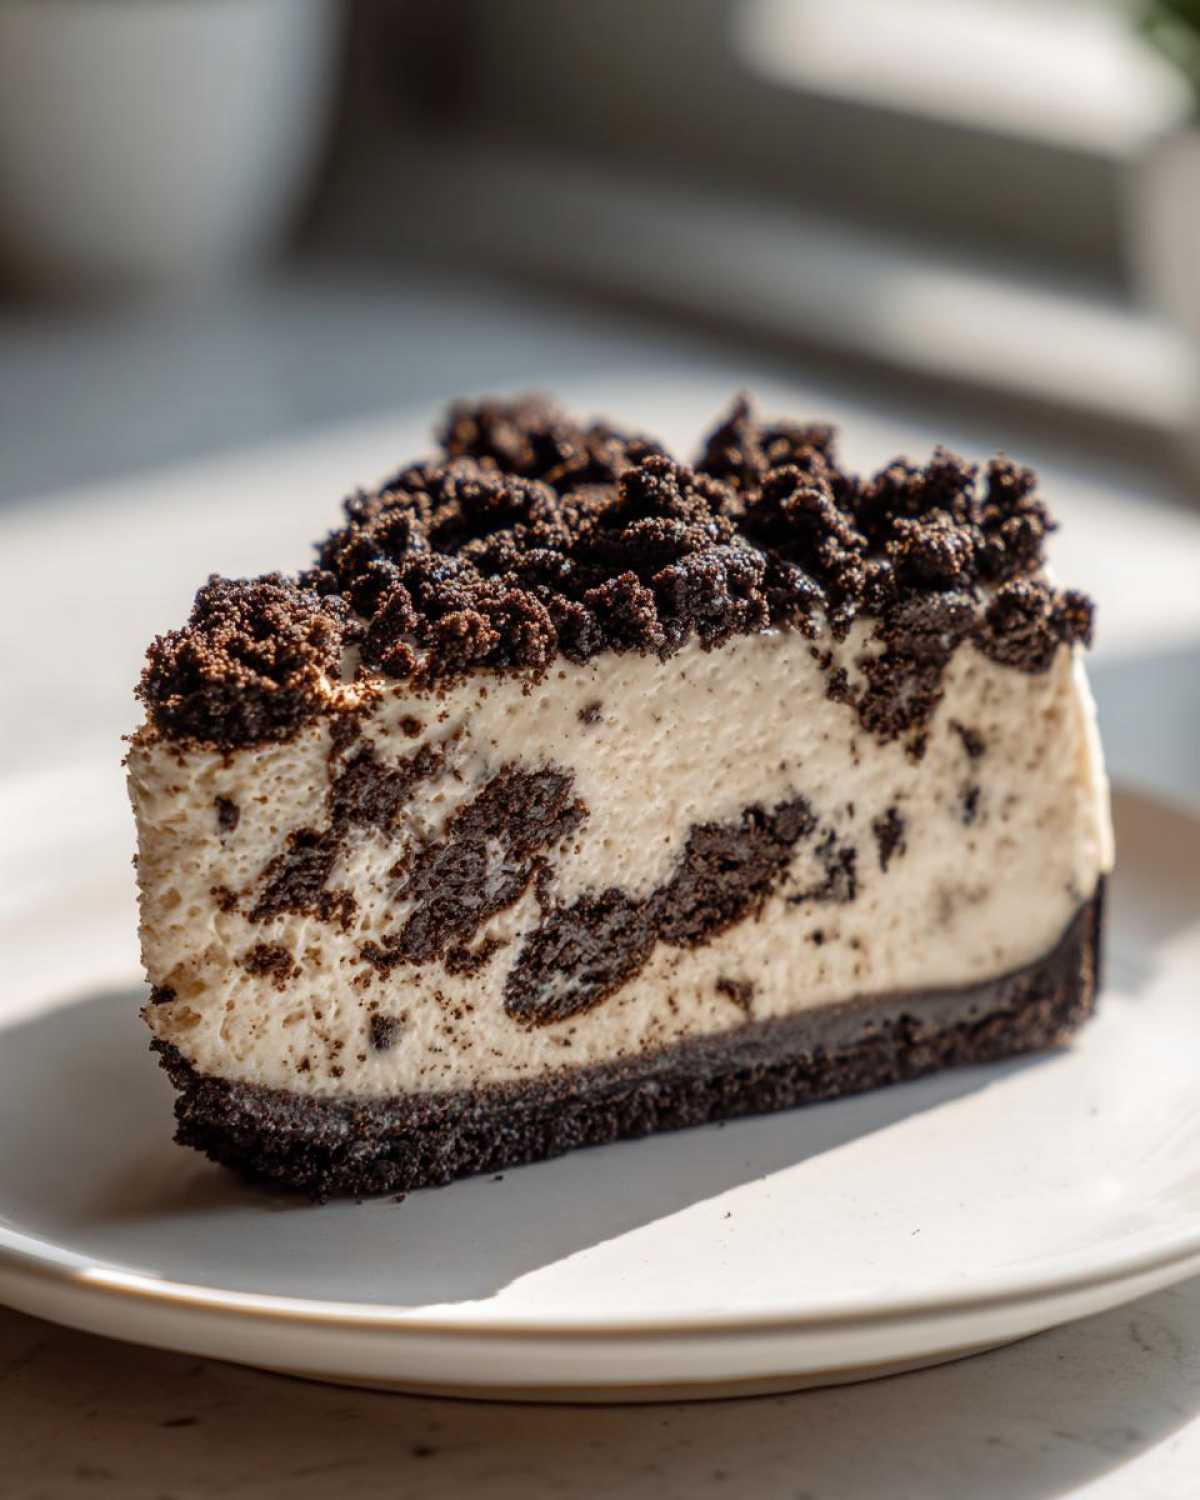
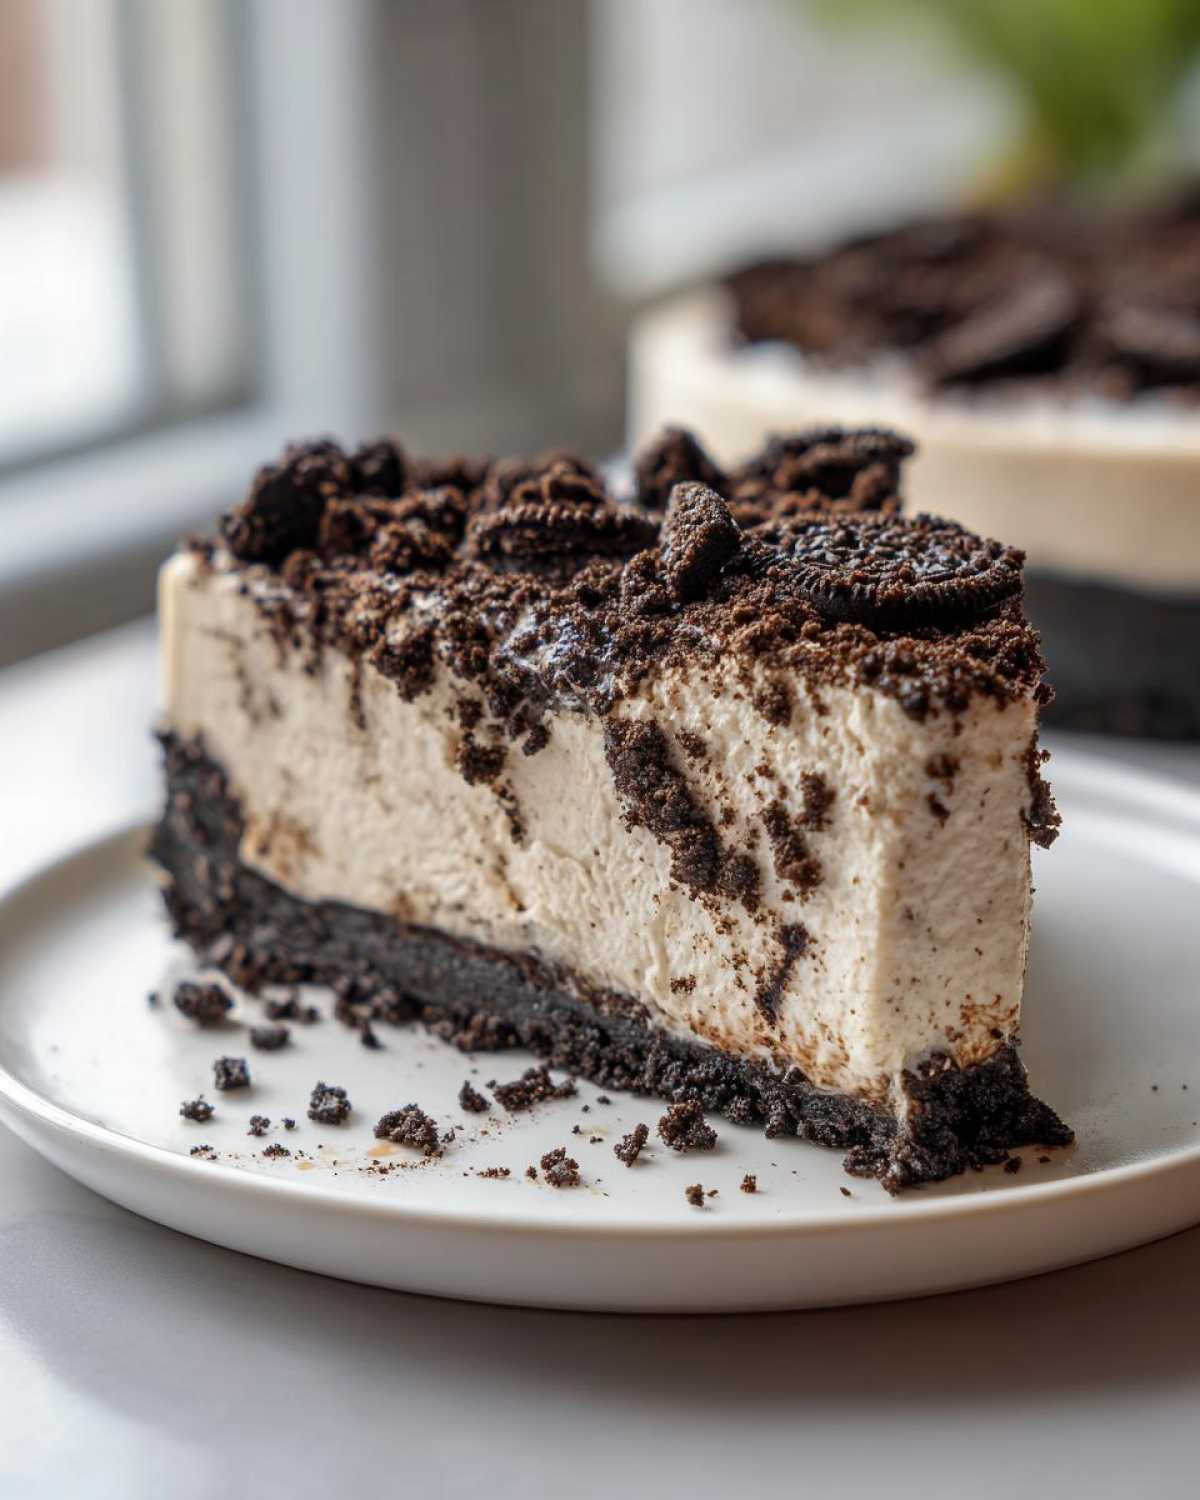
Take your crust out of the fridge. Spread that luscious filling evenly on top. Don’t poke it or touch it too much once it’s spread! Now, cover the pan loosely with plastic wrap. Seriously, don’t let it touch the surface of the cheesecake, or you’ll mess up the beautiful top layer. It needs a good long rest in the refrigerator—at least 6 hours, but I always recommend overnight for the absolute best set. When it’s fully firm, carefully release the springform side—another little secret! For an even easier cleanup later, line the bottom of your springform pan with parchment paper before you even start the crust. Finally, sprinkle that last cup of crushed Oreos over the top right before you serve it. Wow!
Tips for the Creamiest Oreo Cheesecake Texture
You’ve followed the steps, but you want that guarantee, right? That intensely creamy Oreo cheesecake texture is what separates an okay dessert from a showstopper. I’ve got a few final nuggets of wisdom from my testing days that you can use now to really lock in that silky smoothness. These are the little tricks I learned that made all the difference when I was trying to replicate those fancy bakery cheesecakes!
First off, remember that note about the springform pan? For the absolute easiest release when you go to slice this—which keeps that beautifully finished side intact—I always line the bottom of the pan with a neat circle of parchment paper before I even touch the cookie crust. It’s totally worth the extra thirty seconds!
Next suggestion: If you’re worried about this being too soft, especially if your kitchen is warm, you can try adding a little insurance policy. Dissolve just 1 teaspoon of unflavored gelatin mixed into 2 tablespoons of cold water, and then stir that into the cream cheese base *before* you gently fold in the whipped cream. That little bit of insurance makes a firmer set without changing the flavor one bit. Also, please, please make sure your cream cheese is fully softened. Room temperature equals no lumps, and no lumps equal the best Oreo cheesecake possible. For the ultimate party dessert, texture is everything!
Oreo Cheesecake Variations and Simple Cheesecake Recipe Swaps
Just because we nailed the Ultimate No-Bake version doesn’t mean we have to stick to the script every time! Part of the fun in the kitchen is playing around with what we already love. If you’ve run out of Oreos but still have a craving for a creamy dessert, this basic technique can totally transform into a simple cheesecake recipe.
Think about swapping out the cookies in that crust! You could use Biscoff cookies for a whole different flavor profile, or maybe chocolate wafers for an even richer base. If you want to turn this into something perfect for picnics or batch sharing, pour the filling into an 8×8 inch baking dish instead of a springform pan. Voila! You now have fantastic no bake dessert bars.
For something extra decadent, try folding in half a cup of mini chocolate chips or even swirls of peanut butter right before you spread the filling. Speaking of extra chocolate goodness, if you want to dive down a delicious rabbit hole of layering cookies, dough, and cream, you absolutely have to check out my recipe for slutty brownies next!
Serving Suggestions for Your Oreo Cheesecake
This Oreo cheesecake is so rich and deeply flavored that sometimes you need something sharp or contrasting to cut through that chocolate darkness. Planning for a big gathering? This makes the absolute perfect party dessert recipe because it feeds a crowd and requires zero last-minute fuss!
When I serve this up, I like to offer a little side element to balance the intense richness. If you’re serving it after a heavy meal, try drizzling just a tiny bit of tart raspberry sauce over each slice. The sweet-tart hit of the berry against the creamy chocolate cookie base is just heavenly.
For an adult gathering, skip the sauce and focus on the drinks! A perfectly made, slightly bitter coffee drink is the ultimate companion. Seriously, try pairing a slice of this indulgent cheesecake with my recipe for an iced brown sugar latte. That balance of strong coffee and sweet cream makes the whole dessert feel gourmet, even though we didn’t even turn the oven on!
Storage and Keeping Your Oreo Cheesecake Fresh
Since this is a beautiful, fresh, no-bake delight, it tastes best when it hasn’t sat around too long. You want to store your finished Oreo cheesecake strictly covered in the refrigerator. Covering it keeps out fridge smells, which nobody wants interfering with that chocolate essence!
Honestly, this recipe keeps really well for about four days. If you need to serve it later than that, I would suggest only topping it with the crushed Oreos right before you plan to eat it. And here’s a funny one: while you don’t technically “reheat” a no-bake dessert, if you need to serve it after it’s been chilling rock hard overnight, pull it out of the fridge about twenty minutes before you plan to slice. That little bit of time lets the filling warm up just enough so it cuts like butter!
Frequently Asked Questions About This Oreo Cheesecake Recipe
I always get so many questions after people try this recipe because it’s just so dang easy—and people worry it must be a trick! I get it! I totally want to make sure you have success making this incredible, creamy dessert. Here are some of the most common things people ask me when they plan to whip up this Oreo cheesecake.
If you want even more troubleshooting tips on making various no bake cheesecake recipes, I compiled a big guide for you!
Can I use a different cookie besides Oreos in this Oreo Cheesecake?
Yes, you absolutely can! This base recipe is fantastic, and changing the cookie completely changes the experience. If you use chocolate wafer cookies instead, you’re leaning into a richer, darker Chocolate Cookie Cheesecake vibe. If you use vanilla wafers, it lightens things up a bit. Just remember to crush them the same way and use the same amount of melted butter, and you’re good to go!
What is the minimum chilling time for a firm No Bake Oreo Cheesecake?
This is critical for that perfect set! The absolute minimum time you should let this chill for is 6 hours. But listen to me: if you can stand it, let it chill overnight! When that cheesecake chills for 8 or 10 hours, the filling firms up so beautifully. It turns from ‘pretty good’ to a truly indulgent cheesecake experience that slices without any sad wobbling.
Estimated Nutritional Data for This Oreo Cheesecake
I’m happy to share the estimated nutritional information for a single slice of this Oreo cheesecake, but remember this is just a ballpark figure! Depending on the brand of cream cheese or the specific type of Oreos you use for your crushed Oreo crust, these numbers can shift a tiny bit.
Generally, one slice breaks down to:
- Calories: 450
- Sugar: 35g
- Fat: 30g
- Protein: 6g
It’s definitely a treat, so enjoy knowing it saves you the effort of baking!
Share Your Ultimate Oreo Dessert Creations
That’s it! You’ve navigated the world of no-bake magic and created what I truly believe is the best Oreo cheesecake out there. Now, the best part—seeing what you’ve made! I absolutely love hearing from you when you try one of my family-tested recipes.
If you made this glorious Ultimate Oreo Dessert, please, please hop down to the comments section and leave me a star rating. It tells me you followed the steps and that this easy recipe delivered! If you had a substitution or a little flair you added, I want to hear about it!
And if you’re big on sharing photos—and I hope you are!—tag me on social media! Seeing your beautiful, creamy cheesecakes sitting next to your cup of coffee or ready for a party is the highlight of my week. For more fun, low-effort cookie desserts, give my main Oreo dessert ideas page a peek!
PrintUltimate No-Bake Oreo Cheesecake
Make a rich, creamy Oreo cheesecake without turning on your oven. This recipe uses a simple crushed Oreo crust and a smooth cream cheese filling.
- Prep Time: 20 min
- Cook Time: 0 min
- Total Time: 6 hr 20 min
- Yield: 10 servings
- Category: Dessert
- Method: No Bake
- Cuisine: American
- Diet: Vegetarian
Ingredients
- 1 1/2 cups crushed Oreo cookies (about 25 cookies)
- 6 tablespoons unsalted butter, melted
- 3 (8 ounce) packages cream cheese, softened
- 1 1/2 cups powdered sugar
- 1 teaspoon vanilla extract
- 1/4 cup heavy cream
- 1 cup chilled heavy whipping cream
- 1 cup crushed Oreo cookies, for topping
Instructions
- Combine the 1 1/2 cups of crushed Oreos and melted butter in a medium bowl. Press the mixture firmly into the bottom of a 9-inch springform pan. Chill the crust for 15 minutes.
- In a large bowl, beat the softened cream cheese with an electric mixer until smooth.
- Gradually add the powdered sugar and vanilla extract, mixing until just combined. Scrape down the sides of the bowl.
- Pour in the 1/4 cup of heavy cream and mix on medium speed until the mixture is smooth and creamy.
- In a separate, clean bowl, whip the 1 cup of chilled heavy whipping cream until stiff peaks form.
- Gently fold the whipped cream into the cream cheese mixture using a spatula until no streaks remain. Do not overmix.
- Spread the filling evenly over the chilled crust.
- Cover the pan loosely with plastic wrap and refrigerate for at least 6 hours, or preferably overnight, until the cheesecake is firm.
- Before serving, sprinkle the remaining 1 cup of crushed Oreos over the top. Release the springform side carefully.
Notes
- For the easiest crust removal, line the bottom of the springform pan with a circle of parchment paper before adding the cookie mixture.
- If you prefer a slightly firmer filling, you can add 1 teaspoon of unflavored gelatin dissolved in 2 tablespoons of cold water to the cream cheese mixture before folding in the whipped cream.
- Use room temperature cream cheese for the smoothest filling texture.
Nutrition
- Serving Size: 1 slice
- Calories: 450
- Sugar: 35
- Sodium: 300
- Fat: 30
- Saturated Fat: 18
- Unsaturated Fat: 12
- Trans Fat: 0
- Carbohydrates: 42
- Fiber: 1
- Protein: 6
- Cholesterol: 85


Comments are closed.