


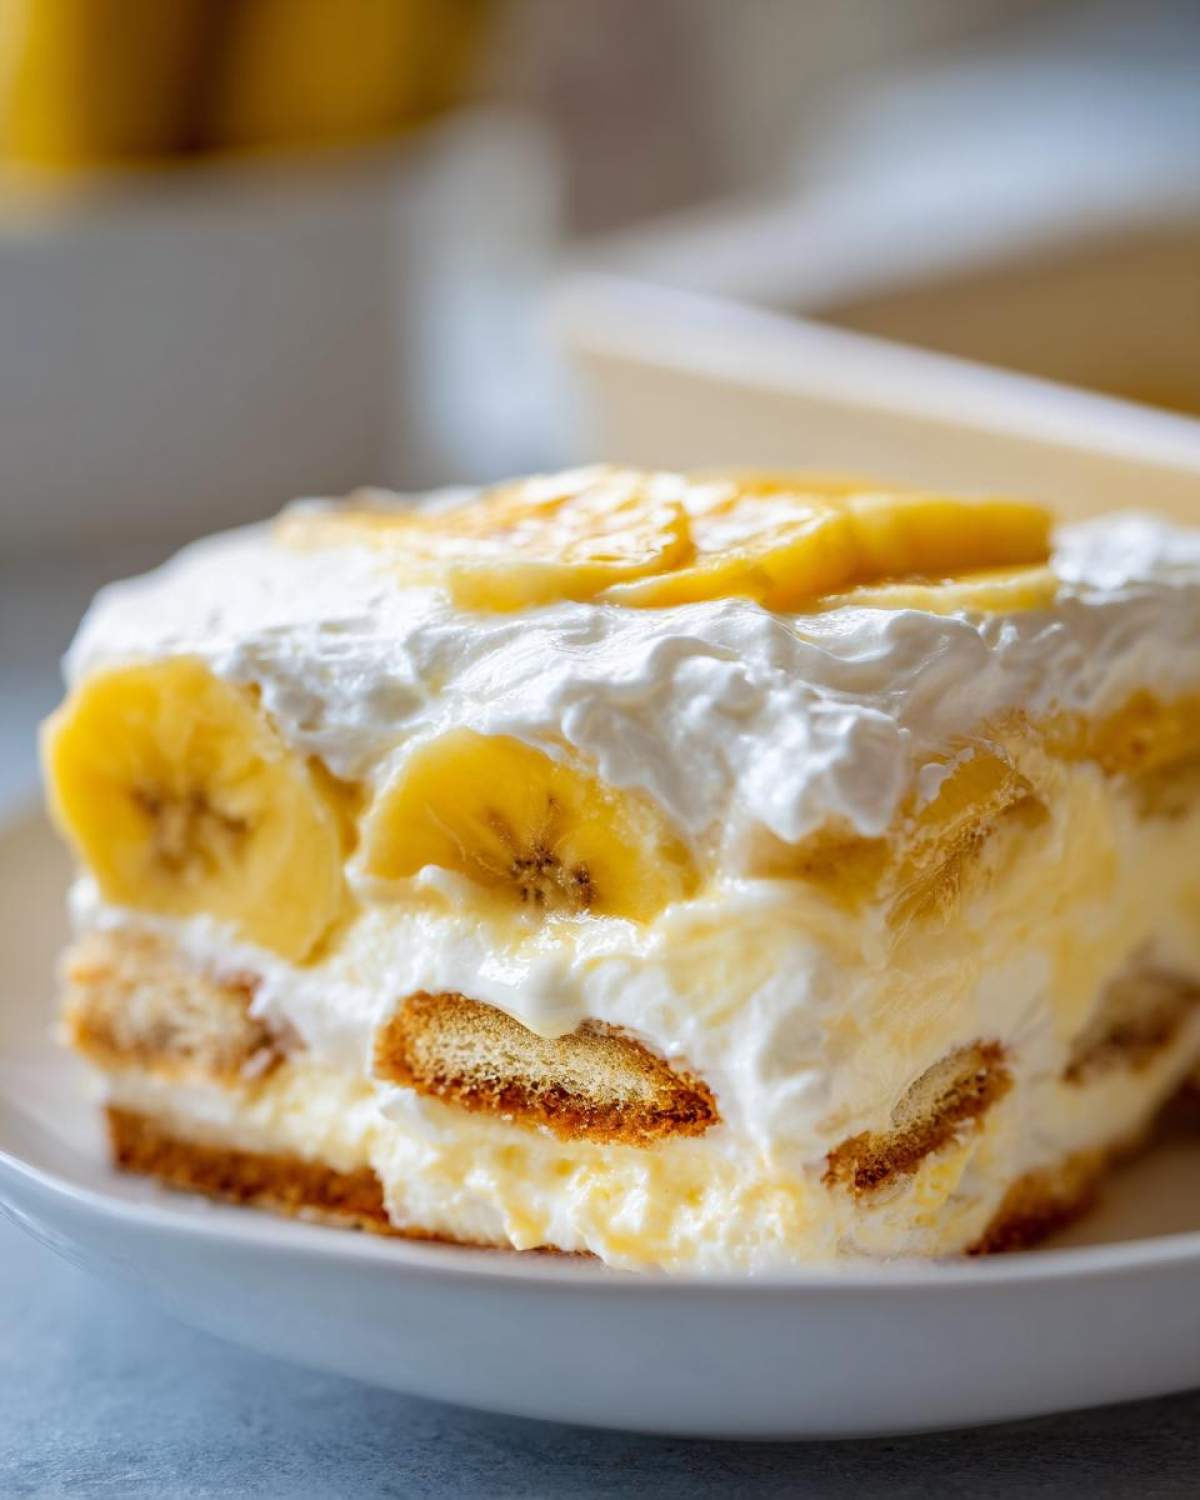
When I need a dessert that instantly transports me back to summer picnics or big family Sunday dinners, nothing beats a big, beautiful bowl of banana pudding. Forget anything that comes out of a box—we’re making the real deal here! This isn’t just any pudding; this is my classic Southern banana pudding recipe, made entirely from scratch. The secret, truly, is the homemade vanilla custard layered delicately with sweet bananas and crisp wafers. I’ve carried this recipe to countless holidays and reunions, so trust me when I say this rich, creamy banana dessert is the ultimate crowd-pleaser. It’s the flavor of comfort, and once you taste this homemade version, you’ll never go back!
Before we dive into the magic, if you love knowing who is behind these tried-and-true family recipes, you can always pop over and learn a little more about me and my kitchen philosophy right over here: my little corner of the internet.
Why This Classic Southern banana pudding Recipe is the Best
Listen, there are a million ways to throw together a quick dessert, but nothing beats this traditional layered approach. When people ask me for the **best banana pudding ever**, this is the one I share. It’s what I call an **old fashioned comfort dessert** because it tastes like grandma fussed over it—even though it’s surprisingly straightforward!
- The texture is incomparable; it’s genuinely thick and luscious.
- That deep, rich vanilla flavor only comes from making the custard base yourself.
- It’s designed perfectly to soften those wafers just right, not turn them to mush!
Achieving Peak Creaminess in Your banana pudding
That amazing, spoon-coating texture we all crave comes straight from the stovetop. We aren’t using any shortcuts here, which means cooking the cornstarch properly. This careful cooking process results in the silkiest, richest custard imaginable—a true **creamy banana dessert** that holds its shape beautifully when sliced.
Perfect for Easy Family Gathering Recipes
This is my go-to **banana dessert for potlucks** for one major reason: it’s a perfect **make ahead chilled dessert**. You assemble it the night before, and by the time the party rolls around, it’s perfectly set, cool, and ready to serve. It handles the travel time to a gathering like a champ!
Ingredients for the Ultimate banana pudding
To make this incredible **from scratch banana pudding**, you really can’t skimp on the quality, because those simple components are what make our custard so special. We’re going for rich flavor, not something thin and icy. I always make sure to get good, plump vanilla wafers—the real MVP of this dessert! If you ever need a great recipe for moist morning treats, check out my classic banana muffins recipe while you’re here.
- 1 cup granulated sugar
- 1/2 cup cornstarch
- 1/4 teaspoon salt
- 4 large egg yolks (save those whites for meringue sometime!)
- 3 cups whole milk
- 2 tablespoons unsalted butter
- 1 teaspoon vanilla extract
- 4 large ripe bananas, sliced
- 1 box (11 ounces) vanilla wafers
Ingredient Notes and Substitutions for banana pudding
A few quick thoughts on what makes these ingredients shine: Your bananas need to be ripe—not brown, but definitely yellow with lots of those little brown spots. That’s where the real sweetness comes from! The recipe calls for whole milk, but if you want to make this the richest, fanciest **banana cream layered dessert** possible, definitely swap half of that milk for heavy cream. Trust me, it elevates the whole experience!
How to Make Rich homemade vanilla pudding layers for banana pudding
Okay, this is where the magic—and where the hard work—happens! If you want that beautiful, sturdy texture for your **homemade vanilla pudding layers**, you can’t rush the cook time. Grab your medium saucepan, because we are building flavor from the bottom up. First, whisk together your sugar, cornstarch, and salt really well. You want those dry ingredients totally paired up before we introduce the wet stuff, especially that cornstarch!
Next, stir in those gorgeous egg yolks until everything is smooth and slightly pale. Then, slowly drizzle in your whole milk while whisking like crazy so you don’t get any lumps. This is crucial for a smooth custard!
Set that saucepan over medium heat. Now, I mean it when I say stir constantly. Don’t answer the phone, don’t wander off to check on something else. You have to stir until the mix thickens up and starts boiling. Once it hits a good, rolling boil, keep on stirring and let it boil vigorously for a full minute. That minute is what cooks the starch out and makes sure your **banana pudding** sets up perfectly thick later. Once that minute is up, pull it off the heat instantly. Stir in your butter until melting and then that teaspoon of vanilla extract. Wow, the smell in the kitchen right then is heavenly!
I always check out recipes like my vanilla chia seed pudding for easy flavor swaps, but for this classic, stick to that vanilla. That just-cooked custard is the foundation for the entire dessert!
Assembling Your Layered banana pudding
Now that we have that silky hot custard ready, we move onto building this gorgeous tower of deliciousness! I always choose a big, clear glass serving bowl for this recipe. Why? Because this is a beautiful **banana cream layered dessert**, and you absolutely need to see those distinct stripes of creamy pudding, soft bananas, and those perfect little vanilla wafers.
Start by spreading a thin, even layer of that warm pudding right over the bottom of your bowl. That bottom coat is important—it keeps the first layer of wafers from sticking to the glass, which is a lifesaver when you serve it!
Next, grab your vanilla wafers and cover that pudding layer completely. Don’t be shy—I tend to overlap mine a bit so there are no gaps. Then, gently arrange half of your sliced bananas over those wafers. After that, spoon half of the rest of your pudding right over the bananas. Don’t try to smooth it perfectly; just let it settle where it wants to go!
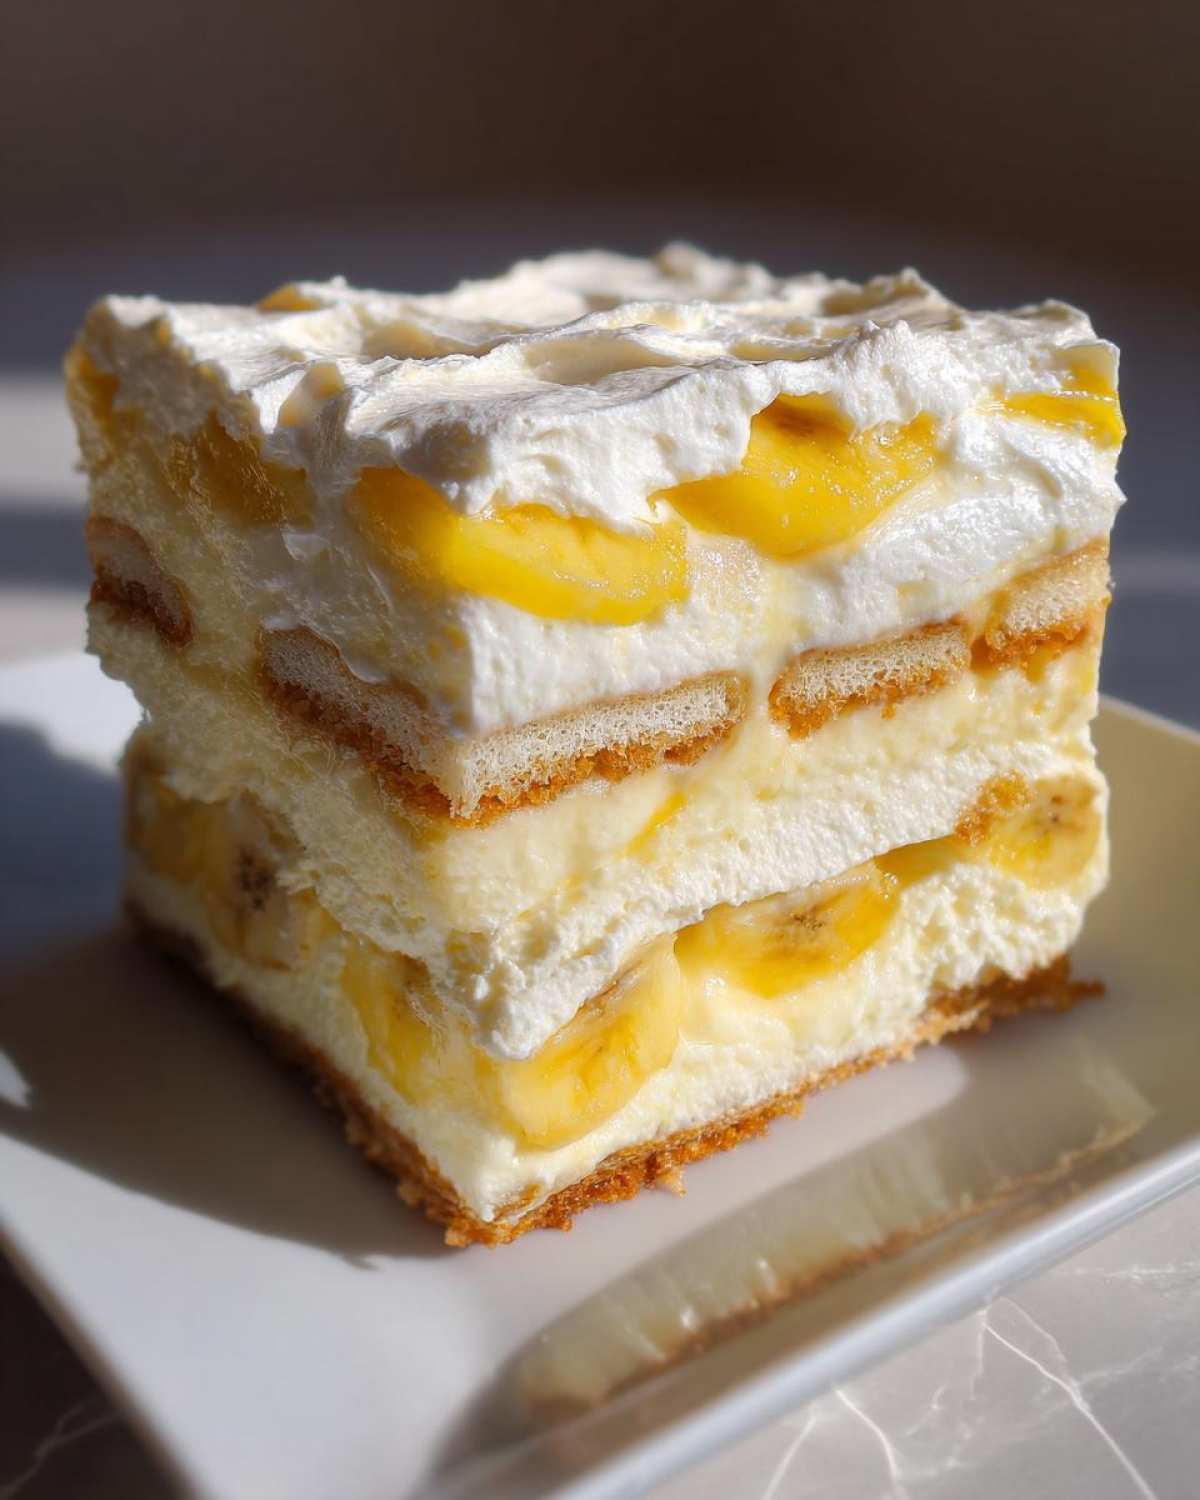
We’re just going to repeat that whole sequence: another layer of wafers, the rest of your bananas, and then, finally, pour that remaining pudding right over the top of absolutely everything. If you want to see how I tackle layering in other no-bake treats, my no-bake cheesecake recipe uses a similar visual stacking technique! Give it a gentle nudge with your spatula to settle it in, but try not to mix up those layers too much.
Chilling and Serving the Perfect banana pudding
Okay, we’ve built this magnificent structure—now we have to be super patient! Step 11 is maybe the most important part for texture, folks. You need to cover that beautiful **banana pudding** bowl tightly with plastic wrap. But here’s the thing: don’t let the plastic just float loosely on top. You need to press that wrap directly down onto the surface of the pudding itself. This little trick stops that dreaded, rubbery skin from forming while it chills. It’s annoying when that happens, right?
For the absolute best results while making this **classic banana pudding recipe**, you must chill it for a minimum of four hours. Seriously, don’t sneak a taste before then! If you can manage it, let it sit overnight. That time allows the wafers to soften just enough, absorbing that creamy custard without turning completely mushy. It’s worth the wait for that creamy finish! If you love desserts you can prep ahead, check out my tips for other make ahead chilled desserts!
Tips for the Best banana pudding Experience
Achieving utter perfection with this **Southern comfort food dessert** comes down to one thing: patience! We’ve already covered the chilling time, but let’s talk about the wafers for a second, a crucial element in any great **Nilla wafer dessert**. You want them to absorb that wonderful moisture from the pudding, right? But if they sit too long soaking up the custard, they turn into, well, just mush. We’ve all been there!
My trick is to assemble everything the night before, as we discussed, but if you are worried about texture the next day, try layering the bottom half, chilling that layer only until the pudding is firm, and then adding the top layer of bananas and wafers right before you chill it all the way through. That second layer of wafers stays a tiny bit softer for longer!
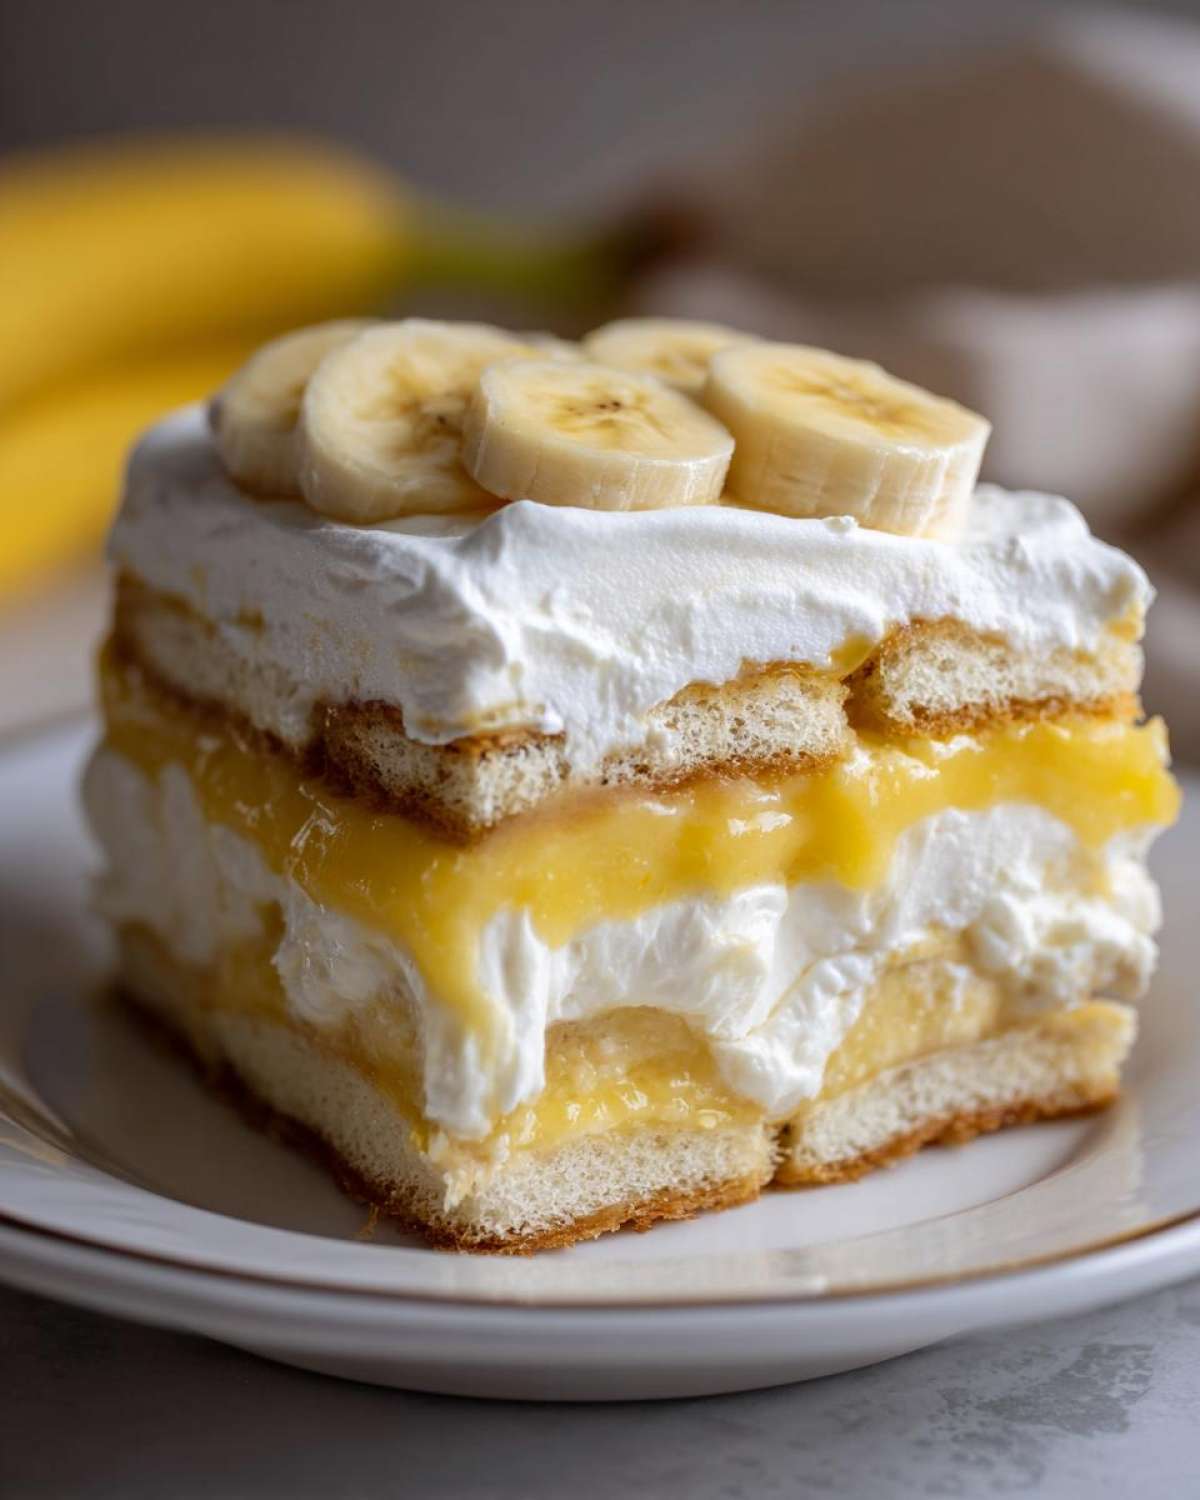
Also, while the recipe stands beautifully on its own just dusted with powdered sugar, if you are making this for a real celebration, you absolutely must top it with fresh whipped cream right before serving. Whipping up heavy cream with a touch of powdered sugar and vanilla gives such a light, airy counterpoint to the heavy custard. It just takes it to the top tier of **rich dessert recipes**!

Making banana pudding Ahead of Time
When I say make this ahead, I mean it for that perfect flavor marriage. The rule of thumb is: the pudding needs time to set up, and the wafers need time to soften. If you assemble the whole thing and put it in the fridge an hour before you serve it, your wafers will still be crunchy, and your pudding will be loose. That’s not the vibe we are going for here!
For the optimal result, assemble everything from start to finish, press that plastic wrap down tight, and let it happily chill for at least 6 hours, preferably 12 or overnight. That way, everything melds together into that cohesive, spoonable slice when you finally dig in. If you are looking for more recipes that rely on the Nilla wafer magic, I’ve got a whole section dedicated to Nilla wafer desserts!
Variations on the Classic banana pudding
While this classic version is already my ultimate favorite, sometimes you just want to spice things up a little bit, right? I love having a few backup tricks up my sleeve, especially when I’m making banana pudding for the third time in a month! Don’t worry, we aren’t messing with the homemade custard, because that’s sacred.
One thing I discovered after a particularly large holiday gathering was that a splash goes a long way toward making this an even more sophisticated **old fashioned comfort dessert**. If you are making this for adults, try soaking your vanilla wafers for about ten minutes in a shallow dish of milk mixed with just a teaspoon or two of good bourbon before layering them in. It adds a lovely warmth without overpowering the vanilla or the banana. It’s subtle, but it makes people ask, “What did you do differently this time?”
Another fantastic twist, especially if you want that look that’s super popular right now, is going for a **Magnolia Bakery style pudding** finish! That famous style ditches the traditional meringue or just leaving the top layer of wafers exposed. Instead, you top the entire finished, chilled dessert with a thick layer of homemade whipped cream frosting. Use a piping bag if you’re feeling fancy, or just spread it on with an offset spatula. It cools down the sweetness of the custard beautifully and makes it look utterly professional.
If you’re looking for other ways to add depth to your baking repertoire, I’ve been playing around with brown butter lately—you should definitely check out my brown butter raspberry chocolate chip cookies for a totally different vibe!
Frequently Asked Questions About banana pudding
I get so many specific questions about this **banana pudding** once people try to make it the first time! It’s a recipe that seems simple, but those little details make all the difference between good and genuinely amazing. Here are a few things I hear all the time:
Can I use instant pudding instead of making banana pudding from scratch?
Look, I totally get the temptation when you need something fast! You *can* use instant pudding mix—it’ll still taste like pudding and banana. But honestly, if you’re asking for the **best banana pudding ever**, you have to do it from scratch. That homemade custard is what makes this recipe superior. The flavor is deeper, richer, and the texture when cooked correctly is far silkier than anything the box can offer. It’s the cornerstone of true **from scratch banana pudding**.
How long does this creamy banana dessert last in the fridge?
This is a **make ahead chilled dessert**, which is fantastic, but it absolutely has the best texture within the first 24 hours. After that, the wafers start getting a little *too* soft, and the bananas can start to get a little dark, even protected under the custard. I tell everyone to plan on eating it within two days. Beyond that, it’s still safe, but you lose that beautiful layered contrast that makes this **creamy banana dessert** so wonderful.
What is the secret to the best banana pudding ever?
If I have to boil down all the lessons I’ve learned from perfecting this recipe, the secret truly lies in three steps, which you saw detailed above! One: Make sure those bananas are perfectly ripe. Two: You must cook that custard until it vigorously boils for a full minute—don’t rush that step! And three: Chilling, chilling, chilling! Press that plastic wrap down and let it rest overnight. That chilling time is when the magic really happens for the texture!
Nutritional Snapshot for This banana pudding
Alright, so if you’re keeping track of things like the professional bakers do, I wanted to give you a quick look at the numbers for this batch of **banana pudding**. Now, you know how I feel about strict measurements—baking is an art, right? So, please remember that these figures are estimates based on the standard measurements I used. If you use premium heavy cream instead of milk, or if your bananas are bigger than mine, these totals will shift a bit!
This information is just a guideline, of course, and it’s there for good measure! If you ever need details on how I handle visitor data and privacy on the site, you can check out my full privacy policy. But for now, let’s see the breakdown for one lovely cup serving:
- Serving Size: 1 cup
- Calories: 350
- Sugar: 45 grams
- Fat: 12 grams (with 5 grams saturated)
- Carbohydrates: 58 grams
- Protein: 6 grams
It’s definitely rich—that’s the homemade custard and sugar talking—but you can see it has a decent bit of protein too! That’s the egg yolks doing their work, making this dessert far more satisfying than those airy, store-bought versions!
PrintClassic Southern Banana Pudding
A rich, creamy, and layered banana pudding made with homemade vanilla custard and vanilla wafers.
- Prep Time: 20 min
- Cook Time: 15 min
- Total Time: 35 min
- Yield: 8 servings
- Category: Dessert
- Method: Stovetop Cooking
- Cuisine: American
- Diet: Vegetarian
Ingredients
- 1 cup granulated sugar
- 1/2 cup cornstarch
- 1/4 teaspoon salt
- 4 large egg yolks
- 3 cups whole milk
- 2 tablespoons unsalted butter
- 1 teaspoon vanilla extract
- 4 large ripe bananas, sliced
- 1 box (11 ounces) vanilla wafers
Instructions
- In a medium saucepan, whisk together the sugar, cornstarch, and salt.
- Whisk in the egg yolks until combined.
- Gradually whisk in the milk until smooth.
- Cook over medium heat, stirring constantly, until the mixture thickens significantly and comes to a boil. Boil for one minute, stirring constantly.
- Remove the pan from the heat. Stir in the butter and vanilla extract until the butter melts completely.
- Pour a thin layer of the hot pudding into the bottom of a large glass serving bowl.
- Arrange one layer of vanilla wafers over the pudding.
- Arrange one layer of sliced bananas over the wafers.
- Spoon half of the remaining pudding over the bananas.
- Repeat the layers: wafers, bananas, remaining pudding.
- Cover the bowl tightly with plastic wrap, pressing the wrap directly onto the surface of the pudding to prevent a skin from forming.
- Chill in the refrigerator for at least 4 hours, or preferably overnight, before serving.
Notes
- For a richer flavor, you can substitute half of the milk with heavy cream.
- Press the plastic wrap directly onto the pudding surface to stop a skin from forming while chilling.
- You can top the pudding with whipped cream just before serving if desired.
Nutrition
- Serving Size: 1 cup
- Calories: 350
- Sugar: 45
- Sodium: 150
- Fat: 12
- Saturated Fat: 5
- Unsaturated Fat: 7
- Trans Fat: 0
- Carbohydrates: 58
- Fiber: 2
- Protein: 6
- Cholesterol: 110
Comments are closed.