


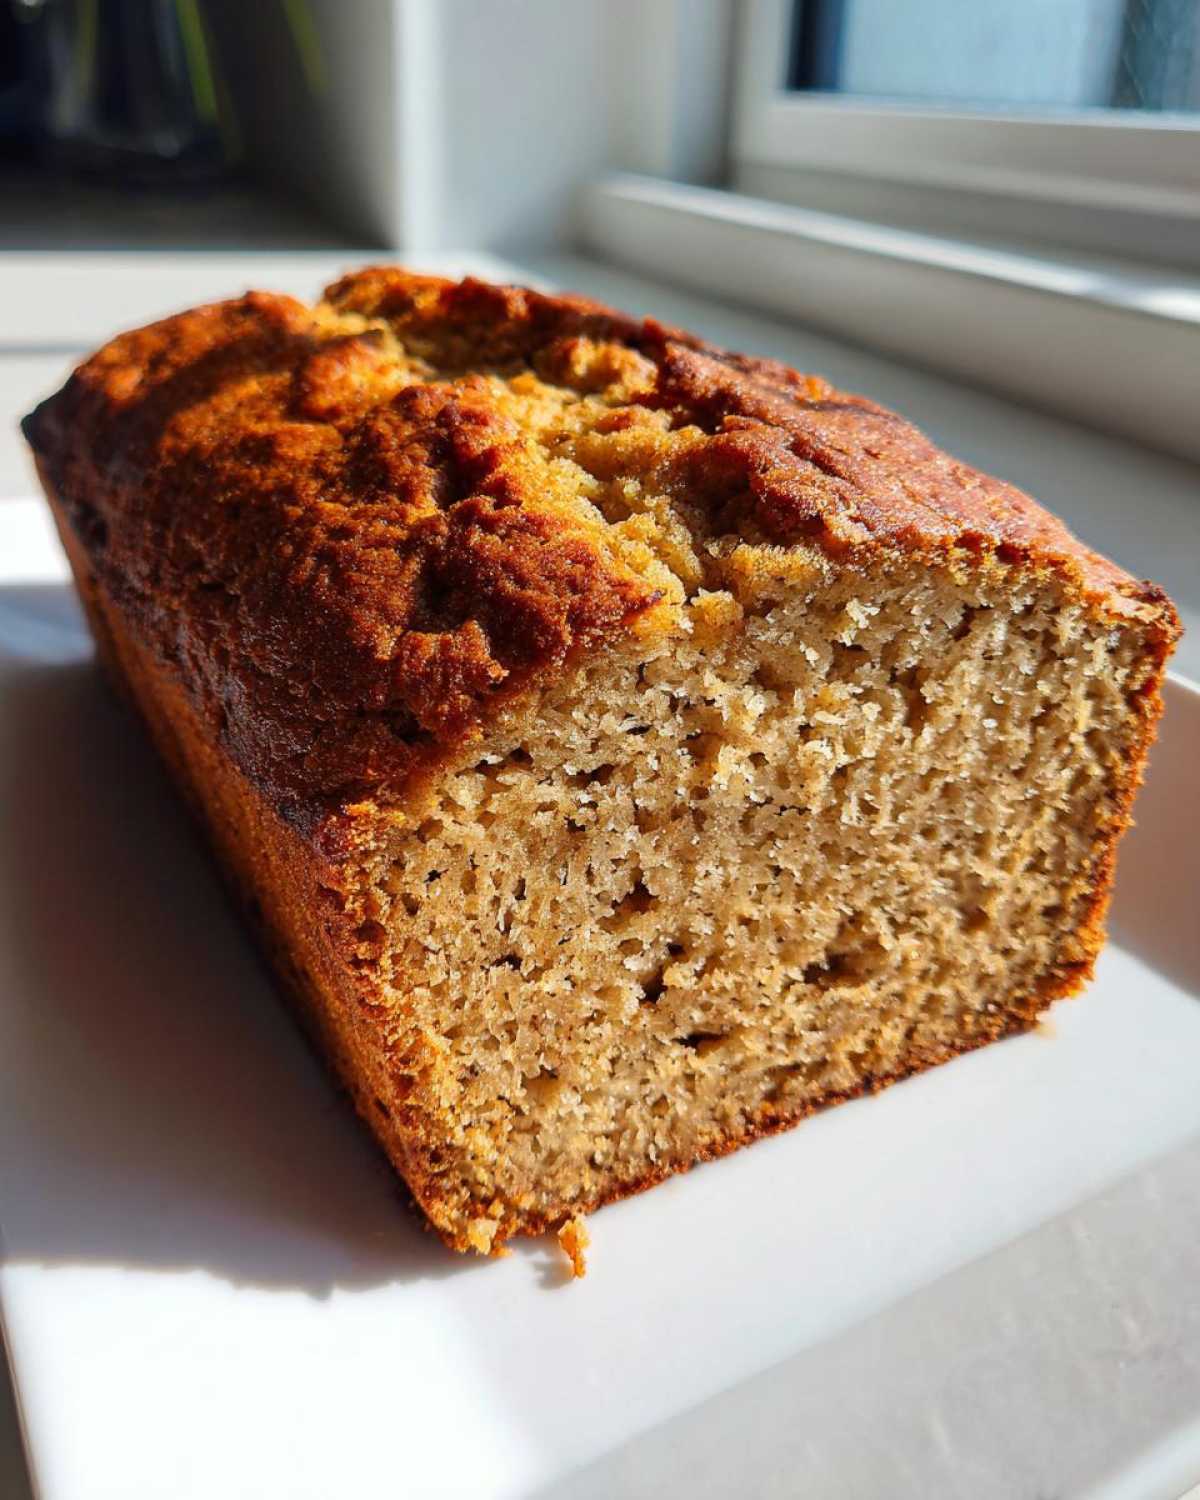
Okay, let’s talk honestly for a second. How many times have you made banana bread only to have it turn out dry, crumbly, or just… sad? I’ve been there more times than I care to admit, especially with loaves meant for breakfast that just crumbled apart. That frustration finally led me to play mad scientist in my kitchen until I cracked the code for the ultimate moist & protein-packed greek yogurt banana bread.
This isn’t just another recipe; it’s my non-negotiable solution for that velvety, tender crumb every single time. I went through at least seven batches tweaking the fat ratios and moisture agents. When I finally swapped out half the oil for real, good quality Greek yogurt, everything changed. The texture became unbelievably soft, and bonus—we got an amazing protein boost for those busy mornings. Trust me, this loaf delivers that comforting homemade treat feeling without any of the dryness disappointment found in so many recipes out there. You can see some of my earlier attempts at finding the perfect texture when I was working on gluten-free banana muffins, but this loaf is where I finally perfected the moisture level!
Why This greek yogurt banana bread is Your New Favorite
So, why did I go through all that testing just for one loaf? Because this greek yogurt banana bread is genuinely superior. It hits all the right notes for a perfect ‘Quick Homemade Bread’ that’s fantastic for grab-and-go snacks. You’ll see the difference immediately!
- Guaranteed Moist Banana Bread Recipe Results: That yogurt is liquid insurance! It keeps the crumb unbelievably soft and actually prevents staling.
- Protein Boost with Baking with Greek Yogurt: It’s such a simple way to sneak in some extra staying power, making this a much better ‘Banana Bread for Breakfast’ option.
- It’s Ready Fast: This is a genuinely ‘Easy Banana Bread Baking’ process—no weird chilling steps or complicated techniques needed.
If you loved how easy it was to whip up my healthy zucchini bread, you are going to fly through this one!
Guaranteed Moist Banana Bread Recipe Results
The yogurt works magic by adding necessary fat and moisture directly into the structure, meaning your loaf stays tender for days. It’s the number one reason this recipe beats the standard recipe every time.
Protein Boost with Baking with Greek Yogurt
I love that I can serve this as a ‘Healthy Baked Goods’ treat without feeling guilty. The yogurt swaps out some of the usual fats while adding about 5 grams of protein per slice. That’s a win-win, right?
Gathering Ingredients for your greek yogurt banana bread
You don’t need a million fancy items for the greek yogurt banana bread, that’s the beauty of this simple dessert loaf! But you do need to pay attention to a couple of things—especially the bananas—to get that perfect, rich flavor and texture. Don’t just grab whatever is sitting on the counter; we want maximum flavor here!
I’ve broken down what you need into two groups. When you grab your ingredients, make sure you set everything out on the counter first. It makes the mixing process so much smoother. If you need ideas on what to do with the leftovers, check out my guide on the best ripe banana recipes!
Flour, Leavening, and Spice
For the dry mixture, we keep things straightforward. You’ll want your standard all-purpose flour, of course. Then we toss in just a little baking soda to get the lift we need, some salt to balance things out, and a healthy dash of ground cinnamon because, let’s be honest, banana bread isn’t right without it.
Wet Ingredients for a Tender Loaf Recipe
This is where the magic happens for achieving that wonderful tender loaf recipe result. You absolutely need softened, unsalted butter—none of that melted stuff! Make sure your light brown sugar is nicely packed down for the correct sweetness. Then you’ll need your two large eggs, about one cup of mashed ripe bananas—and I mean *ripe*—your plain Greek yogurt, which should be full-fat or at least 2% for the best moisture, and a splash of vanilla extract.
Ingredient Notes and Substitutions for greek yogurt banana bread
Listen, getting the ingredients right is half the battle when trying to achieve incredible moisture. This isn’t just a recipe; it’s about respecting what each item brings to the table. I’ve learned a few tricks over the years that really nail that perfect texture for any banana bread with yogurt.
When you’re looking for the Best Banana Bread Texture, you have to read the room—or in this case, read the fruit bowl!
The Secret to the Best Banana Bread Texture: Ripe Bananas
If your bananas aren’t looking a little sad and brown, put them back in the bowl! I mean it. For the sweetest, most flavorful, and wettest result, those peels should be heavily spotted, borderline black. The starch converts fully to sugar when they look that way, which means less added sugar is needed in the batter and you get amazing natural moisture.
Baking with Greek Yogurt: Full Fat vs. Non-Fat
People always ask if they can use the non-fat plain yogurt they have hanging around. Technically, yes, you can. But if you want that rich, delicious texture that makes this a healthy banana bread winner, stick to full-fat or at least 2% Greek yogurt banana bread. Non-fat yogurt just doesn’t carry the richness needed to balance everything out, and I found it resulted in a slightly gummy end product.
If you want to see how you can adapt this idea to something totally different, check out my thoughts on oil-free banana bread alternatives!
Easy Banana Bread Baking: Step-by-Step Instructions
This is where we put it all together! I promise this whole process for your greek yogurt banana bread feels super simple, even if you’re new to baking. Because we’ve already planned our ingredients, the mixing goes by lightning fast. Just move from one stage to the next, and you’ll have a delicious loaf coming soon!
You’ll want an electric mixer for the creaming stage, but after that, it’s mainly just stirring. Remember, the less you fuss with the batter once the flour goes in, the better that tender texture will be.
Preparation and Dry Ingredient Mixing
First things first: get that oven warmed up to 350°F (175°C). While it heats, properly grease and flour your 9×5 inch loaf pan—don’t skip this step! In a separate medium bowl, whisk together your dry items: that flour, baking soda, salt, and the cinnamon. I always whisk them for a solid minute to make sure everything is perfectly distributed before it hits the wet stuff.
Creaming Butter and Mixing Wet Components
Grab your big bowl and beat that softened butter with the brown sugar until it looks fluffy and light, like thick whipped cream. Then, add your eggs one at a time, mixing well after each one goes in. After the eggs, stir in your mashed bananas and vanilla extract until they’re just blended in. The very last thing to go into this wet mix is the Greek yogurt—mix it on low speed just until it disappears into the batter. Seriously, that’s it for the wet side!
Combining Batter and Baking Times
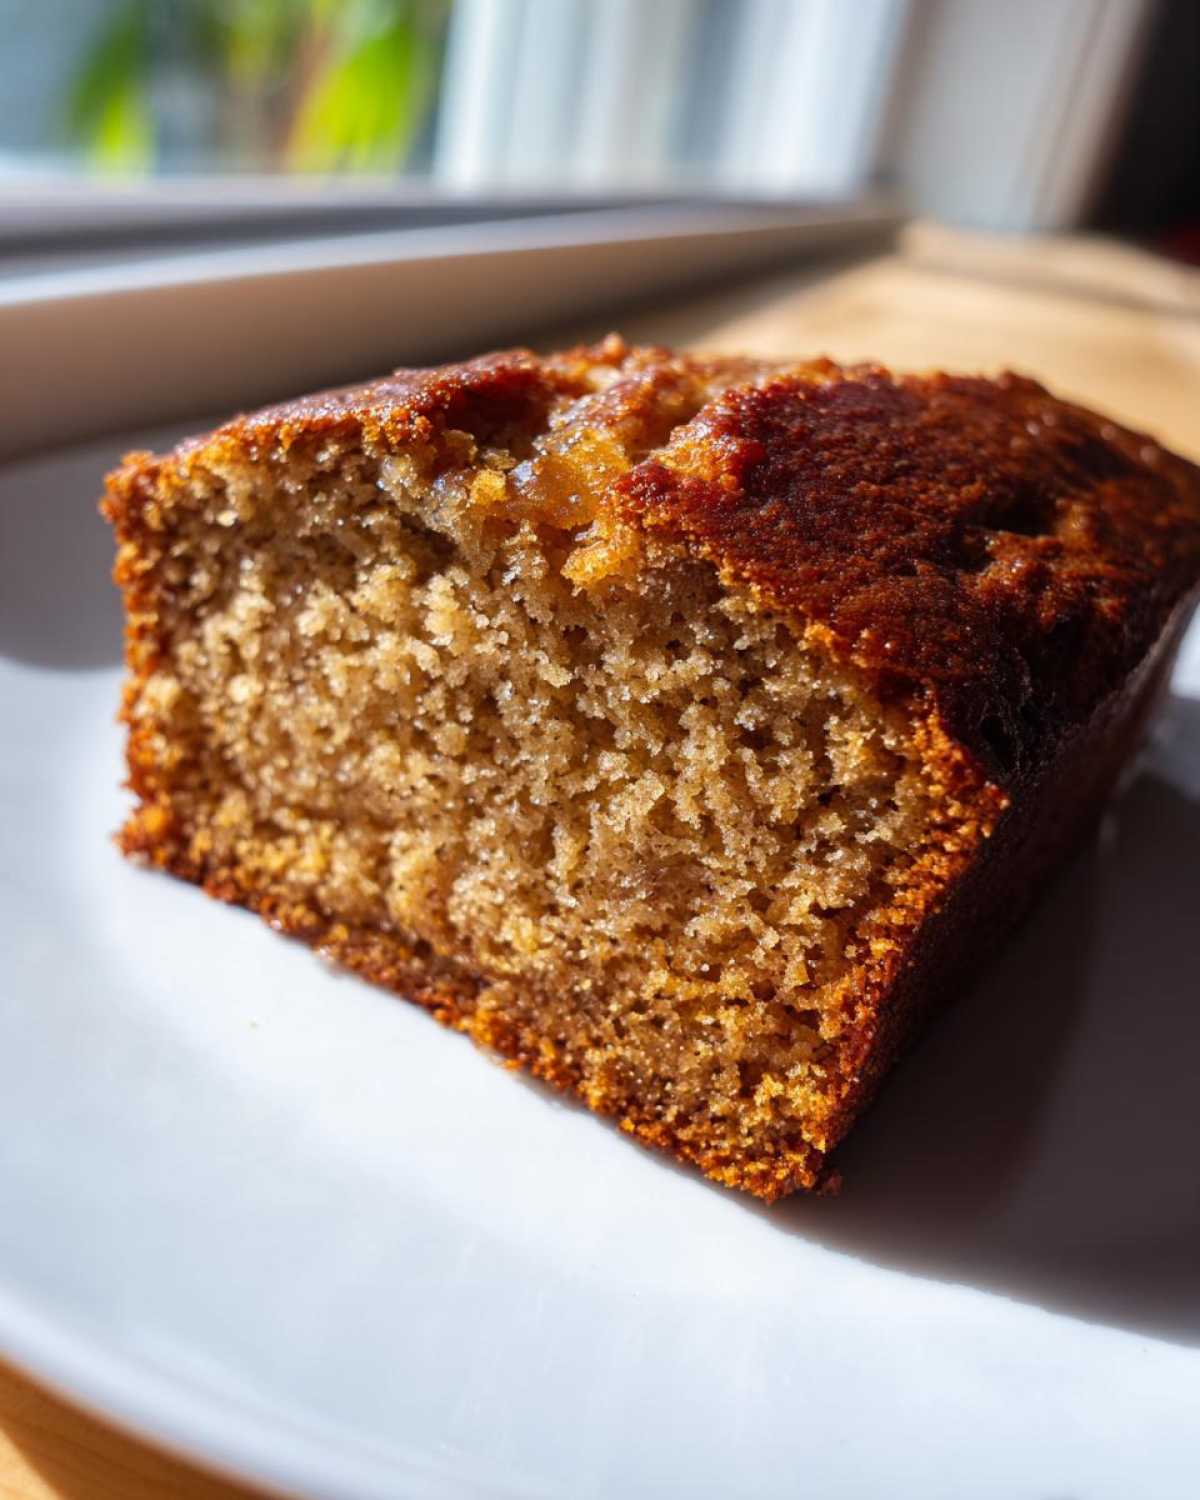
Now, gently add the dry ingredients to your wet mixture in stages. You must mix on low speed, and I mean it: stop mixing the absolute second you see the last flour streak vanish. If you see flour, mix a little more. If you’re worried about overmixing, which ruins the quick homemade bread texture, pull the bowl out and gently fold the last few bits in by hand. Pour it into your pan and bake for about 50 to 60 minutes. Test it with a wooden skewer in the center. If it comes out clean, you’ve nailed the perfect bake!
Tips for Success with Your Tender Loaf Recipe
You’ve done the hard work of mixing and baking, but there are a couple of little secrets I’ve picked up that ensure this comes out as the absolute best tender loaf recipe imaginable. We want melt-in-your-mouth goodness, not something you need a steak knife for, right? These little reminders about technique are what separate a good batch of banana bread from an unforgettable one. For more ideas on keeping things moist, you should seriously check out my notes on moisture secrets for baking!
Avoid Overmixing at All Costs
This is the number one offender in dense, tough baking, and it happens near the end! Once that flour hits the wet ingredients, you are activating gluten. Gluten is great for chewy pizza dough, but disastrous for a soft loaf. You mix only until you see the last streaks of white disappear. If you keep fiddling with the mixer, you’re building a dense, chewy structure you definitely don’t want in your snack loaf recipe.
Cooling Process for Optimal Slice Quality
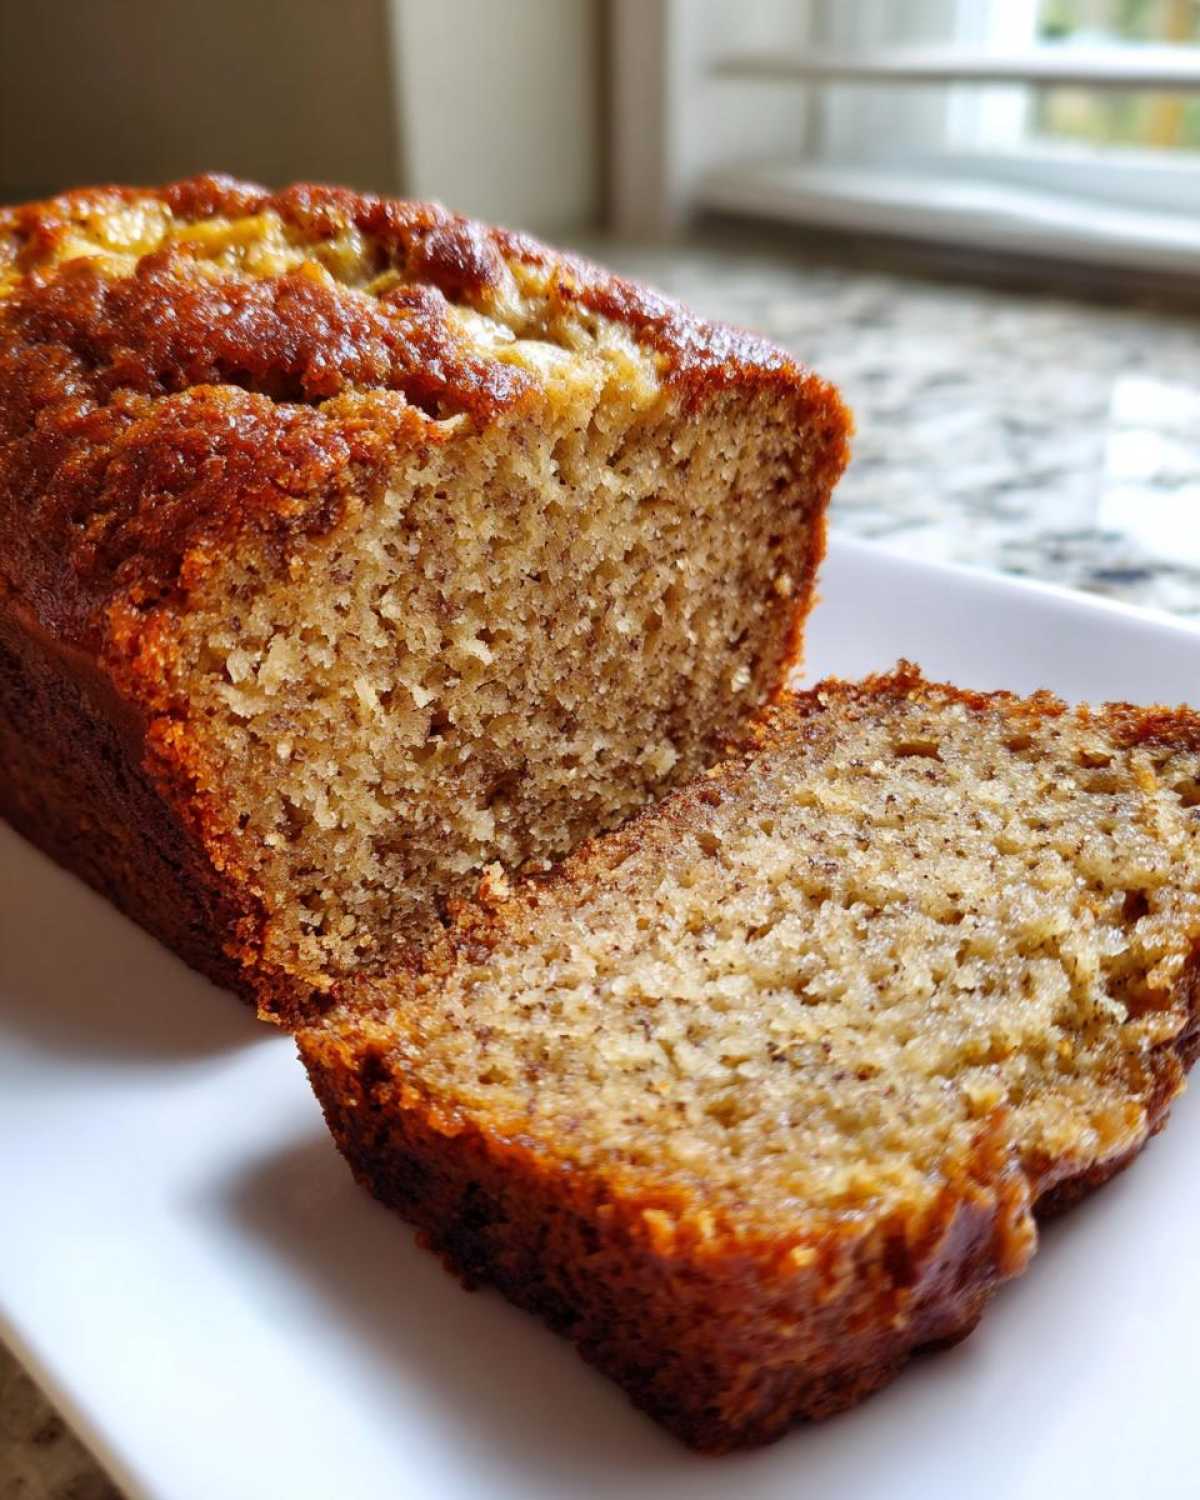
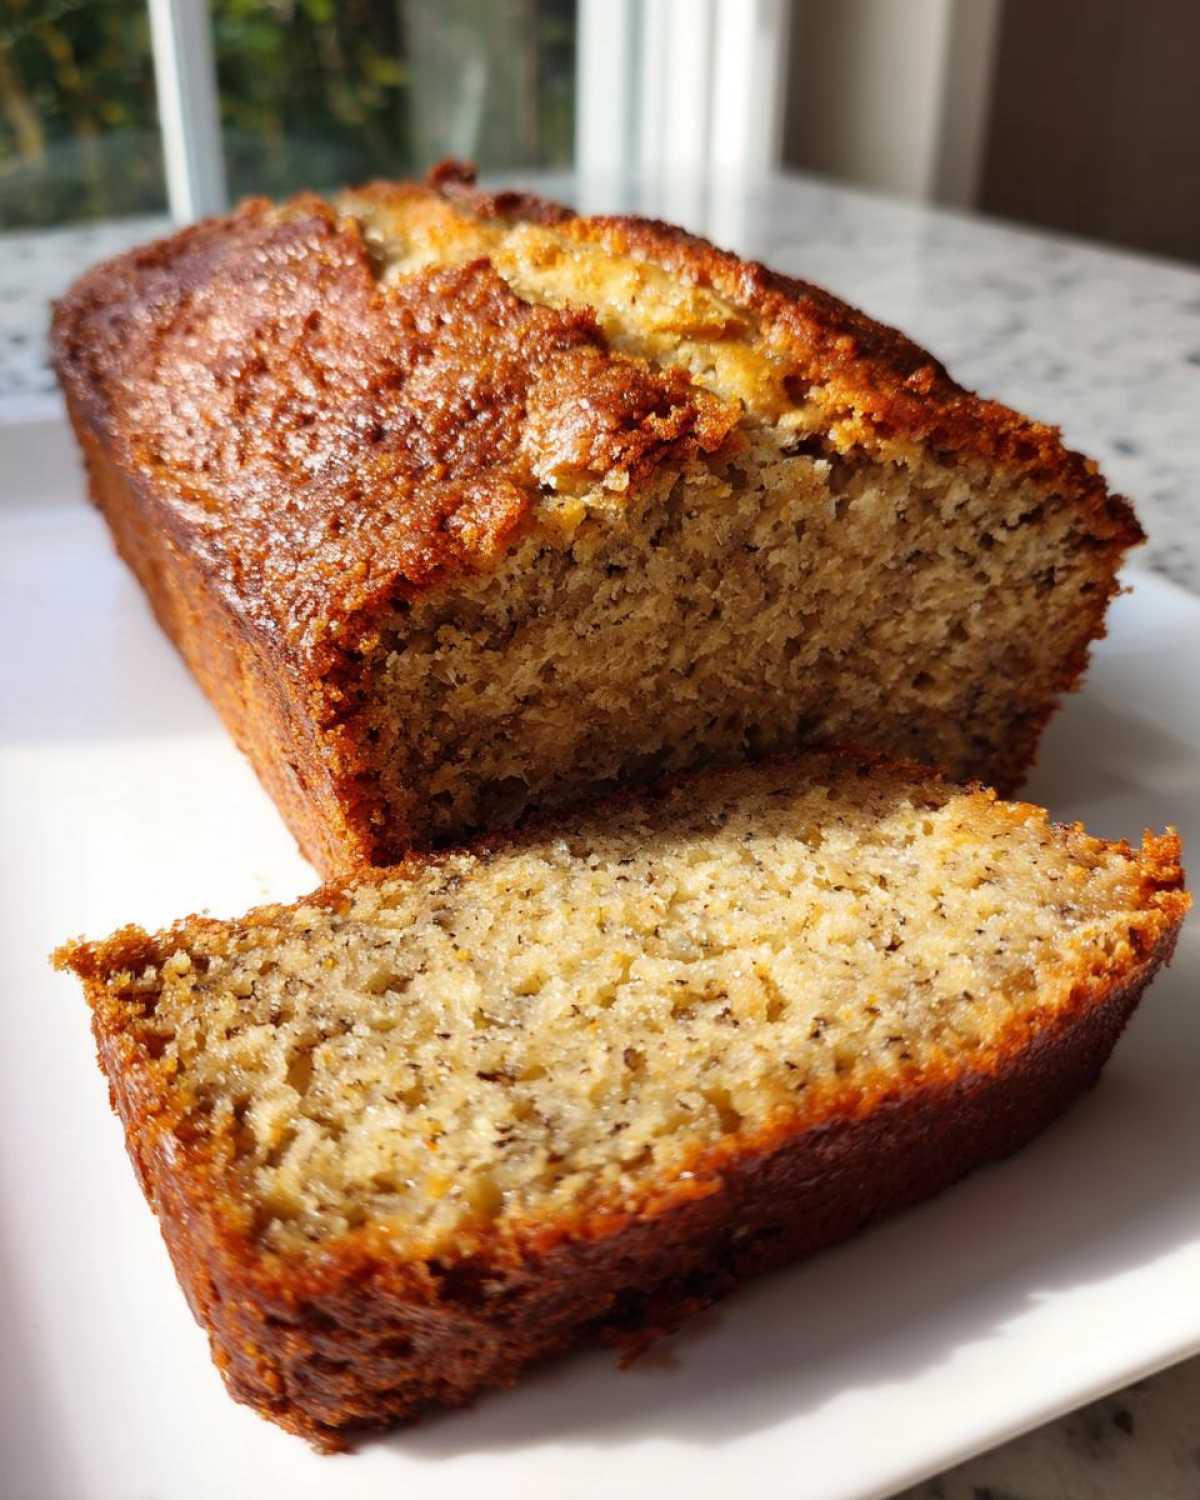
Don’t rush to slice this while it’s piping hot! I know it’s tempting—the smell alone is torture—but let the loaf cool in the pan for a solid 10 minutes after it comes out of the oven. This resting period lets the internal structure finish setting up. If you try to turn it out immediately, or worse, slice it, the incredible moisture will cause the loaf to collapse and crumble everywhere. Turning it out onto a wire rack after that initial wait lets the steam escape evenly so you get perfect, clean slices later.
Serving Suggestions for this greek yogurt banana bread
This loaf is so flexible; it works whether you need a quick ‘Banana Bread for Breakfast’ or just a slice of ‘Simple Dessert Loaf’ later in the day. I love warming up a thick slice and spreading it with just a touch of salted butter—the warmth brings out that cinnamon spice beautifully. It’s also incredible toasted and topped with a dollop of extra Greek yogurt and a drizzle of honey for a lighter alternative to frosting. If you need the perfect pairing, try it with my recipe for an iced brown sugar latte!
Storage and Reheating Instructions for your greek yogurt banana bread
One of the major perks of using all that yogurt is that this bread stays fresh longer than standard versions. Honestly, I rarely have leftovers because it gets devoured, but when I do, storage is key to keeping that tender texture!
If you plan on eating it within two or three days, just wrap the cooled loaf tightly. I wrap mine first in plastic wrap—make sure it’s snug and sealed up—and then I usually cover that entire package in foil. Storing it like this at room temperature keeps the moisture locked in perfectly. It’s one of those wonderful quick baking projects because if you store it right, it’s still great on day three.
Do you need to refrigerate it? Nope, not unless your kitchen is seriously hot and humid otherwise, the cold air can actually start to dry it out a bit faster, which defeats the purpose of adding Greek yogurt in the first place! If you do end up freezing it (which is perfect for making ahead), just make sure it’s fully wrapped tight so no freezer burn sneaks in. Reheating is super easy too; a quick 15 seconds in the microwave brings back that glorious softness.
Frequently Asked Questions about greek yogurt banana bread
I know you might have a lingering question or two, especially if you’re used to trying different banana bread recipes. Since this one relies on Greek yogurt, people always wonder about substitutions or how to tweak it for their diet goals. It’s smart to ask! Getting it right the first time is always the goal, and I’ve collected the questions I get most often after sharing this recipe with friends.
Go ahead and check out these answers—they cover texture, healthier tweaks, and storage basics. If you’re looking for even more detailed advice on troubleshooting your bake, I have a whole stack of banana bread tips and tricks you might find helpful too!
Can I use a different type of yogurt instead of Greek yogurt in this recipe?
Oh, that’s a great question, especially if you don’t have Greek yogurt on hand! Yes, you absolutely can use sour cream or even regular plain yogurt if that’s what you have. However, I have to warn you: the Greek yogurt is what gives this the specific lift and incredible protein punch that makes it a truly ‘Healthy Banana Bread‘ contender. Regular yogurt works, but the texture might be slightly softer, and you won’t get the same protein benefit.
How do I make this a ‘Snack Loaf Recipe’ that is lower in fat?
I totally get wanting to make any ‘Snack Loaf Recipe‘ a little lighter! In this specific recipe, I used butter because its flavor profile pairs beautifully with the yogurt. If you want to cut down on the fat, you can try substituting the butter with an equal amount of mashed avocado or unsweetened applesauce. Just know that because the yogurt is already adding moisture, using those alternatives might shift the final texture slightly. You could end up with something closer to an ‘Oil Free Banana Bread Alternative,’ which is great, but it won’t have that same buttery richness!
Can this banana bread be frozen?
Yes, yes, and yes! I highly recommend freezing half the loaf if you’re brave enough to wait that long. Make sure the bread is completely cooled down first—this is important! Wrap it tightly in plastic wrap, making sure there are no air pockets, and then follow that up with a layer of foil. Wrapped this well, it freezes beautifully for up to three months. Just plan ahead: let it thaw overnight on the counter, and it will be just as moist as when you baked it!
Nutritional Estimates for Your Comforting Homemade Treat
I know many of you are looking for a ‘Comforting Homemade Treat‘ that still fits into your wellness goals, and that’s why I love that this greek yogurt banana bread gives us that protein boost! I’ve pulled together the estimated nutritional breakdown below based on the ingredients we used. Keep in mind that since baking is an exact science, these numbers are just guides—they can shift slightly depending on how ripe your bananas were or which brand of yogurt you decide to use.
When you’re aiming for ‘Healthy Baked Goods,’ knowing what you’re putting into your body matters! These figures assume you get 10 clean slices out of the loaf.
- Serving Size: 1 slice
- Calories: 250
- Protein: 5g (Thank you, yogurt!)
- Fat: 11g (That’s the butter doing its job!)
- Carbohydrates: 37g
- Sugar: 18g (Mostly from the fruit and brown sugar)
- Fiber: 2g
- Cholesterol: 55mg
Remember, this is a wonderful, balanced treat, perfect for an afternoon snack or ‘Banana Bread for Breakfast.’ We’re using real ingredients here, so enjoy it! If you want more ideas on balancing flavor and health in your other baking adventures, take a peek at my tips for healthy baked goods!
PrintThe Ultimate Moist & Protein-Packed Greek Yogurt Banana Bread

Bake a tender, moist banana bread loaf using Greek yogurt for a protein boost and superior texture. This easy recipe delivers a comforting treat perfect for breakfast or snacks.
- Prep Time: 15 min
- Cook Time: 60 min
- Total Time: 75 min
- Yield: 1 loaf (about 10 slices)
- Category: Breakfast
- Method: Baking
- Cuisine: American
- Diet: Vegetarian
Ingredients
- 1 3/4 cups all-purpose flour
- 1 teaspoon baking soda
- 1/2 teaspoon salt
- 1 teaspoon ground cinnamon
- 1/2 cup unsalted butter, softened
- 3/4 cup packed light brown sugar
- 2 large eggs
- 1 cup mashed ripe bananas (about 3 medium)
- 1/2 cup plain Greek yogurt (full-fat or 2%)
- 1 teaspoon vanilla extract
Instructions
- Preheat your oven to 350°F (175°C). Grease and flour a standard 9×5 inch loaf pan.
- In a medium bowl, whisk together the flour, baking soda, salt, and cinnamon. Set this aside.
- In a large bowl, cream together the softened butter and brown sugar with an electric mixer until light and fluffy, about 2 minutes.
- Beat in the eggs one at a time, mixing well after each addition.
- Stir in the mashed bananas and vanilla extract until just combined.
- Add the Greek yogurt to the wet ingredients and mix on low speed until incorporated. Do not overmix.
- Gradually add the dry ingredients to the wet ingredients, mixing on low speed only until the flour streaks disappear. Stop mixing immediately.
- Pour the batter into the prepared loaf pan.
- Bake for 50 to 60 minutes, or until a wooden skewer inserted into the center comes out clean.
- Let the bread cool in the pan for 10 minutes before carefully turning it out onto a wire rack to cool completely before slicing.
Notes
- Use very ripe bananas; the browner the peel, the sweeter and more moist your bread will be.
- To keep the bread moist longer, wrap the cooled loaf tightly in plastic wrap before storing at room temperature.
- For a protein boost, use 2% or full-fat Greek yogurt; avoid non-fat as it can sometimes dry out baked goods.
Nutrition
- Serving Size: 1 slice
- Calories: 250
- Sugar: 18g
- Sodium: 210mg
- Fat: 11g
- Saturated Fat: 6g
- Unsaturated Fat: 5g
- Trans Fat: 0g
- Carbohydrates: 37g
- Fiber: 2g
- Protein: 5g
- Cholesterol: 55mg


Comments are closed.