


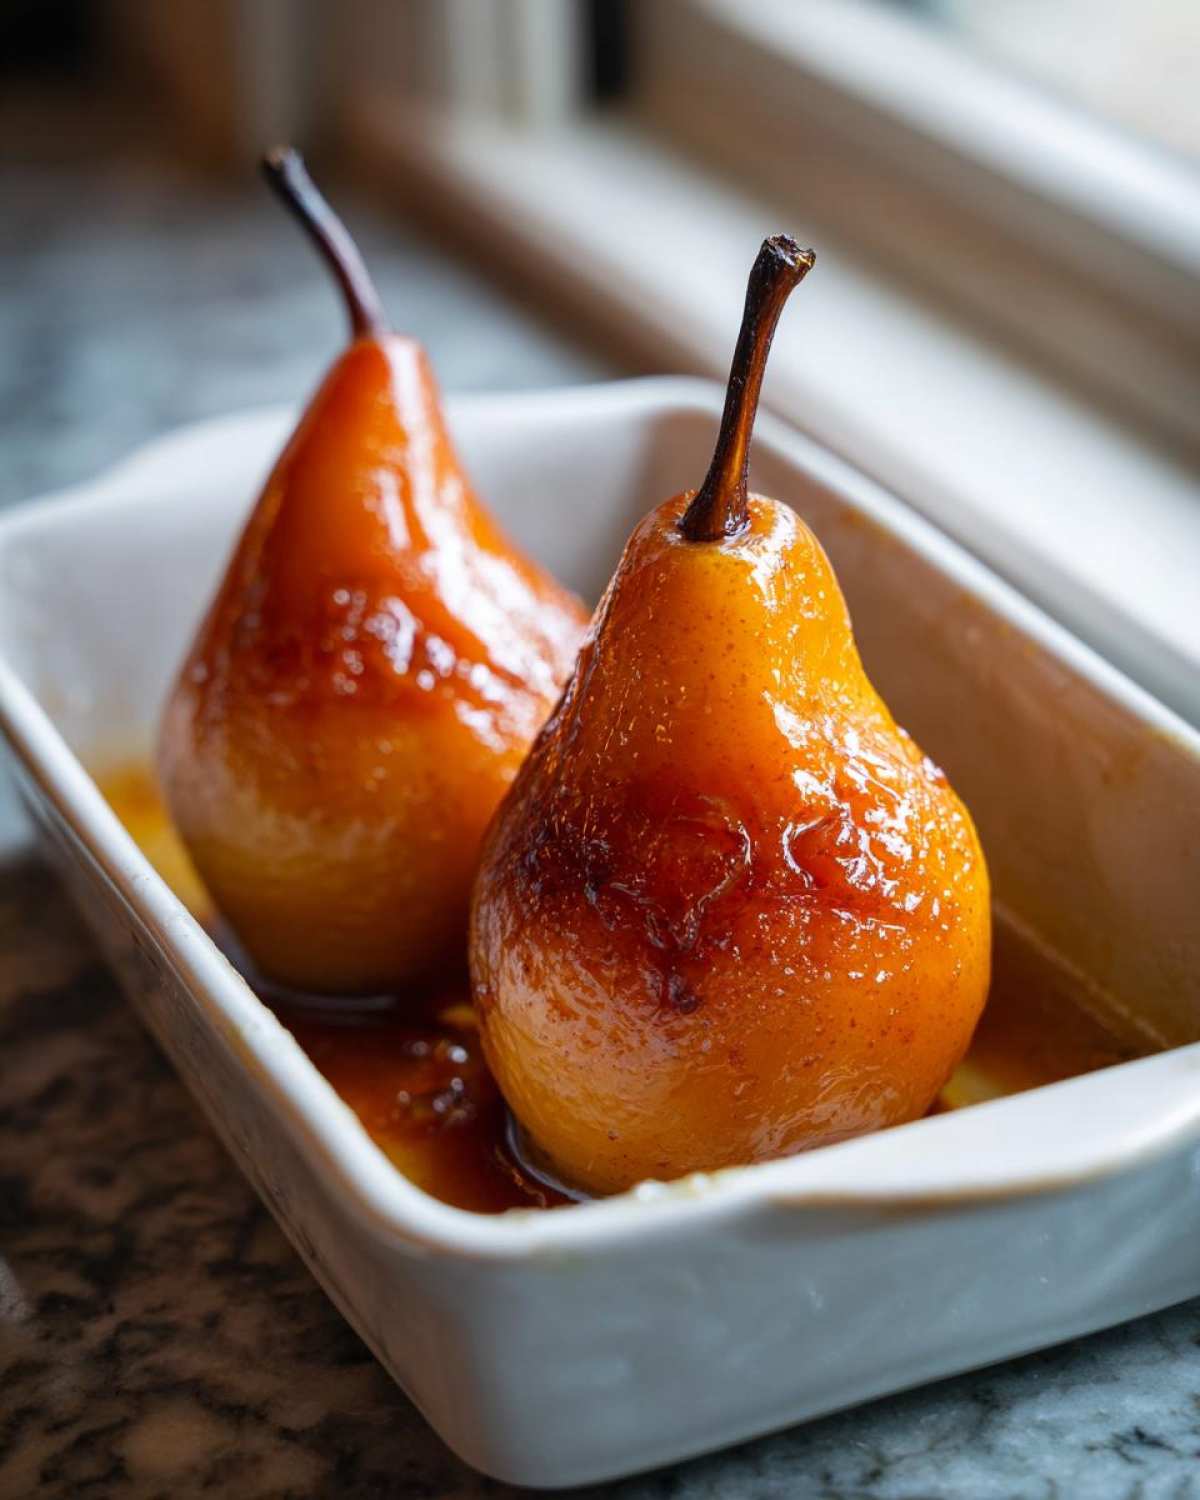
Oh my goodness, there is nothing in this world that wraps you up in a cozy hug quite like the smell of warm fruit baking, right? If you’ve been scrolling through looking for that perfect, comforting end to a chilly evening, you’ve absolutely landed in the right place. Today, we’re diving into my go-to recipe for baked pears. Forget fancy pastry or complicated steps; this is truly the easiest, coziest dessert you’ll ever make. When I left my hectic marketing job, it was moments like this—simple, seasonal ingredients coming together beautifully—that gave me the push I needed. Trust me, baking these with honey and cinnamon is pure magic, and it’s the kind of Sunday Flavor I want to spread into every single day!
Why You Will Love This Simple Baked Pears Recipe
I know you’re busy, so let me tell you why this recipe needs to go on your must-bake list immediately. I wouldn’t share it if it wasn’t utterly reliable!
- It’s outrageously quick! Seriously, prep takes maybe ten minutes, total.
- The flavor is pure comfort: warm honey blended with that gorgeous cinnamon aroma.
- They are naturally sweet, making these Easy Baked Pears a guilt-free healthy pear dessert option.
- It delivers that cozy, warm fruit dessert feeling without requiring any complicated baking skills.
Gathering Ingredients for Perfect Baked Pears
The secret to amazing baked pears is starting with the right fruit. You don’t want anything too mushy, or you’ll end up with pear applesauce instead of a perfectly structured dessert! Think of this as a very short shopping list, because honestly, these pears are simple superstars. You might already have everything on hand, which makes this recipe such a fantastic quick dessert idea.
Essential Components for Honey Baked Pears
For the main event, here’s what you need to grab:
- Four pears. I swear by Bosc or Anjou; they hold their shape so beautifully while roasting. Remember, they need to be firm but ready to give just a little when you squeeze gently!
- Four tablespoons of luxurious honey. This forms the sticky, sweet base of our glaze.
- Two teaspoons of ground cinnamon. Don’t skimp here; the scent is half the pleasure.
- One teaspoon of real vanilla extract—that little bit pulls all the warm flavors together.
- And two tablespoons of water, which is key for steaming the fruit tenderly in the pan.
If you wanted to try a different direction, like a savory twist, you could look into some wonderful mixes, though I always stick close to my cinnamon staples for this one!
Optional Toppings for Your Baked Pears
Once the pears are baked, you can dress them up how you like. If you want a little texture contrast to all that soft, warm fruit, you definitely need to add something crunchy.
- A quarter cup of chopped walnuts gives a nice toasted bite.
- And honestly, if it’s a true decadent dessert night, a big scoop of vanilla ice cream—or even some Greek yogurt for something a little tangier—is non-negotiable!
Step-by-Step Instructions for Easy Baked Pears
Okay, let’s get these sweet things into the oven! Even if you’ve never made baked pears before, I promise this is foolproof. I’ve tried to make the steps so clear you can follow them even with your favorite podcast playing in the background. Remember to have your oven ready to go; waiting around means less time enjoying that cozy aroma! If you love easy comfort food, you should also check out my recipe for easy 5-ingredient corn soup while you wait for the oven to heat up.
Preparing the Pears and Oven Setup
First things first: crank that oven up to 375°F (190°C). While it heats, grab a small baking dish; it should let your pears fit snugly together side-by-side. Wash your fruit well. Now, slice each pear right down the middle, from the top stem all the way to the bottom. Use a little spoon—a regular teaspoon works great—or a melon baller to scoop out every bit of the core and those little seeds. You want a nice clean valley in the center of each half. Don’t forget to lightly grease that baking dish before you set the pear halves cut-side up!
Creating the Cinnamon Baked Pears Glaze
This mixture is where all the flavor lives, so take a second to really mix it up well. In a small bowl, just whisk together your honey, that beautiful cinnamon, and the vanilla extract until it’s totally smooth and glossy. Once it looks like a perfect, thick sauce, take a small spoon and drizzle that glaze right over the exposed, cut surfaces of every pear half. Make sure they all get a generous coating!
Baking and Finishing Your Warm Fruit Dessert
Here’s a little trick my mom taught me for turning simple roasted pears into something truly luxurious: pour just two tablespoons of water into the very bottom of the baking dish around the pears, not over them! This creates steam so they stay soft and don’t burn on the bottom. Pop the dish in the oven for about 30 to 40 minutes. You’ll know they are done when you slide a fork in and it meets almost no resistance—they should be wonderfully tender. Because ripeness varies, always trust your fork over the timer! When they come out, take any juices left in the pan and drizzle them right back over those warm fruit dessert beauties before serving.
Tips for Achieving Perfect Baked Pears Every Time
Honestly, the difference between good baked pears and *amazing* baked pears comes down to a few tiny insider details. I learned these little secrets years ago when I was just trying to get my fruit to cooperate after a long week. Getting the texture right is key to making this truly a Simple Pear Dessert you’ll want to repeat weekly.
First, let’s talk about ripeness again. If your pears feel rock hard, they might take closer to 45 or even 50 minutes, and they might not soften at the center like we want. If you find yours are stubbornly firm when you check them at the 30-minute mark, don’t panic! Just loosely cover that baking dish with aluminum foil. This traps the steam we created with that little bit of water we added, forcing those firm beauties to soften right up. It keeps the tops from browning too much while the insides catch up.
Also, don’t rush the honey mixture. Make sure you’re stirring it properly until that cinnamon is integrated. If the cinnamon just sits on top, you get pockets of spice instead of that lovely, sweet coating throughout. Simple stuff, right? But these small things are what make the difference between a good dish and something you immediately save to make again next week!
If you are diving into other simple fruit recipes, like my one-pot lemon basil corn ricotta pasta (which is great in the summer when pears aren’t in season!), remember that resting time is often just as important as the cooking time!
Creative Variations for Baked Pears with Spices
While my heart belongs to the honey and cinnamon version—it’s truly the ultimate comfort food dessert—sometimes you just want to shake things up a little! These baked pears are so versatile. You can pivot them straight to the appetizer course or tweak that glaze for a whole new flavor profile. It’s all about playing with the beautiful, earthy sweetness of the fruit!
Savory Baked Pears Appetizer Ideas
If you’re serving these up before the main course, you absolutely have to lean into the savory side. Remember those notes I mentioned? Try sprinkling a teaspoon of fresh thyme over the pears before you add the honey mixture. Then, during the last ten minutes of baking, crumble some tangy goat cheese over the top. That sweet, salty, herby combination melts together beautifully. It turns this simple fruit into an elegant appetizer that everyone will rave about!
Sweet Variations on Baked Pears
If you aren’t a huge honey enthusiast, or maybe you just ran out, don’t worry! Maple syrup is a fantastic stand-in for poaching the pears, giving them a slightly deeper, smokier caramel note. You can also experiment with the spices. Instead of just cinnamon, toss in a tiny pinch of ground nutmeg or a good dash of cardamom. These variations still keep the dessert warm and cozy, but they give you something slightly new to taste test next time you’re baking!
If you want to see another way I love to bring savory fruit into the main event, you have to check out how I handle whole grilled halloumi with apricots!
Serving Suggestions for Your Cozy Evening Treat
Now that your kitchen smells like the best kind of autumn holiday, it’s time to plate up those gorgeous baked pears! This is where we really lean into that Comfort Food Dessert feeling. The goal is to make this simple dish look effortlessly elegant, like you spent hours on it, even though we know it took less than an hour total.
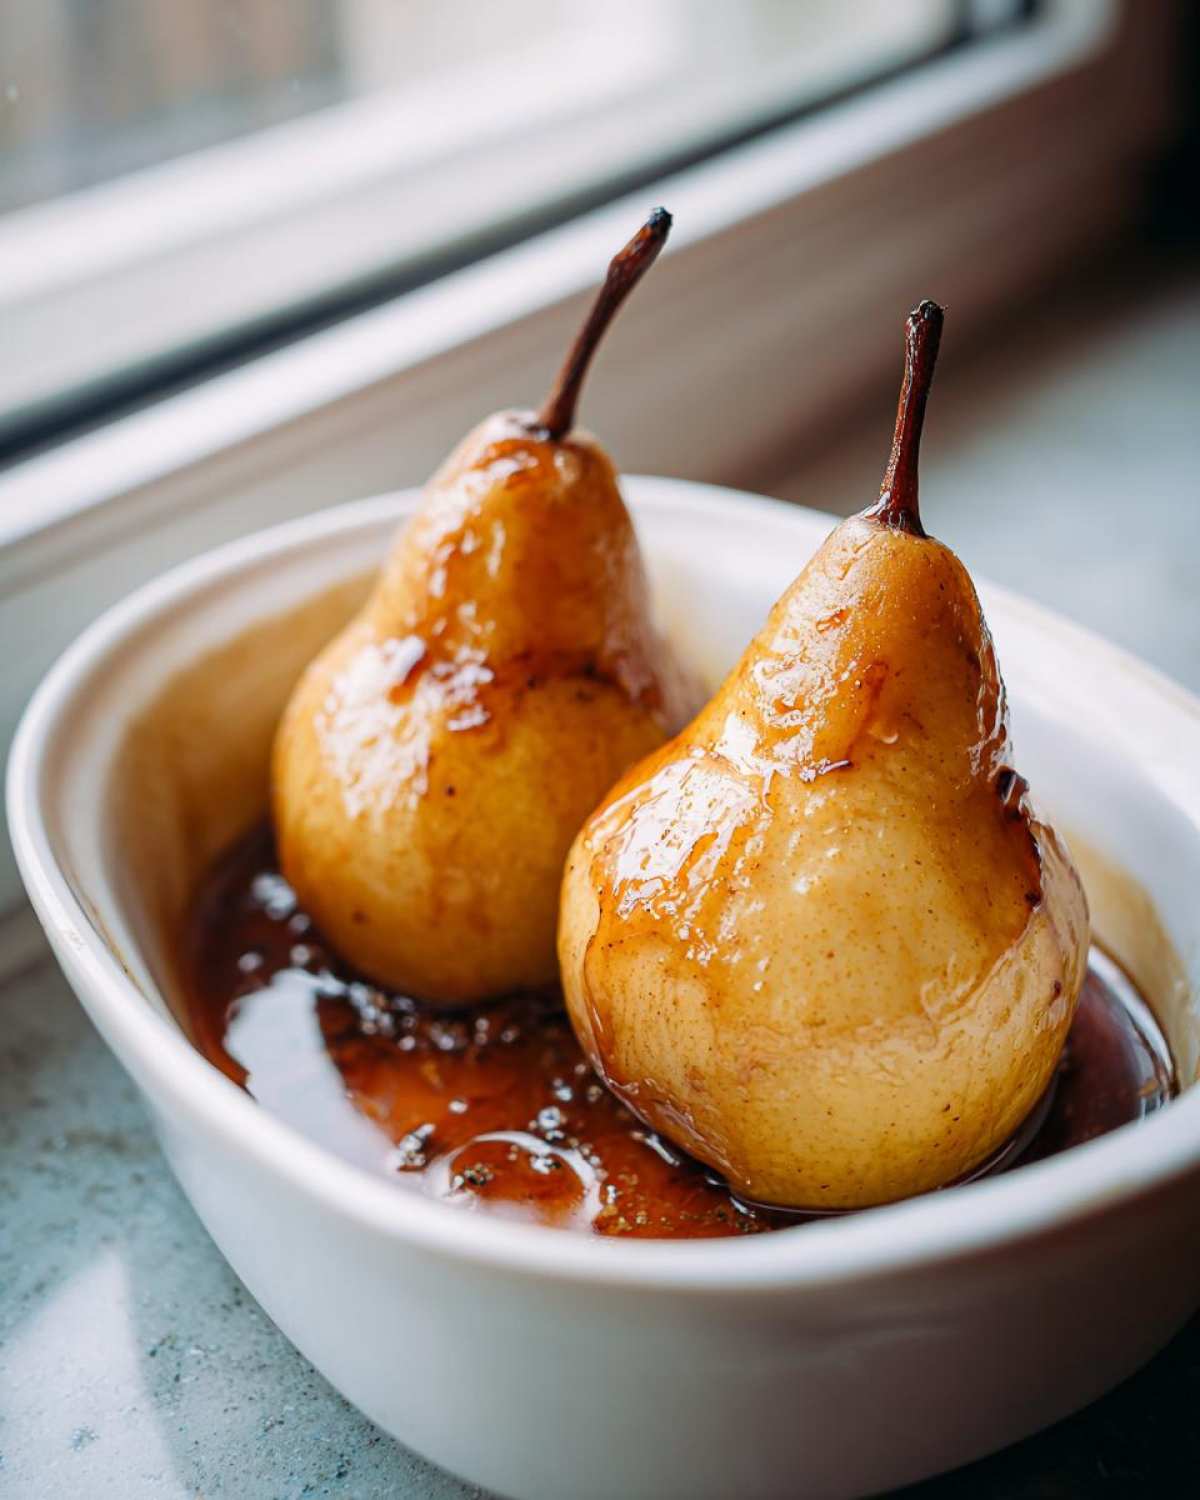
The most classic way to serve these, and my absolute favorite, is when they’re barely cooled—just warm enough that the honey glaze is still runny and glossy. I always grab a small, shallow bowl rather than a flat plate. This helps cradle all those wonderful pan juices we made!
If you’re going completely decadent (and truly, why wouldn’t you?), you have to melt something over the top. That scoop of vanilla ice cream we talked about? It melts into the spiced honey creating this divine, creamy sauce. It hits every right note: warm fruit, cool cream, and spicy sweet glaze. It’s heavenly, trust me.
If you’re keeping it slightly lighter, a dollop of thick, plain Greek yogurt is a wonderful counterbalance to the sweetness. It adds a little zing that cuts through the richness beautifully. Or, if you happened to make a batch of my no-churn ice cream, top it with a tiny scoop of that instead for a cool minty lift!
No matter what you choose—a sprinkle of those crunchy nuts or a side of ice cream—the visual contrast is stunning. The soft, golden fruit against something white, creamy, or vibrant green just makes it feel special. It truly turns a handful of fruit into a spectacular finale for any meal.
Storage and Reheating Instructions for Baked Pears
Listen, I completely understand if you don’t demolish all your baked pears in one sitting, although I certainly have managed it before! The great news is that these sticky, sweet treats actually keep really well, which makes them perfect for meal prepping a little bit of healthy joy for later in the week. I always make sure to save any leftovers because they are fantastic for an afternoon snack.
When you have them leftover, just pop the pears and any remaining glaze/juices into a clean, airtight container. You want to make sure they are completely covered before sealing it up. Stored properly in the refrigerator, they stay gorgeous and tender for up to three, maybe even four days. They are naturally gluten free, remember, so they don’t rely on flour to hold them together, which is great for storage!
Now, for reheating—this is important if you want that perfect warm fruit dessert experience again. You have two main routes, and one is definitely better than the other.
The absolute best way to bring them back to life is in the oven. I take out what I plan to eat, place it back in a small baking dish—you don’t need to add extra water this time—and warm it at about 300°F (150°C) for about 10 minutes. This warms the honey glaze up perfectly without drying out the fruit. If you’re serving with ice cream, this is the way to go!
If you’re in a real rush, the microwave works, but you have to be careful! Microwave them in short 20-second bursts until they are warm throughout. Too much time in the microwave can make the pears steam themselves into a mushy mess, and we want that tender-but-intact texture we worked so hard to achieve, right? Go low and slow!
Frequently Asked Questions About Baked Pears Recipe
I get so many lovely messages asking about this recipe! It’s wonderful how much you all love bringing this cozy evening treat into your homes. Here are a few things people ask me most often about making these delicious baked pears.
What is the best type of pear for baking?
When you’re making roasted pears, you want a fruit that is firm enough to hold its boat shape during baking but soft enough to be tender when you eat it. Avoid anything that seems overly ripe or mushy. My favorites, hands down, are Bosc or Anjou pears. They provide the best structure and they absorb that honey-cinnamon glaze just perfectly without collapsing into mush. Always aim for firm-to-the-touch fruit!
Can I make baked pears ahead of time?
Yes, you absolutely can! As I mentioned in the storage section, these keep beautifully in the fridge for a few days. Making them ahead is perfect if you’re hosting because you can just reheat them right before serving. Just make sure to store them in an airtight container so they don’t soak up any strange fridge odors. Reheating them slow and low in the oven is always the preferred method for the best texture!
Are these roasted pears considered a healthy pear dessert?
I certainly hope so! I designed this as a Healthy Pear Dessert option because the bulk of the sweetness comes from the natural sugars in the pear itself. We use just four tablespoons of honey for four pears, spread over eight halves, plus cinnamon and vanilla for flavor depth. If you skip the ice cream topping and stick to just nuts or yogurt, it’s a very wholesome way to end a meal. It’s much better than grabbing a processed shop-bought option, that’s for sure!
If you’re curious about my other policies, you can always check out my privacy policy here, but trust me, this recipe is all about bringing honest, delicious flavor to your plate!
Nutritional Estimates for This Dessert with Spices
You know, because we’re using real fruit and keeping things straightforward, these baked pears are a nice, lighter choice for ending your meal. But just like always, these numbers are my best guess based on the ingredients list—they don’t account for what you add on top, like ice cream! So, for one pear half serving, here’s the basic breakdown of what you’re looking at for calories and macros.
- Serving Size: 1 pear half
- Calories: Approximately 220
- Fat: Only about 1 gram
- Carbohydrates: 58g
- Protein: 1g
- Fiber: 7g (Hello, fruit power!)
See? It’s a genuinely simple dessert option that lets the natural sweetness shine through. Enjoy it knowing it’s packed with flavor and not weighing you down!
Share Your Sunday Flavor Moments
That’s it! You now have the keys to making the coziest, easiest, most comforting batch of baked pears. I truly hope this recipe brings a little bit of that peaceful, joyful Sunday feeling into your busy week. Seriously, the aroma alone is worth the effort!
I’m Chloe, and sharing these moments with you is what makes this whole kitchen adventure worthwhile. Once you’ve cut into those tender, honey-drenched pears, I would absolutely love for you to come back here and leave a star rating at the top of the post. It helps others find this simple dessert, too!
And please, if you snap a photo of your beautifully glazed pears—whether you topped them with walnuts, goat cheese, or a giant scoop of ice cream—tag me on social media! Use the hashtag #SundayFlavor so I can see your creation. Seeing your versions is the best part of my week, honestly. If you have any burning questions that popped up while baking, don’t hesitate to reach out via my contact page. Happy baking, friends, and I’ll catch you in the next recipe!
PrintClassic Cinnamon Honey Baked Pears: Your Cozy Dessert Fix
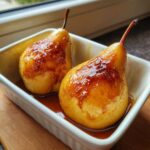
Welcome the warmth with these Classic Cinnamon Honey Baked Pears. This simple recipe transforms ripe pears into a tender, aromatic treat with a sweet glaze, perfect for a comforting, healthy dessert.
- Prep Time: 10 min
- Cook Time: 35 min
- Total Time: 45 min
- Yield: 4 servings
- Category: Dessert
- Method: Baking
- Cuisine: American
- Diet: Gluten Free
Ingredients
- 4 firm but ripe pears (Bosc or Anjou work well)
- 4 tablespoons honey
- 2 teaspoons ground cinnamon
- 1 teaspoon vanilla extract
- 2 tablespoons water
- Optional: 1/4 cup chopped walnuts or a scoop of vanilla ice cream for serving
Instructions
- Preheat your oven to 375°F (190°C). Lightly grease a small baking dish that fits the pears snugly.
- Wash the pears. Slice each pear in half lengthwise from stem to base. Use a small spoon or melon baller to carefully scoop out the core and seeds.
- In a small bowl, mix together the honey, cinnamon, and vanilla extract until combined. This creates your glaze.
- Place the pear halves cut-side up in the prepared baking dish. Spoon the honey-cinnamon mixture evenly over the cut surface of each pear half.
- Pour the 2 tablespoons of water into the bottom of the baking dish. This prevents the glaze from burning and creates steam for tender fruit.
- Bake for 30 to 40 minutes, or until the pears are tender when pierced with a fork. Baking time depends on the ripeness of your fruit.
- Carefully remove the dish from the oven. Drizzle any pan juices over the pears.
- Serve warm. Top with chopped walnuts or a scoop of vanilla ice cream if desired.
Notes
- For a savory twist, try adding a teaspoon of fresh thyme or topping with crumbled goat cheese during the last 10 minutes of baking.
- If your pears are very firm, you can cover the dish loosely with foil for the first 20 minutes of baking to help them steam and soften faster.
- This recipe is naturally gluten free, making it a great healthy pear dessert option.
Nutrition
- Serving Size: 1 pear half
- Calories: 220
- Sugar: 35g
- Sodium: 5mg
- Fat: 1g
- Saturated Fat: 0g
- Unsaturated Fat: 1g
- Trans Fat: 0g
- Carbohydrates: 58g
- Fiber: 7g
- Protein: 1g
- Cholesterol: 0mg


Comments are closed.