


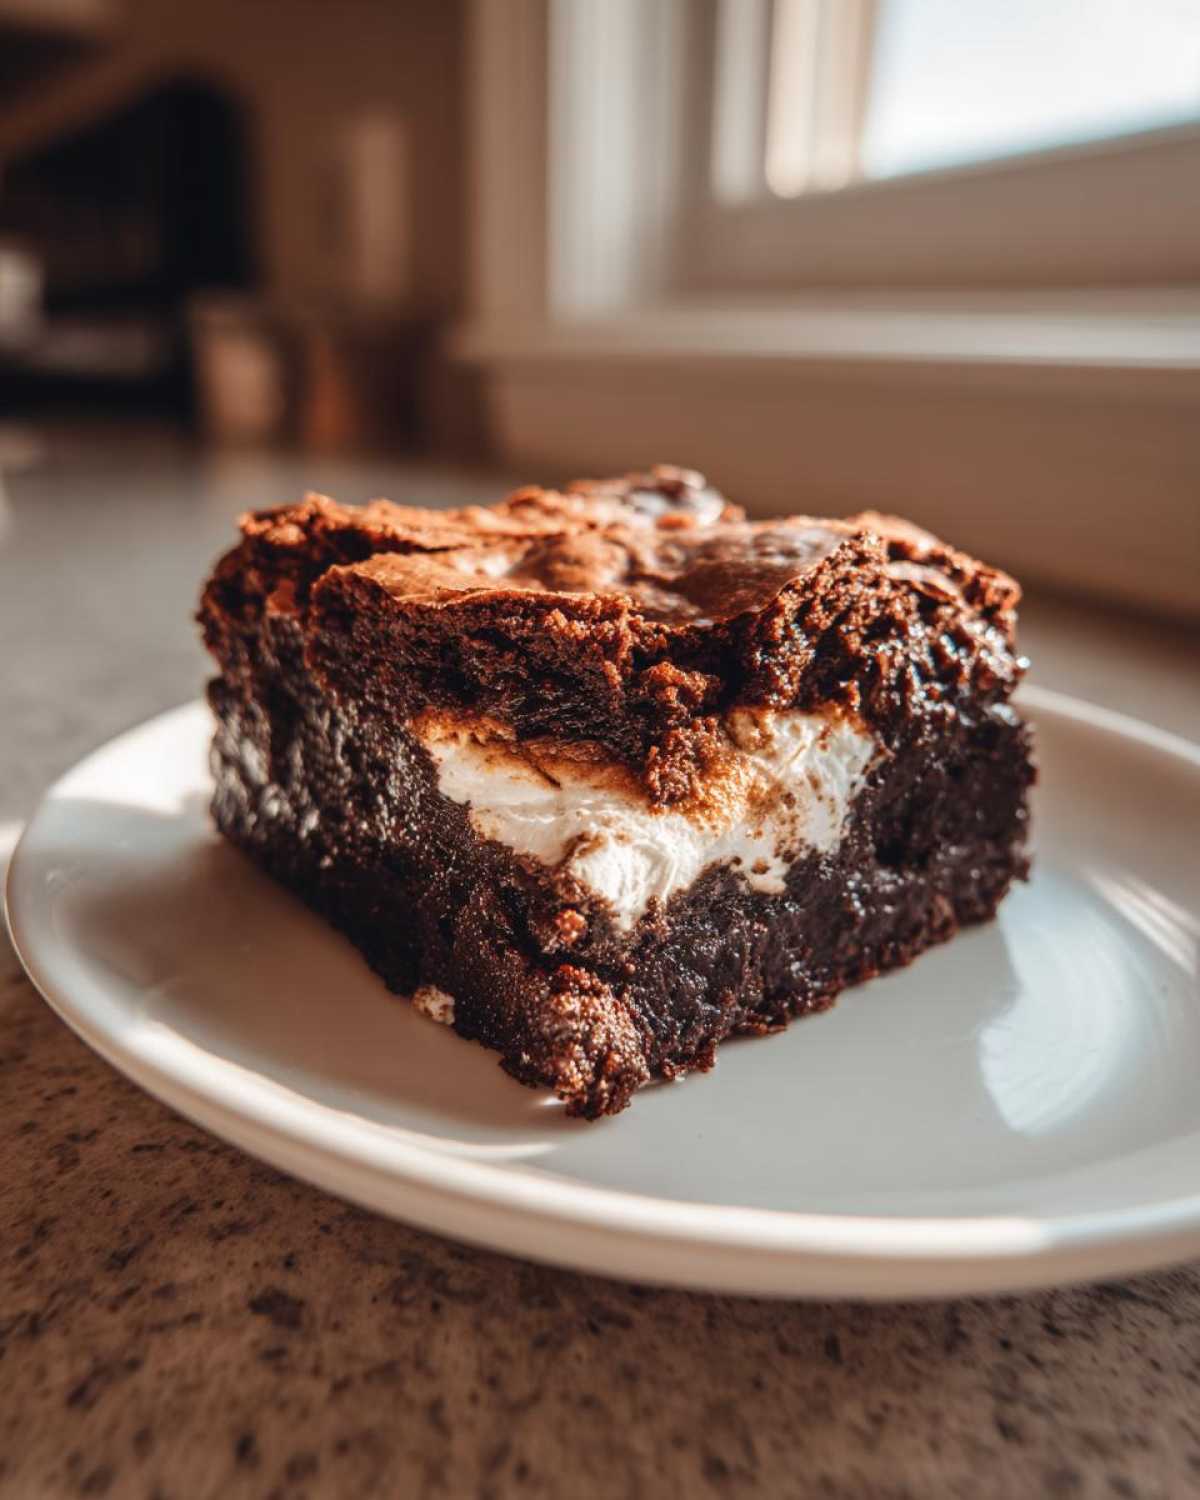
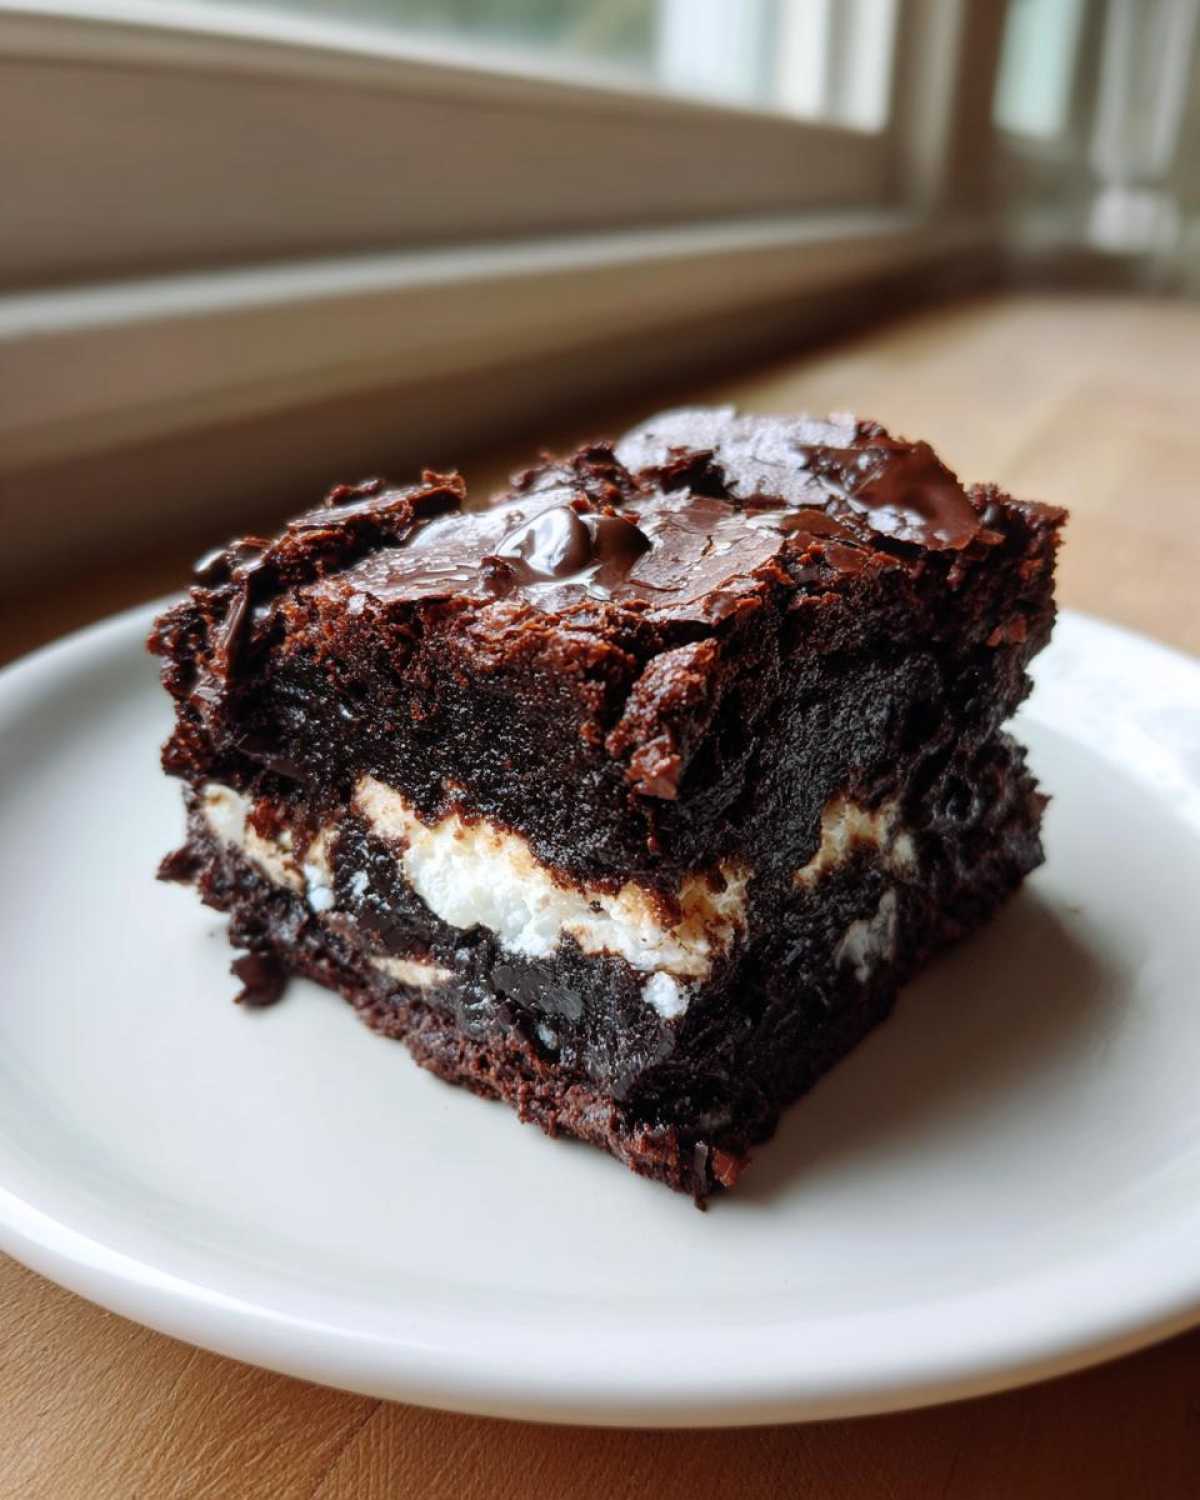
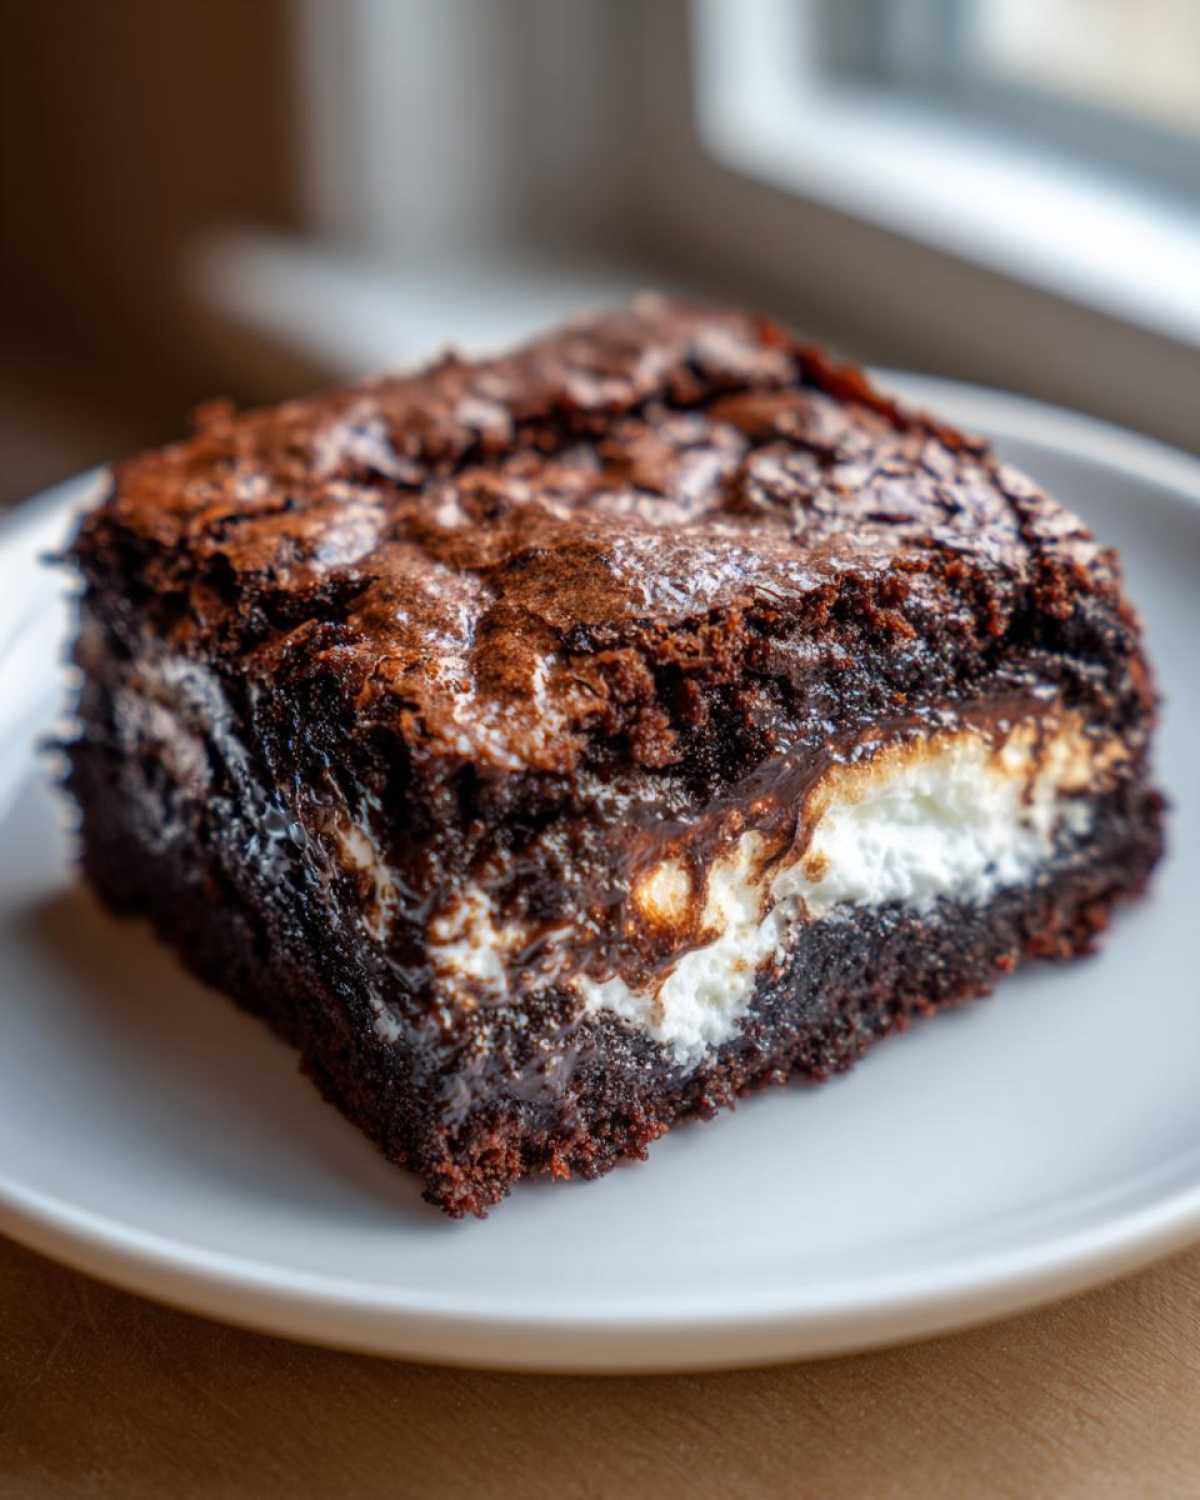
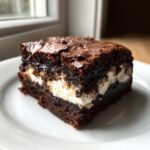
Oh my gosh, get ready because we are diving headfirst into the most decadent chocolate bar you will ever make! If you think a regular brownie is good, just wait until you meet these rich, fudgy brownie dreams that also hide a sweet, gooey secret inside. I’m talking about my ultimate creation: Deviled Brownies with Marshmallow Filling. I spend so much time mastering gooey textures, and this recipe just nails the contrast between that dark, deep chocolate base and the unexpectedly soft marshmallow center.
This isn’t just some random recipe I threw together, either. After years of perfecting my brownie ratios—always aiming for that perfect chewiness that doesn’t crack your teeth—I knew I needed a showstopper variation. These Deviled Brownies with Marshmallow Filling are exactly that. They look impressive, but honestly, the assembly is so straightforward. Trust me, your friends and family are going to lose their minds over this homemade specialty brownie!
Why You Will Make the Best Deviled Brownies with Marshmallow Filling
Seriously, this recipe is a game-changer. Here is why you should stop looking and just start mixing:
- The contrast between the fudgy, dark chocolate batter and the molten marshmallow center is pure magic.
- Even with the filling, it comes together surprisingly fast!
- We use simple ingredients, but the flavor is gourmet.
- You get that perfect, satisfying density that only the best brownies have. I absolutely love this fudgy brownie base.
Essential Ingredients for Deviled Brownies with Marshmallow Filling
When you’re making something this rich, the ingredients matter! You can’t skimp if you want that incredible fudgy texture contrasted by the melting marshmallow. I’ve listed everything out clearly, so you know exactly what you need sitting on your counter before you start mixing the batter.
For the chocolate base, remember we need:
- 1 cup (2 sticks) unsalted butter, melted—this is key for fudginess, not cakey!
- 2 cups granulated sugar
- 4 large eggs, room temperature is always best
- 1 teaspoon vanilla extract
- 1 cup all-purpose flour
- 3/4 cup unsweetened cocoa powder, make sure it’s good quality!
- 1/2 teaspoon salt
- 1/2 teaspoon baking powder
And for that amazing surprise center:
- 1 cup marshmallow fluff or about 1 cup of small marshmallows
- 1/2 cup semi-sweet chocolate chips, these go right on the very top.
Step-by-Step Instructions for Deviled Brownies with Marshmallow Filling
Okay, you’ve got all your ingredients lined up—that’s half the battle won! Making these brownies is more about assembly than actual complicated cooking, but timing that marshmallow layer is everything. When you’re ready to bake, remember we are aiming for that perfect textural experience that makes these marshmallows stuffed brownies irresistible. For that truly fudgy base, check out my main fudgy brownies recipe tips, but here we go with the layering!
Preparing the Pan and Oven for Deviled Brownies with Marshmallow Filling
First things first, get that oven going! Preheat it to 350°F (175°C). Grab your 9×13 inch baking pan. You absolutely must grease it well and then line it completely with parchment paper, making sure to leave an overhang on the sides. That overhang is your foolproof handle later when you lift these beauties out, trust me on this setup.
Mixing the Batter Base
We mix the wet ingredients first. Whisk your melted butter and sugar together well, then beat in those four eggs one at a time before stirring in the vanilla. In a separate bowl, quickly whisk your flour, cocoa powder, salt, and baking powder so they are fully combined. Now for the crucial part: add the dry mix to the wet mix. Stir gently until *just* combined. Seriously, stop mixing when you still see a few flour streaks—that’s my expert tip for achieving that super fudgy texture; overmixing activates gluten and makes them tough!
Layering the Marshmallow Filling
Time for the fun part! Pour half of your rich brownie batter into that prepared pan and spread it out gently across the bottom. Now, take your 1 cup of marshmallow fluff—or the small marshmallows—and spread that evenly right over the first layer of batter. Don’t press down too hard! Then, carefully spoon the remaining brownie batter over the marshmallow layer. You need to spread this top layer super gently, just enough to cover the white filling underneath. Top it all off by sprinkling those semi-sweet chocolate chips right on the final layer of batter.
Baking and Cooling Your Deviled Brownies with Marshmallow Filling
Pop the pan into that hot oven and bake them for about 30 to 35 minutes. To check if they’re done, insert a toothpick near the edge of the pan—you want moist crumbs, not wet batter goo, but the very center might still look a little soft, that’s fine! However, this cooling step is non-negotiable for perfect **chocolate marshmallow dessert bars**. Let them cool completely in the pan on a wire rack. If you try to cut them warm, you’ll have a chocolate marshmallow soup!
Tips for Success with Your Marshmallow Filled Brownies Recipe
These gooey stuffed brownie squares are fantastic, but sometimes the marshmallow filling tries to take over! I’ve learned a few tricks over the years to keep everything structured and gooey just the way we like it.
First, don’t skip the parchment overhang I talked about earlier. It saves your sanity when the brownies are heavily loaded. Also, use good quality cocoa powder here; since this is a deep chocolate recipe, the flavor really shines through, and cheap cocoa can taste flat.
My biggest secret for clean slicing is patience. You have to let them cool completely, but if you’re short on time, pop them into the fridge for at least an hour after they’ve cooled to room temperature first. Cold brownies slice like a dream! If you want that extra rich taste, I often add just a tiny boost of espresso powder to the dry ingredients—it won’t taste like coffee, just deeper chocolate. You can see how I add layers here in my cookie brownie layers post, which uses similar stacking principles!
Ingredient Notes and Substitutions for Deviled Brownies with Marshmallow Filling
Choosing your ingredients wisely really cranks up the flavor in these bars. Since there’s no cake layer here, the quality of your cocoa powder is everything for that deep, dark chocolate taste. I always say use the best unsweetened cocoa you can find!
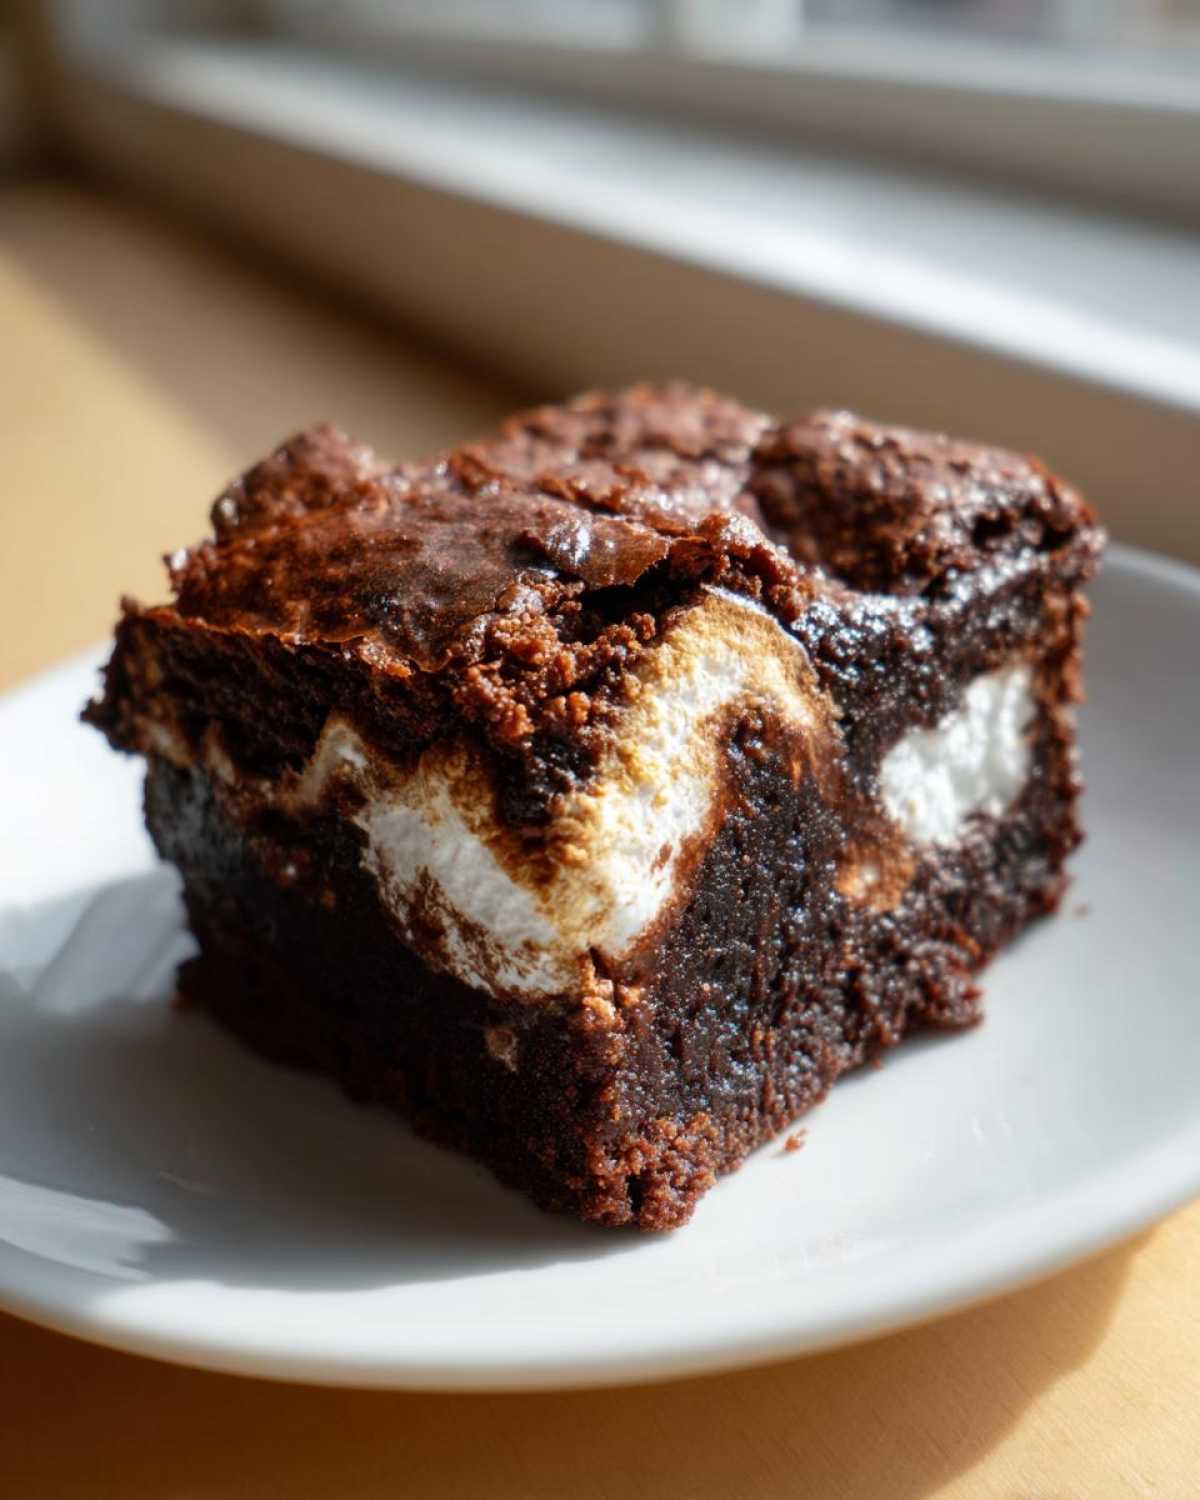
If you are using actual marshmallows instead of fluff, don’t panic about how they spread. They will puff up and create little pockets instead of one single smooth layer, which is still totally delicious! For the chips on top, if you don’t have semi-sweet on hand, feel free to swap them out for milk chocolate or even some chopped dark chocolate chunks for an extra intense bite.
Storage and Reheating Instructions for Layered Chocolate Treats
Once you manage to get these perfectly cut—which is its own victory!—you need to store them right. Keep your completed indulgent dessert bars in an airtight container. Room temperature is usually great for a couple of days, especially if you like that slightly gooey texture. If you plan on keeping them longer than three days, the fridge is safer, though they might firm up a bit.
Honestly, I rarely reheat these because that gooey center is best when it’s just slightly warmed from room temperature. But if you absolutely must reheat a square, try about 10 seconds in the microwave—just enough to soften that marshmallow layer again. For more dessert bar inspiration, you might enjoy my chocolate chip blondies recipe too!
Variations on Deviled Brownies with Marshmallow Filling
Sometimes you just need to make a recipe your own, right? These Deviled Brownies with Marshmallow Filling are fantastic plain, but they are begging for a little twist. My favorite adjustment is sneaking in a teaspoon of instant espresso powder right into the dry ingredients—it just deepens that dark chocolate flavor without tasting like coffee.
If you want extra texture, toss in a half cup of chopped pecans or walnuts right before you pour the top layer of batter on. For a real flavor explosion, try using peanut butter fluff instead of the plain marshmallow! It makes for incredibly decadent layered chocolate treats. Experimentation is half the fun in baking!
Frequently Asked Questions About Making Rich Baked Goods with Marshmallow Center
I know when you’re diving into a recipe this decadent, you probably have a few little worries about whether it will turn out right! It’s totally normal. These chocolate marshmallow dessert bars are easy, but knowing a few tricks upfront can guarantee you a perfect gooey center every single time. I’ve pulled together the questions I get most often about assembly and serving right here!
Can I use regular marshmallows instead of marshmallow fluff in this Deviled Brownies with Marshmallow Filling recipe?
Absolutely, you sure can! If you don’t have the fluff or just prefer the texture of the actual marshmallows, go for it. Just use about 1 cup of the small ones and sprinkle them across that first batter layer. The only difference is that fluff spreads out into one smooth layer, whereas individual marshmallows will puff up and create more distinct, separate gooey pockets. Either way is delicious, though!
How do I prevent the top layer of batter from sinking into the marshmallow layer?
This is such a common worry with any type of stuffed square! The trick isn’t just in spreading the top layer gently—though that helps—it’s in how you place it. Instead of trying to smoothly spread the remaining batter over the fluff, take a spoon and gently *dollop* spoonfuls of batter evenly across the marshmallow layer first. Then, very lightly use the back of the spoon to connect those dollops until you have a surface. This prevents you from dragging the top batter down into the filling!
What is the best way to get clean cuts when slicing these Gooey Stuffed Brownie Squares?
Clean slices are so satisfying, aren’t they? If you try to cut these straight out of the oven or even just at room temperature, that marshmallow filling gets everywhere and the squares fall apart. You have to chill them! Once they are completely cooled on the counter, wrap the whole pan tightly with plastic wrap and pop it into the refrigerator for at least one full hour, or even longer. Chilling solidifies that marshmallow center just enough so your knife slides right through. For more easy recipe ideas, check out my guide on easy recipe for filled brownies!
Estimated Nutritional Data for Your Chocolate Marshmallow Dessert Bars
Now, while I’m not a nutritionist—I’m just here to make sure you end up with joyously fudgy treats!—I always like to give you a rough idea of what you’re looking at when you indulge in these amazing chocolate marshmallow dessert bars. Remember, baking is an art, and every single ingredient you swap in will change these numbers slightly, so take these figures as a helpful guideline, okay?
Based on the recipe proportions and assuming 16 squares from the batch, here is the breakdown:
- Serving Size: 1 square
- Calories: Approximately 300
- Sugar: Around 35g
- Fat: About 16g (Don’t worry, it’s mostly good stuff in there!)
- Protein: About 4g
- Carbohydrates: Roughly 38g
I always tell people that if you’re eating a brownie with a marshmallow layer stuffed inside, you’re doing it for the joy, not the vitamins! But seriously, these values are estimations. If you use low-fat butter or skip the chocolate chips on top, you’ll see those numbers shift a little bit. Enjoy every single bite!
PrintDeviled Brownies with Marshmallow Filling
A recipe for rich, fudgy brownies stuffed with a sweet, gooey marshmallow center.
- Prep Time: 15 min
- Cook Time: 35 min
- Total Time: 50 min
- Yield: 16 servings
- Category: Dessert
- Method: Baking
- Cuisine: American
- Diet: Vegetarian
Ingredients
- 1 cup (2 sticks) unsalted butter, melted
- 2 cups granulated sugar
- 4 large eggs
- 1 teaspoon vanilla extract
- 1 cup all-purpose flour
- 3/4 cup unsweetened cocoa powder
- 1/2 teaspoon salt
- 1/2 teaspoon baking powder
- 1 cup marshmallow fluff or small marshmallows
- 1/2 cup semi-sweet chocolate chips (for topping)
Instructions
- Preheat your oven to 350°F (175°C). Grease and line a 9×13 inch baking pan with parchment paper, leaving an overhang on the sides.
- In a large bowl, mix the melted butter and sugar until combined.
- Beat in the eggs one at a time, then stir in the vanilla extract.
- In a separate bowl, whisk together the flour, cocoa powder, salt, and baking powder.
- Gradually add the dry ingredients to the wet ingredients, mixing until just combined. Do not overmix.
- Pour half of the brownie batter into the prepared pan and spread evenly.
- Spread the marshmallow fluff evenly over the batter layer. If using small marshmallows, sprinkle them evenly across the layer.
- Carefully spoon the remaining brownie batter over the marshmallow layer, spreading gently to cover the filling.
- Sprinkle the chocolate chips over the top layer of batter.
- Bake for 30 to 35 minutes, or until a toothpick inserted near the edge comes out with moist crumbs attached, but not wet batter. The center may still look slightly soft.
- Let the brownies cool completely in the pan on a wire rack before lifting out using the parchment overhang.
- Cut into squares and serve.
Notes
- For easier cutting, chill the cooled brownies for at least one hour before slicing.
- If you prefer a thicker marshmallow layer, use 1.5 cups of marshmallow fluff.
- Use high-quality cocoa powder for a deeper chocolate flavor.
Nutrition
- Serving Size: 1 square
- Calories: 300
- Sugar: 35
- Sodium: 120
- Fat: 16
- Saturated Fat: 10
- Unsaturated Fat: 6
- Trans Fat: 0
- Carbohydrates: 38
- Fiber: 2
- Protein: 4
- Cholesterol: 70

Comments are closed.