


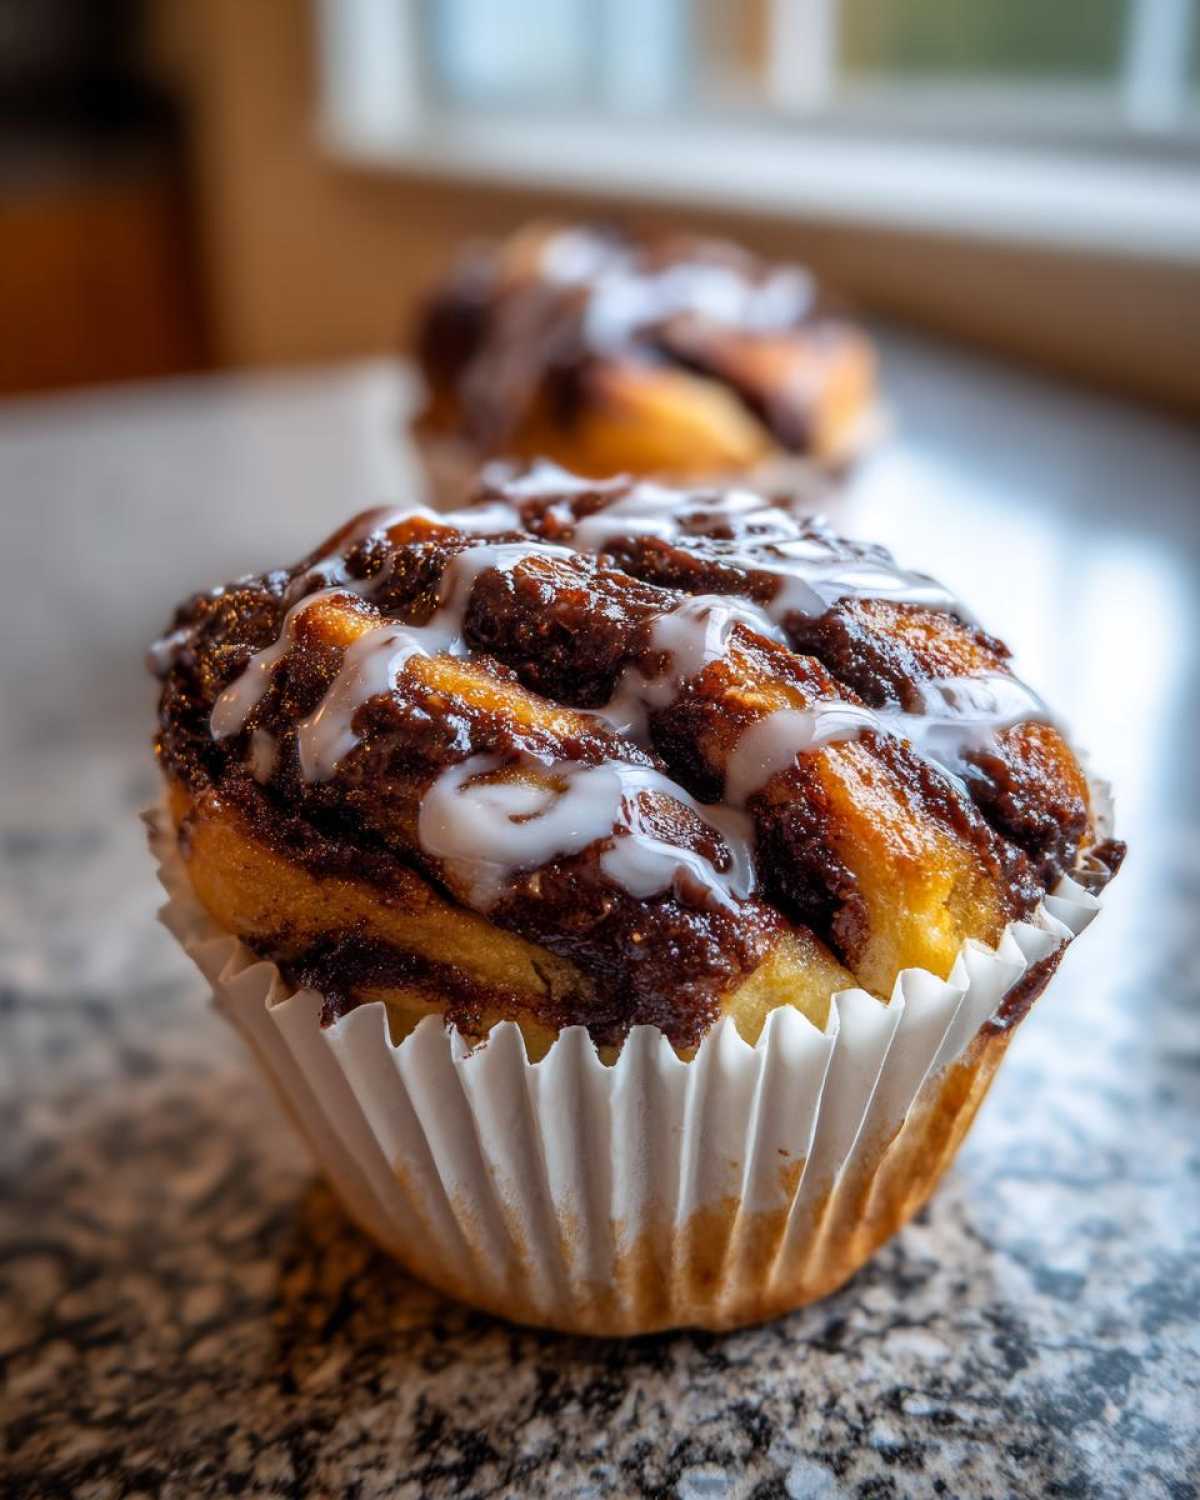
Oh, you just wait until you see these! Who wants to wrestle a giant loaf of bread when you can have something perfectly portioned and utterly beautiful, all to yourself? That’s what I thought! Making beautiful, swirled pastries has always been my therapy, and when you combine that silky brioche-style dough with that gorgeous, gooey center, well, you’ve hit the jackpot. I spent way too many weekends trying to get the swirl just right in the traditional loaf version—it always ended up sinking or squishing! But trust me when I say, once you see how easy it is to shape these Chocolate Hazelnut Babka Buns into individual servings, you’ll never go back to the big loaf again. Seriously, these are weekend baking goals realized!
Why This Chocolate Hazelnut Babka Buns Recipe Works (Best Chocolate Hazelnut Babka recipe)
Look, I’ve tested enough dough recipes to know that some just deliver better results, and that’s why this is hands-down the Best Chocolate Hazelnut Babka recipe out there. It’s all about guaranteeing that incredible swirl and amazing texture without any guesswork.
- Perfect Individual Servings Guide
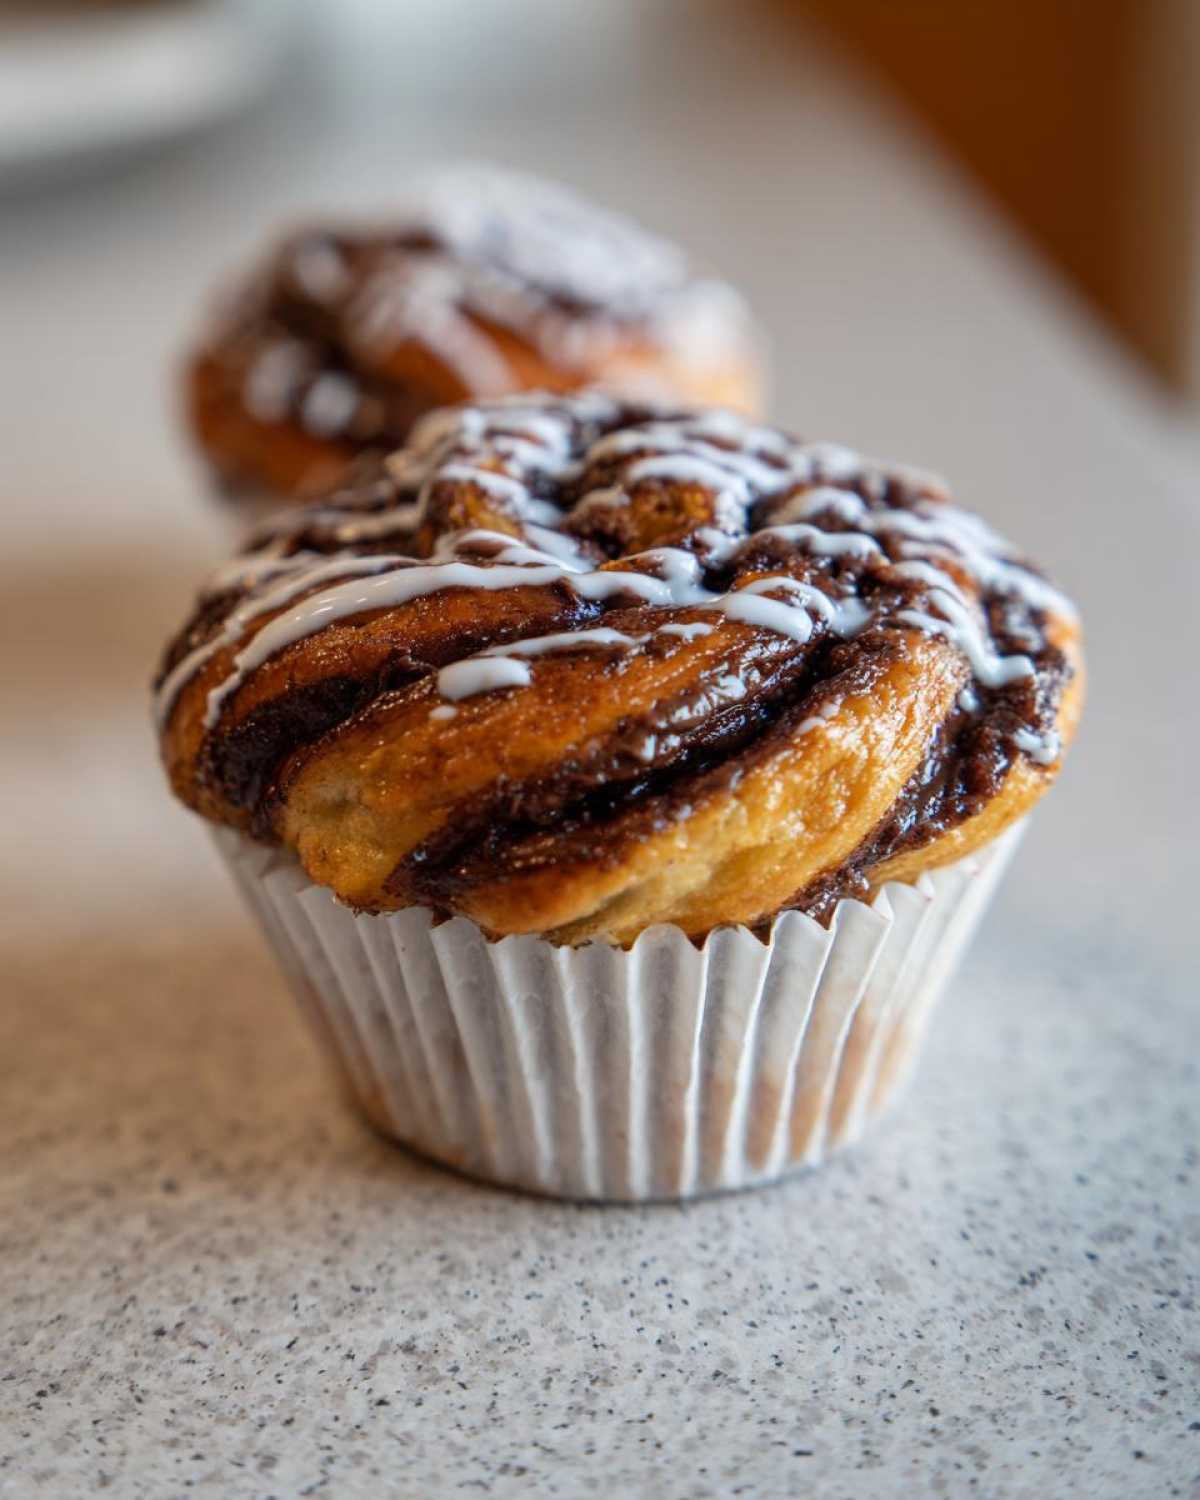
Forget scraping gooey servings out of a single pan! Using a muffin tin for these buns ensures even baking right to the center of every single swirl. It’s so much easier for serving at brunch—everyone gets a perfect, intact piece straight out of the oven. No mess, pure beauty!
- Achieving a Soft Sweet Dough Pastry
We are using an enriched dough, practically a lighter, fluffer cousin to brioche. This means you get that fantastic, yielding texture that doesn’t dry out. That rich quality is what separates these from standard cinnamon rolls—you are getting a true Soft Sweet Dough pastry that melts in your mouth.
Gathering Ingredients for Your Chocolate Hazelnut Babka Buns
Okay, listen up, because with babka, the ingredients are everything. You can try to cheat them, but the dough will know! My notes for you are super precise here because we need that perfect rise and that unforgettable chocolate pull. I always keep my eggs out on the counter for at least an hour before I start; cold eggs hate rich, buttery doughs. You want everything happy and relaxed before it even touches the mixer bowl. When you gather these items, setting them out like this makes the entire process feel less overwhelming, trust me!
For the Rich Brioche Style Buns Dough
We need one cup of whole milk, and this is key: it has to be warm—think bathwater warm, about 105 to 115°F—so the yeast wakes up happy. You’ll use about half a cup of sugar for the dough itself, plus three large eggs that are fully at room temperature. Then comes the flour, salt, and 10 tablespoons of unsalted butter, which must be softened, not melted, and cut into small pieces so the mixer can handle it slowly. Having everything ready lets us move smoothly into the next step of blending for that Rich brioche style buns structure.
For the Moist Chocolate Filling Recipe for Pastries
For the filling, we are keeping it simple but impactful. You’ll need one full cup of your favorite chocolate-hazelnut spread. Now, this is where you spend a little more money if you can. A higher quality spread translates directly into a richer flavor in the swirl. We just need that one cup to make sure every single layer gets that decadent coating to create that Moist chocolate filling recipe for pastries that oozes slightly when you pull it apart.
For the Simple Finishing Glaze
The glaze is just for a little shine when these cool down a bit. Don’t overthink it! You’ll want about half a cup of powdered sugar, and you’ll slowly whisk in maybe two tablespoons of milk until it drizzles nicely off your whisk for that final touch on your sweet bread roll.
The Best Chocolate Hazelnut Babka recipe: Dough and First Proofing
Alright, this is where we build the foundation for that fluffy texture. Getting the yeast happy is step one, and if your milk is too hot, you’ve killed your flavor potential right away. We’re aiming for success here, so pay attention to that temperature for the Best Chocolate Hazelnut Babka recipe!
Activating Yeast and Mixing the Soft Sweet Dough Pastry
First things first, grab that yeast and sprinkle it over your warmed milk along with just a teaspoon of the sugar. Watch it! If it turns foamy and bubbly in about ten minutes, you are good to go. If nothing happens, toss it and start over with new yeast—it’s not worth the risk later! Once the yeast is activated, jump into your mixer bowl. Combine the flour, salt, and the rest of the sugar. Then pour in your yeast mixture and those room-temperature eggs. Let the dough hook start low until it just barely comes together into what I call a ‘shaggy mess.’ That’s totally normal for starting out our Soft Sweet Dough pastry.
Kneading and Incorporating Butter for Rich Brioche Style Buns
This is the critical moment where we turn that shaggy mess into a beautiful, supple dough. Switch your mixer to a medium-low speed and let it knead for about five minutes to build up some structure. Now, for the butter—the real secret to that incredible richness. You cannot dump it all in at once, or you’ll split the emulsion! Seriously, cut that softened butter into small cubes and add just one piece at a time, waiting until the previous one is completely absorbed before adding the next. I know it sounds slow, but this patience is what guarantees those perfectly elastic Rich Brioche Style Buns.
Once all the butter is incorporated, keep it kneading for another 5 to 7 minutes. You’re looking for silky smooth dough that cleans the sides of your mixer bowl. After that long kneading session, lightly oil a bowl, pop the dough in, give it a turn so it’s coated, cover it up tight, and let it proof for almost two hours in a cozy spot until it’s doubled. That dough needs that time to get ready for its chocolate nap!
Nutella Swirl Buns Baking Guide: Filling and Rolling
Okay, the dough is puffy and gorgeous, smelling faintly of butter and yeast—it’s time for the fun part! This is where we turn soft dough into a work of art. This whole process is what defines the Nutella swirl buns baking guide, so don’t rush the rolling or the spreading!
Preparing the Chocolate Hazelnut Filling
While the dough is finishing its first rest, let’s get the filling ready. If your chocolate-hazelnut spread has been hanging out in the fridge, it might be too stiff to spread easily. You don’t want to heat it so much that it melts into an oil slick on your dough, but you need it pliable. Just give it a quick stir in a bowl until it’s smooth and easily scoops onto a spoon. That’s the consistency you’re aiming for—spreadable, but not runny. This ensures you get that thick, gooey layer we are looking for in every single bite.
Rolling Out the Dough for Chocolate Swirl Bread
Gently punch down that beautiful dough and turn it out onto a lightly floured surface. Don’t press too hard; we want to keep those lovely air bubbles we worked so hard to create! Now, you need a big canvas here. Roll that dough out into a large rectangle—I’m aiming for about 12 inches by 18 inches. This size is perfect for getting 12 nice, chunky buns. When you spread the filling, remember this crucial detail: leave a 1-inch border bare along one of the long edges. This bare strip is going to act like the seal on an envelope, keeping all that yummy chocolate locked inside when we roll it up. Spread that dreamy chocolate-hazelnut mixture evenly across the rest of the dough for your perfect Chocolate Swirl Bread.
How to Shape Babka Buns step by step for Individual Babka Servings Guide
Okay, deep breaths! This is the part everyone worries about, but stick with me, because the technique for the How to shape Babka buns step by step is actually super satisfying once you get the hang of it. This shaping method is exactly what gives us those gorgeous, marbleized patterns perfect for an Individual babka servings guide. If your dough is feeling a little too soft after the resting time—which happens, especially if your kitchen is warm—pop the whole rolled-up log into the freezer for about 10 minutes. Chilling it just slightly firms up the filling and dough so you get cleaner cuts. Trust me, that little bit of chill time is a game-changer for slicing!
Slicing the Log to Reveal the Swirl Layers
Once the log is chilled enough to handle but not rock solid, it’s time to expose the swirls! Take a very sharp knife—or, the secret weapon the pros use, unflavored dental floss—and slice that log exactly in half length-wise. You want to be careful here. You are exposing all those beautiful, layered streaks of chocolate and dough. Keep the cut sides pointing up! This open, cut side is what we use to create the final texture.
Twisting and Cutting into Final Bun Shapes
Now, gently take those two long halves and lay them side-by-side. You want to carefully cross them over each other, twisting them around their axis, keeping those glorious cut sides facing *up* toward the ceiling as much as possible. Think of it like twisting a thick, messy braid. Once you have a nice, long, twisted rope, grab your knife again. Slice that rope into 12 even pieces—each piece should be about an inch and a half wide. Pop each piece cut-side up directly into the cups of your prepared 12-cup muffin tin. Go ahead and gently press them down just a tiny bit so they settle in, but don’t crush that beautiful twist!
Baking Your Chocolate Hazelnut Babka Buns to Perfection
We’ve done the hard work of mixing, proofing, and twisting these gorgeous little babies. Now we just need to make sure they come out baked perfectly—not wet in the middle, and definitely not dried out! This final stage is what makes them those incredibly satisfying Fluffy breakfast pastries with chocolate everyone drools over.
Second Proofing and Oven Preparation
The buns need one last rest in their muffin tin cradles. Cover them loosely—you don’t want to crush that gorgeous twist! Let them puff up for about 45 to 60 minutes. They really should look puffy and soft. This is the perfect time to get your oven ready! You want it fully preheated to 350°F (175°C) before that second proofing is quite done. I usually start the preheating when there are about 15 minutes left on the timer; that way, the oven is roaring hot right when the buns are ready to go in.
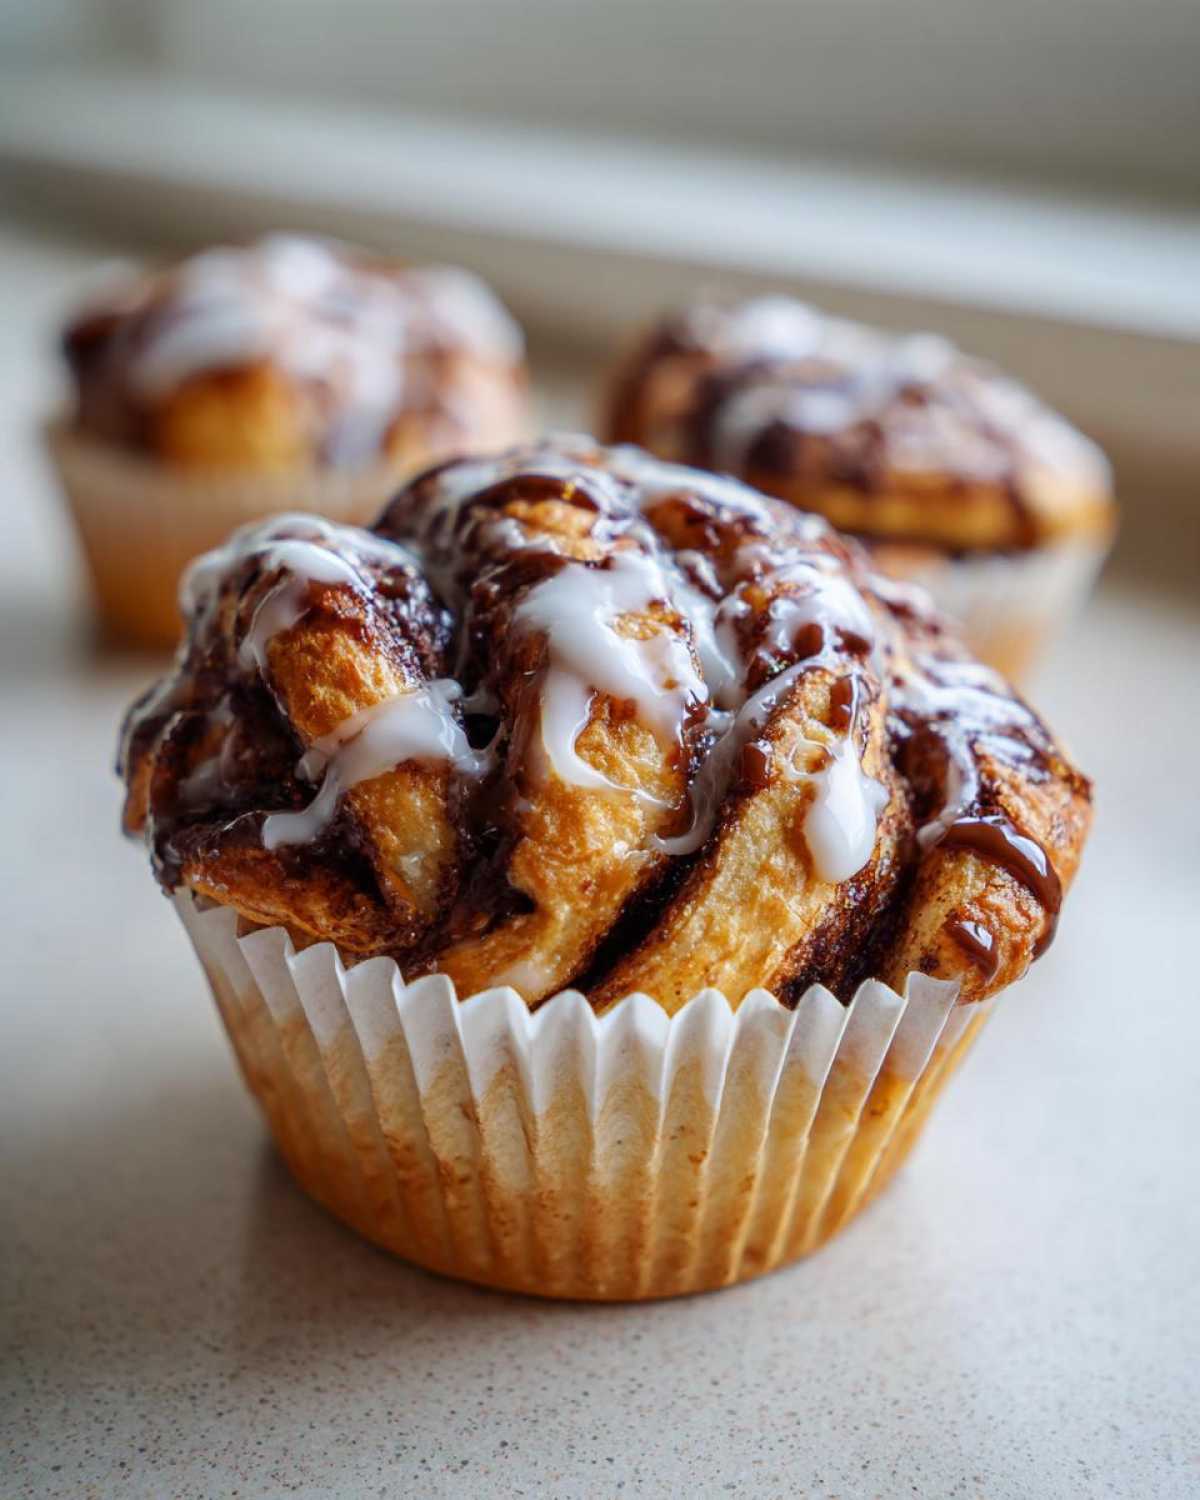
Achieving Golden Brown Fluffy Breakfast Pastries with Chocolate
Carefully slide that tin into your hot oven. They won’t take long at all since they are individual servings! Bake them for 20 to 25 minutes. You’re looking for a deep golden brown color. If you wiggle a bun slightly, it should feel set. A gentle touch on top should feel springy, not squishy. Remember, because we kept that filling rich, they might look a little dark on top right around the edges, but that’s just gorgeous caramelization. Pull them out and let them cool in the tin for just a few minutes before you move them onto a rack!

Finishing Touches and Storage for Your Chocolate Hazelnut Babka Buns
We are so close now, I can practically smell them cooling! The final drizzle of that simple glaze is what gives these buns that beautiful, slightly sticky finish that pairs perfectly with your morning coffee—maybe an iced brown sugar latte on the side?
Applying the Sweet Glaze
You have to be quick with this step! Wait until the buns have cooled slightly in the muffin tin—maybe just five or ten minutes after they come out of the oven. If they are piping hot, the glaze will melt right into the bun and disappear completely. You want that nice, opaque white ribbon sitting right on top of that dark chocolate swirl. Just take your whisked glaze mixture and drizzle it back and forth over the tops of all twelve buns. It hardens up within minutes, giving you that perfect, slightly sweet seal. Don’t worry about making it look professional; mine always look a little rustic, and honestly, that’s part of the charm!
Storage and Reheating Instructions
Because these are so rich, they actually keep surprisingly well, provided you store them right! Once they are completely cool, move them into an airtight container. Don’t just toss them in a baggie; they need that barrier to keep the moisture in. They are best eaten within two days, but if you are making a big batch for a weekend project, they freeze beautifully too! If you do freeze them, make sure they are wrapped tightly in plastic wrap first. When you are ready for one, you don’t need to defrost them completely. Just pop them in the microwave for about 15 to 20 seconds, and that little burst of heat brings that dough right back to that fresh-baked, pillowy softness. It’s like magic, I swear!
Frequently Asked Questions about Your Chocolate Hazelnut Babka Buns
Sometimes you just need clarification on those tricky spots, right? I get so many questions about the dough because babka demands a little precision, but trust me, getting these specific concerns handled means success. I want you to feel like an expert when you pull these out of the oven!
Can I use a different chocolate spread in this Chocolate Hazelnut Babka Buns recipe?
Oh, absolutely! You can definitely swap out the name brand, but let’s be real, the spread is the star here, so use the best one you can find! If you use a spread that’s too thin or has a lot more oil, it can actually make the dough structure a little soggy during the long proofing time. You want that rich, thick profile because that thickness translates directly into that amazing, moist layer in your pastry when it bakes. Don’t mess with the quantity, but definitely go for fantastic flavor!
What is the best way to ensure my babka dough is soft?
The softness comes from two main things, and they both tie back to temperature and technique. First, make absolutely certain your eggs and milk are close to room temperature before they even touch the flour. Cold ingredients shock the yeast and make the butter seize up when you add it in. Second, during that kneading stage where you add the butter—that’s non-negotiable. Add it slowly, piece by piece, so the dough can fully absorb the fat without breaking down. That slow, steady incorporation is how you develop strong gluten strands *and* keep that beautiful richness, leading to a truly soft dough base for your Chocolate Hazelnut Babka Buns.
Can I make these Chocolate Hazelnut Babka Buns ahead of time?
Yes, you totally can! This is fantastic news for weekend baking when you want to relax on Sunday morning. You have two great options here. You can do the whole process through step 11 (shaping them into the muffin tin) and then cover that tin tightly with plastic wrap and stick it in the fridge overnight. When you wake up, let it sit on the counter for about an hour to warm up slightly before baking, or just add 10 minutes to the second proofing time. Or, even easier, bake them fully, let them cool, and freeze the finished buns! Twenty seconds in the microwave brings them right back to life.
Final Thoughts on Making Artisan Chocolate Hazelnut Bread
Whew! See? You just conquered a true baker’s project, and you did it perfectly! There is truly nothing better than pulling these little beauties out of the oven and smelling that deep, toasted hazelnut blended with sweet yeasty bread. I hope you’re proud of those gorgeous spirals you created. They look like something you’d pay way too much money for at a fancy bakery, but you made them right here in your kitchen!
Now that you’ve mastered the swirl and the shaping, I just have to know—how did they turn out? Did you love the individual servings as much as I do? If you loved making these Artisan chocolate hazelnut bread buns, please take a second to leave me a star rating right down below. And if you ended up sharing them (good for you!), snag a photo and tag me on social media! Seeing your successes makes all my recipe testing worth it. Happy baking, and I can’t wait to see what you create next!
PrintChocolate Hazelnut Babka Buns
A detailed recipe for making individual, swirled pastries using a rich, sweet dough filled with chocolate-hazelnut spread.
- Prep Time: 45 min
- Cook Time: 25 min
- Total Time: 3 hr 10 min
- Yield: 12 buns
- Category: Dessert
- Method: Baking
- Cuisine: European
- Diet: Vegetarian
Ingredients
- 1 cup whole milk, warmed to 105-115°F
- 2 1/4 teaspoons active dry yeast
- 1/2 cup granulated sugar, divided
- 3 large eggs, room temperature
- 1 teaspoon vanilla extract
- 3 1/2 cups all-purpose flour, plus more for dusting
- 1 teaspoon salt
- 10 tablespoons unsalted butter, softened and cut into pieces
- 1 cup chocolate-hazelnut spread (like Nutella)
- 1/2 cup powdered sugar (for glaze)
- 2 tablespoons milk (for glaze)
Instructions
- Activate the yeast: In a small bowl, combine the warm milk, yeast, and 1 teaspoon of the sugar. Let stand for 5-10 minutes until foamy.
- Make the dough: In the bowl of a stand mixer fitted with the dough hook, combine the remaining sugar, flour, and salt. Add the yeast mixture and eggs. Mix on low speed until a shaggy dough forms.
- Knead the dough: Increase speed to medium-low and knead for 5 minutes. Add the softened butter, one piece at a time, mixing until fully incorporated after each addition. Continue kneading for another 5-7 minutes until the dough is smooth and elastic.
- First proof: Place the dough in a lightly oiled bowl, turning to coat. Cover and let rise in a warm place for 1.5 to 2 hours, or until doubled in size.
- Prepare the filling: While the dough proofs, mix the chocolate-hazelnut spread in a small bowl until slightly smoother.
- Shape the dough: Gently punch down the risen dough. Turn it out onto a lightly floured surface. Roll the dough into a large rectangle, approximately 12×18 inches.
- Spread the filling: Spread the chocolate-hazelnut filling evenly over the dough, leaving a 1-inch border on one long edge bare.
- Roll and cut: Starting from the long edge opposite the bare border, tightly roll the dough into a log. Pinch the seam closed.
- Slice the log: Using a sharp knife or unflavored dental floss, slice the log in half lengthwise, exposing the layers of filling.
- Twist and shape: Gently twist the two halves around each other, keeping the cut sides facing up. Then, cut the twisted rope into 12 equal pieces (about 1.5 inches wide).
- Form the buns: Place each piece cut-side up into the cups of a greased 12-cup muffin tin. Gently press down slightly.
- Second proof: Cover the muffin tin loosely and let the buns proof for 45-60 minutes, or until puffy. Preheat your oven to 350°F (175°C) during the last 15 minutes of proofing.
- Bake: Bake for 20-25 minutes, or until golden brown and cooked through.
- Glaze: While the buns cool slightly, whisk together the powdered sugar and 2 tablespoons of milk to create a thin glaze. Drizzle over the warm buns.
Notes
- For easier slicing of the dough log, chill it in the freezer for 10 minutes before cutting.
- Use high-quality chocolate-hazelnut spread for the best flavor in the filling.
- If the dough feels sticky during rolling, add a small amount of flour, but avoid adding too much to keep the dough soft.
Nutrition
- Serving Size: 1 bun
- Calories: 350
- Sugar: 28g
- Sodium: 180mg
- Fat: 19g
- Saturated Fat: 8g
- Unsaturated Fat: 11g
- Trans Fat: 0g
- Carbohydrates: 40g
- Fiber: 2g
- Protein: 6g
- Cholesterol: 55mg

Comments are closed.