


Okay, listen up! While I preach about taking my time on Sundays to enjoy every step, I totally get it—sometimes life needs a fantastic **chili cheese dip** *right now*. When the big game is on, or friends drop by unexpectedly, you need that perfect, creamy, cheesy comfort without turning your entire afternoon into a cooking marathon. That’s why I’m sharing what I affectionately call the Ultimate 3-Ingredient Creamy Chili Cheese Dip! It’s ridiculously easy, ready quicker than you can find the good napkins, and honestly, it’s an absolute showstopper appetizer. We’re talking gooey texture and unbelievable flavor with almost zero effort. Cooking should always feel joyful, even when you’re in a rush, and this recipe proves it!
Why This Is The Best Chili Cheese Dip Recipe for Game Day Snacks
Look, when you’re hosting, you want to be with your guests, not chained to the stove! This recipe truly shines because it cuts out all the fiddly bits. It’s the perfect **Game Day Dip** because it’s so reliable. You throw three things together, warm it up, and suddenly you have the most amazing, mouth-watering appetizer ready to go. Forget complicated spice blends; this is pure, delicious function. You can check out my tips on other ultimate party recipes later, but right now, focus on this!
It’s a total **Quick Appetizer** winner. If you need something fast and guaranteed to please a crowd—whether it’s for the Super Bowl or a Tuesday night craving—this is the batch you make every single time. It just works!
Speed and Simplicity: The 3 Ingredient Dip Advantage
The countdown is real, folks! Seriously, we’re talking 5 minutes of prep, 15 minutes of heating, and boom—done. That 20-minute window is golden when you’re setting up for a party. This three-ingredient magic means you don’t have to worry about chopping onions or simmering things for hours. It’s the definition of a **Simple Cheesy Dip** that delivers maximum flavor for zero fuss.
Achieving the Ultimate Creamy Cheese Dip Texture
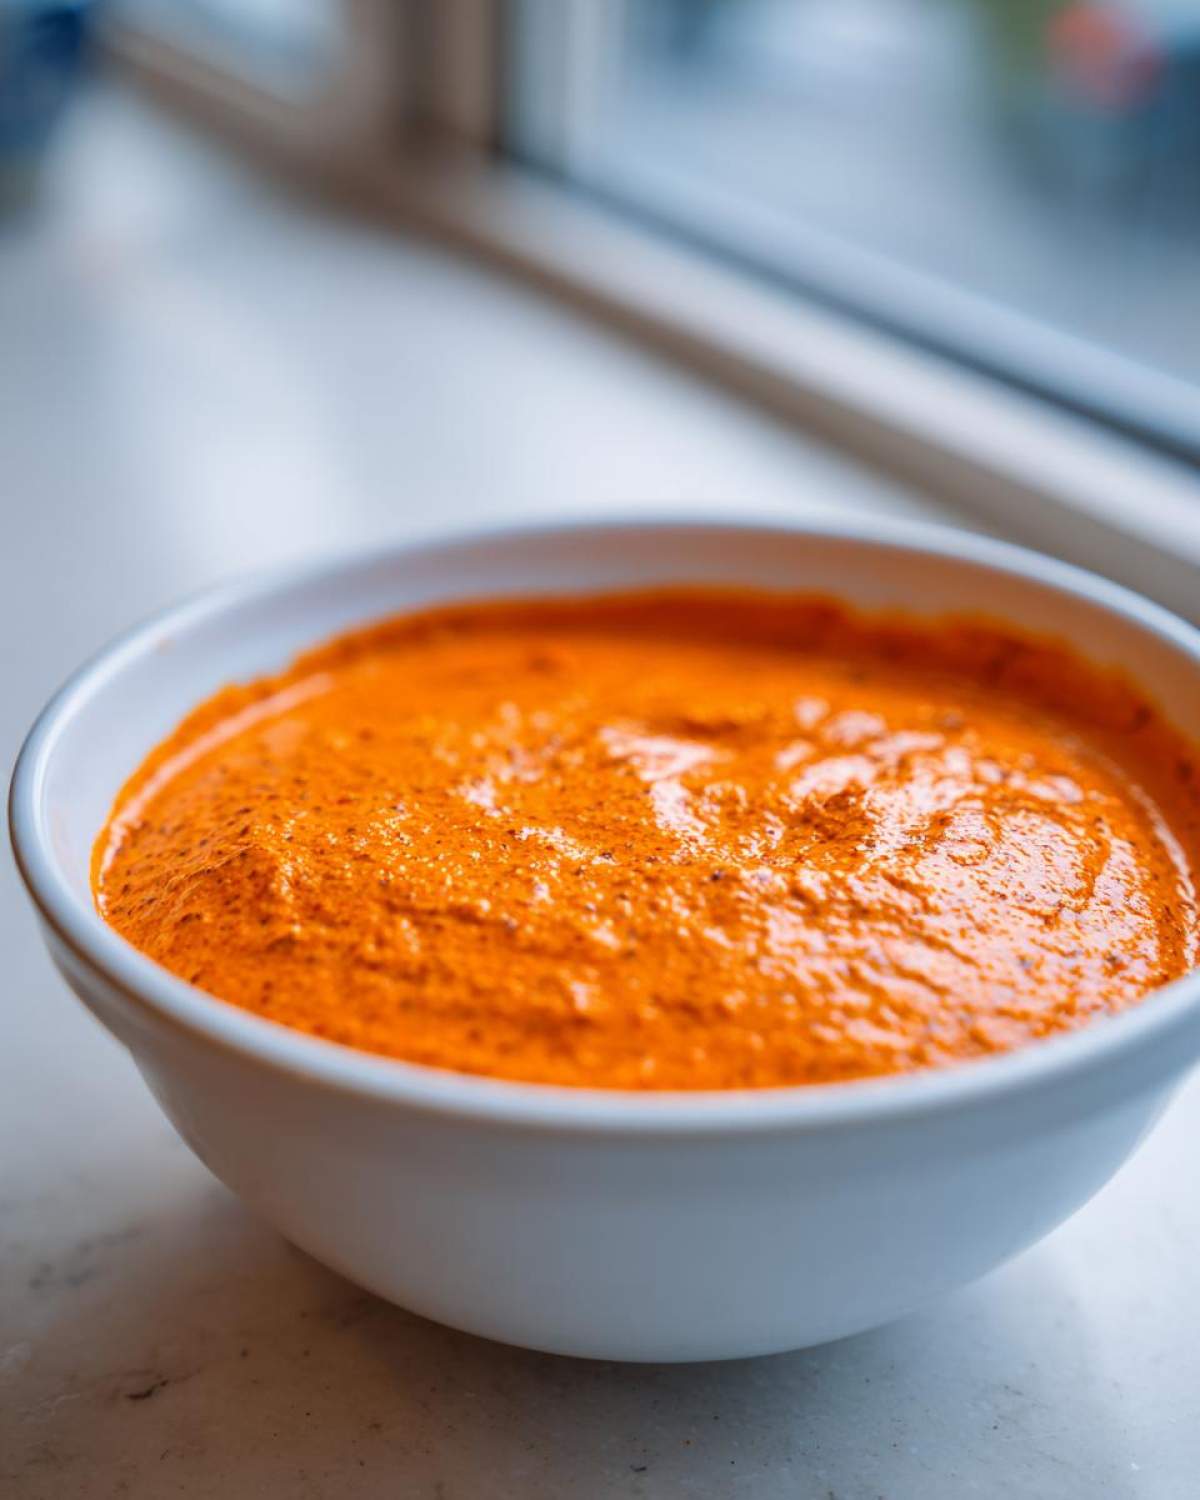
Now, the secret to that almost unbelievable gooey factor isn’t fancy artisanal cheese—it’s embracing the classics! The combination of softened cream cheese and Velveeta is what gives us that signature, perfectly smooth, **Melty Cheese Dip** texture that never gets grainy or oily. It holds its heat beautifully, too, which is crucial for a dip that sits out while everyone is cheering!
Gathering Your Ingredients for the Ultimate Chili Cheese Dip
Okay, this is the part where I sound like your overly organized friend, but trust me, prepping your ingredients ahead of time is how you manage to enjoy your own party! With this **chili cheese dip**, the list is beautifully short, which I absolutely love. We’re sticking only to the must-haves so we can maximize that creamy factor.
When you grab your supplies, just make sure you get the right start. If you’re swapping out any ingredients, make sure you check out my whipped cottage cheese dip post for other substitution ideas, but for this specific classic, follow my lead!
Here’s exactly what you need to make this amazing comfort food dip:
- One standard 15-ounce can of chili. My absolute favorite for the best flavor here is one with meat, but skip it if you need a veg option! Make sure it’s the kind *without* beans, trust me on this one for the smoothest blend.
- One 8-ounce package of cream cheese. This HAS to be softened! Take it out about an hour before you plan to start mixing—it needs to be super soft to blend without any lumps hiding in there.
- One 10-ounce package of Velveeta or a similar processed-style cheese. You need to cut this into small cubes before you start heating things up. Those cubes melt much faster and more evenly than trying to scoop it straight from the package.
See? Just three things! Having these ready means you are truly five minutes away from a bubbling, perfect dip.
Step-by-Step Instructions for Your Quick Appetizer Chili Cheese Dip
Alright, let’s get this party started! Since this is such a fast recipe, having everything measured and ready (your softened cream cheese and cubed Velveeta) is really your only prep work. We’re going to use a medium saucepan right on the stovetop—no need to pull out the big slow cooker unless you have hours to kill! We want this **chili cheese dip** hot and ready fast.
First up, get all three of your ingredients—the chili, the softened cream cheese, and those cubed Velveeta pieces—right into that saucepan. Don’t panic about mixing it exactly yet; just let them sit together for a minute!
Next, put that pan over medium-low heat. This is super important: we are melting, not boiling! If you let this mixture get too hot and start boiling rapidly, you mess with the dairy chemistry, and suddenly your beautiful dip might get a little weepy or greasy. We want smooth and stable, so keep that heat gentle.
You’ll need to stir this frequently for about 10 to 15 minutes. Don’t walk away completely! Give it a good stir every minute or so, making sure to scrape the bottom so nothing gorgeous sticks there and burns. Keep going until you can’t see any separate chunks of cheese and the whole dip looks uniform, rich, and absolutely decadent. This entire process should wrap up easily within that 15-minute mark for a perfect **Hot Dip Recipe**.
Melting the Cheese for a Smooth Chili Cheese Dip
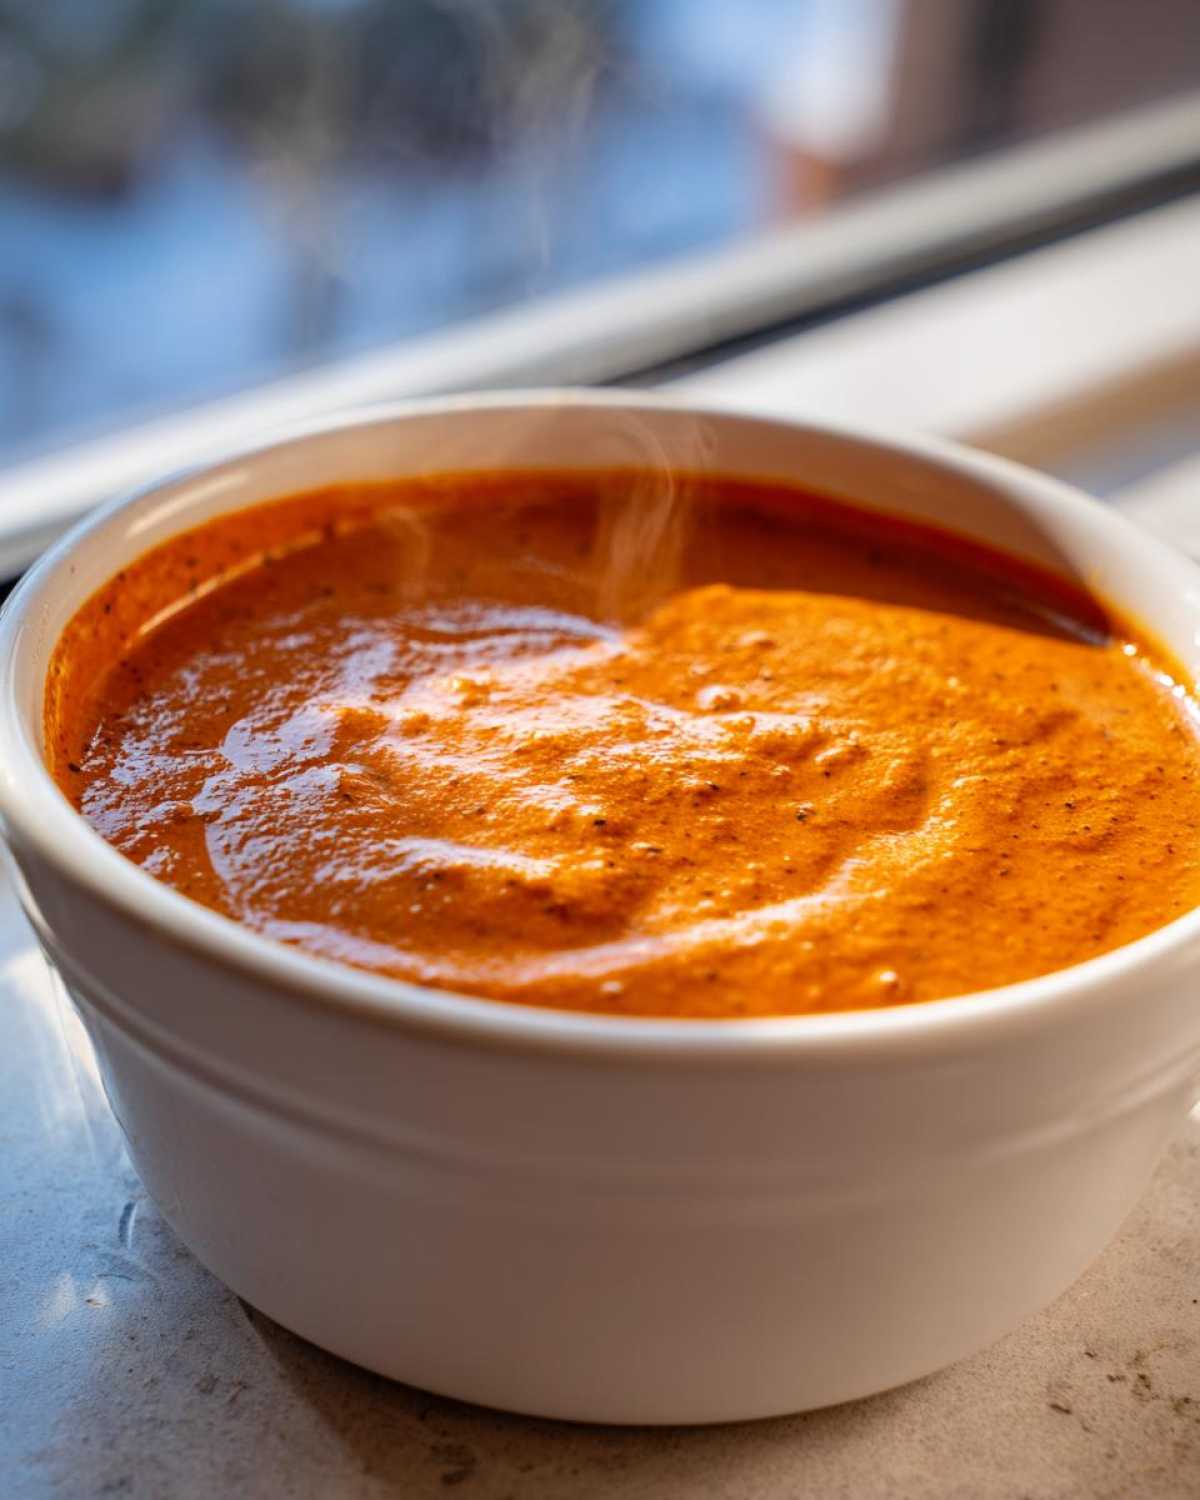
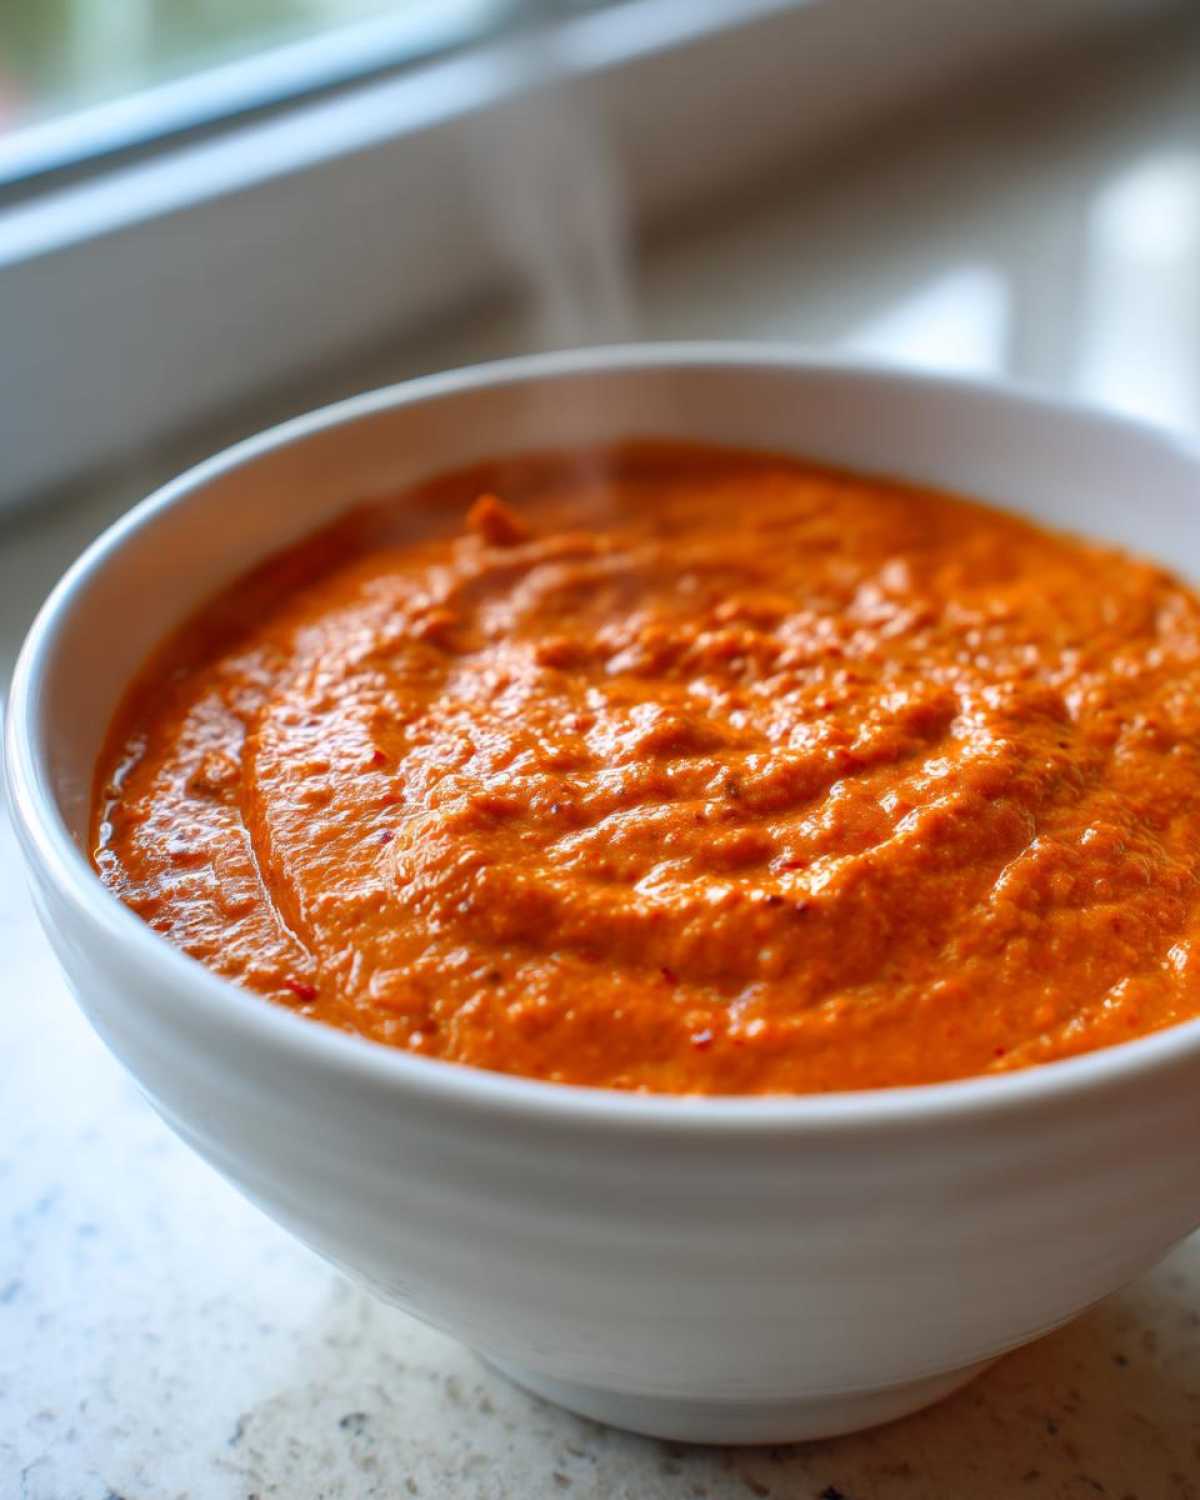
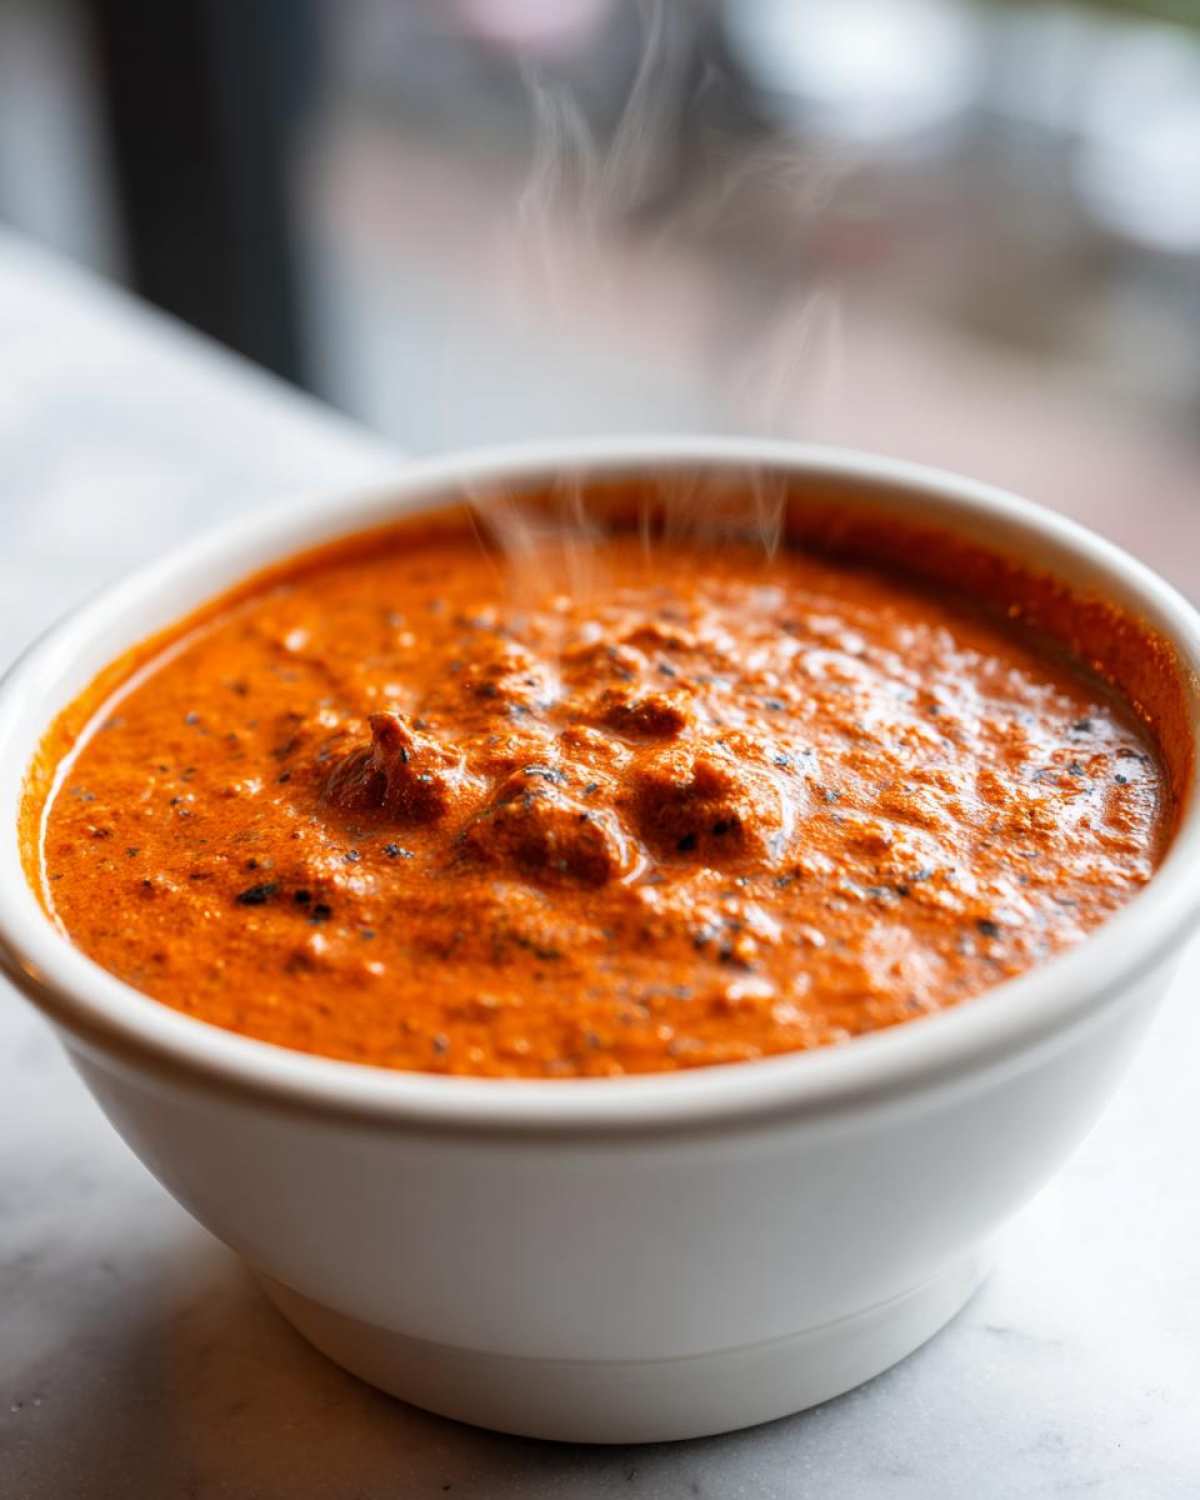
The key to making this feel high-end, even though it’s only three ingredients, is the smooth texture. You are looking for the moment where the cream cheese and the Velveeta have completely disappeared into the chili base. When you pull your spoon through the thick mixture and it leaves a clean trail that slowly flows back together—that’s your cue!
If you notice any stringiness or bumps, just keep stirring gently over that low heat. This is where patience pays off! Once it’s silky smooth, immediately take it off the heat. We want to transfer it straight into a serving bowl—I love using a small ceramic crockpot or a heavy bowl—while it’s piping hot. Don’t let it sit in the hot pan too long, or the bottom layer might start to firm up too much. Remember, we want maximum dipping potential! You can get some great inspiration for how to serve this amazing dip, including a gorgeous tomato burrata pepperoni pizza dip idea, over on my other posts.
Expert Tips for the Perfect Chili Cheese Dip Variations
Even though this **Easy Chili Cheese Dip Recipe** is fantastic at its base level, I love giving you guys options to customize. Because honestly, no two parties are exactly the same, right? These little tweaks mean you can adapt this recipe, whether you’re planning days ahead or still scrambling minutes before guests arrive. I always encourage people to look at my other quick appetizer recipes for inspiration, like this wonderful three-ingredient dip connection!
When I make this for a big crowd, I always opt for a hearty, no-bean chili for better texture in this **chili cheese dip**. The beans can sometimes absorb too much melted cheese and change the overall texture, which you definitely don’t want when aiming for ultimate creaminess.
If you’re avoiding processed cheese, you can definitely improvise! You can swap out the Velveeta for about 10 ounces of really good, sharp shredded cheddar. A little word of caution here, though: cheddar doesn’t melt quite as beautifully on its own. If you go this route, you might need to add just a tiny splash of milk or even cream while you stir to help everything come together smoothly. It’s worth it for that sharp cheddar bite, though!
Making a Slow Cooker Chili Dip for Entertaining Dips
If you’re hosting a huge viewing party or you just want to keep this **chili cheese dip** warm for hours without hovering over the stove, the slow cooker is your best friend. This turns it into a true **Entertaining Dips** marvel. Just follow the basic steps—toss the chili, softened cream cheese, and cubed Velveeta right into the small slow cooker insert.
Set it to LOW, and let it run for about 1 to 2 hours, making sure to give it a good stir every 30 minutes or so. It gets incredibly soft and just holds that perfect temp all afternoon long. Honestly, if you check out my tips on my pulled chicken, you know I rely on the slow cooker for hands-off success anytime I host!
Serving Suggestions for Your Crowd Pleaser Appetizer
You have created this beautiful, luscious **chili cheese dip**—what do you serve with it? This is where we take this **Crowd Pleaser Appetizer** from great to legendary! While a big, sturdy bag of tortilla chips is always the classic anchor, we can get a little more creative to maximize the dipping fun. Remember, the goal is to scoop up every last bit of that creamy goodness!
Sometimes I get ambitious and make a huge batch of my loaded nacho potato skins, but when I’m keeping it easy with just the dip, I like to offer variety. Having options means there’s something for everyone!
Forget just chips! Try these combinations for dipping into your **chili cheese dip**:
- Crunchy Corn Chips: Fritos Scoops are hands-down the best vehicle for any heavy dip. They are sturdy and just have that perfect salty corn flavor that pairs with chili.
- Fresh Veggies: If you need something lighter, sticks of celery, bell pepper slices (red and yellow look so vibrant!), or even thick-cut cucumber rounds are amazing for cutting through the richness.
- Pretzels and Crackers: Large, thick pretzel crisps or sturdy whole-wheat crackers work wonderfully if you’re trying to avoid something fried.
- Bread Dippers: Cut up mini French baguettes or soft dinner rolls and toast them lightly. They soak up the flavor like nothing else!
And please, don’t forget the obvious next step: this dip makes one incredible **Nachos Topping**! Pour that hot, bubbly dip right over a pile of fresh tortilla chips, maybe toss on some chopped jalapenos and sour cream, and you’ve just upgraded standard nachos into something truly special. It’s deliciousness multiplied!
Storing and Reheating Your Leftover Chili Cheese Dip
Now, let’s be honest: sometimes you make a massive batch of this **chili cheese dip** because you just can’t help yourself, and you end up with glorious leftovers! Don’t you worry one bit. This stuff stores surprisingly well, which is a real bonus for an easy **Hot Dip Recipe** because you can enjoy it again tomorrow!
The critical step here is getting it cooled down quickly before storage. Once you’re done serving, let the remaining dip sit on the counter for maybe 20 minutes to cool slightly. Then, transfer it into an airtight container. Seriously, airtight is key! You can generally keep this creamy mixture happily tucked away in the fridge for about 3 to 4 days. Any longer than that, and the texture starts to change, which nobody wants once they are craving that cheesy goodness again.
When it’s time for Round Two, you have two main options for bringing that creamy magic back to life. The microwave is super fast, but you have to be careful!
First, scrape the cold dip back into a microwave-safe bowl. Heat it in short bursts—say, 30 seconds at a time—and stir vigorously between each burst. The goal is just to melt the cheese again without boiling it. If you blast it for two minutes straight, you’ll end up with separated, oily cheese, and we definitely don’t want that sad outcome!
The stovetop method delivers the best results, though it takes a few extra minutes. Place the leftover dip in that same medium saucepan and use that lovely low heat we talked about before. Stir constantly until it is completely smooth and piping hot again. If it seems a little stiff when you reheat, just add a tiny splash of milk or water—I mean just a teaspoon at a time—until you get that familiar luscious consistency back. It’s almost as good as the first batch, especially dipped with some of my cheesy garlic bread!
Frequently Asked Questions About This Simple Cheesy Dip
I always get tons of questions when sharing my quick party recipes, and this **Simple Cheesy Dip** is no exception! It’s so straightforward, but people always want to know how to tweak it for their own gatherings. I’ve wrapped up the most common things people ask me about this wonderful classic below. If you’ve got a craving right now, check out this recipe from Crazy for Crust as well; they have great tips!
Can I use shredded cheese instead of Velveeta in this chili cheese dip?
Yes, you absolutely can, but you need to treat that substitution with a little respect! As I mentioned in the expert tips, Velveeta is what guarantees that ultra-smooth, melty texture we love in a classic **chili cheese dip**. If you use standard shredded cheddar—even good quality sharp cheddar—it might separate or get a bit oily on you if you rush the melting process.
If you choose to go the shredded route, make sure you cut the heat down to the absolute lowest setting, and stir constantly! You might need to incorporate a teaspoon or two of milk or heavy cream just to help everything emulsify and stay creamy. It won’t melt quite as beautifully as the processed option, but the flavor boost from a sharp cheddar is worthwhile if you’re willing to watch it closely!
How do I make this a vegetarian chili cheese dip?
This is such an easy fix, and it’s fantastic if you’re catering to vegetarian friends or just want to lighten things up slightly! The key here is simply swapping out the chili component. The cream cheese and Velveeta are the base, so you don’t touch those.
When you grab your can of chili, choose one that is labeled vegetarian or ensure it’s a bean-only variety. I find that a chili with mushrooms or some hearty lentils works brilliantly in this spot. If you’re looking to go fully plant-based next time, I have a wonderful vegan chili recipe you can use as your base sauce instead! Just use the vegetarian chili in place of the beef chili, and you are good to go!
Why do you specify ‘no beans’ in the chili recommendation?
When we are aiming for that incredibly smooth, uniform melt in a **3 Ingredient Dip**, beans can honestly get in the way. Beans are great in chili when you’re eating it from a bowl with a spoon, but when you’re trying to scoop it up with a delicate tortilla chip, whole beans give you an uneven dip. They can also absorb moisture differently as the cheese melts, potentially making the surrounding sauce look a little less streamlined.
If you really, really love beans, the best compromise is to drain and maybe even lightly mash some of them before adding them to the pan. But for that classic, luscious, simple vibe, I always recommend bean-free chili concentrate!
Do I have to use Velveeta? What else melts this well?
That’s a fair question! Velveeta is the gold standard here because it’s designed for melting resilience—it contains emulsifiers that keep it stable. If you don’t have Velveeta or simply prefer not to use it, look for a cheese labeled as “American cheese” in the deli section, or try using a packaged white queso base if you can find one that doesn’t rely on heavy stabilizers. Sometimes Monterey Jack melts okay, but it demands constant stirring. Honestly, if you are trying to recreate that perfect, iconic mouthfeel of this **chili cheese dip**, Velveeta or a very similar processed cheese is your quickest path to reliable success!
Estimated Nutritional Snapshot of This Comfort Food Dip
Now, I know what a lot of you are thinking when you see a glorious, melty blanket of cheese like this: “Chloe, tell me the damage!” Listen, this is pure, unadulterated comfort food, the kind you eat while watching your team put up a valiant fight, or while winding down after a chaotic week. It’s not supposed to be salad fuel, okay? We call this **comfort food dip** for a reason!
Because this recipe is so simple and relies on commercial products like canned chili and processed cheese, the exact numbers can bounce around depending on the brands you choose. But to give you a good idea of what you’re diving into, here is the estimated nutritional breakdown based on the ingredients listed, calculated for 6 servings.
Remember, this is just an *estimate*—a helpful guide, not a strict rulebook for enjoying your Sunday Flavor moments. If you’re serving this for a party, you know people usually only have a small scoop anyway!
- Serving Size: 1/6 of the recipe
- Calories: Approximately 350 per serving
- Total Fat: Around 25g (Remember, this includes both saturated and unsaturated fats!)
- Saturated Fat: About 15g
- Protein: A solid 18g, thanks to the meat in the chili!
- Carbohydrates: Approximately 15g
- Sugar: Typically around 5g
- Sodium: This one is higher, around 750mg, because both chili and processed cheese are naturally salty—just something to be aware of!
Keeping sodium in mind, this is another reason quality chili selection matters! Use a low-sodium chili if you can find one, or cut back slightly on any added salt elsewhere (though this recipe usually doesn’t need it). Enjoy every savory, cheesy bite of this wonderful **chili cheese dip**!
Share Your Sunday Flavor Chili Cheese Dip Creations
And just like that, we’ve gone from zero to party-ready in about 20 minutes! I truly hope this recipe becomes your new go-to when that cheesy, warm craving hits hard. Making food should be about connection and joy, not agonizing over complicated steps, and this simple **chili cheese dip** is the perfect embodiment of that philosophy here at Sunday Flavor.
If you whipped up a batch of this incredible dip and brought it to your next game day or gathering, please come back and let me know how it went! Leaving a rating is honestly one of the best ways you can support the site—I always check those five-star reviews to see what’s working for you all!
I absolutely love seeing your kitchen creations! Tag me on social media with your photos—whether you’re using crunchy Fritos or fresh celery for dipping—so I can share your spread with the growing Sunday Flavor community. I’m always looking for fun serving ideas to feature! You can always learn more about my mission to bring more joy into everyday cooking over on my About Me page.
If you’re looking for more super-quick, crowd-pleasing ideas, check out this amazing take on cheesy dip from Dash of Sanity, too! Happy dipping, friends!
PrintUltimate 3-Ingredient Creamy Chili Cheese Dip (Ready in 20 Minutes)

This is the ultimate crowd-pleaser appetizer for your next game day or party. You can make this creamy, cheesy chili cheese dip with just three simple ingredients in under 20 minutes. It is a simple cheesy dip that disappears fast.
- Prep Time: 5 min
- Cook Time: 15 min
- Total Time: 20 min
- Yield: 6 servings
- Category: Appetizer
- Method: Stovetop
- Cuisine: American
- Diet: Vegetarian
Ingredients
- 1 (15 ounce) can chili (no beans recommended)
- 1 (8 ounce) package cream cheese, softened
- 1 (10 ounce) package Velveeta or similar processed cheese, cubed
Instructions
- Combine the chili, softened cream cheese, and cubed Velveeta in a medium saucepan.
- Heat the mixture over medium-low heat, stirring frequently until all the cheese is completely melted and the dip is smooth and creamy. This usually takes about 10 to 15 minutes. Do not let it boil.
- Once smooth, transfer the hot dip to a serving bowl.
- Serve immediately with tortilla chips, crackers, or fresh vegetables for dipping.
Notes
- For a richer flavor, use a chili that contains meat. If you prefer a vegetarian option, use bean-only chili.
- If you want a slow cooker chili dip, combine all ingredients in a small slow cooker and cook on low for 1 to 2 hours, stirring occasionally until smooth.
- If you do not have Velveeta, you can substitute it with 10 ounces of shredded sharp cheddar cheese, but you may need to add a splash of milk to help it melt smoothly.
Nutrition
- Serving Size: 1/6 of recipe
- Calories: 350
- Sugar: 5
- Sodium: 750
- Fat: 25
- Saturated Fat: 15
- Unsaturated Fat: 10
- Trans Fat: 1
- Carbohydrates: 15
- Fiber: 2
- Protein: 18
- Cholesterol: 65


Comments are closed.