

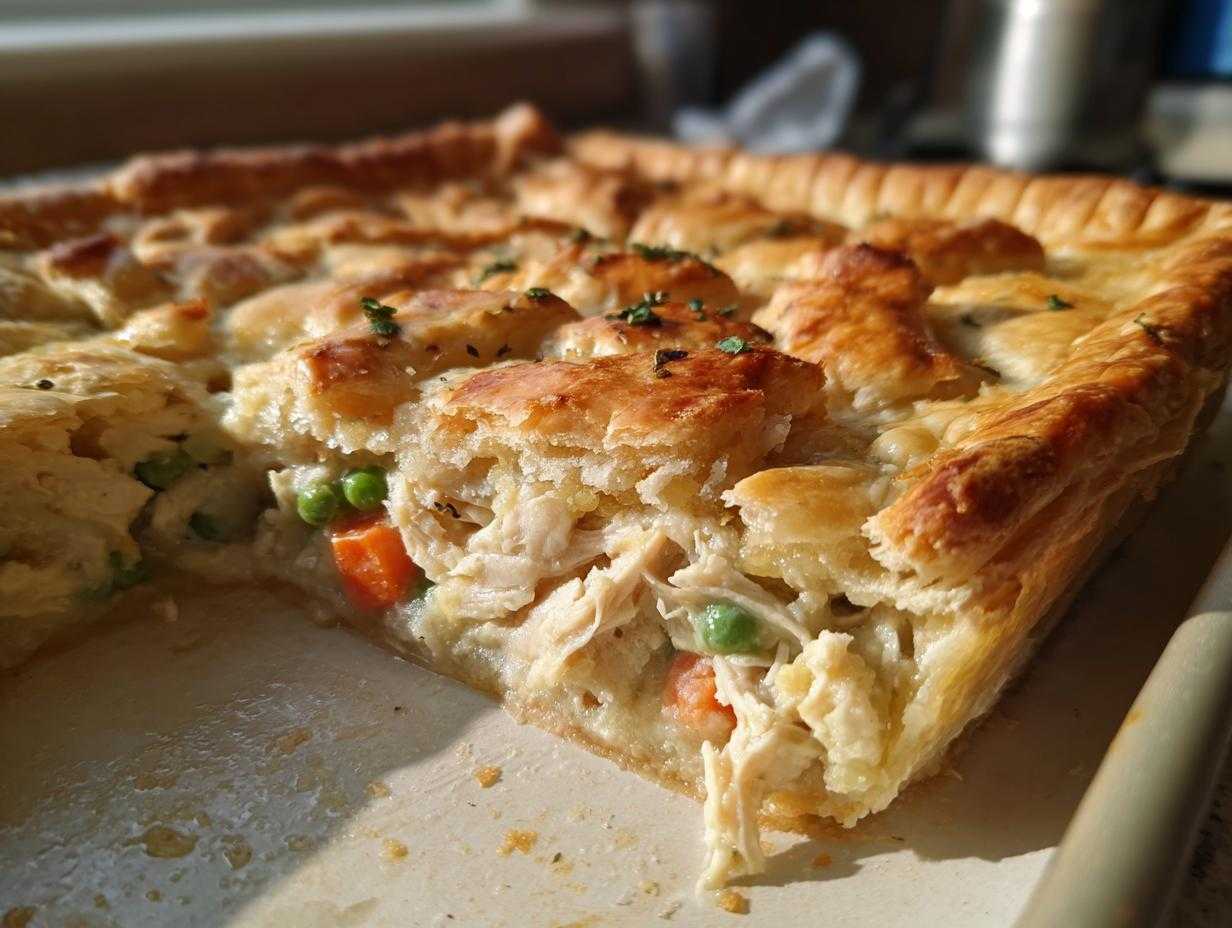
Oh, the eternal struggle! You crave that soul-soothing, creamy, savory hug of a classic chicken pot pie, but the thought of scraping scorched filling out of a deep casserole dish? Instant mood killer! I’ve spent years wrestling with traditional pie crusts, trying to get that perfect golden flakiness without making a five-hour commitment for a weeknight dinner.
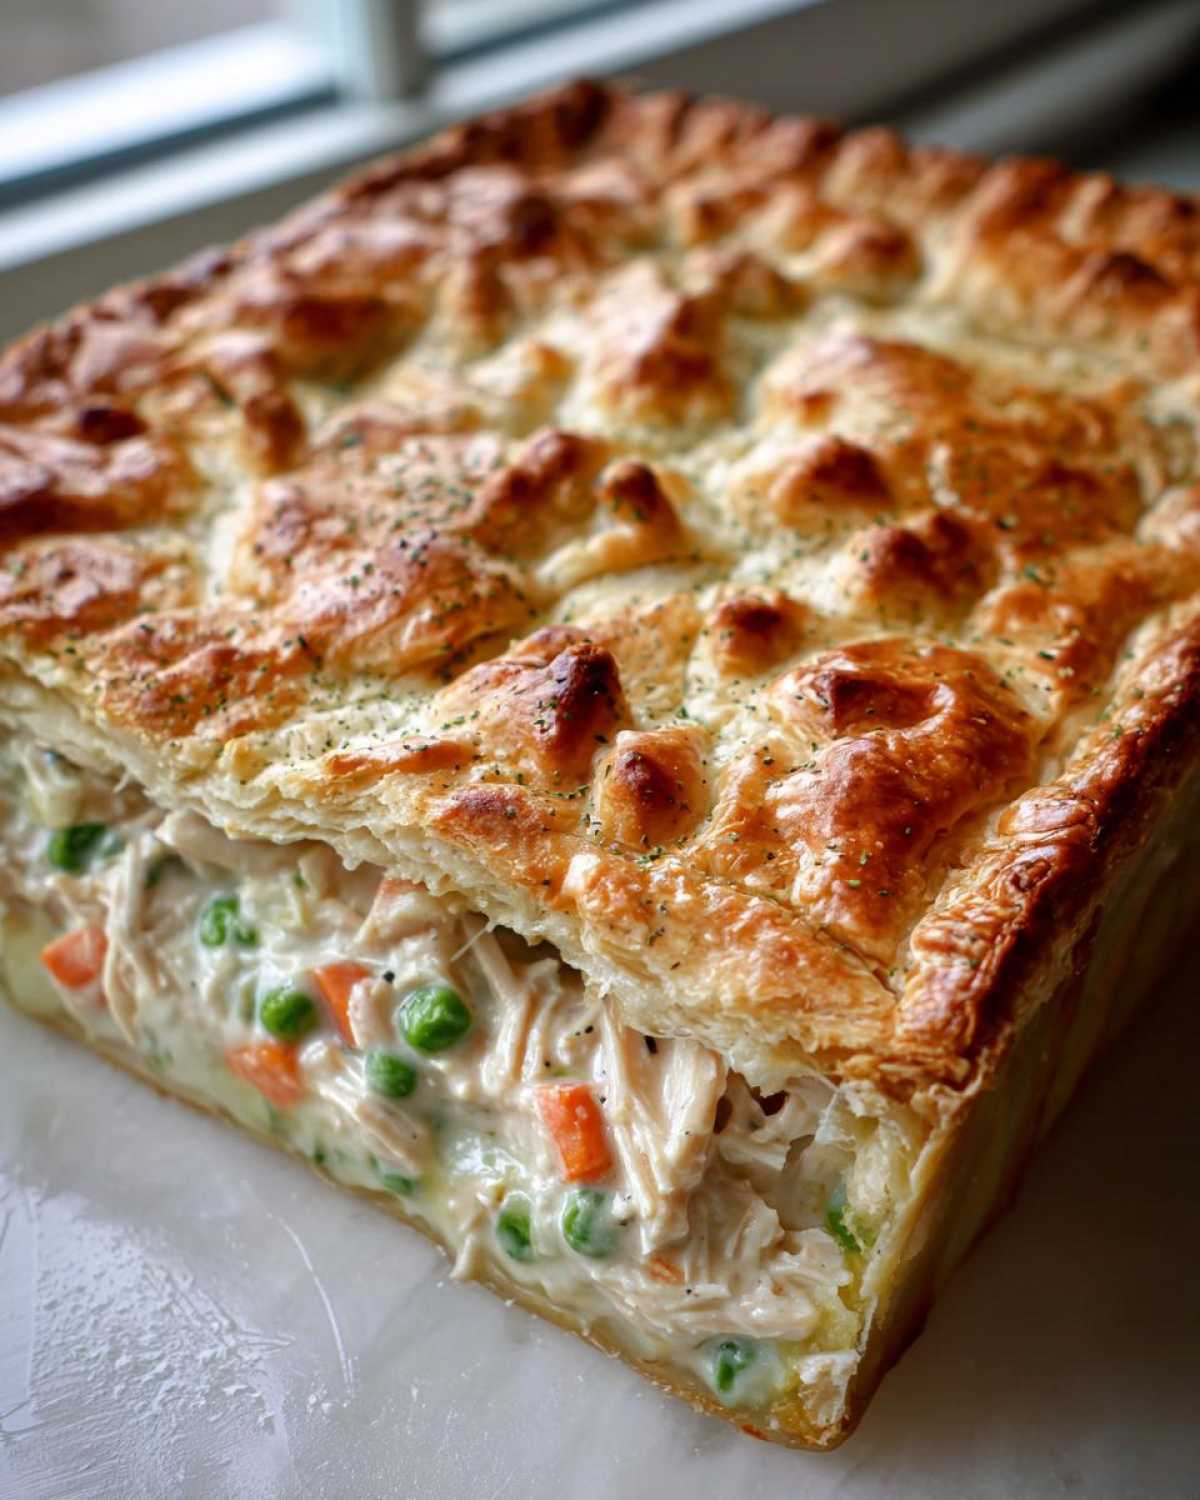
Well, friends, I cracked the code. I figured out how to get all that heartwarming flavor and that essential melt-in-your-mouth texture, but we’re skipping the deep dish drama. This is, hands down, my favorite innovation for easy meals: the Sheet-Pan Chicken Potpie with Flaky Crust. Trust me, this rustic approach delivers all the comfort, a truly flaky crust all around, and cleanup that takes five minutes. It’s the weeknight savior you didn’t know you needed.
Why This Sheet-Pan Chicken Potpie with Flaky Crust Works So Well
I know what you’re thinking: “A pie on a baking sheet? Is that even going to work?” Oh, it works, my friends! This method is all about getting you that incredible comfort food experience with significantly fewer dishes. Forget scrubbing that deep, stubborn casserole dish. By using the sheet pan, we maximize the surface area, which means that beautiful homemade crust gets crispier everywhere—no more soggy bottom surprises lurking underneath the filling!
This setup turns what used to feel like a weekend project into a genuinely less cleanup dinner ideas dream. It’s the ultimate simplified chicken pot pie because the assembly is so direct.
Achieving a Truly Flaky Pie Crust at Home on a Pan
When you bake almost flat on a sheet pan, the heat hits that butter layer almost instantly. This steam explosion is what creates feather-light layers. When you make your flaky pie crust at home using ice-cold butter, that heat transfer locks in the flakiness immediately. You get that perfect golden snap without needing hours of blind baking.
The Creamy Chicken Vegetable Filling
The flavor profile hasn’t changed, though! This is pure nostalgia in every bite. We keep that rich, savory base you expect. The creamy chicken vegetable filling is luscious, packed with tender chicken and sweet veggies swimming in that herby sauce. It’s everything wonderful about pot pie, just served incredibly conveniently.
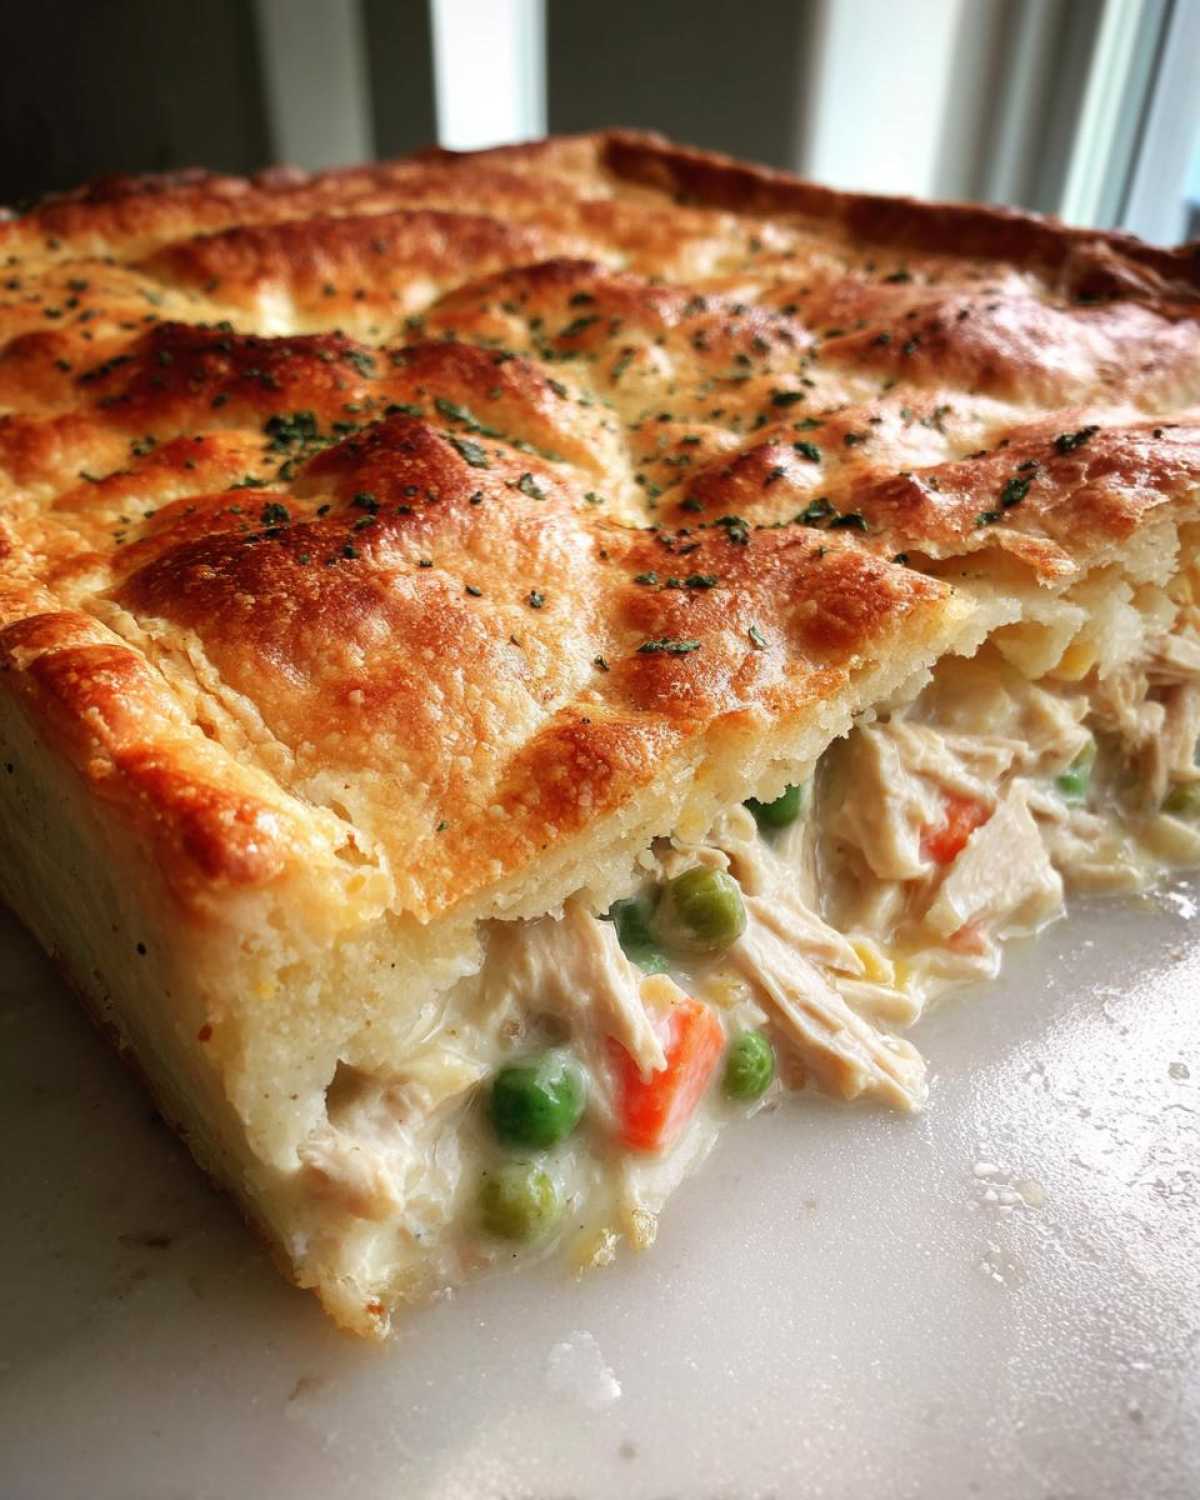
Gathering Ingredients for Sheet-Pan Chicken Potpie with Flaky Crust
To make sure our crust is perfectly flaky and the filling is robust, we need precise measurements—that’s how we build trust in this recipe! Since we are making this chicken pot pie recipe from scratch, keeping things cold is going to be our number one mission for the pastry part. But don’t worry, once you have everything measured out, assembly is a breeze!
For the Flaky Butter Crust
This is where patience pays off. You’re going to need 2 cups of all-purpose flour and 1 teaspoon of salt whisked together first. The star is the butter: grab 1 cup of *unsalted* butter, and it absolutely must be cut into small cubes and kept ice cold. Seriously, if it’s soft, put it back in the fridge! For liquid, you need exactly 1/2 cup of ice water, but have a teensy bit more ready just in case your dough needs a little nudge to come together.
For the Creamy Chicken Pot Pie Filling
For the heart of the pie, we rely on 2 cups of already cooked, shredded chicken breast. You can use rotisserie chicken here to speed things up, which is a great hack! We’ll mix that with 1 cup of your favorite frozen mixed vegetables—peas, carrots, the works—and about 1/2 cup of chopped onion that you sauté first. To thicken our sauce, you need 1/4 cup of all-purpose flour, 2 cups of chicken broth, 1/2 cup of heavy cream, 1 teaspoon of dried thyme, and 1/2 teaspoon of black pepper. That thyme is non-negotiable, trust me!
For Finishing the Sheet-Pan Chicken Potpie with Flaky Crust
The finishing touch that makes this look professionally baked is the egg wash. It’s super simple; you just need 1 large egg, beaten until it’s nice and uniform. This gives our top crust that gorgeous, shiny mahogany color as it bakes over the creamy filling.
Step-by-Step Instructions for Sheet-Pan Chicken Potpie with Flaky Crust
Okay, this is the part where the magic seriously happens. We’re translating the classic technique into our favorite flat format. Follow these steps exactly, and you’ll see why I love baking pie on a sheet pan. It’s fast, it covers everything beautifully, and it prevents that dreaded soggy bottom!
Making the Flaky Pie Crust Dough
First things first: the crust needs time to chill, so we start here. In your big mixing bowl, whisk together the flour and salt. Now, be aggressive with that cold butter! Use a pastry blender or your fingertips to cut that butter in until it looks like coarse crumbs, making sure you still have little pea-sized chunks of butter left—that’s the secret to flakiness! Slowly start drizzling in your ice water, mixing just until the dough barely holds together. Don’t knead it! Divide that dough into two disks, wrap them tight, and let them chill in the fridge for at least 30 minutes. This relaxation period is essential for the butter to firm up again.
Preparing the Creamy Filling Base
While that dough is chilling, let’s get the filling ready. Melt a tablespoon or two of butter in a large skillet over medium heat. Toss in your chopped onion and let it soften up until it’s translucent, about five minutes. Now, here’s the thickening part: sprinkle in that 1/4 cup of flour and stir it constantly for a full minute. We need to cook out that raw flour taste! Slowly, and I mean *slowly*, whisk in the chicken broth until it’s completely smooth. Let that simmer until it coats the back of a spoon nicely, then stir in the heavy cream. Take it OFF the heat immediately before folding in your shredded chicken, your frozen veggies, the thyme, and the pepper. Keep it warm, but we don’t want it boiling when it hits the dough.
Assembling Your Sheet-Pan Chicken Potpie with Flaky Crust
Time to preheat your oven to a hot 400°F (200°C). Line a large rimmed baking sheet with parchment paper first—this is key for easy removal later. Take your first chilled dough disk and roll it out on a lightly floured surface into a rectangle that’s just big enough to cover the entire sheet pan, leaving maybe an inch of overhang. Gently lay that dough onto your prepared sheet pan. Now, spoon that delicious, creamy filling right over the dough, spreading it evenly but leaving a good 1-inch border clear around the edges. Roll out your second disk for the top crust. Lay it carefully over the filling. Now, press the top and bottom crust edges together—crimp them well to seal everything in! Grab a sharp knife and slice a few vents right in the center of the top crust so the steam can escape while baking.
Baking to Golden Perfection
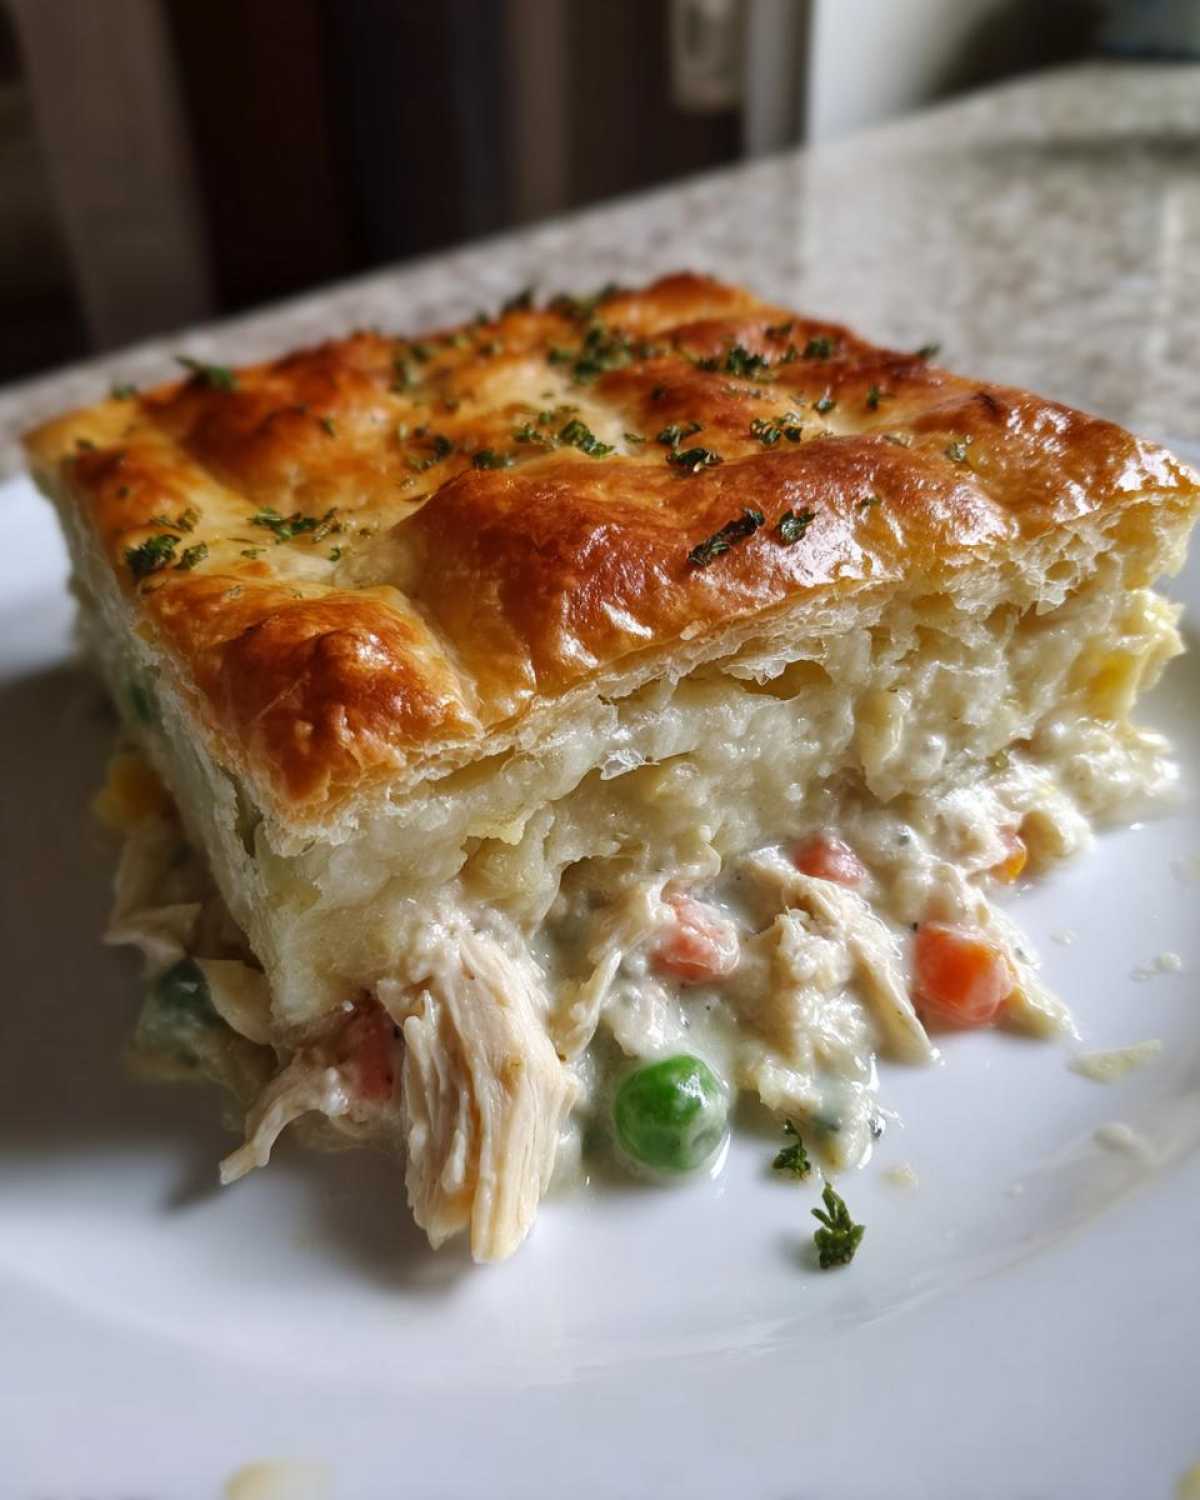
Brush that top crust all over with your beaten egg wash. This gives us that beautiful, rich color we want in our chicken pot pie from scratch easy version. Pop it in the 400°F oven and bake it for 30 to 35 minutes. You’re looking for a crust that is deeply golden brown and those filling bubbles peeking through the vents. When it’s done, pull it out but—and this is important—let your Sheet-Pan Chicken Potpie with Flaky Crust rest right there on the pan for a good 10 minutes before you slice into it. That rest time lets the filling set up perfectly so it doesn’t all run out when you serve.
Tips for Success with Sheet-Pan Chicken Potpie with Flaky Crust
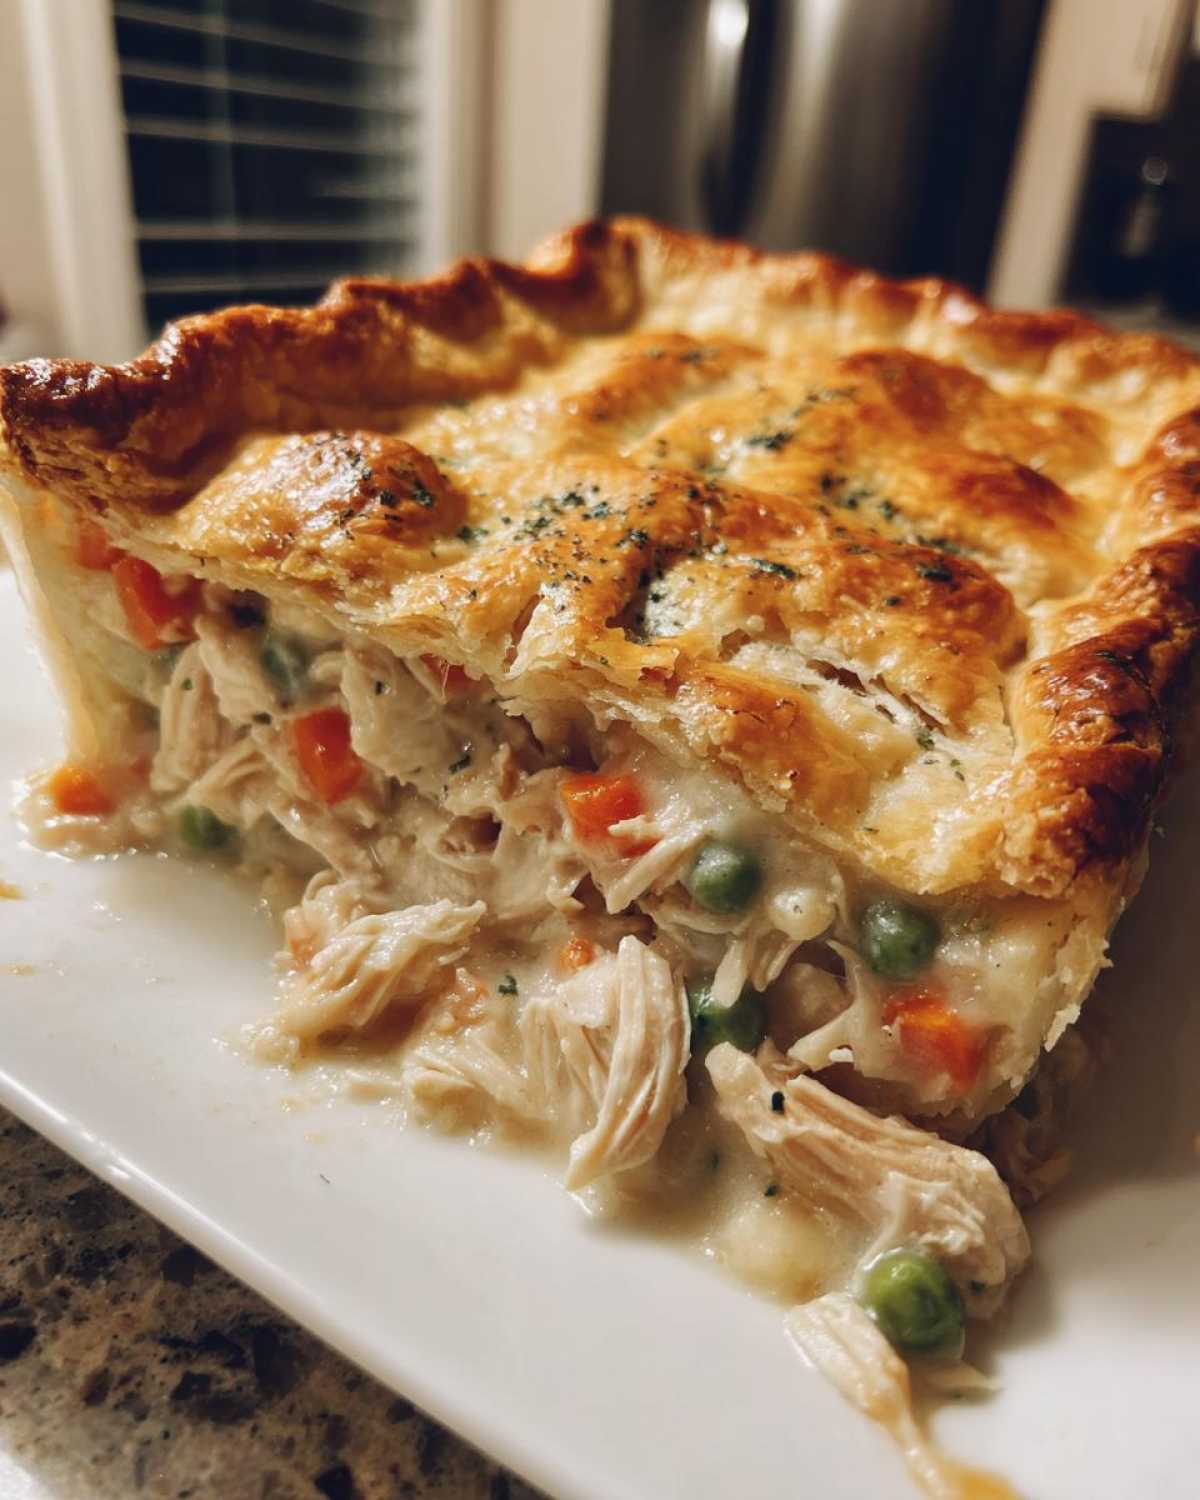
You’ve made the dough, you’ve assembled everything, and now we want that guaranteed Instagram-worthy result! Achieving that perfect texture, especially the crunch on the bottom, is easier than you think when you know a couple of little secrets. Mastering the how to make pot pie crust flaky comes down to respecting the butter.
Temperature Control for the Flakiest Crust
I cannot stress this enough: keep everything cold! If your kitchen is warm, that butter starts warming up the second it hits the flour. If your dough feels too soft while you’re rolling it out, just slide the whole thing back into the fridge for ten minutes. Cold butter equals steam, and steam equals high, flaky layers. Don’t be afraid to take chilling breaks!
Preventing a Soggy Bottom
This is the age-old enemy of great pie! Since we aren’t baking in a deep dish where the crust is insulated, we have to protect the bottom layer on that hot sheet pan. Here’s my trick: before you pour the filling onto the bottom crust, pop the lined sheet pan into the oven for about five minutes while it preheats. Taking that base layer out of the oven slightly before placing the filling on it makes a huge difference in crisping up that bottom.
Ingredient Notes and Substitutions for Your Sheet-Pan Chicken Potpie
I love that this recipe is so hearty, but I also know sometimes life gets busy, and you need a shortcut. If you’re aiming for a super fast weeknight chicken dinner, feel free to use good quality store-bought pie dough for one or both disks. That’s my favorite quick chicken pot pie hack! You can also swap out the fresh onions for dried minced onion if you’re not keen on chopping.
For the chicken, using leftover roasted chicken or even shredded meat from a slow cooker works perfectly. Just make sure whatever you use is fully cooked before adding it to the creamy base. The core ingredients—the butter, broth, and cream—should stay the same for that classic, rich taste, though!
Serving Suggestions for This Rustic Chicken Pot Pie
Now that you’ve got this glorious, golden, comfort food recipes sheet pan masterpiece on your table, what do you serve alongside it? Because this pot pie is so rich and satisfying on its own, we keep the sides light and crisp! A simple, bright green salad is perfect to cut through the richness of that creamy filling and butter crust.
I really love serving it with a sharp vinaigrette or maybe even my homemade classic Caesar dressing on the side for dipping the crust edges—don’t judge until you try it! If you need something warm, stick to simple steamed green beans or asparagus. That’s all you need!
Storage and Reheating Your Sheet-Pan Chicken Potpie with Flaky Crust
I always end up with leftovers because this recipe makes such a generous portion! Store any extra slices tightly wrapped in plastic wrap or tucked into an airtight container in the fridge. It usually stays good for three or four days, ready for a quick lunch!
When you’re ready to eat those leftovers, please, for the love of flaky crusts, avoid the microwave if you can! The microwave is the enemy of crisp pastry. Pop your slices on a small baking sheet and reheat them in a 350°F oven until the filling is hot all the way through. It takes about 15 minutes, but I promise that crust stays so much better!
Frequently Asked Questions About This One Pan Chicken Dinner
I always get questions when I post pictures of this pie because it looks so different from the deep-dish ones! Baking in one pan changes things, so here are the answers to the questions I hear most often about making this work for a busy weeknight chicken dinner.
Can I use puff pastry instead of making a flaky crust?
You absolutely can! If you’re in a major time crunch, store-bought puff pastry is a solid choice. However, I have to warn you: the texture will be very different from the flaky butter crust we made earlier. Puff pastry rises incredibly high and ends up light and layered, sort of like croissants. Our homemade crust is denser, richer thanks to the butter, and holds up better when slicing this huge sheet-pan meal. It’s all about preference!
What kind of chicken works best for this simplified chicken pot pie?
For a fast weeknight chicken dinner, I highly recommend grabbing a rotisserie chicken from the store. You just shred about two cups worth, and you’re good to go! If you’re batch cooking, using pre-cooked leftover shredded chicken breast works just as well. The goal is to avoid cooking raw chicken directly in the filling, as you can’t guarantee it will reach safe temperatures before the crust burns.
Why is baking on a sheet pan different from a traditional pie dish?
It all comes down to heat transfer! In a deep dish, the sides and bottom take a long time to heat through, often resulting in that dreaded undercooked, gummy bottom layer. With a sheet pan, the crust is spread out wide, giving it maximum contact with the hot metal and the oven air. This means the heat cooks the bottom faster, resulting in much crispier edges and a more evenly baked crust overall. It’s the perfect skillet chicken pot pie alternative if you want crunch!
Estimated Nutritional Snapshot
Listen, I’m a home cook, not a registered dietitian! I can tell you this Sheet-Pan Chicken Potpie with Flaky Crust tastes like pure joy, but when it comes to exact calorie counts and breakdowns, things get a little fuzzy.
Since ingredients like the exact brand of butter you use, the amount of heavy cream you splash in, or exactly how big your serving slices end up can change everything, the numbers I get aren’t guaranteed. These figures are just rough estimates based on standard ingredient breakdowns for six servings.
For those who need precise details for dietary tracking, I highly recommend inputting the specific ingredients you used into your favorite nutrition calculator. We want you focused on the flavor, not stressing over grams! You can check out my privacy policy if you have questions about how I handle data, but when it comes to nutrition facts, always measure with your own pantry!
Share Your Rustic Chicken Pot Pie Experience
Whew! I hope you’re as excited to eat this as I am to share it. Honestly, watching that golden crust bake up on the sheet pan is one of the best feelings in the kitchen. When you get that first slice—hopefully yours holds together better than mine did the first time I tried this—you’ll know exactly what I mean.
When you finish making your Sheet-Pan Chicken Potpie with Flaky Crust, please, please come back here and tell me how it went! Hop down to the comments section and leave a quick rating. Did that bottom crust get crispy? Did the family devour it?
I absolutely live for seeing your creations! Snap a picture of that rustic, beautiful pie and tag me on social media—I love watching my favorite comforting recipes come to life in your kitchens. And while you’re commenting, let me know what your favorite part was: Was it the herby filling, or maybe just how little cleanup you had? I’m dying to know! If you have any lingering questions that I missed, you can always reach out via the contact page, but for now, enjoy every last savory bite!
PrintSheet-Pan Chicken Pot Pie with Flaky Crust

A simplified recipe for classic chicken pot pie baked on a sheet pan, featuring a creamy filling and a homemade flaky butter crust for easy preparation and cleanup.
- Prep Time: 35 min
- Cook Time: 35 min
- Total Time: 70 min
- Yield: 6 servings
- Category: Dinner
- Method: Baking
- Cuisine: American
- Diet: Vegetarian
Ingredients
- 2 cups all-purpose flour
- 1 teaspoon salt
- 1 cup (2 sticks) cold unsalted butter, cut into small cubes
- 1/2 cup ice water, plus more if needed
- 2 cups cooked, shredded chicken breast
- 1 cup frozen mixed vegetables (peas, carrots, corn)
- 1/2 cup chopped onion
- 1/4 cup all-purpose flour (for thickening)
- 2 cups chicken broth
- 1/2 cup heavy cream
- 1 teaspoon dried thyme
- 1/2 teaspoon black pepper
- 1 large egg, beaten (for egg wash)
Instructions
- Make the crust: In a large bowl, whisk together the flour and salt. Cut in the cold butter using a pastry blender or your fingers until the mixture resembles coarse crumbs with some pea-sized pieces of butter remaining. Gradually add the ice water, mixing until the dough just comes together. Divide the dough in half, flatten each half into a disk, wrap, and chill for at least 30 minutes.
- Prepare the filling: In a large skillet over medium heat, melt 2 tablespoons of butter. Sauté the onion until soft, about 5 minutes. Sprinkle the 1/4 cup of flour over the onions and cook for 1 minute, stirring constantly.
- Slowly whisk in the chicken broth until smooth. Bring the mixture to a simmer and cook until slightly thickened. Stir in the heavy cream, shredded chicken, mixed vegetables, thyme, and pepper. Remove from heat and set aside.
- Preheat your oven to 400°F (200°C). Line a large rimmed baking sheet with parchment paper.
- Roll out one dough disk on a lightly floured surface into a rectangle large enough to cover the sheet pan, leaving a slight overhang. Carefully transfer the dough to the prepared baking sheet.
- Pour the chicken filling evenly over the dough on the sheet pan, leaving a 1-inch border around the edges.
- Roll out the second dough disk into a slightly smaller rectangle for the top crust. Place this top crust over the filling. Crimp the edges of the top and bottom crusts together to seal. Cut several slits in the top crust to allow steam to escape.
- Brush the top crust lightly with the beaten egg wash.
- Bake for 30 to 35 minutes, or until the crust is golden brown and the filling is bubbling. Let it cool on the pan for 10 minutes before slicing and serving.
Notes
- For the flakiest crust, keep all dough ingredients very cold. Do not overwork the dough.
- If you are short on time, you can substitute one disk of the homemade dough with a store-bought refrigerated pie crust.
- Use leftover roasted chicken or rotisserie chicken for quick preparation.
Nutrition
- Serving Size: 1 serving
- Calories: 550
- Sugar: 4
- Sodium: 580
- Fat: 32
- Saturated Fat: 18
- Unsaturated Fat: 14
- Trans Fat: 0
- Carbohydrates: 40
- Fiber: 3
- Protein: 28
- Cholesterol: 110



Comments are closed.