


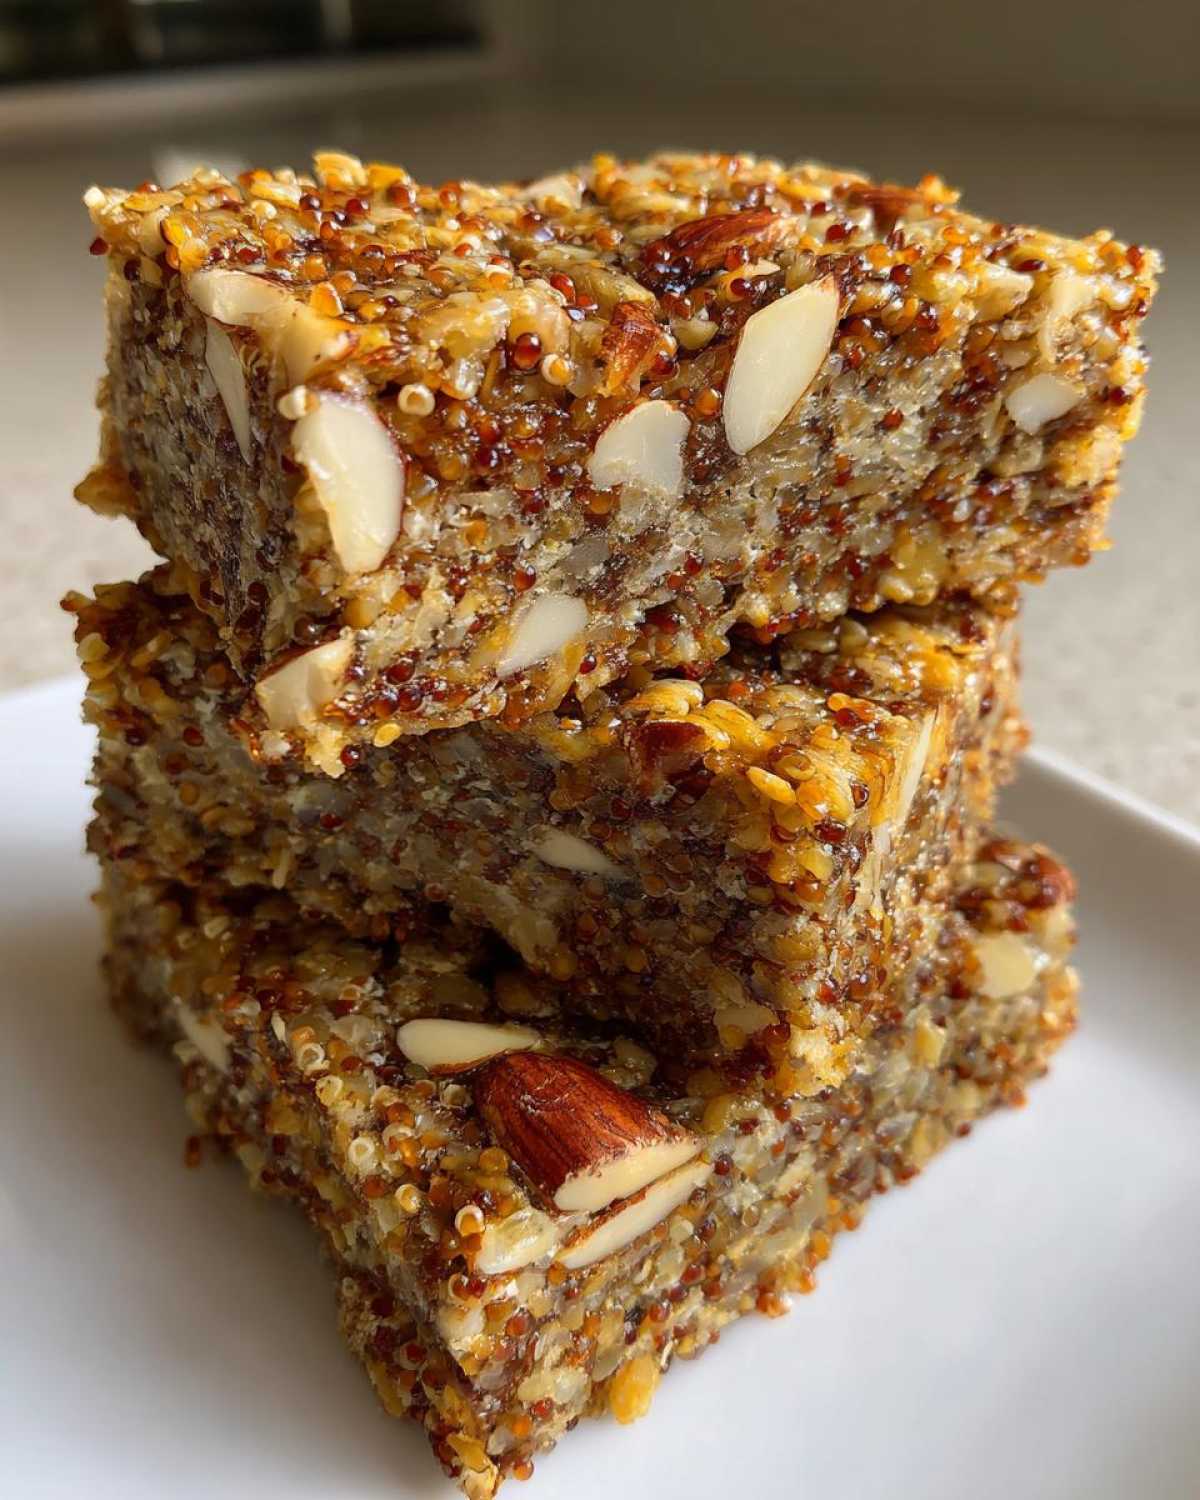
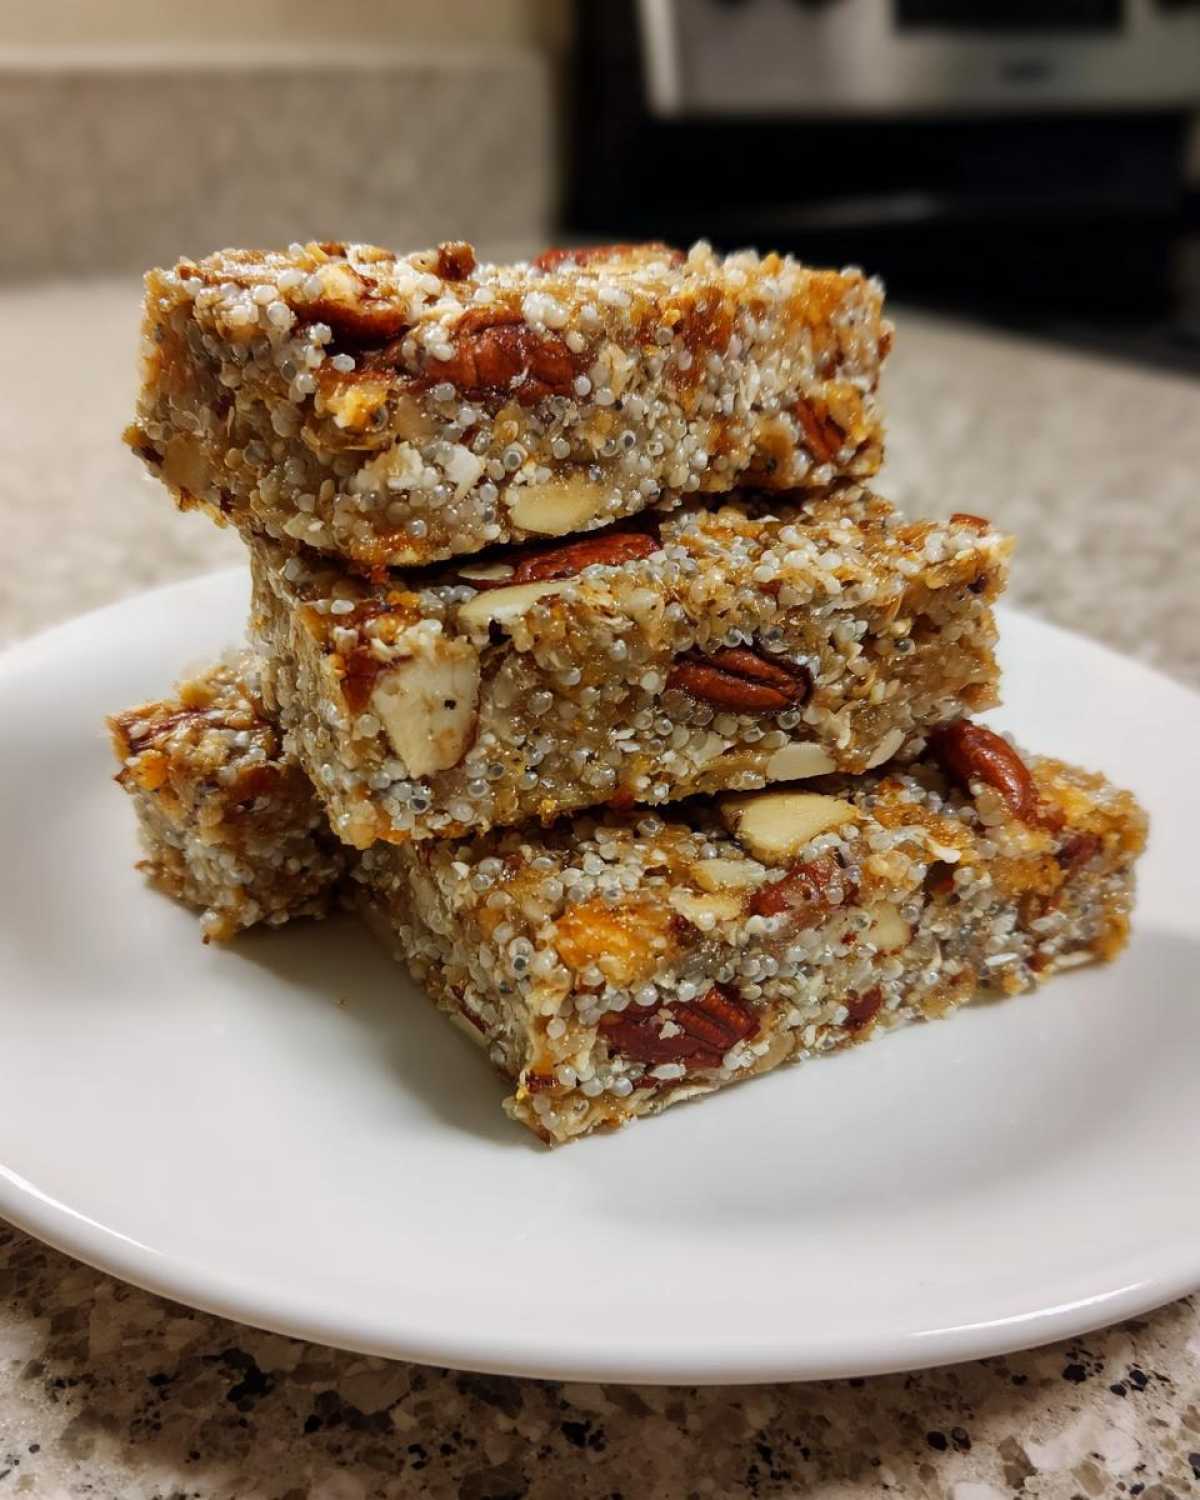
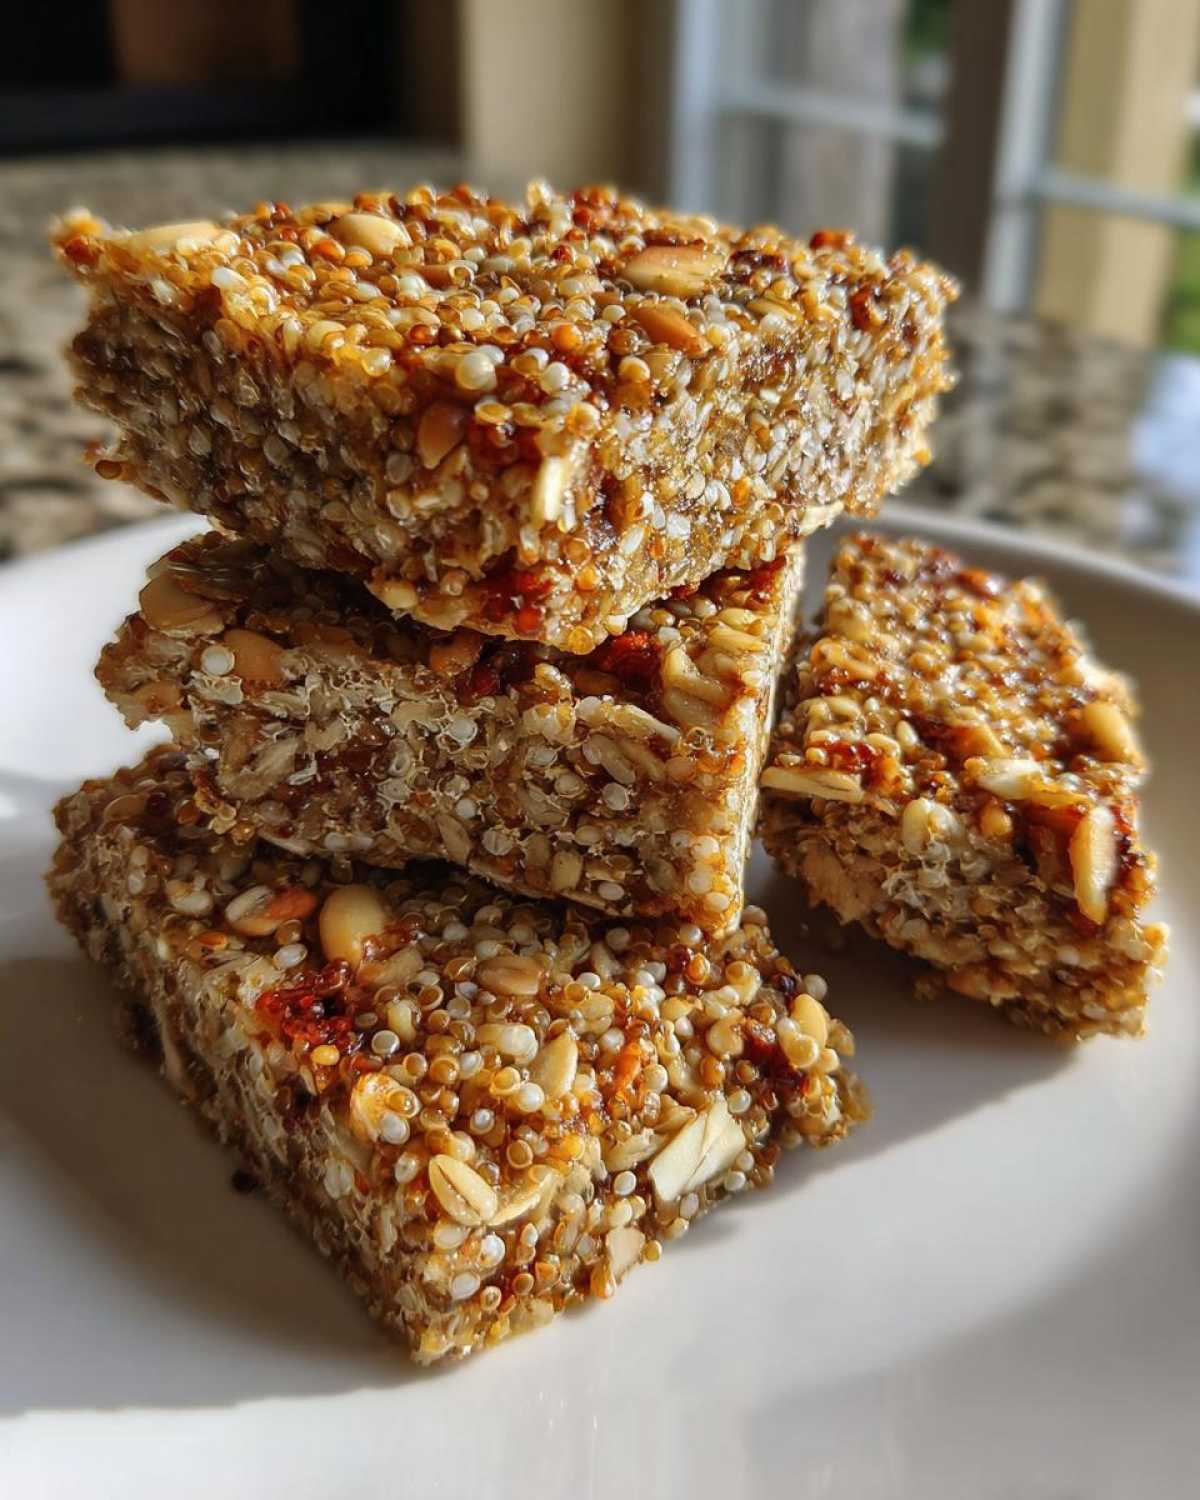
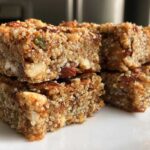
Bringing Sunday Flavor to Your Week with Quinoa Energy Bars with Nuts and Seeds
Welcome back to my kitchen, friends! I’m Chloe Thompson from Sunday Flavor.
Remember how I left the corporate rush? I needed fuel.
That need inspired these amazing Quinoa Energy Bars with Nuts and Seeds.
They bring that joyful, nourishing feeling right into your busy week.
These bars are your new go-to healthy snack.
They taste incredible, trust me on this.
Why You’ll Love These Quinoa Energy Bars with Nuts and Seeds
Honestly, these bars became my lifeline.
When the 3 PM slump hits, I reach for one.
They are just so satisfying when you’re rushing out the door.
I designed this recipe for real life, busy life.
You get fantastic texture and serious staying power.
Here’s what makes these homemade energy bars a winner:
Quick Prep for Busy Days
The prep time is only about fifteen minutes.
Seriously, that’s faster than brewing a fancy coffee.
You just mix the dry stuff together first.
Then you melt the wet ingredients slightly.
Assembly is super simple, even for beginners.
You’ll be amazed how fast they come together.
Packed with Fueling Ingredients
These aren’t just sweet treats, they’re real food.
Quinoa is a protein powerhouse, giving great energy.
The nuts and seeds add healthy fats you need.
This combination keeps you full longer, I promise.
Think sustained fuel, not a sugar spike and crash.
It’s wholesome goodness in every single bite.
Equipment Needed for Perfect Quinoa Energy Bars with Nuts and Seeds
Getting started is easy with basic kitchen tools.
You don’t need specialty gadgets for this recipe.
Gathering everything first makes the process smooth.
These items help you mix and bake perfectly.
Follow this short list for success, okay?
Essential Baking Gear
- You need one 8×8 inch baking pan.
- Parchment paper is a must-have item.
- Grab a large mixing bowl for dry things.
- Use a small saucepan for warming binders.
Gathering Your Ingredients for Quinoa Energy Bars with Nuts and Seeds
Let’s talk about what goes into these superstars.
Getting the right amounts matters a lot here.
But the most important thing I want to stress?
Your cooked quinoa must be completely cooled down.
Warm quinoa ruins the final bar texture.
It makes the whole batch too soft to cut nicely.
Dry Components
We need structure from our dry parts.
- One cup of cooked quinoa, I mean cold cooked.
- One cup of rolled oats provides body.
- A half cup of chopped nuts—almonds work great.
- Half a cup of seeds like pumpkin or sunflower.
- A quarter teaspoon of salt balances flavor.
Binders and Flavoring
These sticky bits hold the whole bar together.
They make sure your bars stay intact!
- Use a half cup of your favorite nut butter.
- Mix in a quarter cup of honey or maple syrup.
- One teaspoon of vanilla extract adds warmth.

Step-by-Step Instructions for Making Quinoa Energy Bars with Nuts and Seeds
Now for the fun part, putting it all together!
Follow these steps closely for perfect results.
This process is straightforward, trust the method.
We are building flavor and texture layer by layer.
Remember, the final press makes or breaks the bar.
Let’s start baking these healthy snack treats.
Preparing the Pan and Dry Mix
First, get your oven hot right away.
Preheat it to three hundred fifty degrees Fahrenheit.
Line your eight by eight inch pan with parchment paper.
Let the paper hang over the sides a bit.
In a big bowl, combine your cold quinoa.
Add the oats, all the nuts, and all the seeds.
Stir these dry items until they mix well.
Creating the Sticky Binder
Time to make the mixture nice and gooey.
Use a small saucepan over low heat setting.
Gently warm your nut butter and your honey.
Stir this until the mix becomes totally smooth.
Take the pan completely off the heat source.
Stir in the vanilla extract and the salt now.
Combining and Pressing the Quinoa Energy Bars with Nuts and Seeds
Pour that warm, sticky binder over the dry stuff.
Use a strong spoon to mix it all up.
Keep stirring until everything looks sticky and coated.
Transfer this sticky mass to your prepared pan.
This next part is really, really important.
Press the mixture down really hard and evenly.
Use the bottom of a flat glass or a measuring cup.
Packing it down tightly gives great shape later.
Baking and Cooling for Structure
Pop the pan into that preheated oven now.
Bake time runs between twenty to twenty-five minutes.
The edges should look just lightly golden brown.
Pull the pan out when they look done baking.
Do not rush the cooling process at all.
Let the bars cool completely in the pan first.
This cooling builds the final structure needed.
Then lift them out using the parchment paper handles.
Expert Tips for Success with Your Quinoa Energy Bars with Nuts and Seeds
You’ve got the recipe down pat now.
But a few little secrets make them perfect.
I learned these by making a few soft batches myself.
These tips help bring that Sunday Flavor consistency.
Follow these pointers for a fantastic bake.
They really matter for a great snack bar.
Temperature Control for Texture
I cannot stress this enough, really.
Your cooked quinoa must be truly cold.
If it is even slightly warm, things get messy.
Warm quinoa adds too much steam to the mix.
This results in bars that stay too soft later.
Cool it completely before you start mixing.
Achieving Firm, Non-Crumbly Bars
The pressing step is your structural secret weapon.
Do not just gently place the mixture in the pan.
You must press the mixture down very hard.
Use your body weight behind the spatula or glass.
A tightly packed base holds up when sliced.
Firm pressing stops the bars from crumbling later.
Common Questions About Homemade Quinoa Energy Bars with Nuts and Seeds
I get so many questions about customizing these bars.
It’s wonderful seeing you make them your own.
Let’s tackle a few common things right here.
These answers should help your baking journey.
Don’t be afraid to experiment a little bit.
Can I Substitute the Sweetener in These Quinoa Energy Bars with Nuts and Seeds?
Yes, you absolutely can swap the sweetener.
Agave nectar works well as a direct swap.
It is a liquid sweetener, just like honey.
If you use a thicker syrup, you might need less.
Thicker syrups bind things a bit better, too.
Taste the mix before you press it down firmly.
How Long Do These Homemade Energy Bars Last?
These keep quite well if stored right.
We usually eat ours within a few days.
Keep them in an airtight container at room temperature.
They should last about four or five days that way.
For longer storage, the fridge is your friend.
They stay fresh for up to two weeks chilled.
Storing Your Delicious Quinoa Energy Bars with Nuts and Seeds
Proper storage keeps your snack bars fresh longer.
Nobody wants a stale, crumbly energy bar.
Use an airtight container right away after cooling.
Room temperature is fine for a few days.
I keep mine on the counter for quick grabbing.
If you make a big batch, try the fridge.
Refrigeration extends their life nicely for you.
Understanding the Nutrition in One Quinoa Energy Bar with Nuts and Seeds
When I share recipes, I know you wonder about the numbers.
It’s smart to track what you’re eating daily.
However, precise nutrition facts can change easily.
The exact brands of nut butter matter greatly.
What seeds or nuts you choose affects things too.
So, please treat the numbers as a general guide only.
This recipe is meant for wholesome, quick fuel.
The listed values are approximate for one bar.
They are based on the core ingredients listed above.
Your final serving size might be different.
Always factor in your specific ingredient choices.
Share Your Sunday Flavor Creations
I truly love seeing your kitchen adventures.
Cooking is so much better when shared, right?
Did you make these Quinoa Energy Bars yet?
Tell me how they turned out for you.
What nuts and seeds did you decide to use?
I am always looking for new combinations.
Drop a rating below if you enjoyed this recipe.
Share your thoughts in the comments section.
Let’s bring more Sunday Flavor to every day.
PrintAmazing 15-Minute Quinoa Energy Bars with Nuts and Seeds
Make these simple, satisfying Quinoa Energy Bars packed with nuts and seeds. They are a great choice for a healthy snack when you need energy fast. Bring the joy of Sunday Flavor into your quick week with these bars.
- Prep Time: 15 minutes
- Cook Time: 25 minutes
- Total Time: 40 minutes plus cooling time
- Yield: 12 bars
- Category: Snack
- Method: Baking
- Cuisine: Global
- Diet: Vegetarian
Ingredients
- 1 cup cooked quinoa, cooled
- 1 cup rolled oats
- 1/2 cup chopped nuts (almonds, walnuts, or pecans)
- 1/2 cup seeds (sunflower, pumpkin, or flax)
- 1/2 cup nut butter (almond or peanut)
- 1/4 cup honey or maple syrup
- 1 teaspoon vanilla extract
- 1/4 teaspoon salt
Instructions
- Preheat your oven to 350°F (175°C). Line an 8×8 inch baking pan with parchment paper.
- In a large bowl, combine the cooked quinoa, rolled oats, chopped nuts, and seeds. Mix well.
- In a separate small saucepan, gently warm the nut butter and honey (or maple syrup) over low heat until smooth. Remove from heat and stir in the vanilla extract and salt.
- Pour the wet mixture over the dry ingredients. Stir everything together until fully combined and sticky.
- Press the mixture firmly and evenly into the prepared baking pan. Pack it down tightly.
- Bake for 20 to 25 minutes, or until the edges are lightly golden brown.
- Let the bars cool completely in the pan before lifting them out using the parchment paper.
- Cut into 12 even bars. Store them in an airtight container.
Notes
- Make sure your cooked quinoa is fully cooled before mixing. Warm quinoa will make the bars too soft.
- You can add 1/4 cup of mini chocolate chips for extra flavor, if you wish.
- Pressing the mixture down firmly is key for bars that hold their shape when cut.
Nutrition
- Serving Size: 1 bar
- Calories: Approx. 200
- Sugar: Approx. 8g
- Sodium: Approx. 80mg
- Fat: Approx. 11g
- Saturated Fat: Approx. 1.5g
- Unsaturated Fat: To be determined
- Trans Fat: 0g
- Carbohydrates: Approx. 22g
- Fiber: Approx. 3g
- Protein: Approx. 6g
- Cholesterol: 0mg
Comments are closed.