


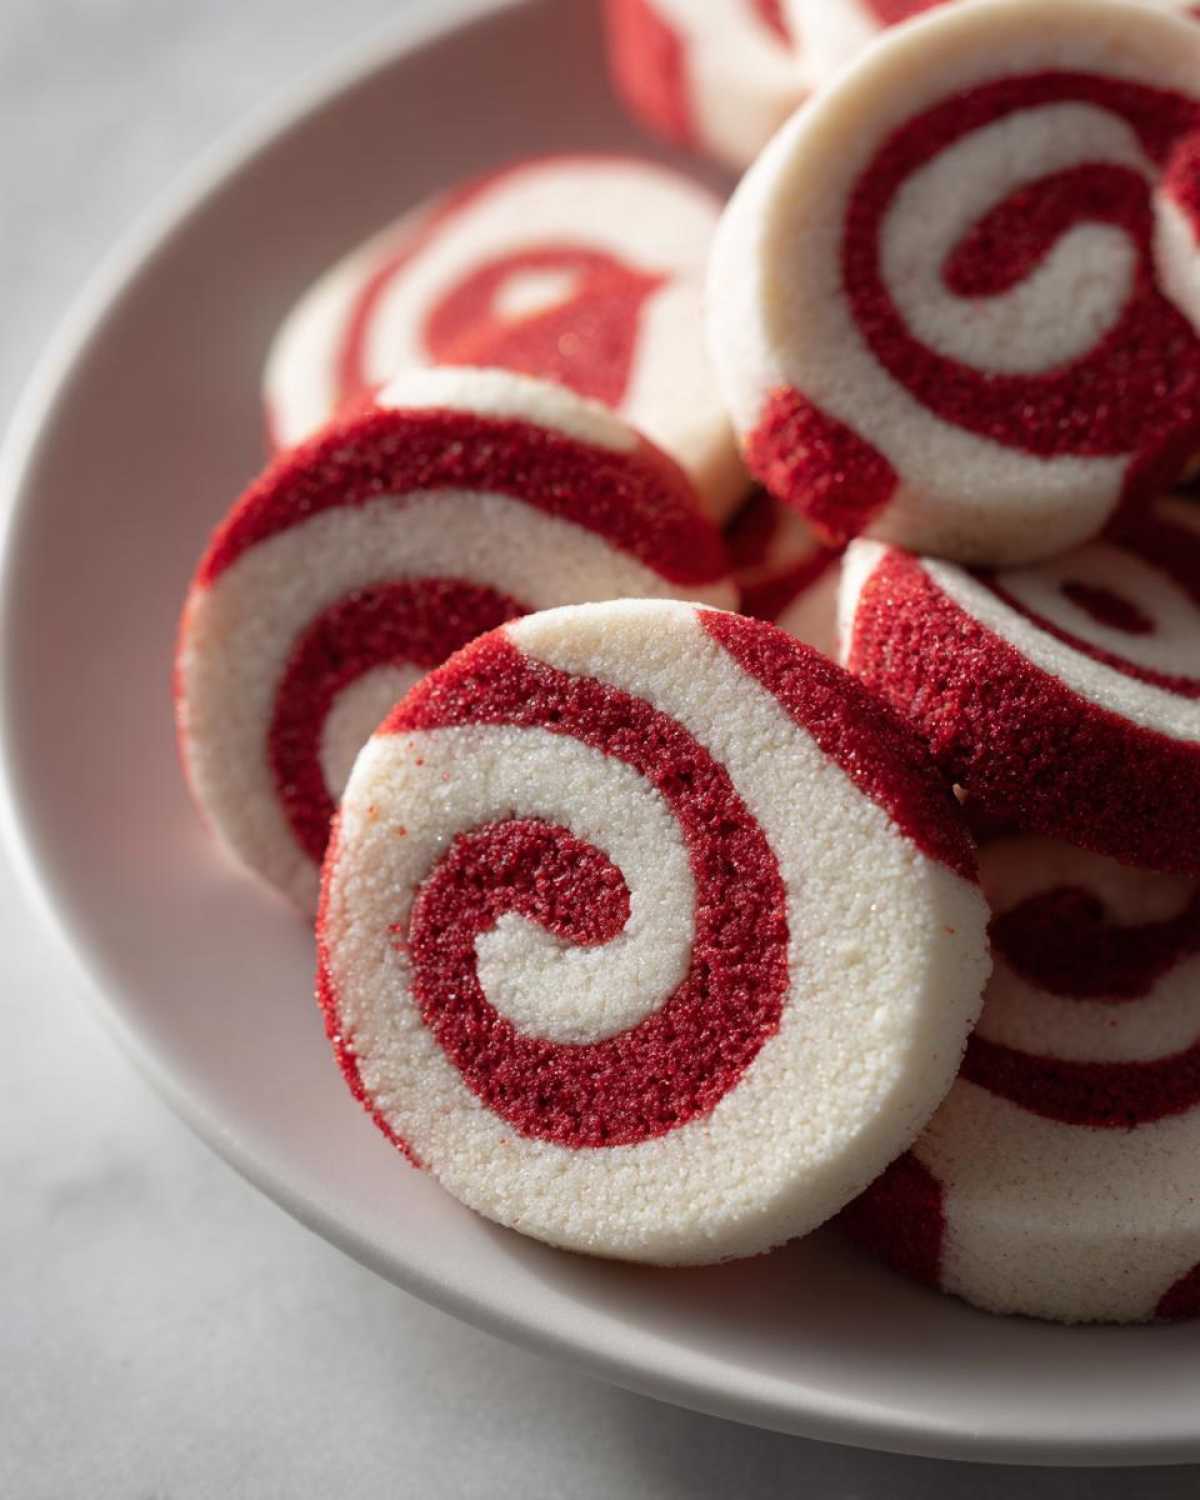
Oh, hang onto your apron, because when the weather turns cold and the Christmas music starts playing, my kitchen switches gears completely! Forget fussy cut-outs; my absolute favorite thing to bake for cookie exchanges are these stunning, buttery, slice-and-bake pinwheel cookies. Seriously, these are my family’s non-negotiable Christmas cookies. They always look like they took three days to make, but because they’re slice-and-bake, they honestly come together so fast.
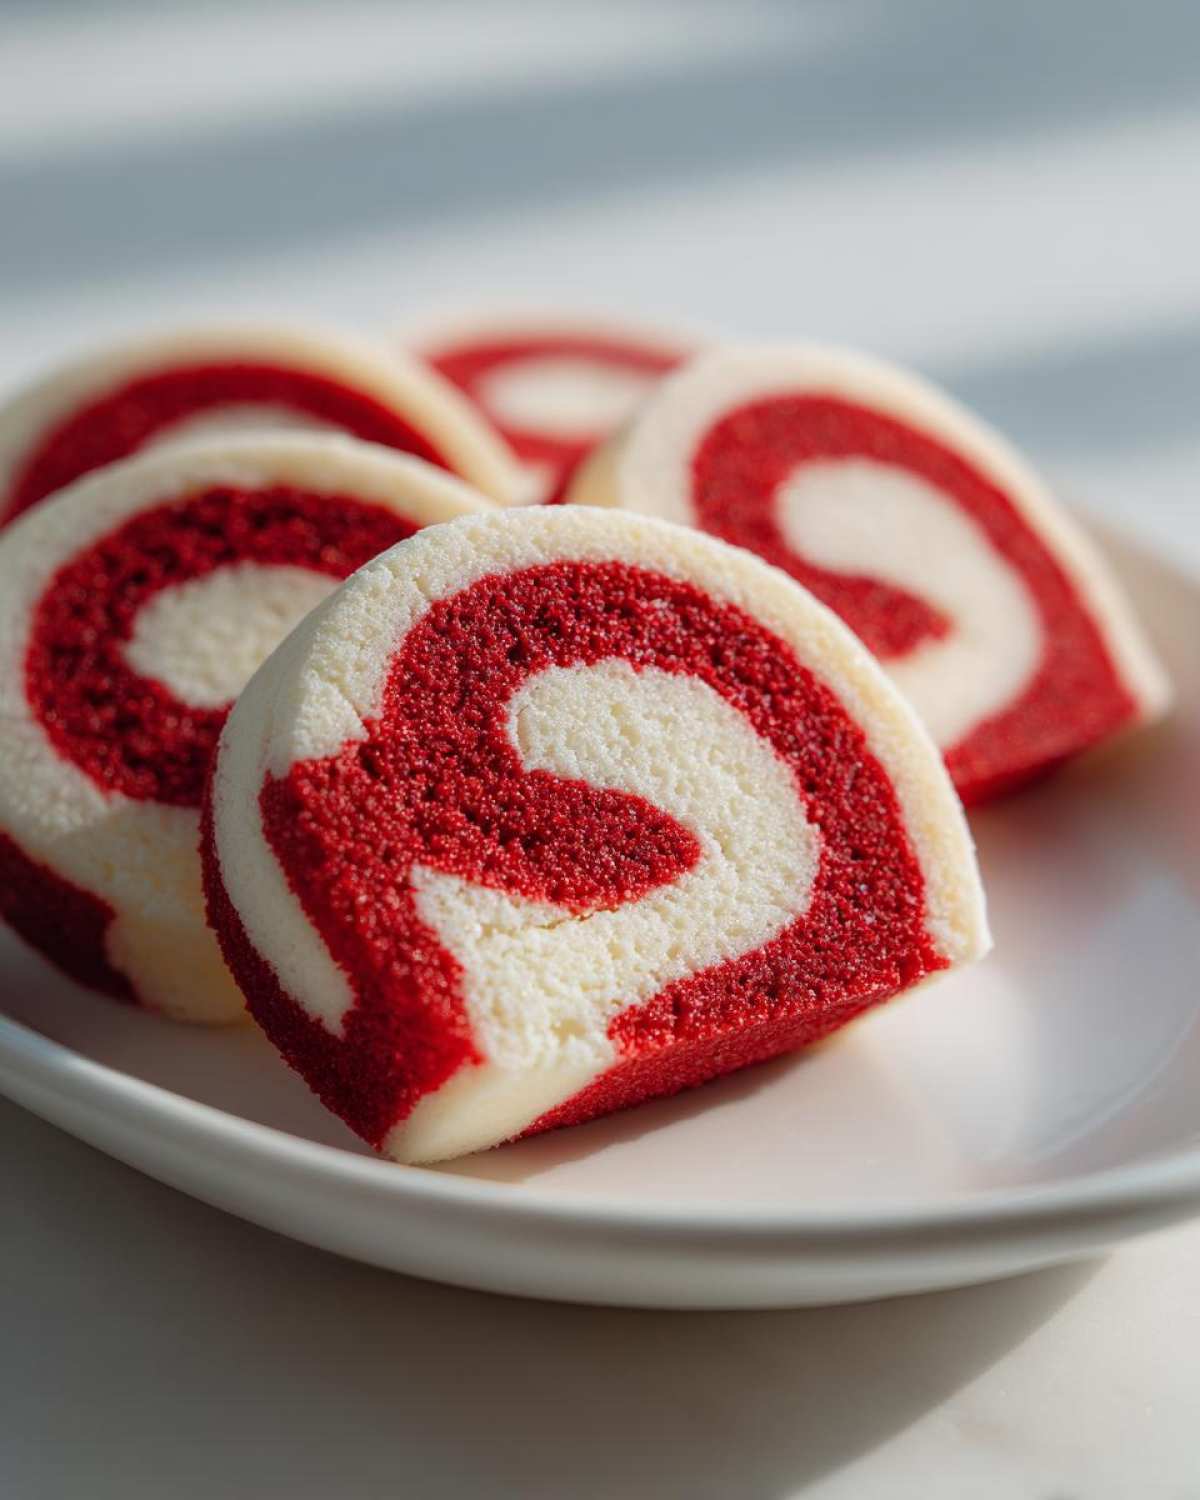
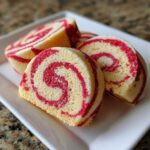
The magic is in that perfect red-and-white spiral that looks so festive piled high on a platter. Trust me, once you master rolling that tight little log, you’ll feel like a baking wizard. We never have a holiday cookie platter without them—they just scream ‘cozy Christmas tradition’ to me, and they’re so incredibly kid-friendly to help decorate once they’re baked!
Why This is the Best Pinwheel Cookie Recipe for Your Holiday Cookie Platter Ideas
Look, I love a complicated cookie, but sometimes you just need something foolproof that looks like you poured your whole heart into it. That’s why I stand by this being the best pinwheel cookie recipe out there for big batches. Since these are slice and bake cookies, you mix the dough one afternoon, chill out all evening, and then you can slice off three dozen cookies whenever you have a spare minute! It’s totally a lifesaver when you need more treats than your oven can handle at once. If you need a break from chocolate chip variations, check out my post on brown butter raspberry chocolate chip cookies, but for now, let’s stay on the swirl train!
They are just so wonderfully rich; that almond extract really wakes up the vanilla, making them taste luxurious. They hold their shape beautifully, which is essential when building those massive holiday cookie platter ideas we all compete over. If you are looking for truly easy festive cookies that deliver maximum visual impact with minimal fuss on baking day, this is it. We never have to worry about crumbling when we stack them up for transport!
Achieving the Perfect Buttery Swirl Cookies
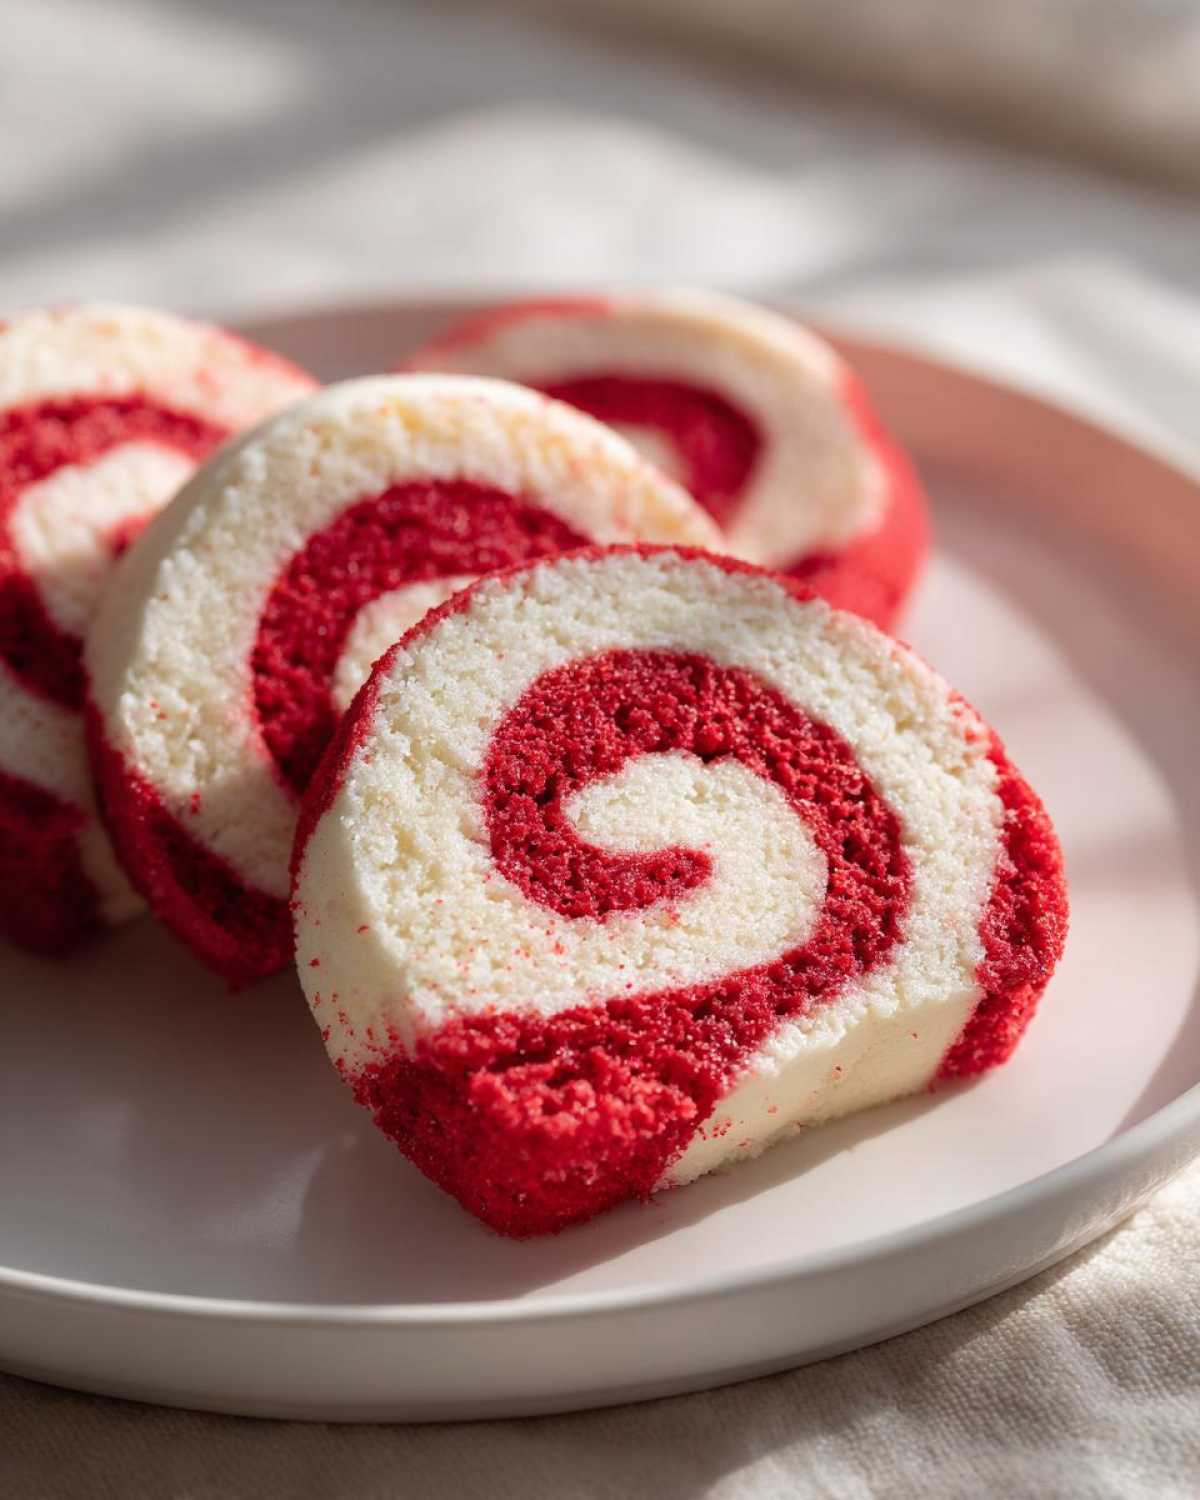
The texture here is everything. These aren’t crispy or sandy; they are delightfully tender and melt right in your mouth because of all that butter we use. The key to those picture-perfect spirals—the true hallmark of great swirled cookie recipes—is making sure that dough log is seriously cold before you slice it. Don’t rush the chilling! A tight log ensures every single slice reveals that stunning two-tone pattern without any unraveling whatsoever. You want those crisp, defined edges when you take that first bite.
Ingredients for Classic Christmas Two-Tone Pinwheel Cookies
Okay, gathering your supplies is simple! Since this is a classic creamed-butter type of dough, make sure your butter is softened—not melted, just soft enough to touch so your mixer doesn’t strain itself. We only need one main color here, so we’re keeping the pantry list short.
- 2 1/2 cups all-purpose flour
- 1 teaspoon baking powder
- 1/2 teaspoon salt
- 1 cup unsalted butter, softened
- 1 1/2 cups granulated sugar
- 2 large eggs
- 1 teaspoon vanilla extract
- 1/2 teaspoon almond extract
- Red food coloring (gel preferred)
See that note about gel coloring? That’s vital for true colorful holiday baking. You want that deep, rich red without adding extra liquid, which could ruin the slice-and-bake integrity. The combination of vanilla and almond is just heavenly here, trust me—don’t skip that almond!
Step-by-Step Pinwheel Cookie Tutorial for Perfect Swirls
Alright, let’s get down to the good stuff! It’s time for the pinwheel cookie tutorial. Don’t let the fancy look intimidate you—this process is just about layering, rolling, and patience in the fridge. Make sure your oven is set to 375 degrees F before you even think about slicing, and grab some parchment paper for those baking sheets. We’re going to build these cookies layer by layer!
Mixing the Dough and Creating the Two Colors
First things first: cream that butter and sugar until it looks pale and fluffy. This is where you build the soft base, so don’t rush it! Beat in those eggs one by one until they’re totally incorporated, then stir in the wonderful smells of vanilla and almond extract. Next, add the flour mixture on low speed. And here’s my biggest tip for any sugar cookie dough: STOP MIXING the second you see no more streaks of dry flour. Overmixing right here makes tough cookies, and we want tender ones!
Once it’s a smooth, solid dough, toss half of it into a clean bowl. Add your gel food coloring—I usually use about 8 to 10 drops for a nice deep Christmas red—and mix that color in completely. Now you have your two dough babies: vibrant red and creamy white.
Rolling and Chilling the Pinwheel Cookies Log
This is where the swirl happens! Put each colored dough section between sheets of wax paper. Roll each one into a neat rectangle, aiming for about 1/4 inch thick. It doesn’t have to be perfect, but keeping them roughly the same size helps them stack neatly. Carefully lay that red one right on top of the white one, press them together gently so they stick, and now, the fun part: starting from the long side, roll that stack up as tightly as you can! Think snake-rolling, not sloppy-taco rolling. Wrap that log *tightly* in plastic wrap.
Now, put it in the fridge. You absolutely must chill this dough for a minimum of 3 hours. If you skip this, you’ll end up with floppy, spread-out disks instead of beautiful swirled cookie recipes disks. If you’re planning ahead, you can wrap it well and leave it chilling for up to three days!
Slicing and Baking Your Pinwheel Cookies
Once that log is rock hard, unwrap it and get slicing! You want about a 1/4-inch thickness for each slice. I know, sometimes the dough is so cold it fights you, so if your knife seems to be struggling, just let the log sit on the counter for 10 minutes. It’ll soften up just enough to slice cleanly! Pop those slices onto your parchment-lined sheets, leaving about two inches between them, because they do spread just a little bit.
Bake them for 8 to 10 minutes. You’re looking for the edges to just start looking set and barely taking on a hint of golden color. If you wait until they look fully done, they’ll be too crunchy once they cool. Let them sit on the hot pan for 5 minutes—that residual heat finishes the cooking—before you move them over to the rack to cool down completely. They look amazing fresh out of the oven, even before they’ve fully firmed up!
By the way, if you want to see a different kind of swirl that’s a bit more sophisticated than these classic holiday treats, check out how I make that beautiful blackberry lavender sheet cake—it uses similar layering principles!
Tips for Making Pinwheel Cookies Ahead of Time
One of the best things about these beautiful pinwheel cookies is that they are the ultimate planner’s cookie! If you’re juggling a full schedule leading up to the holidays, you need recipes that cooperate, and these totally do. Since the dough needs a long chill anyway, we can use that to our advantage!
When I’m prepping for one of those huge noel cookie exchange recipes lineups, I mix the dough, roll those logs, and pop them directly into the freezer instead of the fridge. You want them wrapped super securely in plastic, maybe even with a layer of foil over that, to prevent freezer burn. They’ll keep perfectly for about a month this way!
When it’s time to bake, just pull the frozen log out, leave it on the counter for 15 to 20 minutes until it’s pliable enough to slice, and then you bake them straight from the slightly softened state. They might need an extra minute or two in the oven, but the swirl stays incredible. For baked cookies, keep them in an airtight container at room temperature—they stay fresh for nearly a week, perfect for snacking or that final platter assembly. If you need more make-ahead ideas, you have to check out my recipe for holiday pecan sticky buns; those are great to freeze too!
Variations: Beyond Classic Christmas Pinwheel Cookies
While the red and white swirl is the gold standard for December, these buttery bases are just begging for a seasonal twist! If you’re looking to stretch this dough recipe across the entire festive season, you have so many options. Don’t box yourself in just thinking about Christmas when you have this fantastic foundation for swirled cookie recipes on hand.
The easiest swap, hands down, is going minty. If you want to make amazing peppermint pinwheel cookies—perfect for setting out on Christmas Eve—simply ditch the almond extract entirely and substitute it with 1/2 teaspoon of good quality peppermint extract. The flavor combination with the sweet vanilla dough is just incredible. It feels so festive and crisp!
If you need to pivot for a different holiday, say February, this recipe is easily adapted into wonderful Valentine’s Day swirl cookies. For that, I skip the red coloring altogether! I prefer to make one half of the dough pink (using a little pink gel coloring) and leave the other half plain white. Rolling a pink batch and a white batch together gives you a softer, more romantic swirl that’s beautiful on a Valentine’s platter. It’s the same process, just softer colors!
Speaking of fun flavor swaps, almond and peppermint are both featured really well in other recipes on the site, like this amazing peppermint white chocolate martini recipe, so if you love that peppermint note, you know you can rely on it here too! You can even try incorporating cocoa powder into one half of the dough for a classic chocolate vanilla swirl—just remember that cocoa powder is drying, so you might need an extra half-teaspoon of milk if that side seems stiff!
Troubleshooting Common Swirled Cookie Recipes Issues
Even the best recipes sometimes hit a snag, right? When you’re making these gorgeous swirled cookie recipes, there are usually only a couple of places things can go sideways. Don’t panic if it happens; these are easy fixes once you know what the dough is trying to tell you. I’ve been there when the spiral looks less like a tight swirl and more like a muddy mess!
The most common problem I hear about is cookies spreading way too much in the oven—they bake up flat disks, and all that beautiful rolling work is wasted. This almost always means one of two things: either your butter was too warm when you creamed it, or you didn’t chill the dough log long enough. If the butter is too soft, the structure simply melts away as soon as those cookies hit the heat. Make sure your butter is cool-to-the-touch soft, not greasy!
Another issue people sometimes run into is the colors bleeding into each other before baking. This usually happens when you’re rolling the two sheets of dough together. Always handle the dough as little as possible once the food coloring is in there. Work fast, press gently but firmly when stacking the layers, and get that log wrapped up and into the fridge immediately. You want those colors just touching, not mashed together.
If, when you pull the log out to slice, it’s rock hard and cracking into little shards? Oops! That means you chilled it too long, or maybe put it in the deep freezer for too long. Don’t worry. Just let the entire log sit on the cutting board for about 15 minutes. It usually softens up perfectly in time to slice cleanly into those required 1/4-inch rounds. Consistency is the key to getting those fantastic, sharp lines!
Serving Suggestions for Your Beautiful Pinwheel Cookies
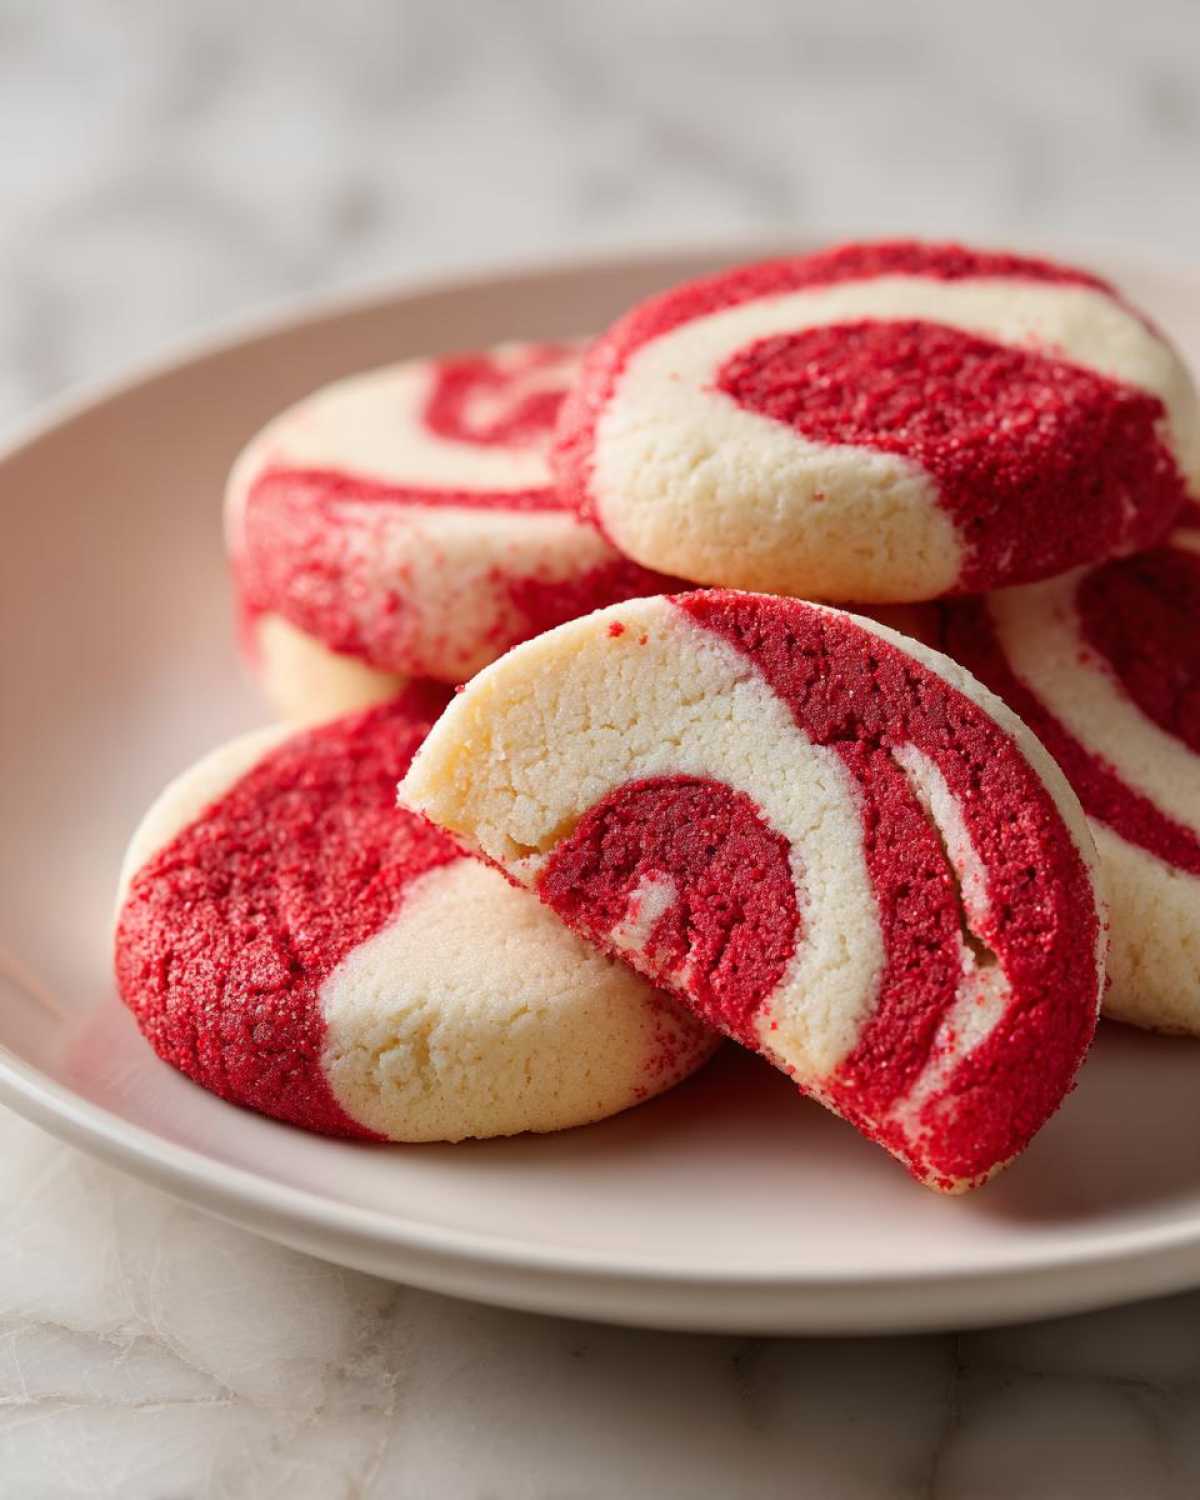
Now that you have these beautiful, striped wonders—the absolute stars of any holiday cookie platter ideas spread—what do you serve them with? Honestly, their buttery sweetness is perfect alongside a hot mug of something comforting. These cookies are built for dunking!
I usually make a big batch of my iced brown sugar latte—you can find the recipe here: iced brown sugar latte shaken espresso—but served hot, of course, during Christmas! The rich, caramelized sugar notes in the drink complement the cookie’s vanilla and almond flavor perfectly. Having a tray of these ready to go means you’re instantly prepared for any unexpected carolers or last-minute guests!
Frequently Asked Questions About Pinwheel Cookies
I know you’ve got questions! When something looks this pretty, people always want to make sure they don’t mess up the magic. These are common queries I get whenever I bring these to a gathering. Don’t worry, we’ve got this handled!
Can I make these easy festive cookies without chilling the dough?
Oh, honey, please don’t try it! If you try to slice and bake warm dough, it’s just going to squish flat, and you won’t get that lovely defined spiral. Chilling is mandatory—it firms up the butter so the log holds its shape perfectly when you slice it, and it keeps those beautiful layers from smushing when they hit the hot oven. It’s worth that three-hour wait, I promise!
Can I use different colors for these Christmas sugar cookies?
Absolutely, you can use any colors you love! While the classic red and white is traditional for Christmas and looks amazing on holiday cookie platter ideas, feel free to get creative. If you want a different look, try using green instead of red. When we make Valentine’s Day swirl cookies, I usually just stick to pink and white for a softer look. As long as you use gel coloring, the dough consistency stays perfect.
How long do baked pinwheel cookies last?
Because these are mostly butter and sugar, they hold up wonderfully! Once they are completely cooled, store them in a truly airtight container at cool room temperature. They stay perfectly fresh and tender for about a week, maybe even ten days if your kitchen isn’t too humid. They are fantastic for making ahead if you’re using them for a big bake sale or need them ready for a noel cookie exchange recipes event. If you end up with leftovers you can’t eat right away, you can even freeze the baked cookies sealed tightly!
We also have a lot of other baking questions answered over on my post about making homemade classic Caesar dressing, though that’s savory—it shows how precision matters in all kinds of recipes!
Estimated Nutrition Facts for Pinwheel Cookies
Now, I’m no dietitian, so take this information with a grain of salt—or, in this case, a grain of sugar! When you’re whipping up treats for a big holiday party, knowing these approximate numbers helps when planning your whole spread. These estimates are based on the recipe yielding about 3 dozen cookies, using the measurements provided.
Since we’re dealing with butter and sugar, they stack up a little, but honestly, they are totally worth enjoying, especially when you look at that protein for a cookie—that’s the egg doing some heavy lifting!
- Serving Size: 1 cookie
- Calories: 135
- Fat: 7g
- Carbohydrates: 17g
- Protein: 2g
- Sugar: 11g
Keep in mind that if you decide to add a thick layer of cream cheese frosting—which I sometimes am tempted to do!—those numbers are going to jump up a bit. But for these simple, elegant buttery swirl cookies as written, this is a decent snapshot of what you’re munching on while mingling at your next cookie exchange!
PrintClassic Christmas Two-Tone Pinwheel Cookies
Make beautiful, buttery slice-and-bake pinwheel cookies perfect for holiday cookie exchanges, featuring a distinct red and white swirl.
- Prep Time: 30 min
- Cook Time: 10 min
- Total Time: 3 hours 40 min
- Yield: 3 dozen cookies
- Category: Dessert
- Method: Baking
- Cuisine: American
- Diet: Vegetarian
Ingredients
- 2 1/2 cups all-purpose flour
- 1 teaspoon baking powder
- 1/2 teaspoon salt
- 1 cup unsalted butter, softened
- 1 1/2 cups granulated sugar
- 2 large eggs
- 1 teaspoon vanilla extract
- 1/2 teaspoon almond extract
- Red food coloring (gel preferred)
Instructions
- In a medium bowl, whisk together the flour, baking powder, and salt. Set aside.
- In a large bowl, cream the softened butter and sugar together until light and fluffy. Beat in the eggs one at a time, then mix in the vanilla and almond extracts.
- Gradually add the dry ingredients to the wet ingredients, mixing on low speed until just combined into a dough.
- Divide the dough evenly into two separate bowls. Leave one bowl plain (white dough).
- Add several drops of red food coloring to the second bowl and mix until the color is uniform throughout the dough.
- Place each color of dough between two sheets of wax paper. Roll each piece into a rectangle approximately 1/4 inch thick.
- Place the red dough rectangle directly on top of the white dough rectangle, aligning the edges. Gently press them together.
- Starting from one long edge, roll the layered dough tightly into a log. Wrap the log tightly in plastic wrap.
- Chill the dough log in the refrigerator for at least 3 hours, or until firm enough to slice easily.
- Preheat your oven to 375 degrees F. Line baking sheets with parchment paper.
- Remove the dough from the refrigerator and unwrap it. Slice the log into rounds about 1/4 inch thick.
- Place the slices onto the prepared baking sheets, leaving about 2 inches between each cookie.
- Bake for 8 to 10 minutes, or until the edges are lightly set but the centers are still slightly soft.
- Let the cookies cool on the baking sheet for 5 minutes before transferring them to a wire rack to cool completely.
Notes
- Use gel food coloring for the most intense red color without adding excess liquid to the dough.
- For a tighter swirl, chill the dough longer. If the dough becomes too hard to slice, let it sit at room temperature for 10 minutes before cutting.
- You can substitute the almond extract with peppermint extract for a peppermint pinwheel variation.
Nutrition
- Serving Size: 1 cookie
- Calories: 135
- Sugar: 11g
- Sodium: 65mg
- Fat: 7g
- Saturated Fat: 4g
- Unsaturated Fat: 3g
- Trans Fat: 0g
- Carbohydrates: 17g
- Fiber: 0g
- Protein: 2g
- Cholesterol: 30mg
Comments are closed.