


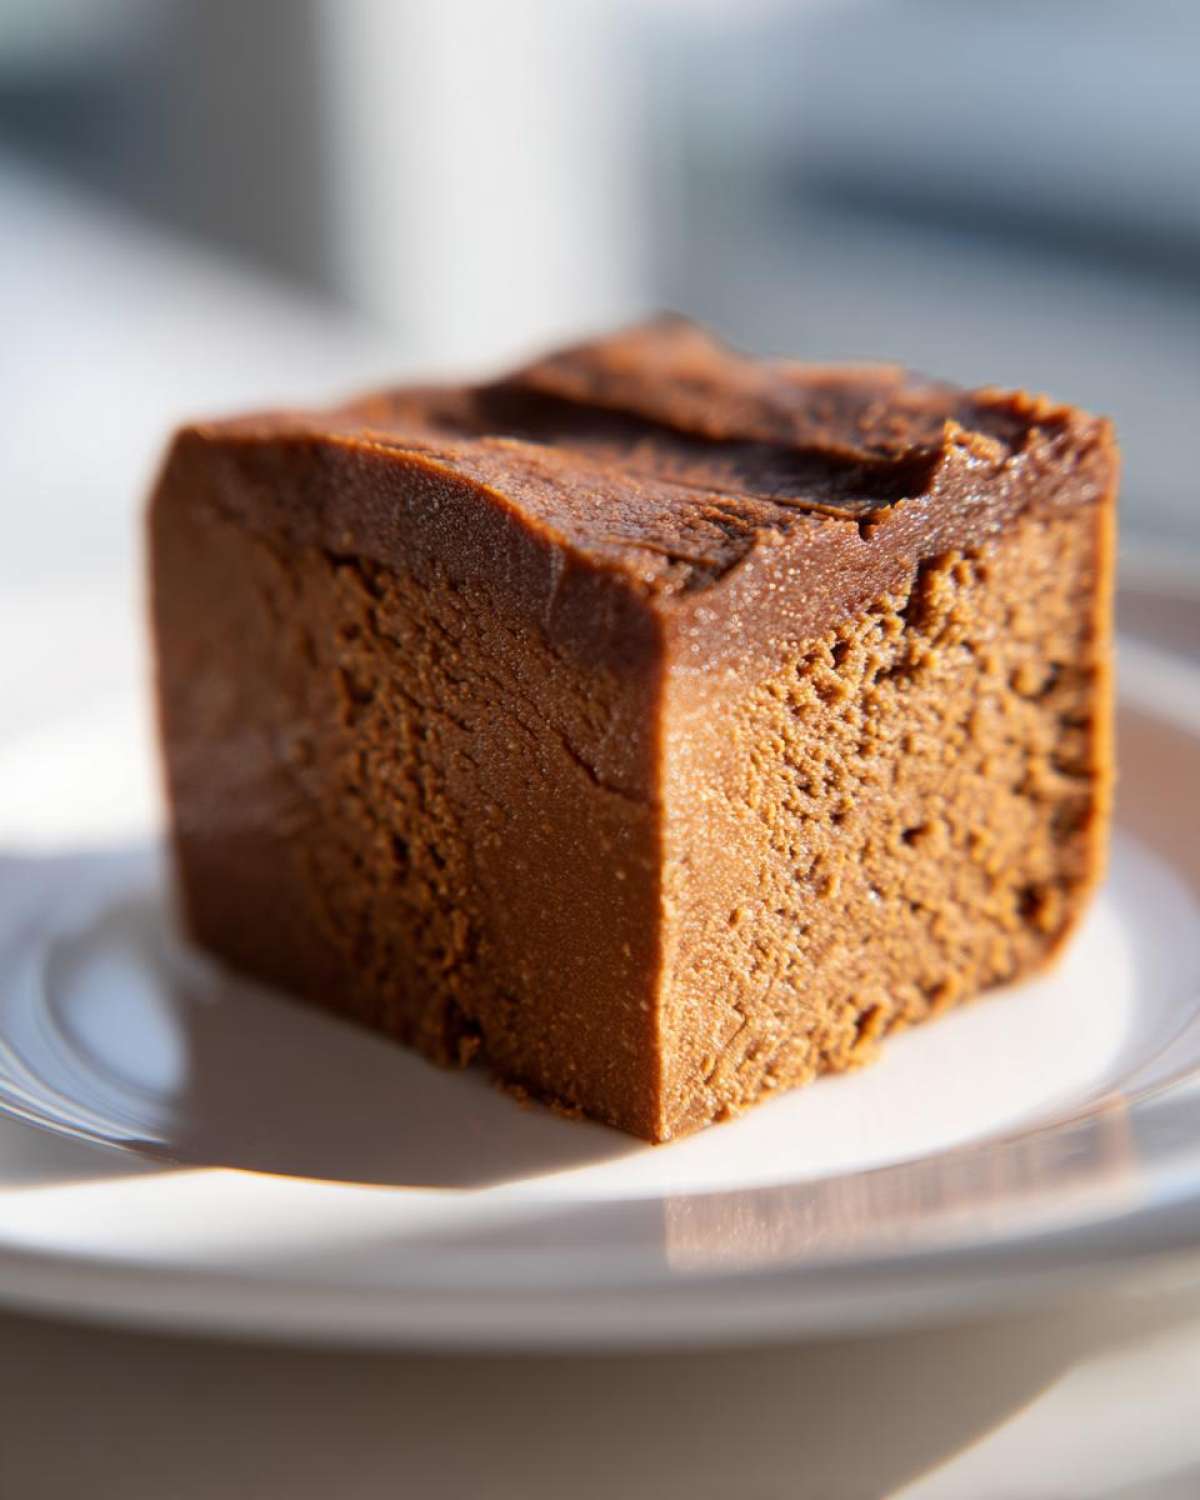
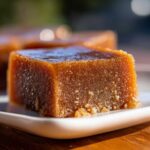
Oh, I just love when we talk about those old-school candies that taste like pure nostalgia, don’t you? Forget all that overly complicated stuff; today, we are making the truly magnificent Penuche Fudge. This isn’t just any fudge; this is the authentic old-fashioned penuche fudge, and it uses brown sugar to give it that unbelievably rich, almost caramel-y backbone. I spent years messing this up—honestly, my first batches were gritty little rocks!
But I finally cracked the code. The absolute secret, my friends, is nailing two very specific temperatures. When you master the technique here, you end up with something so perfectly smooth, so impossibly creamy, that it just melts right on your tongue. If you’ve always avoided this classic confection because you thought it was too tricky, trust me, I’m going to walk you through every single step to make this the best brown sugar fudge recipe you’ll ever try.
Why This Old-Fashioned Penuche Fudge is the Best Brown Sugar Fudge Recipe
There are tons of candy recipes out there, but ours stands head and shoulders above the rest, especially if you’re looking for that deep, buttery caramel flavor without touching chocolate. We’re talking about real, old-fashioned candy magic here. I’ve made batches of fudge that ended up crumbly and sad, but this brown sugar fudge recipe beats them all because it focuses on texture above everything else. If you ever want to try the opposite end of the spectrum, my easy chocolate fudge recipe is wonderful, but this one is pure caramel heaven.
You’re going to adore these simple perks:
- It delivers that perfect melt in your mouth candy sensation every single time.
- The flavor is pure, deep, caramel flavor fudge built on molasses richness.
- It’s an incredibly satisfying homemade fudge recipe that doesn’t rely on cocoa powder—pure vanilla fudge goodness!
This is a true classic confection that smells heavenly while it’s bubbling away on the stove. If you want a go-to treat for gifting during the holidays, this is what you use.
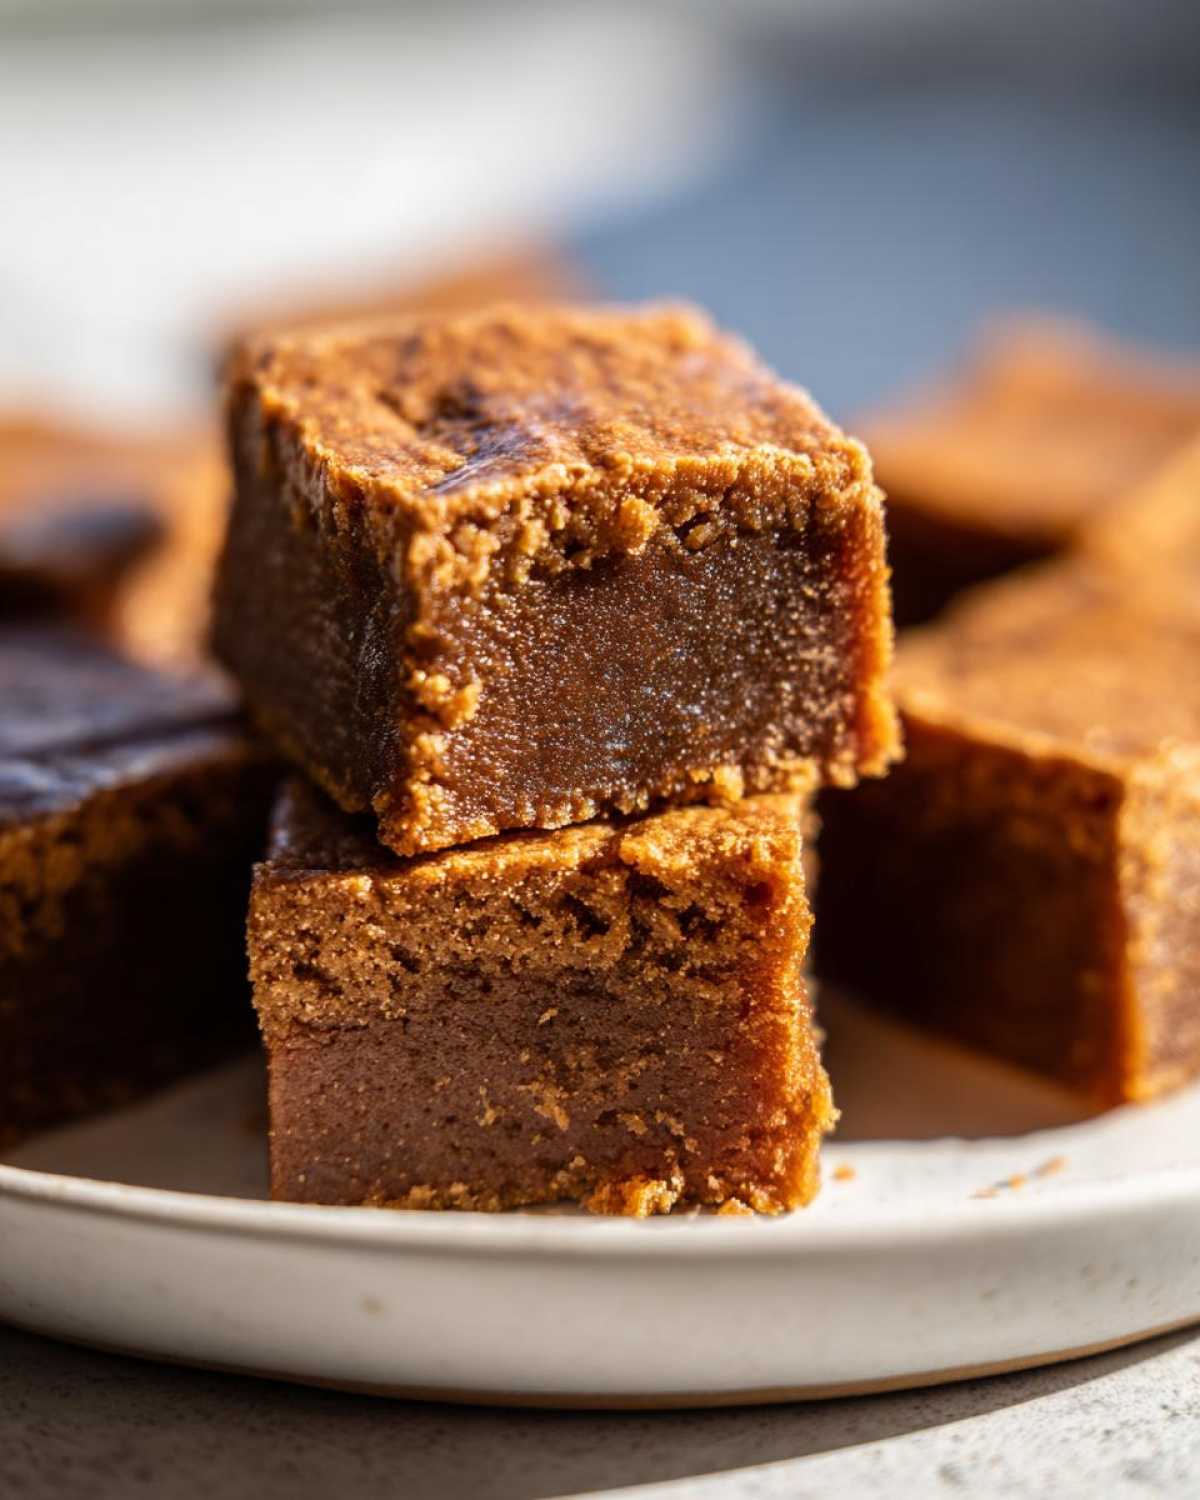
Achieving That Signature Creamy Fudge Texture
This is where we separate the amateurs from the pros! If you want that smooth, creamy fudge, you can’t skip the thermometer, promise me that. We need the sugar mixture to hit exactly 234°F, which is called the soft-ball stage. That perfect temperature creates the right size of sugar crystals when we beat it.
But here’s the real game-changer: after you take it off the heat, you MUST, absolutely MUST let it cool completely down to 110°F before you even think about beating it. Resist the urge to rush this cooler time; that silent period is what locks in that luxurious, non-grainy texture. Trust me, that two-step temperature process makes this the best penuche recipe.
Ingredients for Perfect Penuche Fudge
Gathering your supplies for this traditional fudge making project is straightforward, but the details matter so much for that end result. We need two full cups of light brown sugar, make sure you pack that measuring cup firmly! We’ll use one cup of whole milk and two tablespoons of good quality, unsalted butter right from the start. Finally, we finish off the flavor with a teaspoon of pure vanilla extract and just a pinch—about a quarter teaspoon—of salt to balance everything out.
Ingredient Notes and Substitutions for Your Penuche Fudge
For this specific candy, I really push you toward using light brown sugar rather than dark. Dark brown sugar has too much molasses, and it can make the final color a little muddy, plus the flavor gets too heavy. We want that bright, buttery lift!
Now, about variations—I mentioned earlier that sometimes I treat myself. If you want to add a little kick to your buttery fudge, the notes say you can totally swap out that teaspoon of vanilla for a teaspoon of good bourbon. It adds a lovely depth! Just remember, we are keeping this a chocolate-free zone, so this is the best no chocolate fudge recipe you’ll find.
Step-by-Step Instructions for Traditional Fudge Making
Okay, this is the moment of truth! Making penuche fudge comes down to following the heat and then moving fast when you need to. First things first, make sure your 8×8 pan is lined with parchment paper that hangs way over the sides—you’ll thank me later when it’s time to lift this delicious block out!
In a heavy-bottomed saucepan, which is really important so things don’t scorch, combine your sugar, milk, and butter. Put that over medium heat and stir constantly until the butter is totally gone and the sugar seems dissolved. Now, immediately put your candy thermometer on there. Let it bubble away, stirring only occasionally, until you hit that magic soft-ball number.
When you hit 234°F, yank it off the heat! Seriously, take it away right then. Then we wait. You can check out my big guide to traditional fudge making for more background, but the next steps are non-negotiable if you want that amazing texture.
The Crucial Temperature Check for Creamy Fudge
I have to say this again because it trips up everyone trying to make creamy fudge: 234°F on the thermometer is your stop sign while it’s cooking. If you keep stirring it or let it cook past that point, you are encouraging those sugar crystals to form, and grittiness will win! We want smooth!
Once it comes off the heat, leave it completely alone until that thermometer reads 110°F. I know it feels weird to wait that long, but if you beat it even slightly too hot, it stays glossy and runny. Cooling it just enough allows those sugar structures to get ready for the beating process, setting you up perfectly for success.
Beating Your Penuche Fudge to Perfection
When you finally hit 110°F, toss in that vanilla and salt! Now put your elbow into it. You need to beat this mixture vigorously, either by hand with a wooden spoon or with a sturdy mixer on medium. You’ll see the texture change dramatically. It goes from shiny and liquid to dull, thick, and almost matte.
Keep going for about five to ten minutes until it just starts to look like it’s losing its gloss and won’t run off the spoon easily. When you see that change—when it gets firm—stop immediately! Pour it fast into that prepared pan. Don’t bother scraping the sides of the pot; you want the best part that set up in the middle, not the crystallized bits stuck to the edge.
Tips for Success When Making Penuche Fudge
Even though this is an easy candy recipe, a few extra tricks can take your penuche fudge from good to jaw-dropping. If you want that clean release and perfect edges every time, pan prep is everything. Grandma used to just grease and flour her pans, but honestly, that’s risky business with sticky candy like this. I highly recommend lining your pan with parchment paper that hangs well over the short ends.
That overhang acts like little built-in handles! Once the fudge is set, you don’t have to risk denting the sides trying to pry it out; you just lift the whole thing out. And remember what I said earlier about pouring? Please, please, please don’t scrape the sides of the saucepan!
That super thick crust that develops on the side of the pot is concentrated sugar that has likely already started to crystallize. If you pour that into your smooth batch, you introduce graininess instantly. Just pour the smooth middle part, let the rest stay behind, and enjoy the best traditional fudge making experience!
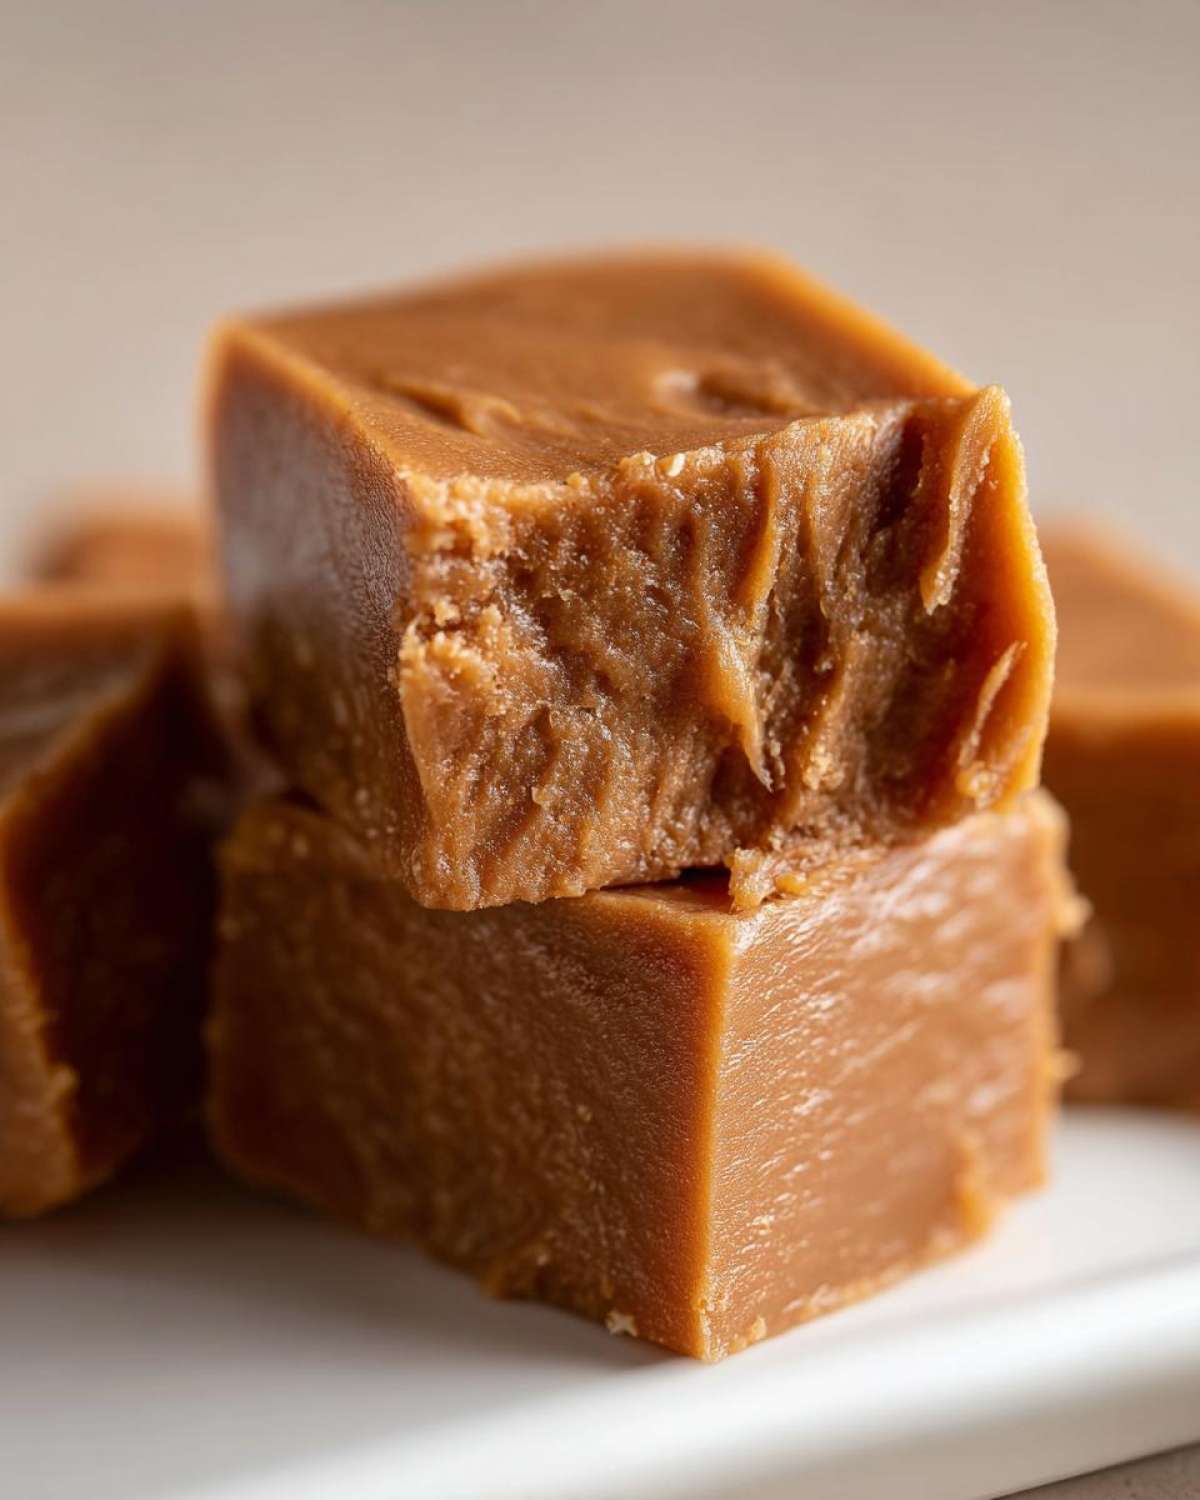
Storage and Serving Suggestions for Your Caramel Flavor Fudge
Once you’ve managed not to eat it all straight from the pan, you’ll need to know how to store this gorgeous caramel flavor fudge. Good news: this classic confection is super easy to keep fresh! Since we managed to control those sugar crystals, the fudge doesn’t need to live in the fridge. Keep it tightly wrapped in plastic wrap or in an airtight container right on the counter; it stays perfect for about a week. I find refrigeration actually changes the texture slightly, making it much harder.
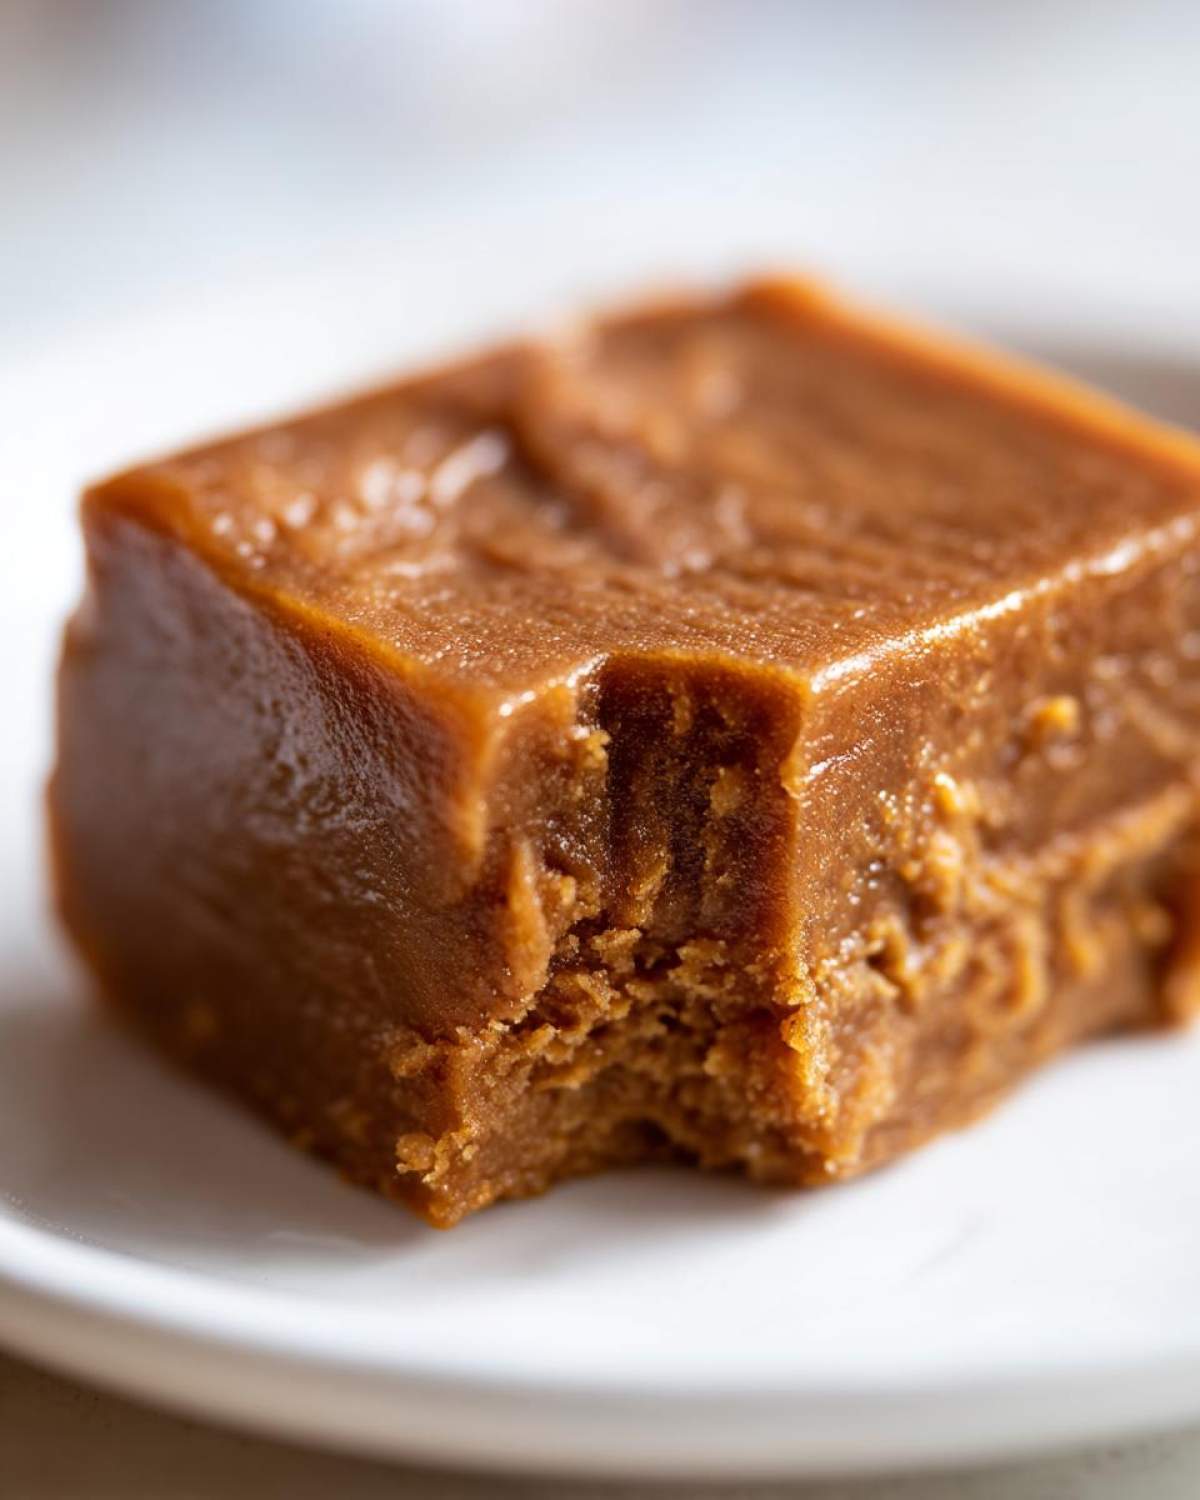
When it’s time to cut those neat squares, wait until it is totally firm—give it a good four hours minimum. Use a very sharp, thin knife. I like to wipe the blade clean between every single cut against a damp paper towel; this helps keep those edges super sharp and prevents dragging. This makes such a fantastic gift, especially around the holidays; I always wrap mine up with some of my holiday pecan sticky buns ingredients for a lovely sweet basket!
Frequently Asked Questions About Penuche Fudge
I know candy making can seem a little intimidating, especially when dealing with sugar temperatures! But this penuche fudge is really closer to an easy candy recipe than you think, once you understand those critical cooling steps. Here are a few things folks ask me all the time about achieving the best no chocolate fudge results.
Do I have to bake this fudge? Nope! This is a stovetop confection, completely cooked right there in the saucepan. It sets up at room temperature, which is the beauty of it. Also, people always ask if they can substitute granulated white sugar. While you could technically try it, you wouldn’t get that signature melt-in-your-mouth quality or the rich color; that depth comes entirely from the brown sugar base.
If you want to see more tips on quick candy projects, check out my guide on easy candy recipes for inspiration!
Why is my penuche fudge grainy instead of creamy fudge?
Ah, the dreaded graininess! This happens for two main reasons, both relating to temperature and stirring. If you stir the sugar mixture while it’s boiling up to 234°F, you encourage too many tiny sugar crystals to form prematurely. Even more common is skipping the cool-down! You absolutely must wait until the mixture is cool—down to 110°F—before you start beating it. That cooler temperature lets the sugar stabilize so you can whip air into it, giving you that beautiful, smooth, creamy fudge finish.
Estimated Nutritional Data for This Homemade Fudge Recipe
Don’t look too closely if you’re trying to count calories, but for those bakers who just need the snapshot, here is the estimated nutritional breakdown for one square of this glorious homemade fudge recipe. Keep in mind these numbers are just an approximation, as butter brands and how tightly you pack that brown sugar can make a small difference!
- Calories: Approximately 175
- Total Fat: About 3g
- Carbohydrates: Roughly 37g (Watch out for that sugar!)
- Protein: A little boost at 2g per serving
Share Your Best Penuche Recipe Experience
I truly hope this guides you to the best batch of penuche fudge you’ve ever made. Once you’ve tried it, come back and tell me! Did you nail that 110°F cooling step? Drop a comment below or connect with me through my contact page to share your success. I love hearing how these classic recipes find new life in everyone’s kitchens!
PrintOld-Fashioned Penuche Fudge (Brown Sugar Fudge)
Make smooth, creamy Penuche Fudge using brown sugar for a rich, buttery, caramel-like flavor.
- Prep Time: 5 min
- Cook Time: 25 min
- Total Time: 185 min
- Yield: 16 squares
- Category: Dessert
- Method: Stovetop Cooking
- Cuisine: American
- Diet: Vegetarian
Ingredients
- 2 cups light brown sugar, packed
- 1 cup whole milk
- 2 tablespoons unsalted butter
- 1 teaspoon vanilla extract
- 1/4 teaspoon salt
Instructions
- Line an 8×8 inch pan with parchment paper, leaving an overhang for easy removal. Lightly grease the paper.
- Combine the brown sugar, milk, and butter in a heavy-bottomed saucepan.
- Stir the mixture constantly over medium heat until the butter melts and the sugar dissolves. Do not let it boil rapidly yet.
- Attach a candy thermometer to the side of the pan, ensuring the tip is submerged but not touching the bottom.
- Continue cooking, stirring occasionally, until the mixture reaches 234°F (Soft-Ball Stage). This takes about 15 to 20 minutes.
- Remove the pan from the heat immediately when it reaches 234°F. Do not stir the mixture while it is heating after the initial dissolve.
- Let the mixture cool undisturbed on the stovetop or a cooling rack until it cools down to 110°F. This cooling period is crucial for texture.
- Once cooled to 110°F, add the vanilla extract and salt.
- Begin beating the mixture vigorously with a wooden spoon or a sturdy electric mixer on medium speed. Beat continuously until the fudge loses its glossy shine, thickens significantly, and starts to set (it will become dull and hold its shape when dropped from the spoon). This usually takes 5 to 10 minutes.
- Quickly pour the thickened fudge into the prepared pan. Do not scrape the sides of the pan.
- Let the fudge set completely at room temperature for several hours or until firm before cutting into squares.
Notes
- For the smoothest texture, cool the sugar mixture to exactly 110°F before beating. Cooler temperatures result in grainy fudge.
- If you prefer a slight bourbon flavor, substitute 1 teaspoon of vanilla extract with 1 teaspoon of bourbon added at the same time as the vanilla.
- Do not stir the mixture while it is boiling until you remove it from the heat. Stirring during the boil phase can cause crystallization.
Nutrition
- Serving Size: 1 square
- Calories: 175
- Sugar: 35
- Sodium: 35
- Fat: 3
- Saturated Fat: 2
- Unsaturated Fat: 1
- Trans Fat: 0
- Carbohydrates: 37
- Fiber: 0
- Protein: 2
- Cholesterol: 10

Comments are closed.