

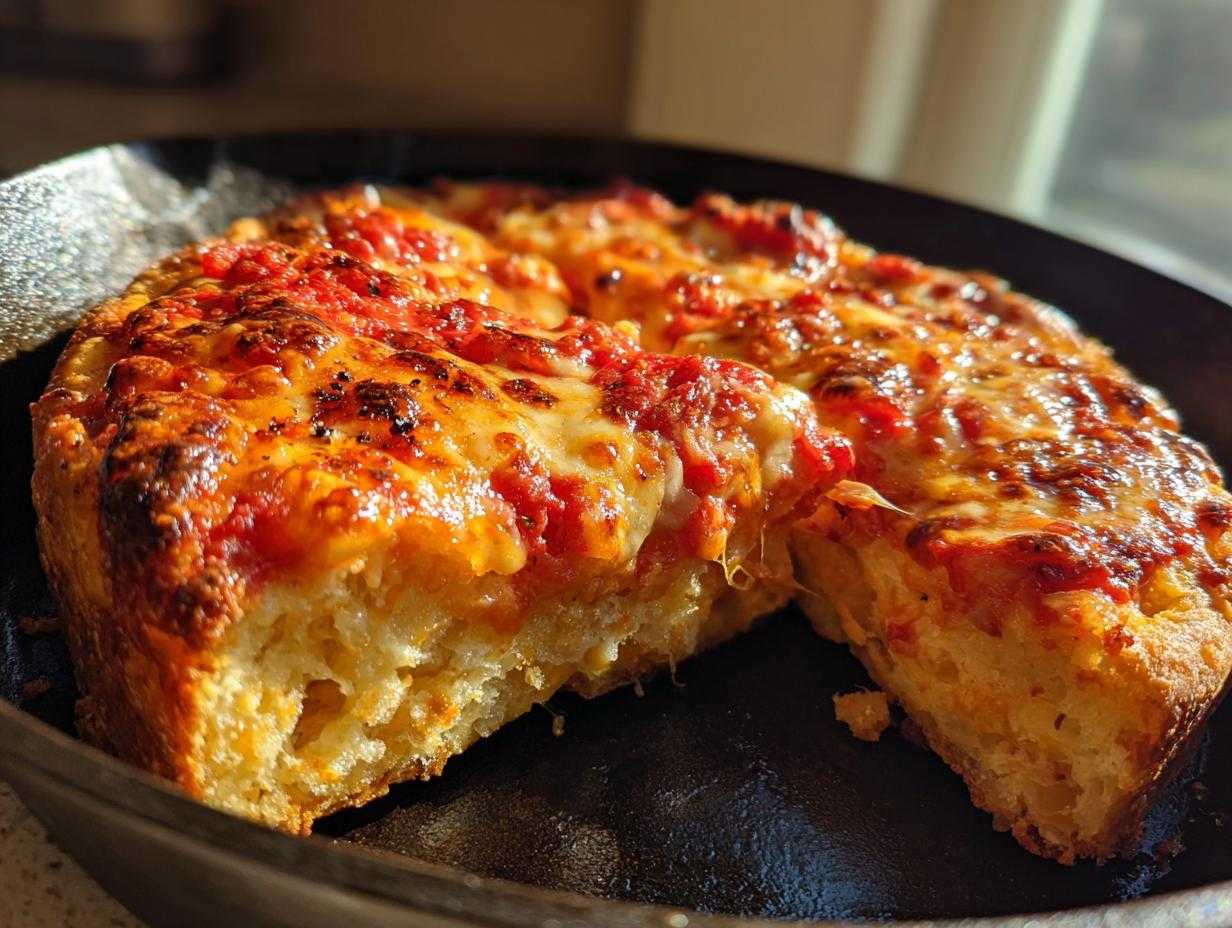
Oh, pizza. We all love it, right? But let’s be honest, achieving that bakery-quality, deeply blistered, crispy crust at home without spending an hour kneading dough like a maniac feels impossible sometimes. Most beginner pizza dough recipes turn out either chewy and tough, or frankly, a little bland.
But guess what? I figured out the secret handshake between good ingredients and zero labor! I swear, I’ve spent years tinkering with pizza to find the sweet spot where maximum flavor meets minimum effort. That’s why I’m so thrilled to share my recipe for the No-Knead Simple Crispy Pan Pizza.
This isn’t just another recipe; it’s my master achievement in relaxed cooking. We let time do all the hard work overnight, and then we use a little cast iron trickery to give you that incredible shatteringly crisp bottom crust that usually requires a professional 800-degree oven. Trust me on this—if you can mix three things in a bowl, you can master this dough. It’s the best homemade pizza crust because it’s almost cheating!
Why This No-Knead Simple Crispy Pan Pizza Works So Well
The beauty of this dough is that the flavor development happens while we’re all sleeping! Seriously, you just mix it and forget it. That long, slow rest in the fridge—the cold fermentation—is what develops those deep, slightly tangy, complex flavors that normally you can only get from hours of kneading and folding. It transforms what would otherwise be a bland, easy homemade pizza crust into something that tastes like it came from a real trattoria.
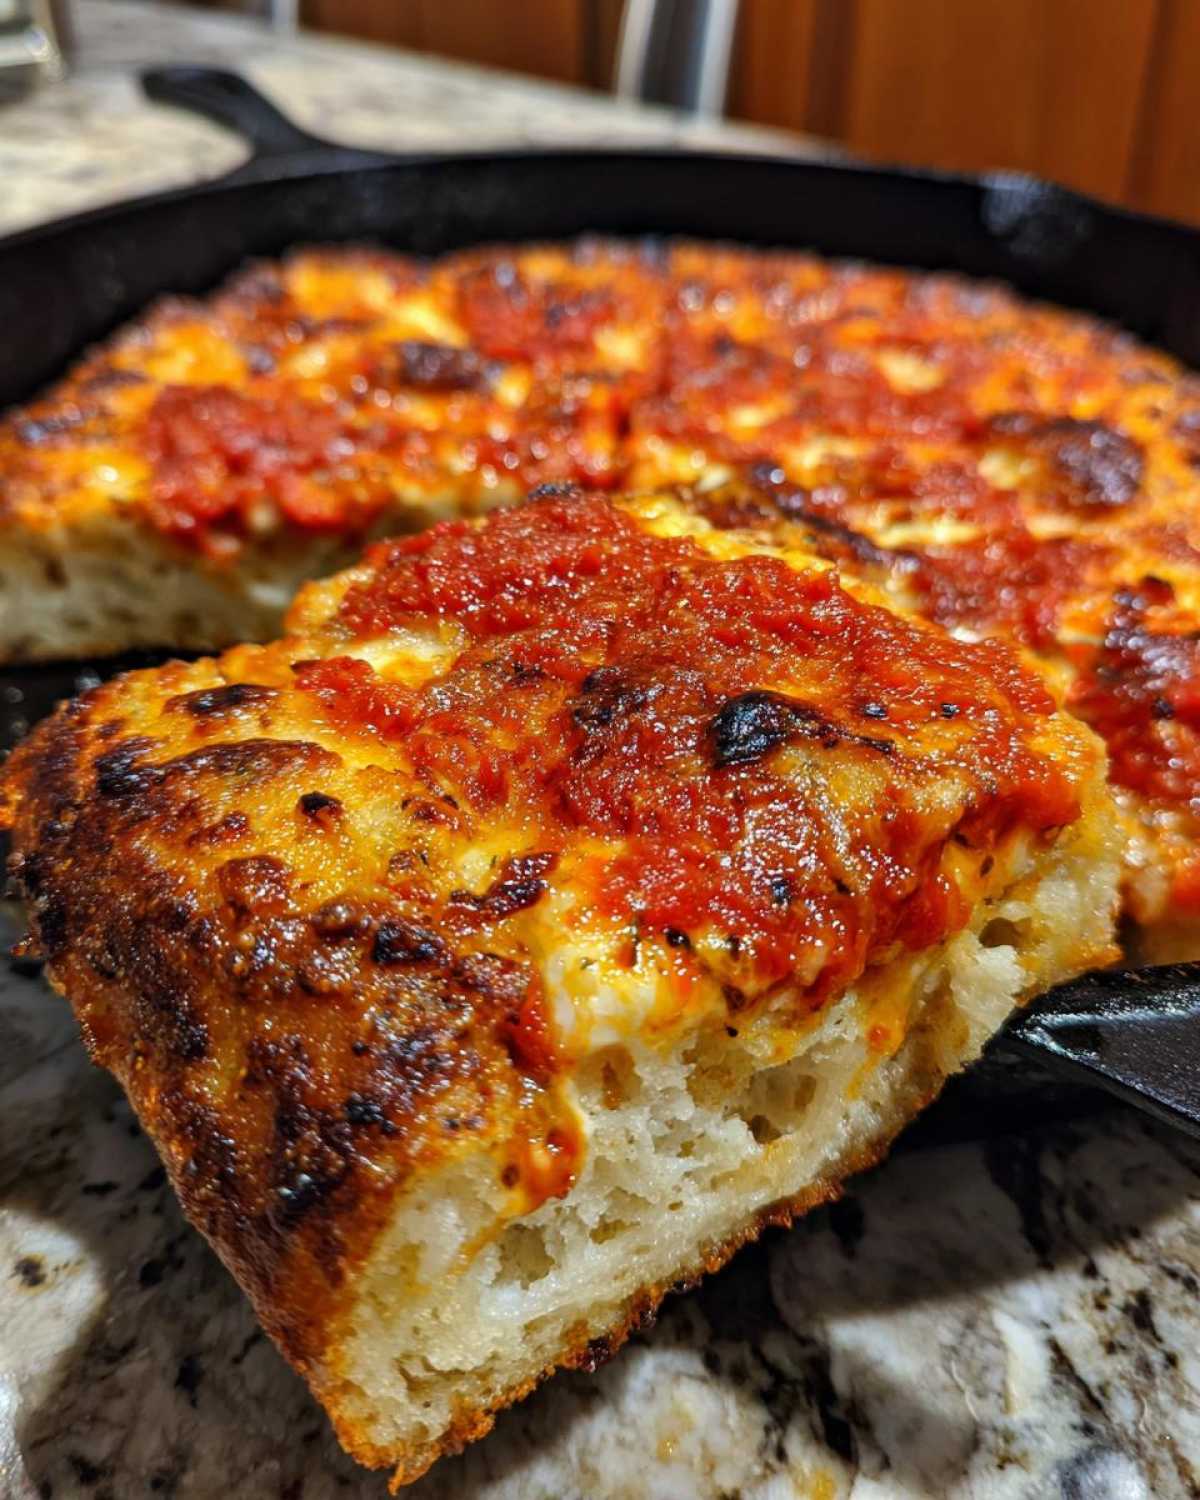
But flavor is only half the battle here. The real game-changer for that crispy bottom you’re craving is all about heat management, which is why we use the pan method. We’re pouring olive oil into a screaming hot skillet before the dough even gets close. That blast of direct heat guarantees that gorgeous, shatteringly crisp base, solving that whole soggy bottom pain point once and for all.
The Magic of Relaxed Dough Pizza
When you skip the kneading, you’re deliberately avoiding developing too much gluten structure right away. Think of it this way: kneading is work; relaxing is flavor development. By just stirring it gently, we get a dough that’s shaggy and rustic. This structure is incredible because when we finally stretch it out, it traps air bubbles beautifully. It’s the ultimate payoff for a minimal effort pizza recipe—maximum texture with basically zero physical contribution from you. Honestly, it feels like magic when it comes out of the oven!
Ingredients for Your No-Knead Simple Crispy Pan Pizza
Okay, here’s the best part about using time instead of muscle: the ingredient list is ridiculously short! You probably have most of this stuff waiting in your pantry right now. It’s seriously the easiest part of this whole operation.
You’ll need this for the dough itself. Remember, we are being very particular about the water temperature here—cool water is key for a slow, controlled ferment!
- 3 cups All-Purpose Flour (If you want a slightly chewier, more artisanal interior, I sometimes swap in bread flour, but AP works perfectly fine!)
- 1 1/2 teaspoons Salt
- 1/4 teaspoon Instant Dry Yeast (Just a tiny pinch, that’s how minimal effort this dough is!)
- 1 1/2 cups Cool Water
And then, of course, for the actual crispy pan magic, make sure you have your oil ready. Don’t skimp here; this is what fries the bottom of the crust!
- 1/4 cup Olive Oil (Specifically for coating the bottom of your pan)
- Your favorite pizza sauce and toppings (Get creative!)
Preparing the Simple Overnight Pizza Dough for Your No-Knead Simple Crispy Pan Pizza
Alright, here’s where we ditch the standing mixer and embrace patience! This entire process starts with the gentlest of touches. Grab a big bowl—you want plenty of room because this dough spreads out as it relaxes. Whisk your flour, salt, and that teensy bit of instant yeast together. You don’t need to worry about complicated starter hydration ratios here; this is truly the most simple overnight pizza dough recipe you’ll ever see.
Next, pour in your cool water. I mean it, use cool, not warm, water! Then, take a wooden spoon—yes, a wooden spoon—and just stir until everything comes together into what looks like a sloppy, shaggy mess. Don’t feel bad that it looks ugly! Stop mixing the second you can’t see dry flour pockets anymore. We are not building structure; we are just combining ingredients.
Cover that bowl tight with plastic wrap. You want zero air getting in. The first rest is a short, 2-hour room temperature nap. This gets the yeast started gently. After those two hours, the real flavor vacation begins: straight into the fridge for a minimum of 12 hours, but honestly, 24 to 48 hours is perfection for this style of pizza.
The Cold Fermentation Process: Flavor Building
This cold rest is non-negotiable for big flavor, but I know it causes anxiety. How long is too long? Don’t panic about under-proofing; if you leave it 12 hours, you’re good to go. Over-proofing is less of a concern below 40 degrees, but if you let dough sit for five days, it might get a little too happy.
When you pull it out, look for softness and a few nice bubbles on the surface, just little ones. If it’s cold and feels like a dense ball, it needed an extra hour or two on the counter before shaping. This slow process develops that incredible, deep flavor profile that makes any beginner pizza dough recipe taste professional.
Waking Up and Shaping the No-Knead Simple Crispy Pan Pizza Dough
After its long beauty rest in the fridge, it’s time to wake the dough up gently! Take the bowl out—be prepared, it might look massive because it’s full of happy air bubbles. We need to let this dough come up to room temperature, which usually takes about two to three hours. This is essential, especially when trying a new beginner pizza dough recipe, because cold dough is impossible to stretch!
Once it’s puffed up nicely, gently tip that gorgeous mass out onto a lightly floured counter. Because we didn’t knead it, the dough is very relaxed, but we need to give it just a *little* bit of structure before we give it its final shape. Don’t punch it down!
Gently fold it over on itself two or three times—that’s it! Picture folding a letter, not aggressively punching bread. This little tucking action creates the strength we need without breaking all those lovely fermentation bubbles we worked so hard for. Now, tuck it into a lightly oiled bowl, cover it, and let it hang out for those last couple of hours until it’s puffy and jiggly again.
The Cast Iron Pizza Tutorial: Achieving the Ultimate Crispy Crust Texture
Okay, listen up, because this is where the “crispy” part of the No-Knead Simple Crispy Pan Pizza actually happens. Traditional pizza ovens use incredible heat from below, and we are mimicking that using a simple cast iron skillet. If you don’t have cast iron, grab the heaviest oven-safe pan you think can handle the heat—maybe a thick stainless steel one. Heat retention is your best friend here!
You need to get that pan ripping hot on the stovetop—medium heat for about five full minutes with that decent splash of olive oil sitting right in the center of the base. This oil is going to essentially deep-fry the bottom of your dough, creating that unbelievable crunch. Don’t rush this preheating step; it’s absolutely vital for that best crispy pan pizza recipe texture.
When the dough is ready, you have to be decisive! Gently stretch it out; you’re aiming for a circle that fits the bottom of your pan. If you’re using a 10-inch skillet, you get a thinner crust, which means supreme crispiness. If you use a smaller 9-inch pan, the dough will mound up a bit more, giving you a deeper, thicker, almost focaccia-style pan pizza base, which is also delicious but takes a tiny bit longer to cook through.
Preheating the Pan: Stovetop Pan Pizza Technique
This is the moment of truth! You gently stretch that relaxed dough ball and lay it right into that sizzling hot oil. You should hear a distinct, happy sizzle immediately. If you don’t hear anything, your pan wasn’t hot enough, and you risk making a greasy flatbread instead of a crispy crust. That immediate sizzle starts the frying process!
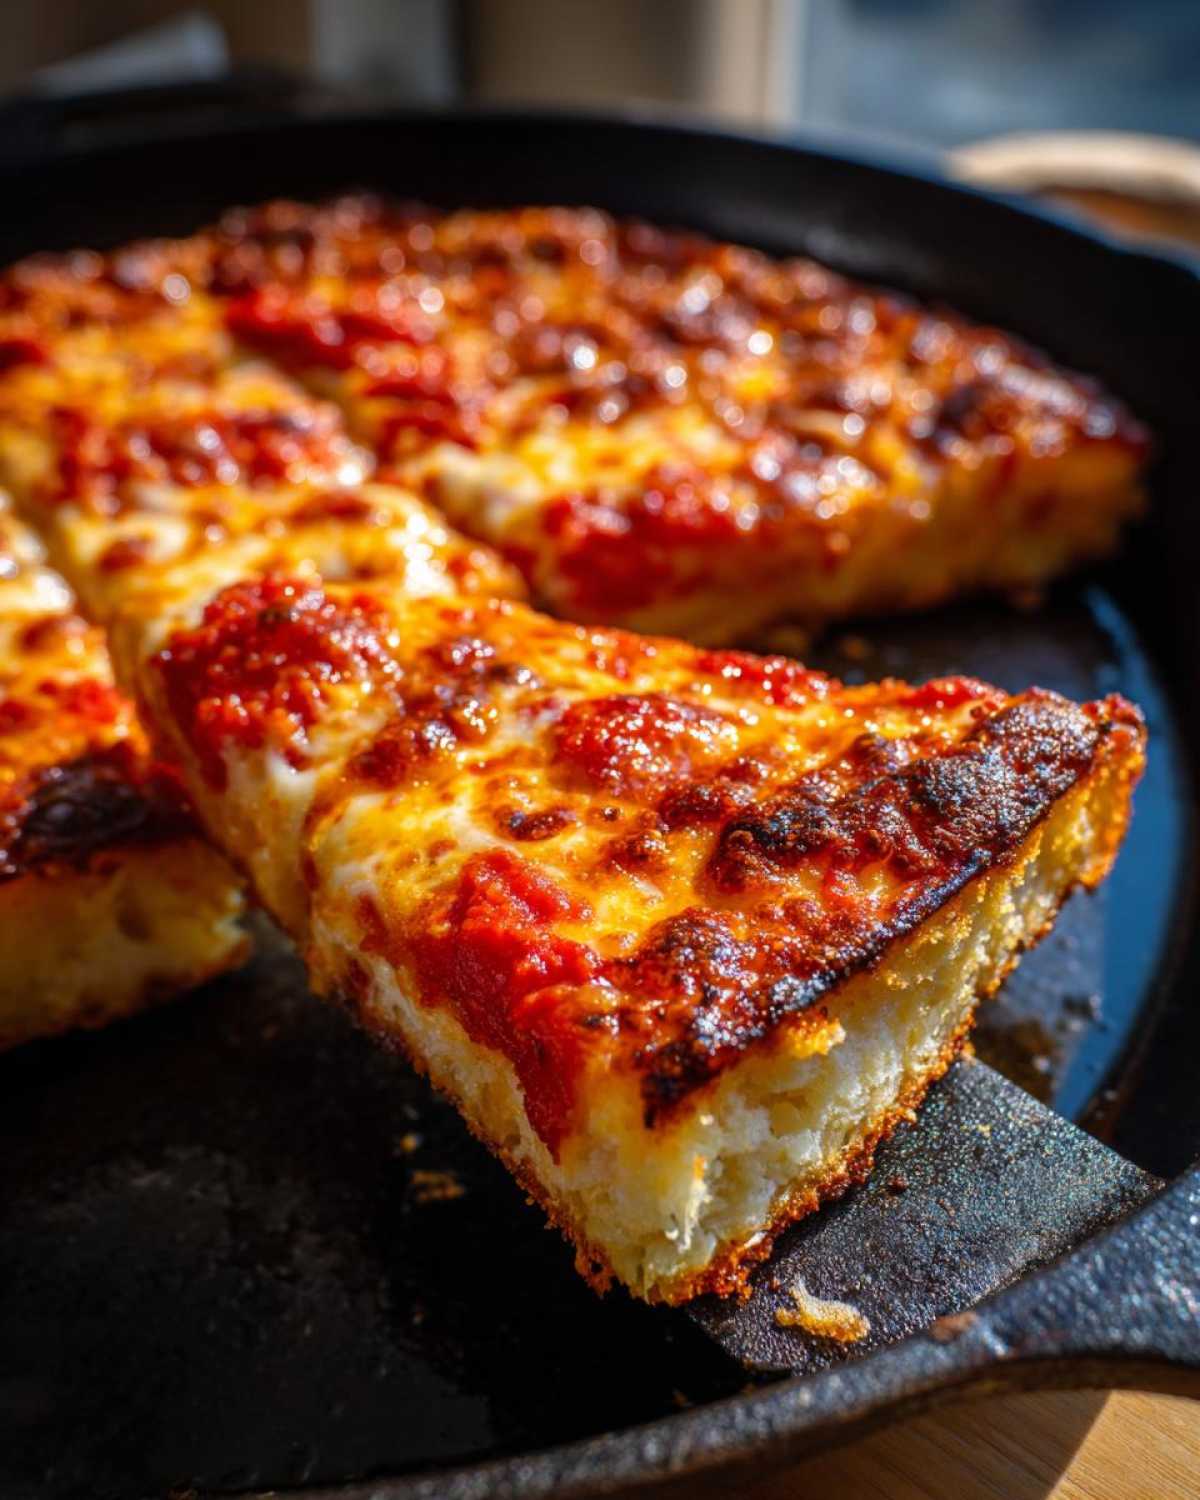
Now, here’s a pro tip for handling this incredibly relaxed dough: If you try to stretch it and it snaps back immediately into a tiny ball, don’t fight it! That means the gluten is still too tight. Take your pan off the heat, let the dough sit right there in the warm oil for 10 minutes while you gather your toppings, and then try stretching it again. It will relax beautifully the second time around. Once it’s nicely nestled in the pan, it’s time to quickly layer on your sauce and cheese before sliding the whole sizzling setup into the oven. That’s the key to the *perfect pizza crust texture*!
Assembling Your No-Knead Simple Crispy Pan Pizza
Okay, you’ve got your dough sizzling beautifully in that hot oil—that initial fry gives us the foundation for the crispy crust pizza at home we all dream about! Now, you need to move fast! The stovetop heat is doing its best work right now, so our job is to get the oven heat involved immediately.
Don’t dilly-dally deciding on toppings! Sauce goes on quickly, followed by a layer of cheese, and then whatever else makes your heart sing. Keep the topping load reasonable, especially if you shaped the dough thinner. We don’t want heavy ingredients that will steam the base we just crisped up. Once everything is nestled in, immediately slide that hot pan—carefully, it’s hot!—right into your roaring hot oven. Speed is your friend here to lock in that crunch!
Baking and Cooling for the Best Crispy Crust Pizza at Home
Now that the dough is sandwiched between scorching hot oil and a ferocious oven, we can finally stand back and admire the transformation! We need a high, high oven temperature for pan pizza—trust me, set that dial to 475 degrees Fahrenheit (245 Celsius). This intense heat is what cooks the dough rapidly and puffs those outer edges up perfectly, giving you that delightful rise.
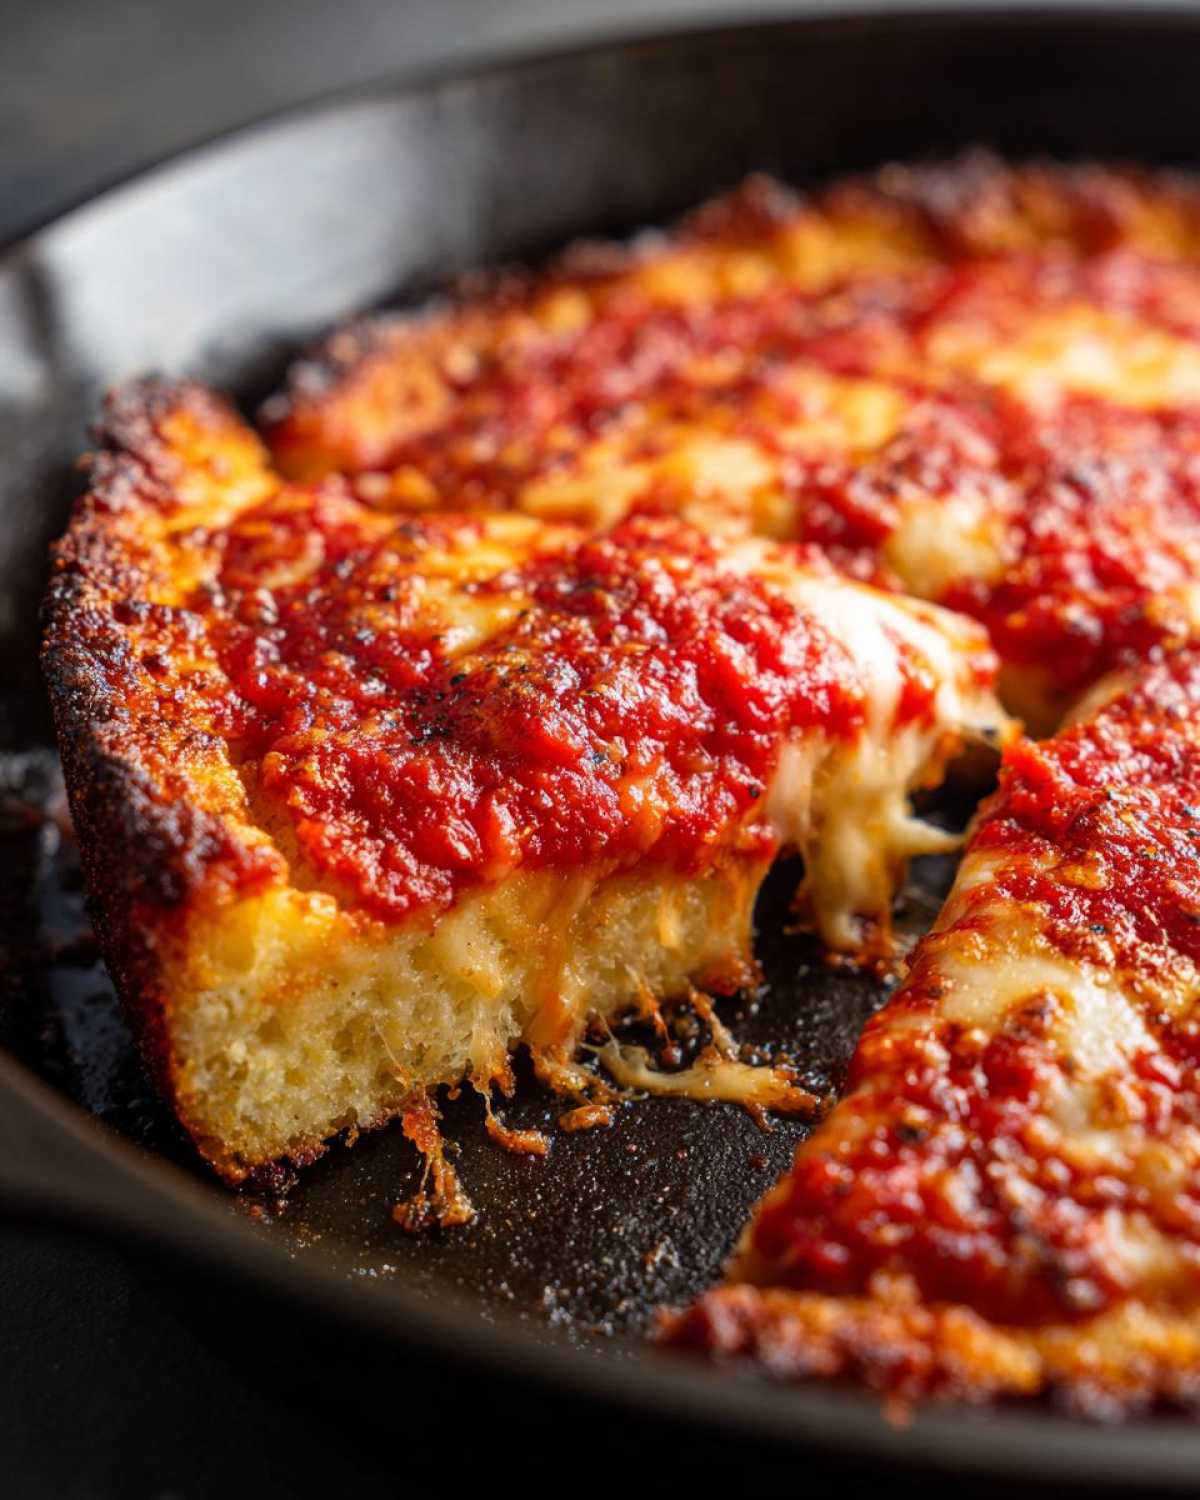
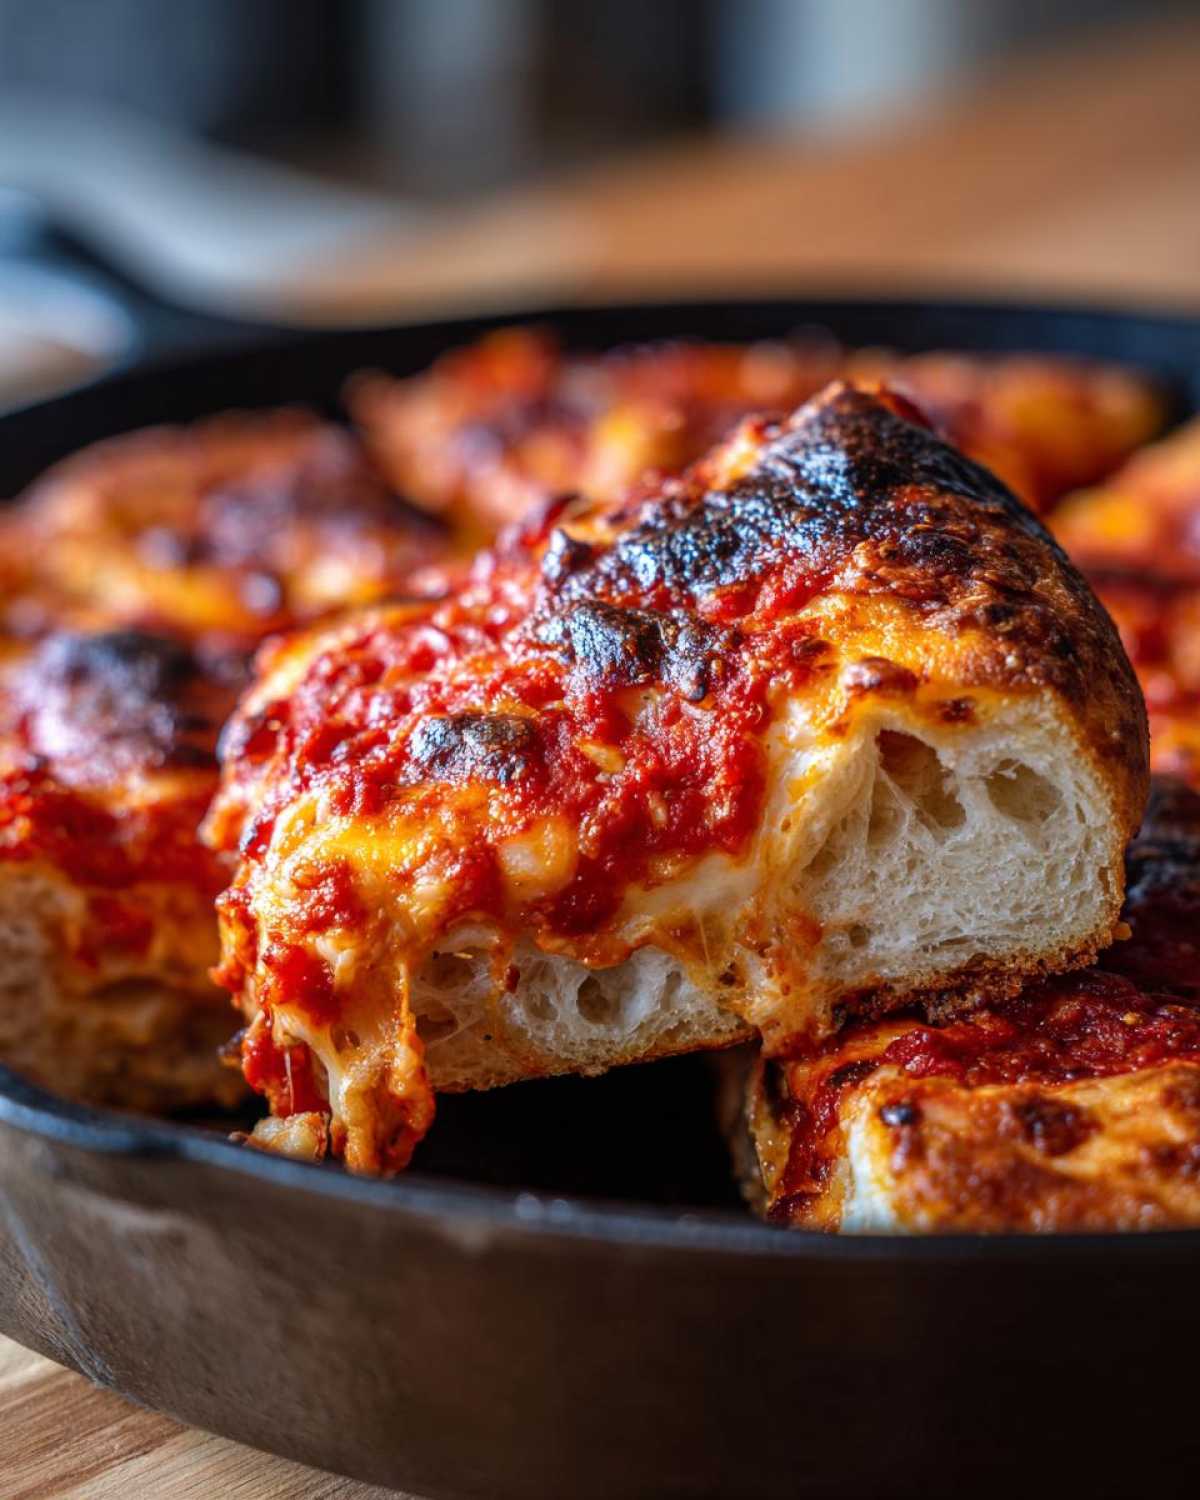
Bake time is usually around 15 to 20 minutes, but you know better than to blindly trust the clock! You want to watch for visual cues. The cheese should look beautifully melted and bubbly, maybe even getting those desirable little brown spots we all love. More importantly, sneak a peek at the edges of the crust pushing up over the side of the pan—those should be deeply golden brown.
But the absolute last secret to getting that undeniable best crispy pan pizza recipe result is cooling time. You have to fight the urge to immediately saw into it. Take the pan out of the oven and just leave that glorious pizza right there in the skillet for five full minutes. This pause allows the bottom to essentially steam off any excess moisture and really let that crisp texture set. If you slice it too soon, that lovely, oily crust might collapse a little. After five minutes, though? Slide it out, slice it up, and prepare for the best **crispy crust pizza at home** you’ve ever made!
Ingredient Notes and Substitutions for Your No-Knead Simple Crispy Pan Pizza
Even though this recipe is all about simplicity, I get asked constantly if you can switch things up, and the answer is usually yes, but with a little warning label attached! Remember, because this is a *no-knead* approach, the flour is doing all the heavy lifting for structure, so be mindful of changes.
If you use bread flour instead of all-purpose flour, you’ll get a sturdier, slightly chewier interior structure, which is fantastic for a **perfect pizza crust texture**. Just know that bread flour can sometimes absorb slightly more water, so if your dough feels unusually stiff after the initial mix, add water just one tablespoon at a time until it’s shaggy again.
What about the oil? That 1/4 cup of olive oil in the pan is crucial for that crispy factor—it’s essentially frying the bottom. Use a good quality olive oil, but if you’re worried about the smoke point causing too much flavor, a neutral oil like canola or sunflower works fine for the *pan coating*, though I personally think olive oil adds a little something special.
And finally, the sauce! This recipe shines brightest when the toppings don’t overwhelm the beautiful fermented flavor of the crust. If you want a truly authentic, tangy result, use a very simple, uncooked sauce made from good quality crushed tomatoes, salt, and maybe a little dried oregano. Heavy, creamy sauces can steam the crust, so keep it light for that ultimate crunch!
For more simple ingredient ideas that surprise you, you might want to check out my thoughts on flavoring simple foods over at simple 5-ingredient cooking.
Frequently Asked Questions About No-Knead Pan Pizza
When people try this recipe for the first time, they usually have a few very specific questions about making sure they nail that amazing texture. People worry about rushing the long steps, but honestly, this recipe is pretty forgiving! Here are the big ones I always hear:
Can I skip the overnight cold ferment?
You technically *can*, and if you’re making a quick weeknight pizza, I get it! You can follow steps 1 through 5 and then let the dough rest at room temperature for about 4 to 6 hours instead of refrigerating it. However, I have to warn you: the flavor just won’t be the same. That long, slow rest is what creates those tangy, complex notes that make this **perfect pizza crust texture** so memorable. The quick dough will taste fine, but the overnight dough tastes legendary.
What if I don’t have a cast iron skillet?
Don’t worry if the cast iron isn’t in your collection! The goal here is heat retention—we need something that can soak up stovetop heat and then transfer it immediately and evenly into the oven. Look for the heaviest, thickest, oven-safe pan you own. Carbon steel works almost as well as cast iron does for this specific **deep dish pizza without kneading** style. Just make sure it has a handle that is oven-safe, or you’ll be in a real pickle when you need to move it!
How do I reheat leftover No-Knead Simple Crispy Pan Pizza?
This is perhaps the most important question because reheating a crispy pizza incorrectly will turn it instantly sad and chewy. Please, for the love of pizza crust, do not use the microwave! That heats the water in the dough, making it rubbery.
The best way to revive it is to pop the slice directly onto a baking sheet in an oven preheated to about 350 degrees Fahrenheit for about 8 to 10 minutes. If you have an air fryer, that works wonders too—just 4 minutes at 375°F will get the bottom crispy again. If you’re planning ahead, you can even make a big batch and freeze leftovers before baking, then just add 10 minutes to the regular bake time!
If you’re looking for other ways to utilize simple ingredients for big flavor, I share some fun ideas for party food favorites over at my party sub recipe.
PrintNo-Knead Simple Crispy Pan Pizza

Make a flavorful, crispy pan pizza crust with this simple no-knead dough recipe. The dough ferments overnight for best results, and the hot pan method creates a perfectly crisp bottom.
- Prep Time: 15 min
- Cook Time: 20 min
- Total Time: 17 hours 35 min (includes 12-hour minimum cold ferment)
- Yield: 1 large pizza (about 8 slices)
- Category: Dinner
- Method: Baking
- Cuisine: American
- Diet: Vegetarian
Ingredients
- 3 cups All-Purpose Flour
- 1 1/2 teaspoons Salt
- 1/4 teaspoon Instant Dry Yeast
- 1 1/2 cups Cool Water
- 1/4 cup Olive Oil (for the pan)
- Your favorite pizza sauce and toppings
Instructions
- In a large bowl, whisk together the flour, salt, and yeast.
- Pour in the cool water and mix with a wooden spoon until just combined into a shaggy mass. Do not overmix.
- Cover the bowl tightly with plastic wrap and let it rest at room temperature for 2 hours.
- Place the covered bowl in the refrigerator for at least 12 hours, or up to 3 days, for the cold fermentation.
- About 3 hours before baking, remove the dough from the refrigerator. Gently scrape the dough onto a lightly floured surface. Fold the dough over itself 2 or 3 times to form a rough ball.
- Place the dough ball back into a lightly oiled bowl, cover, and let it rest at room temperature for 2 to 3 hours until it has increased in size.
- Place a 10-inch cast iron skillet or oven-safe pan on the stovetop over medium heat. Add the 1/4 cup of olive oil to the pan and let it heat up for 5 minutes.
- Gently stretch the dough to fit the bottom of the hot, oiled pan. If the dough resists, let it rest for 10 minutes and try again.
- Top the dough immediately with sauce and your chosen toppings.
- Carefully transfer the pan to a preheated oven at 475 degrees Fahrenheit (245 degrees Celsius).
- Bake for 15 to 20 minutes, or until the cheese is bubbly and the crust edges are deeply golden brown and crisp.
- Remove the pizza from the oven and let it cool in the pan for 5 minutes before slicing and serving.
Notes
- For the crispiest bottom, ensure your oil is hot before the dough goes into the pan.
- If you prefer a thicker crust, use a slightly smaller pan (like 9 inches).
- You can use bread flour instead of all-purpose flour for a chewier interior structure.
Nutrition
- Serving Size: 1 slice
- Calories: 350
- Sugar: 3
- Sodium: 450
- Fat: 14
- Saturated Fat: 2
- Unsaturated Fat: 12
- Trans Fat: 0
- Carbohydrates: 48
- Fiber: 2
- Protein: 10
- Cholesterol: 0



Comments are closed.