


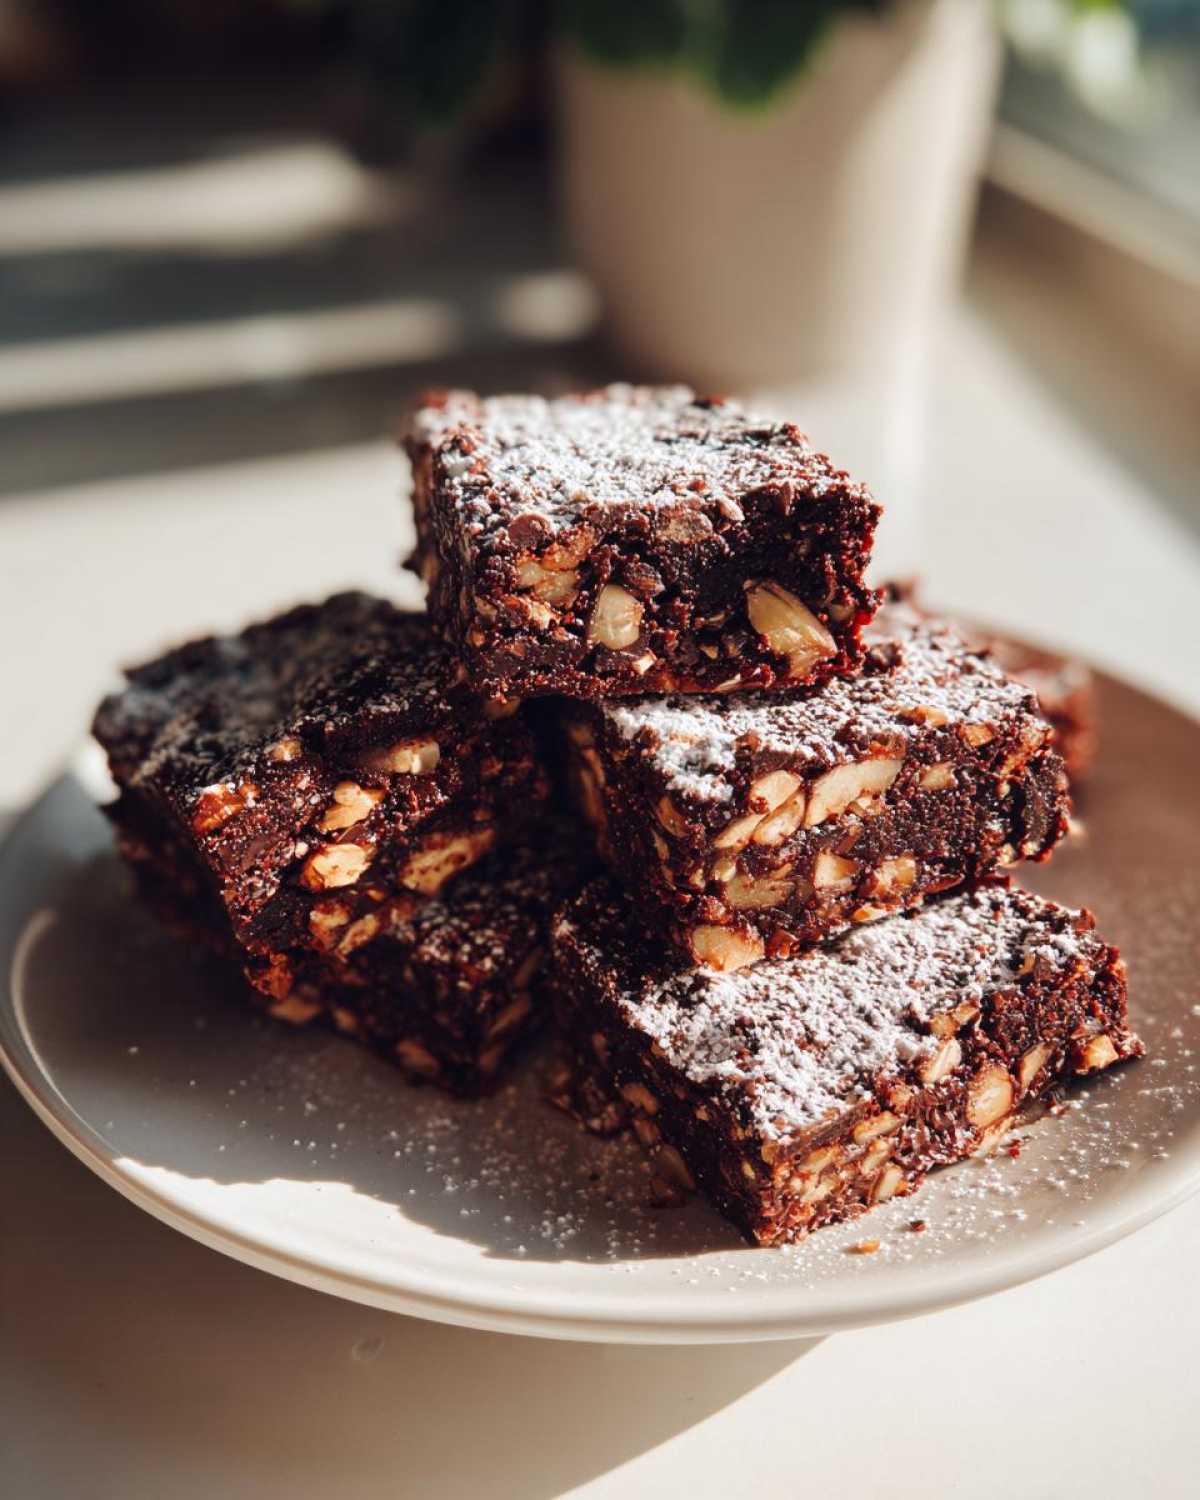
Oh, you know those recipes that just smell like happy childhood afternoons? That’s exactly what happens when I pull a pan of my famous Mud Hen Bars with Chocolate and Nuts out of the oven. I swear, these aren’t just cookies; they’re little fudgy time capsules! I found this ultra-classic version scribbled on the back of an old church cookbook. It took me about three tries to nail the perfect balance of chewiness and that rich, nutty chocolate flavor, but trust me, we’ve cracked the code now.
If you’re looking for the very best bar cookie that blends that deep chocolate taste with toothsome nuts, you’ve landed exactly where you need to be. We aren’t messing around with fancy techniques here; this is pure, comforting, homemade bakery style bar perfection!
Why You Will Love This Mud Hen Bars with Chocolate and Nuts Recipe
Why should you even bother pulling out the mixer for these? Because they deliver pure, unadulterated joy in a square, that’s why! Trust me, these bars are my go-to when I need something nostalgic lightning fast.
- They are ridiculously easy! Seriously, this is a one-bowl wonder once the creaming step is done.
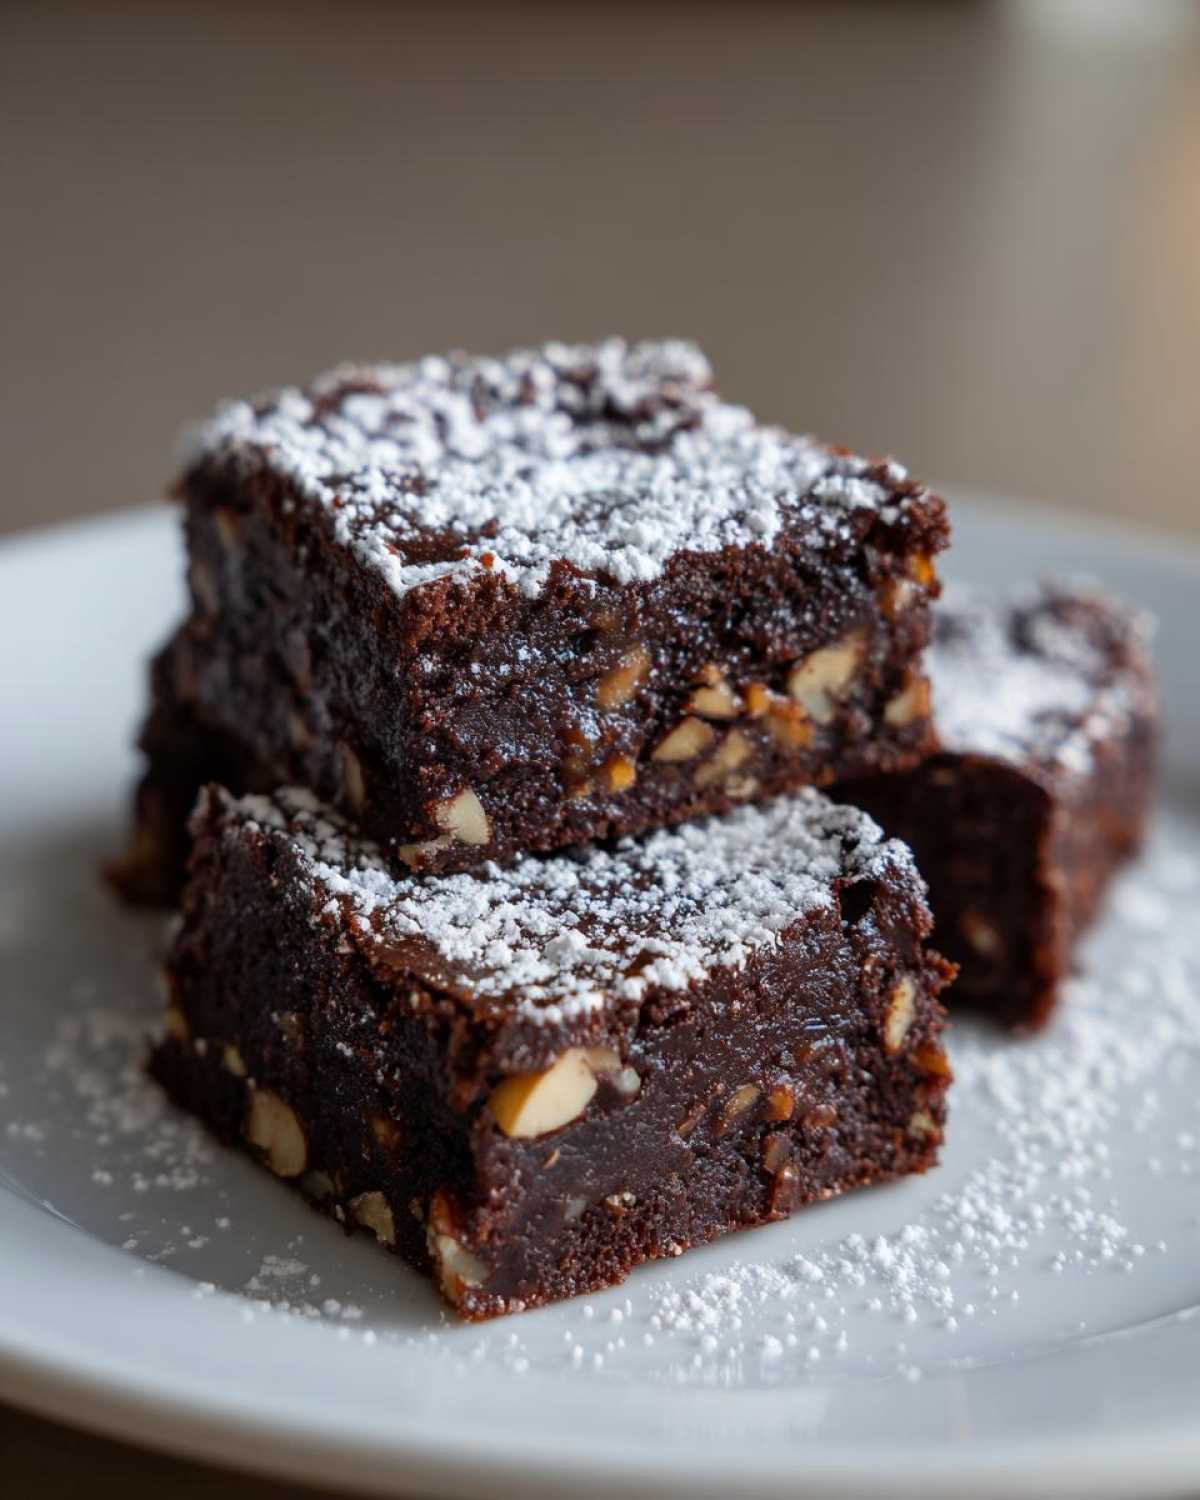
- The texture is just stellar—fudgy right in the middle but with those perfectly chewy edges we all crave.
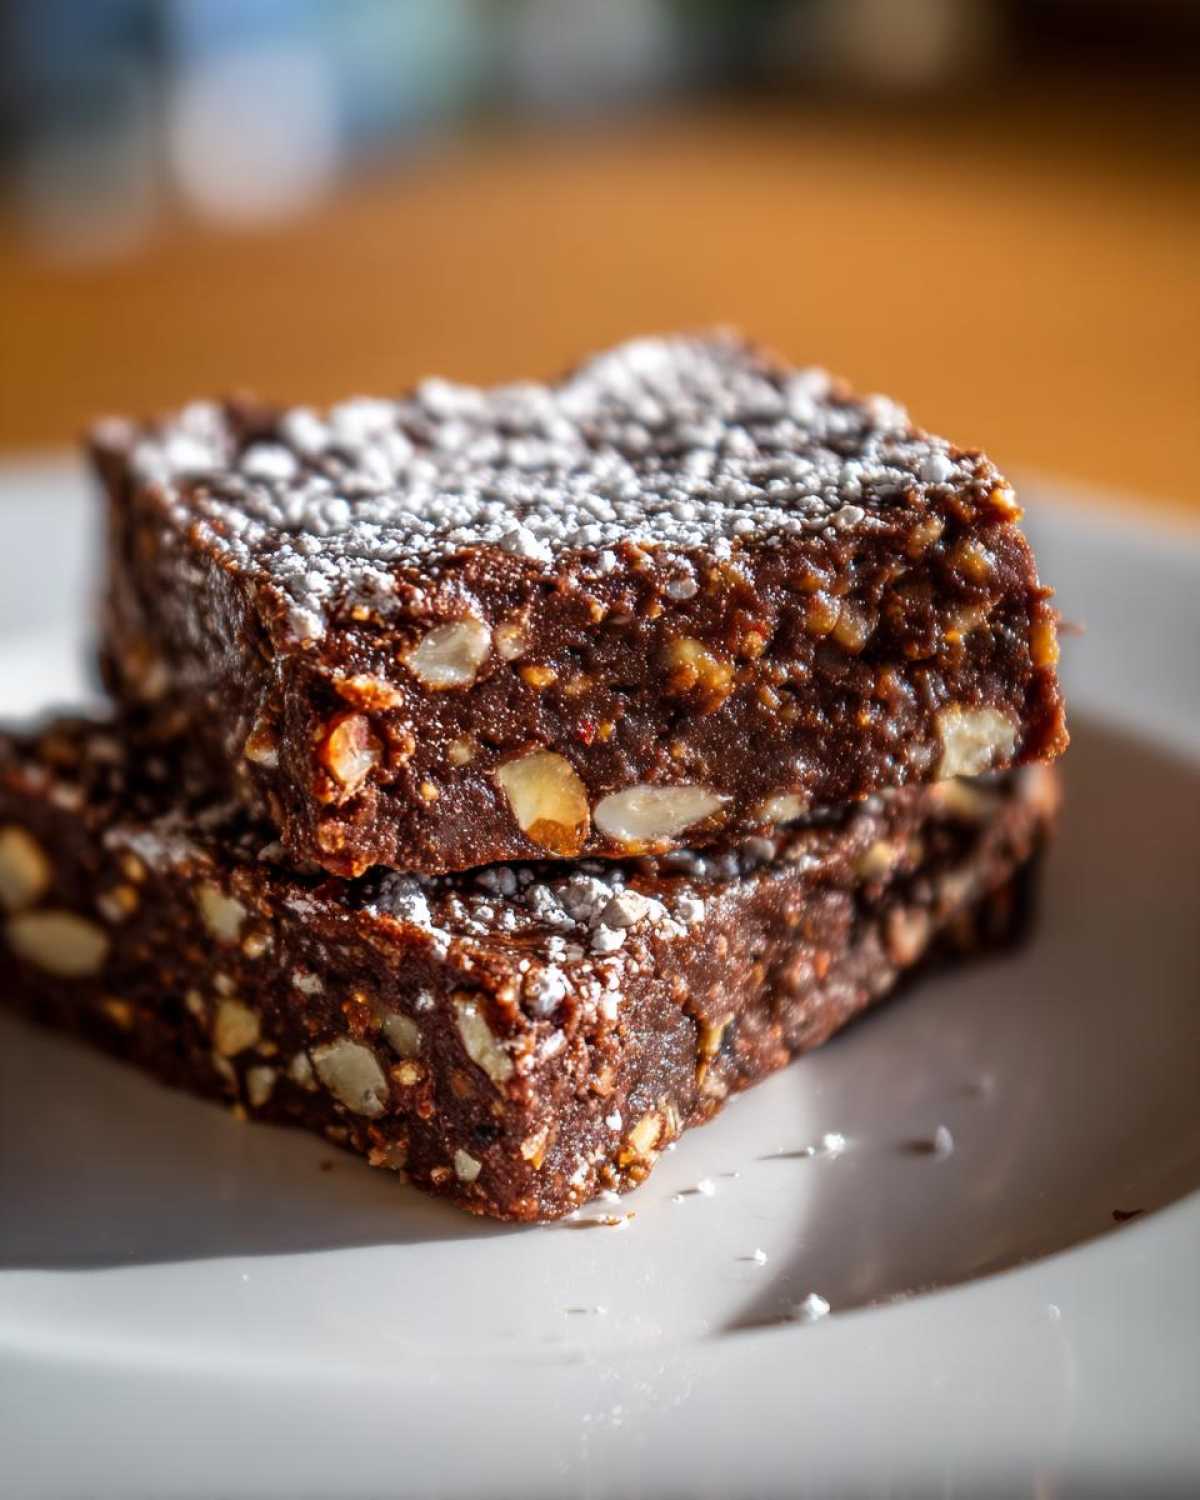
- You get a double hit of that classic comfort flavor: rich chocolate chips mixed with crunchy nuts.
- This is the ultimate retro dessert that tastes exactly how you remember those old-fashioned bar cookies should taste.
- They travel like a dream; perfect for potlucks or just packing in lunchboxes. Zero fuss, maximum flavor!
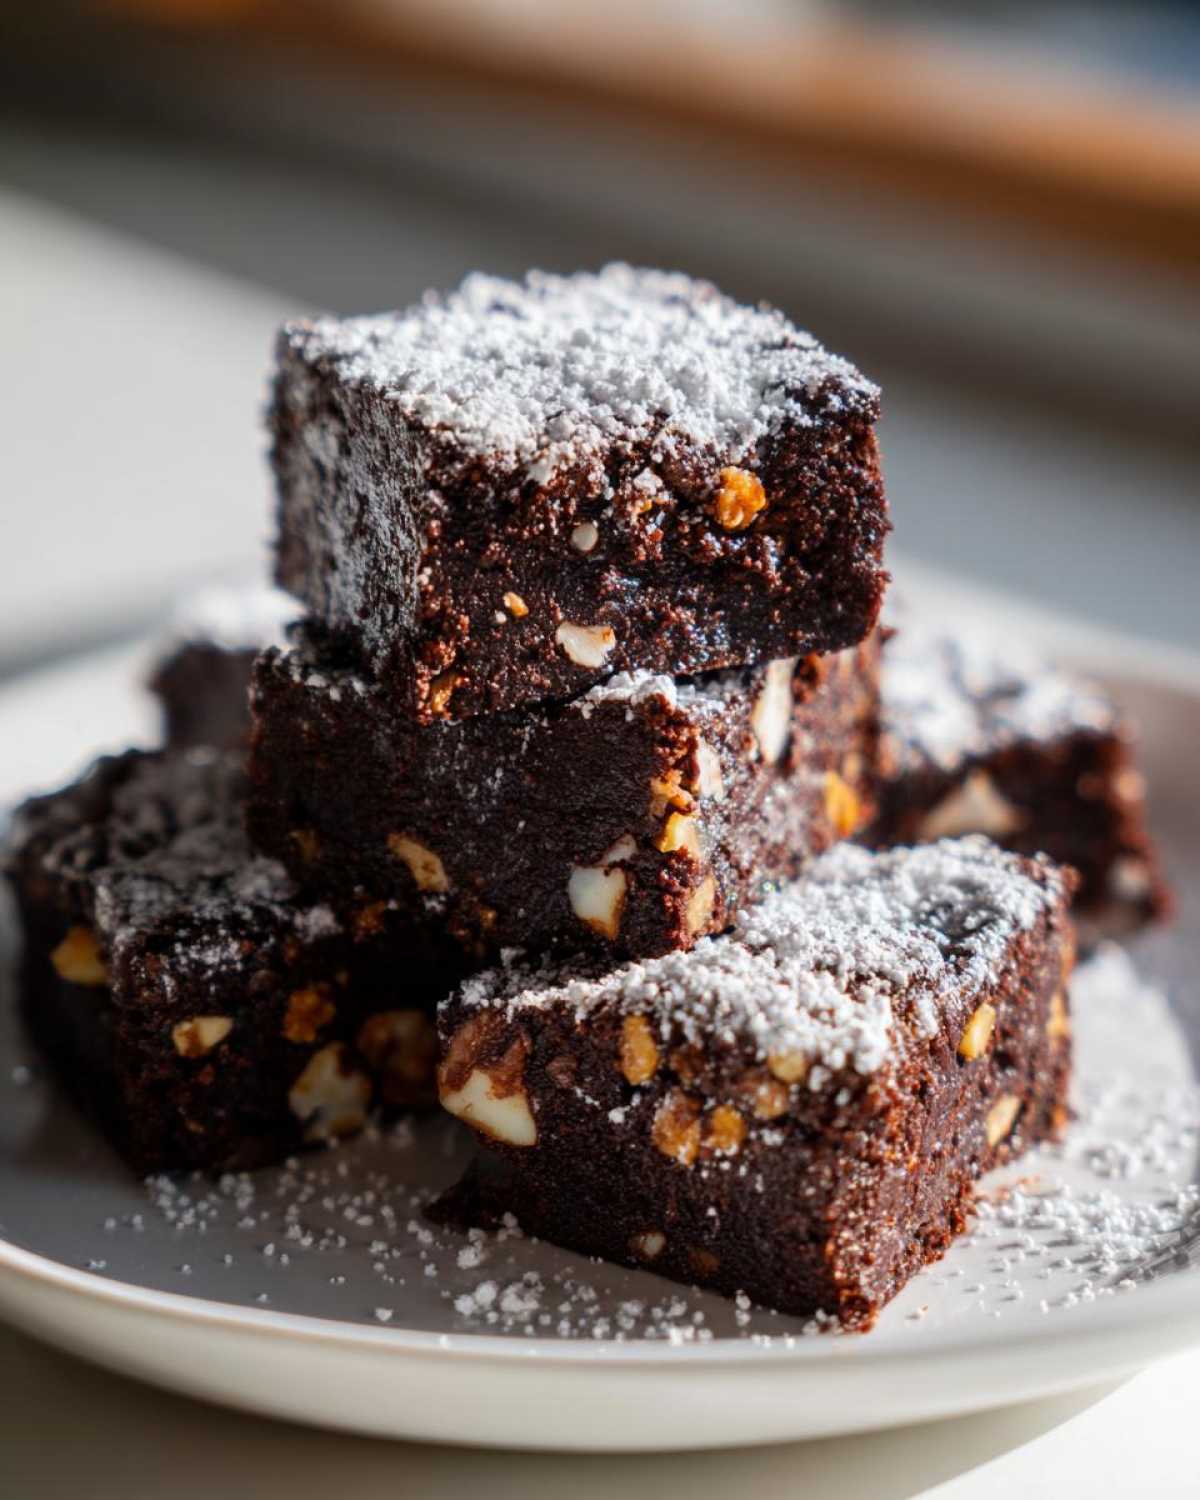
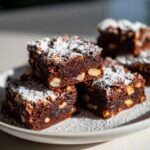
- The powdered sugar dusting on top gives these simple squares such a wonderful, slightly professional bakery-style finish.
See? What’s not to love about these incredible homemade bakery style bars? They disappear almost instantly!
Essential Ingredients for Perfect Mud Hen Bars with Chocolate and Nuts
Getting the base right is half the battle when making any classic bar cookie, and for our Mud Hen Bars with Chocolate and Nuts, quality ingredients really make the difference. You only need 11 basic things, but paying attention to what you grab makes these bars legendary!
- 1 cup (2 sticks) unsalted butter, softened—make sure it’s actually soft!
- 1 cup granulated sugar
- 1 cup packed light brown sugar—don’t skip packing it in!
- 4 large eggs—room temperature helps them mix better, honestly.
- 1 teaspoon vanilla extract
- 1 3/4 cups all-purpose flour
- 1/2 teaspoon baking soda
- 1/2 teaspoon salt
- 1 cup semi-sweet chocolate chips—I prefer the good name-brand ones here.
- 1 cup chopped pecans or walnuts—this is where the flavor pops!
- 1/2 cup powdered sugar (just for dusting at the very end)
See? Simple, yet designed for maximum flavor payoff. The combination of those two sugars and the richness of the butter creates such a wonderful foundation for the chips and nuts.
Ingredient Notes and Substitution Tips
Let’s talk tweaks, because I know you want to customize your squares! First, the nuts: I personally use pecans because they have a slightly sweeter, buttery flavor, but my mom swears by walnuts for that extra earthy bite. You can absolutely mix them, 50/50 style, if you can’t decide!
When it comes to the butter, please make sure it’s softened. If it’s cold, you’ll end up with clumps in your batter, and we want smooth foundations for these fudgy nut bars. And remember, the eggs should be close to room temp too, so they incorporate smoothly with the creamed butter. If your eggs are ice cold, they can shock the butter and make it separate a bit. We want cohesion here!
Step-by-Step Instructions for Making Mud Hen Bars with Chocolate and Nuts
Okay, putting this fantastic batter together is where the magic happens! It moves quickly, so make sure your oven is ready to go. This process is exactly how you build a fantastic, sturdy layer for that delicious chocolate and nut topping later. You’re aiming for a batter that is rich and thick, almost like a brownie batter, which is what holds all those wonderful mix-ins together.
It seems simple, but that last fold is critical for texture. When you mix in the chocolate chips and nuts, use a spatula, not the mixer! If you beat them in, you risk overdeveloping the gluten, and we want these retro dessert ideas to be tender, not tough. My personal tip for achieving that perfect ‘moist crumb’ texture that keeps people asking for the recipe? I gently stop mixing the dry ingredients in just as the last streak of flour disappears. That slight under-mixing ensures tenderness.
Once everything is folded—and I mean gently folded—into that gorgeous, thick base, just spread it into your pan. Get it smooth, pop it in, and start setting your timer! If you want to check out another great fudgy recipe while these bake, take a peek at my ultimate fudge brownie guide.
Preparing the Pan and Oven
First things first, grab a 9×13 inch baking pan. Get that oven warmed up to 350 degrees Fahrenheit right away! Before you even start creaming your butter, you need to prep that pan. I like to use a combination of grease and flour, making sure to get into all the corners. This step is non-negotiable, especially with sugary bar cookies like these. If these stick, you’ll be scraping them out, and trust me, you don’t want to waste a single crumb of these easy chocolate nut squares!
Mixing the Batter for Your Mud Hen Bars with Chocolate and Nuts
Time to cream! Use your mixer to beat that softened butter with both the granulated and brown sugars until it’s genuinely light and fluffy—we’re looking for pale yellow here. Then, eggs go in one at a time; beat well after each addition, followed by the vanilla. In a separate bowl, quickly whisk your flour, baking soda, and salt together. Now, add those dry ingredients to the wet mixture slowly, mixing only on low speed until they just disappear. Stop mixing right then! Overmixing here is the fastest way to ruin the wonderful texture we are building for these homemade bakery style bars.
Folding in Chocolate and Nuts and Baking
This is where the fun starts! Take your chocolate chips and your chopped pecans or walnuts and fold them lovingly into the batter with a big rubber spatula. Aim for even distribution! Then, spread that thick mixture evenly into your prepared pan. Bake it for 25 to 30 minutes at 350°F. You’ll know they are done when a toothpick inserted near the center comes out with only a few moist crumbs clinging to it—no wet batter, no dry stick! Let them cool completely before you even think about dusting them.
Tips for Baking the Best Mud Hen Bars with Chocolate and Nuts
Okay, you’ve mixed and baked, but here are my absolute must-do tips so your Mud Hen Bars come out looking like they came straight from a high-end vintage bakery. If you want that perfect fudgy texture, pay close attention to the final couple of minutes in the oven!
For that deep, rich melt, try baking them just shy of fully done. That means pulling them out when the toothpick has those moist crumbs—not wet batter, but definitely not dry either. They finish setting up beautifully on the counter as they cool, which keeps them wonderfully soft. If you like an extra fudgy texture, I cut the baking time by about two minutes, which works like a charm!
Also, the presentation matters! Don’t rush the cooling process before dusting with powdered sugar. If you try to dust a warm bar, the sugar melts right into the surface, leaving you with a sticky mess instead of that beautiful, opaque white finish. If you want a totally different look for your easy chocolate squares, try pressing half of your chopped nuts right on top of the batter for a really crunchy crown before they go into the oven. For more ways to elevate simple chocolate squares, check out how I layer flavor in my chocolate chip cookie brownies!
Remember, these are inherently moist bars, so they don’t need much help, but respecting those baking times keeps them tender every single time.
Storage and Reheating Instructions for Homemade Bakery Style Bars
Since these homemade bakery style bars have such a lovely moisture level thanks to all that butter and sugar, storage is pretty straightforward. You want to keep them sealed up so they don’t go stale or dry out on the edges. I never seem to have leftovers because everyone dives in, but for those rare times I manage to squirrel a few away, I have a specific routine.
The best way to keep these fudgy nut bars tasting just-baked is to let them cool completely—and I mean stone-cold—before you do anything else. If you try to store warm bars in a container, the condensation that forms will make them gummy, and nobody wants a gummy bar cookie!
Once they are totally cool, stack them up in layers in an airtight container. If you want to be extra careful about the powdered sugar dusting staying perfect, place a single sheet of parchment or wax paper between the layers. This prevents smearing when you reach for one later.
You can absolutely leave them right on your counter at room temperature for up to four days. Seriously, they hold up that well! I keep mine tucked away in the pantry where it stays cool. Because they contain quite a bit of sugar, they don’t need refrigeration, and honestly, chilling them just makes them taste denser and less chewy than I like. If you happen to freeze any (which I only do if I made a double batch!), just let them thaw overnight on the counter in their container, and they’ll be good as new.
Variations on Classic Chocolate Nut Bar Recipe
Even though this recipe for our old-fashioned bar cookies is pretty near perfect—and definitely includes the ideal chocolate and nut combination—sometimes you just need to switch things up a little bit, right? I love tweaking things slightly based on what I have in the pantry or just what mood strikes me that day. These are just small adjustments, nothing that changes the core identity, but enough to make the batch feel brand new!
Switching Up the Chocolate Goodness
If semi-sweet is getting boring, try mixing up the chocolate types! Instead of using just one cup of semi-sweet chips, I sometimes do half semi-sweet and half dark chocolate chunks. The chunks melt differently than the chips, giving you ribbons of intense, dark chocolate throughout the bar. That extra depth tastes amazing with the toasty nuts.
For an extra decadent feel, try stirring in about a quarter cup of melted white chocolate at the very end, right before you fold in the nuts. It will swirl a bit—don’t try to mix it fully!—and when baked, those white swirls look gorgeous against the brown base. It’s a subtle but fun visual change for these easy chocolate squares.
Extracts and Flavor Boosters
Vanilla is classic, but what about adding a little pop of flavor? Since we’re already talking about rich chocolate, a half-teaspoon of almond extract blended in with your vanilla will give these squares a sophisticated twist that feels totally retro. It plays wonderfully with the pecans!
Another thing I sometimes do, especially for holiday baking seasons, is adding a little citrus zest. A teaspoon of orange zest added right when you add the vanilla brightens up the whole flavor profile beautifully. It cuts through the richness just enough to make you want another bite. For other ways I love incorporating warmth and zest into my bakes, you have to see my thoughts on brown butter raspberry cookies! Totally different, but the flavor infusion philosophy is the same.
Topping Ideas Beyond Powdered Sugar
While I adore that simple, nostalgic dusting of powdered sugar, sometimes you want a little crunch right on top. Before the bars go into the oven, you can sprinkle on a very light layer of turbinado sugar—that coarse brown sugar—instead of mixing all the nuts in. This creates a slightly crunchy, caramelized crust that contrasts perfectly with the chewy interior.
If you want something truly easy after they cool, just drizzle melted milk chocolate right over the top in a zig-zag pattern. Let that set up completely, and then dust your powdered sugar over the chocolate drizzle. You get that beautiful layered look and an extra burst of sweetness. It makes them look like they came from a professional shop!
Serving Suggestions for Your Mud Hen Bars with Chocolate and Nuts
Honestly, these Mud Hen Bars are so rich and perfectly balanced they don’t *need* anything else, but what’s the fun in baking if you can’t enjoy them with a perfect companion?
Since these bars pack a nice chocolate and nut punch, they pair incredibly well with something cooling, like a scoop of vanilla bean ice cream melting slowly over the fudge layer. That combination is pure heaven in the summer!
For an afternoon treat? Forget elaborate desserts. These squares are fantastic next to a tall glass of cold milk—a true blast from the past. Or, if you’re looking for something warm to balance the cold treat, you can’t beat pairing them with a freshly brewed, slightly sweet coffee. Maybe even try shaking up that iced brown sugar latte I just made; the caramel notes are just *chef’s kiss* with the chocolate and pecans. You can find my recipe for the perfect shaken espresso if you need that afternoon pick-me-up!
They are just a wonderful, easy treat that makes any moment feel a little more special.
Frequently Asked Questions About Mud Hen Bars with Chocolate and Nuts
What is the origin of the name Mud Hen Bars?
That’s the question I get asked most often! Funnily enough, the exact origin isn’t perfectly clear, which just adds to the charm of these retro dessert ideas! Most food historians think the name comes from old newspaper recipes printed in the 1920s and 30s, where they were often listed as simple, unfussy potluck squares—the kind of thing you toss together quickly. They weren’t meant to be gourmet; they were just satisfying and sturdy, much like a “mud hen” (a type of rail bird) is known for being hardy. It’s a wonderfully old-fashioned name for such a delicious, easy chocolate nut square!
How do I prevent these easy chocolate nut squares from baking up dry?
This is all about respecting the mixing and the time in the oven, honestly. Since these are a bit more cake-like than a true brownie, they can dry out fast if overbaked. My biggest piece of advice is to pull them out when the toothpick still has **moist crumbs** attached, not when it comes out totally clean. That slightly under-baked center finishes setting up on the counter and keeps the bars soft for days! Also, using the packed brown sugar measurement is key, as that molasses content adds critical moisture compared to using all white sugar.
Can I adapt this recipe for a gluten-free diet?
Absolutely! These old fashioned bar cookies adapt really well because the structure relies heavily on the fat (butter) and eggs rather than just the flour. When I make gluten-free versions, I substitute the all-purpose flour with a good quality 1-to-1 gluten-free baking blend that already has xantham gum included. Make sure the blend you choose measures cup-for-cup like regular flour. It works like a charm! I like to check out how others manage replacements, and you might find inspiration from my notes on chocolate peanut butter bars for handling substitutes.
Are there other nuts I can use instead of pecans or walnuts?
Go ahead and experiment! While pecans and walnuts are the classic choice that balances the chocolate so well, you can certainly swap them out. Almonds work beautifully, offering a slightly different type of crunch. If you toast your almonds lightly before chopping them, you’ll get an even better, nuttier flavor that really elevates these simple dessert bars. Just try to keep the chop size somewhat consistent so they distribute evenly throughout your batter!
What’s the best way to get that clean powdered sugar topping?
Patience, my friend! This is really important for that classic look. You must let the bars cool completely—I mean, completely—before you shake that powdered sugar over the top. If the bars are even slightly warm, that sugar melts instantly, creating a patchy, sticky glaze instead of the lovely matte finish you want on these homemade bakery style bars. Once they are cool, use a fine mesh sieve and dust lightly but evenly over the entire surface. A light, second dusting after about 30 minutes can give it that professional, layered look!
Nutritional Estimates for This Retro Dessert Idea
Now, look, I always tell folks that we bake these amazing Mud Hen Bars with Chocolate and Nuts for the sheer joy of it—not because they’re a health food! But I know some of you are curious about what you’re digging into when you grab one of these fudge nut bars. So, here’s the breakdown based on using the ingredients listed for yield of 24 squares.
It’s super important for you to know that these numbers are just my best guess. I mean, if you use fancy Belgian chocolate or pecans instead of walnuts, things shift a little, right? This table just gives you a good ballpark idea of the calories and macros based on standard measurements. Don’t take this as gospel, but it’s good context for enjoying this delicious retro dessert idea!
- Serving Size: 1 square
- Calories: 220
- Sugar: 18g
- Sodium: 85mg
- Fat: 13g
- Saturated Fat: 6g
- Unsaturated Fat: 7g
- Trans Fat: 0g
- Carbohydrates: 24g
- Fiber: 1g
- Protein: 3g
- Cholesterol: 45mg
See? A little treat, but totally worth the indulgence when you get that perfect chewy texture we worked so hard for. Enjoy every bite!
PrintMud Hen Bars with Chocolate and Nuts
A recipe for classic Mud Hen Bars featuring a rich chocolate base and a mix of chopped nuts.
- Prep Time: 20 min
- Cook Time: 30 min
- Total Time: 50 min
- Yield: 24 squares
- Category: Dessert
- Method: Baking
- Cuisine: American
- Diet: Vegetarian
Ingredients
- 1 cup (2 sticks) unsalted butter, softened
- 1 cup granulated sugar
- 1 cup packed light brown sugar
- 4 large eggs
- 1 teaspoon vanilla extract
- 1 3/4 cups all-purpose flour
- 1/2 teaspoon baking soda
- 1/2 teaspoon salt
- 1 cup semi-sweet chocolate chips
- 1 cup chopped pecans or walnuts
- 1/2 cup powdered sugar (for dusting)
Instructions
- Preheat your oven to 350 degrees Fahrenheit. Grease and flour a 9×13 inch baking pan.
- In a large bowl, cream together the softened butter, granulated sugar, and brown sugar until light and fluffy.
- Beat in the eggs one at a time, mixing well after each addition. Stir in the vanilla extract.
- In a separate medium bowl, whisk together the flour, baking soda, and salt.
- Gradually add the dry ingredients to the wet ingredients, mixing on low speed until just combined. Do not overmix.
- Fold in the chocolate chips and the chopped nuts by hand.
- Spread the batter evenly into the prepared baking pan.
- Bake for 25 to 30 minutes, or until a toothpick inserted near the center comes out with moist crumbs attached.
- Let the bars cool completely in the pan on a wire rack.
- Once cool, dust the top evenly with powdered sugar before cutting into squares.
Notes
- For a fudgier texture, slightly reduce the baking time.
- You can substitute pecans with walnuts or use a mix of both nuts.
- Store cooled bars in an airtight container at room temperature for up to four days.
- For a different look, you can press the nuts into the top of the batter before baking instead of mixing them in.
Nutrition
- Serving Size: 1 square
- Calories: 220
- Sugar: 18g
- Sodium: 85mg
- Fat: 13g
- Saturated Fat: 6g
- Unsaturated Fat: 7g
- Trans Fat: 0g
- Carbohydrates: 24g
- Fiber: 1g
- Protein: 3g
- Cholesterol: 45mg


Comments are closed.