


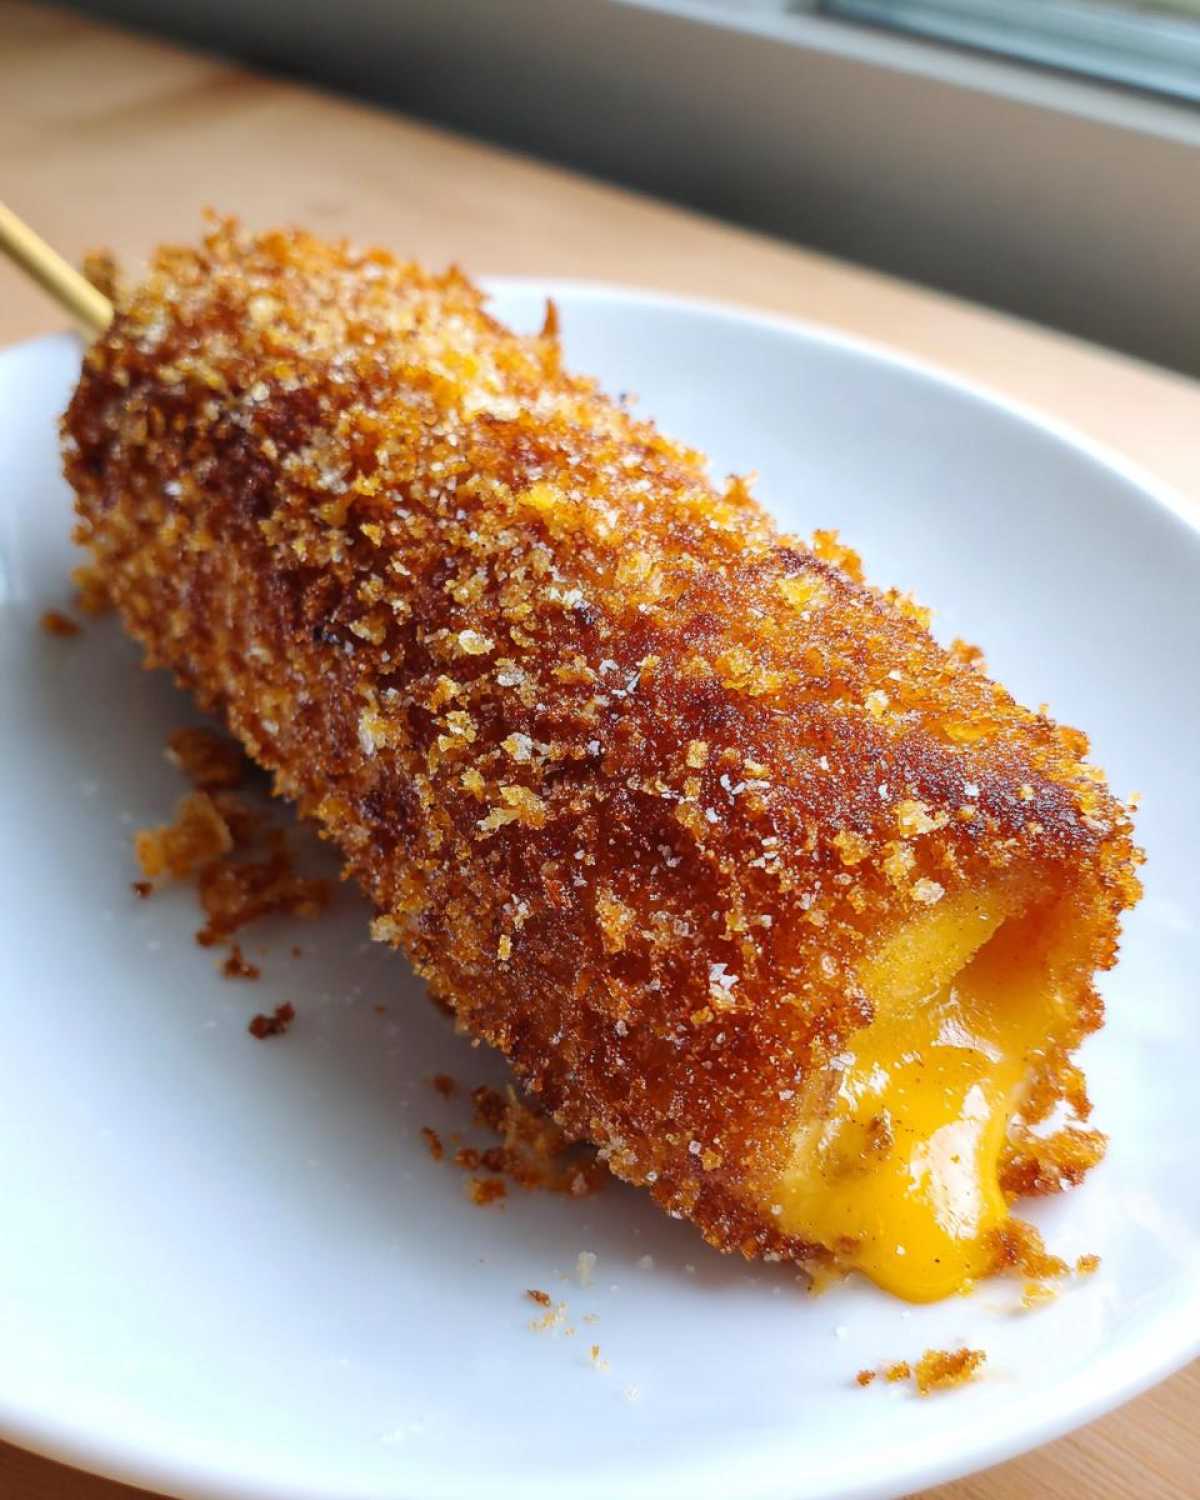
Oh, my goodness, I have captured the magic, friends! If you’ve seen those mesmerizing videos online—the ones where someone cracks open a perfectly golden fried stick to reveal that unbelievable, gravity-defying cheese pull—you know exactly what I’m talking about. We are finally making that viral sensation: the korean corn dog! My goal here at Sunday Flavor is always to bring that weekend joy into your everyday cooking, and trust me, achieving that signature crunch—whether you choose the fluffy panko or the amazing potato-crusted version—is totally doable.
As I share on my About Me page, leaving my corporate life was all about chasing this kind of joy, and this recipe delivers! We are getting the exterior outrageously crispy and that interior satisfyingly gooey. Forget tricky street food techniques; we’re keeping it real and delivering authentic flavor right here.
Why You Need This Viral Cheesy Korean Corn Dog Recipe
Seriously, you need this recipe on your weeknight rotation. I know it looks like complicated Korean street food, but I promise, once you nail the batter, these go together so fast—perfect for a fun weekend cook! This isn’t just another deep-fried snack; it’s an experience.
Here’s why this korean corn dog is about to take over your snacking life:
- You get that unmistakable, ultra-crispy texture that stays crunchy longer than normal batters.
- The half-and-half option guarantees you get both a savory bite and that amazing, stretchy cheese pull!
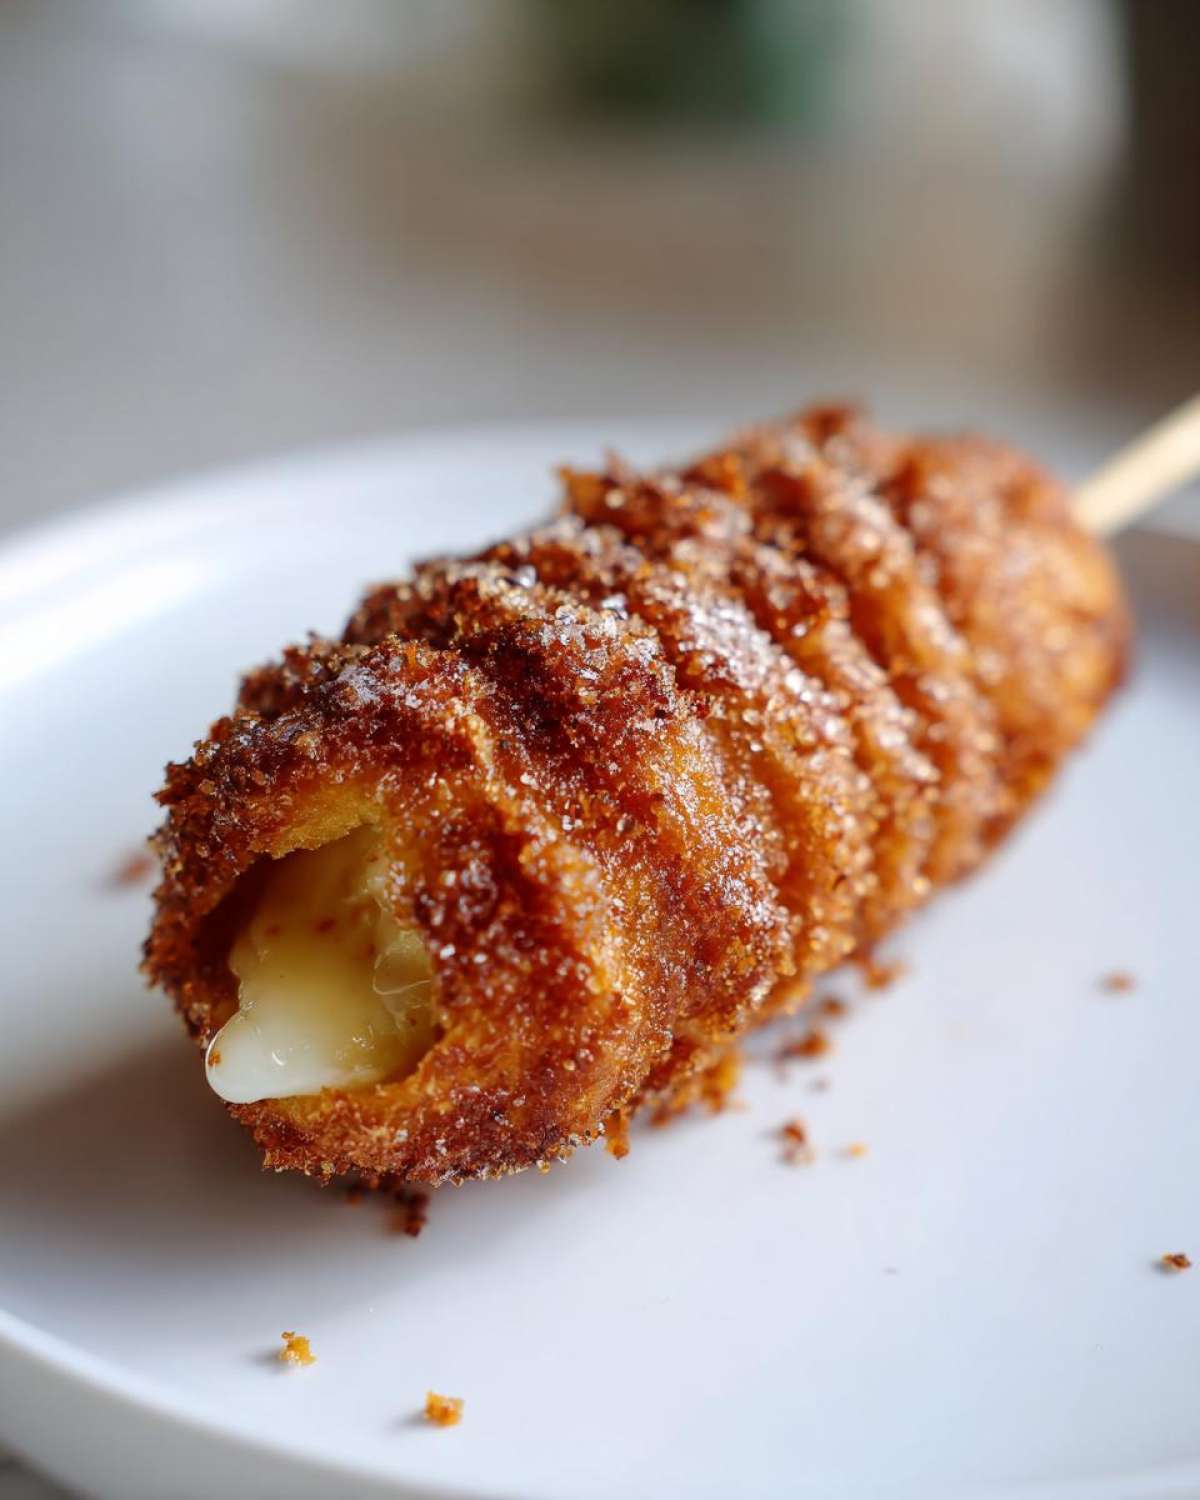
- It delivers that perfect sweet and savory snack balance when you dust it with sugar right out of the oil.
Trust me, once you see how simple the technique is, you’ll be whipping up batch after batch!
Gathering Ingredients for Your Homemade Korean Corn Dogs
Alright, let’s talk gear! For the best korean corn dog you’ve ever had, you can’t skimp on the core components. The batter is where the magic starts, and we need sweet rice flour—it’s the secret to that slight chewiness that classic recipes often miss. Remember, quality ingredients make all the difference when you’re aiming for that authentic taste!
If you’re eyeing up other deep fried snack ideas, you might want to check out my take on Jalapeño Cheddar Corn Fritters right here, but for these dogs, focus on the filling and the crust for now.
Coating Options: Panko vs. Potato Crusted Korean Corn Dog
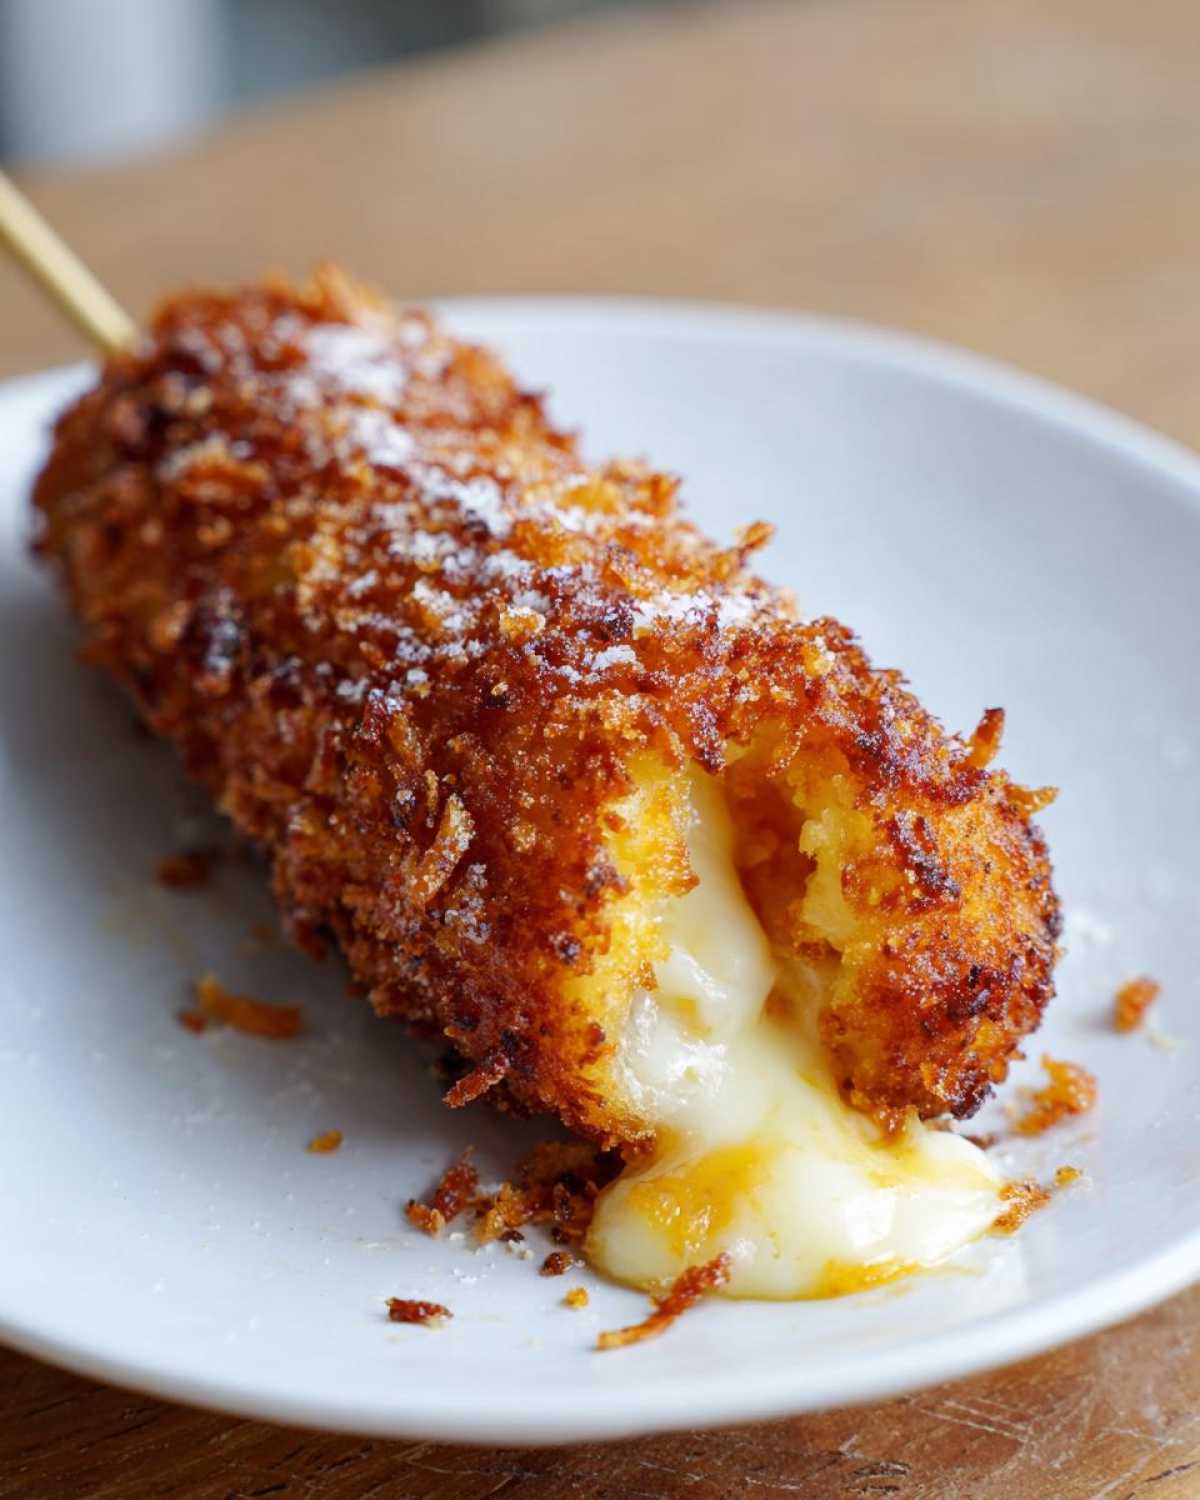
This is where you get to customize your crunch! We have two heavy hitters here. Panko breadcrumbs give you that super light, airy, and wonderfully classic crunchy shell. If you’re feeling trendy, you’ll want to opt for the diced frozen fries for that true *Gamja hotdog recipe* texture.
Expert Tip Alert! If you go with the potatoes, listen to Chloe: make absolutely certain those little potato pieces are patted bone-dry before they touch the batter. Excess moisture means oily splatters, and we want that batter to adhere beautifully, not slide off when it hits the oil!
How to Make Korean Corn Dogs: Step-by-Step Instructions
Okay, this is where we bring it all together to create the perfect Korean corn dog! Don’t let the steps scare you; it’s really just about timing and temperature control. If you want that phenomenal crunch, you have to respect the resting process of the batter—this is the key to that light, airy shell!
Activating Yeast and Preparing the Best Corn Dog Batter
First things first, we need happy yeast! Mix that yeast right into your lukewarm water and let it sit about 5 to 10 minutes until it gets foamy on top. That foam means your yeast is alive and ready to work! While that’s happening, whisk your dry ingredients—the flours, baking powder, salt, and sugar—in a big bowl. Once the yeast is bubbly, pour in the yeast mixture and that beaten egg. Mix it until it’s smooth and thick enough that it hugs the spoon a bit. Then, cover the bowl completely. You absolutely must let this batter rest in a warm spot for a good hour, maybe 1.5 hours. We need it to double in size; that rising action is crucial for that airy interior so it doesn’t become a heavy brick!
The Art of Coating: Achieving the Perfect Korean Corn Dog Texture
While the batter rests, get your dogs ready. Pat those sausages and mozzarella sticks aggressively dry—seriously, dry as a bone, please! Skewer them up firmly. Now, set up your dipping stations: one plate for your panko or your diced potatoes. Once your beautiful, puffy batter is ready, dunk the skewered dog in completely. Make sure every single inch is covered, then lift it up and let the excess drip off for just a second. Immediately roll it into your chosen coating. You need to press gently but firmly so all those little pieces stick right on there. This pressing is what guarantees that extra crispy exterior we love!
Deep Frying Techniques for a Golden, Crispy Fried Snack
Time for the sizzle! Pour enough cooking oil into your heavy-bottomed pot—about two to three inches deep. You need that oil to hit exactly 350°F (175°C). If it’s too cool, your corn dog gets soggy; too hot, and the outside burns before the inside warms up. Use a thermometer if you have one; it’s the best tool for this! Carefully lower no more than two dogs in at a time—don’t crowd the pot! Fry them for about 3 to 4 minutes, turning them gently with tongs until they turn a deep, stunning golden brown all over. As soon as they look perfect, pull them out and put them immediately on that wire rack lined with paper towels to drain off all that extra oil. After that, you can check out this great tip for making quick corn soup!
Tips for That Gooey Cheese Pull in Your Korean Corn Dog
Okay, let’s talk about the absolute best part: that dreamy, stretchy cheese pull! It’s the whole reason we obsess over these, right? Getting that perfect gooey center when you bite in takes just a little thought about your filling choice.
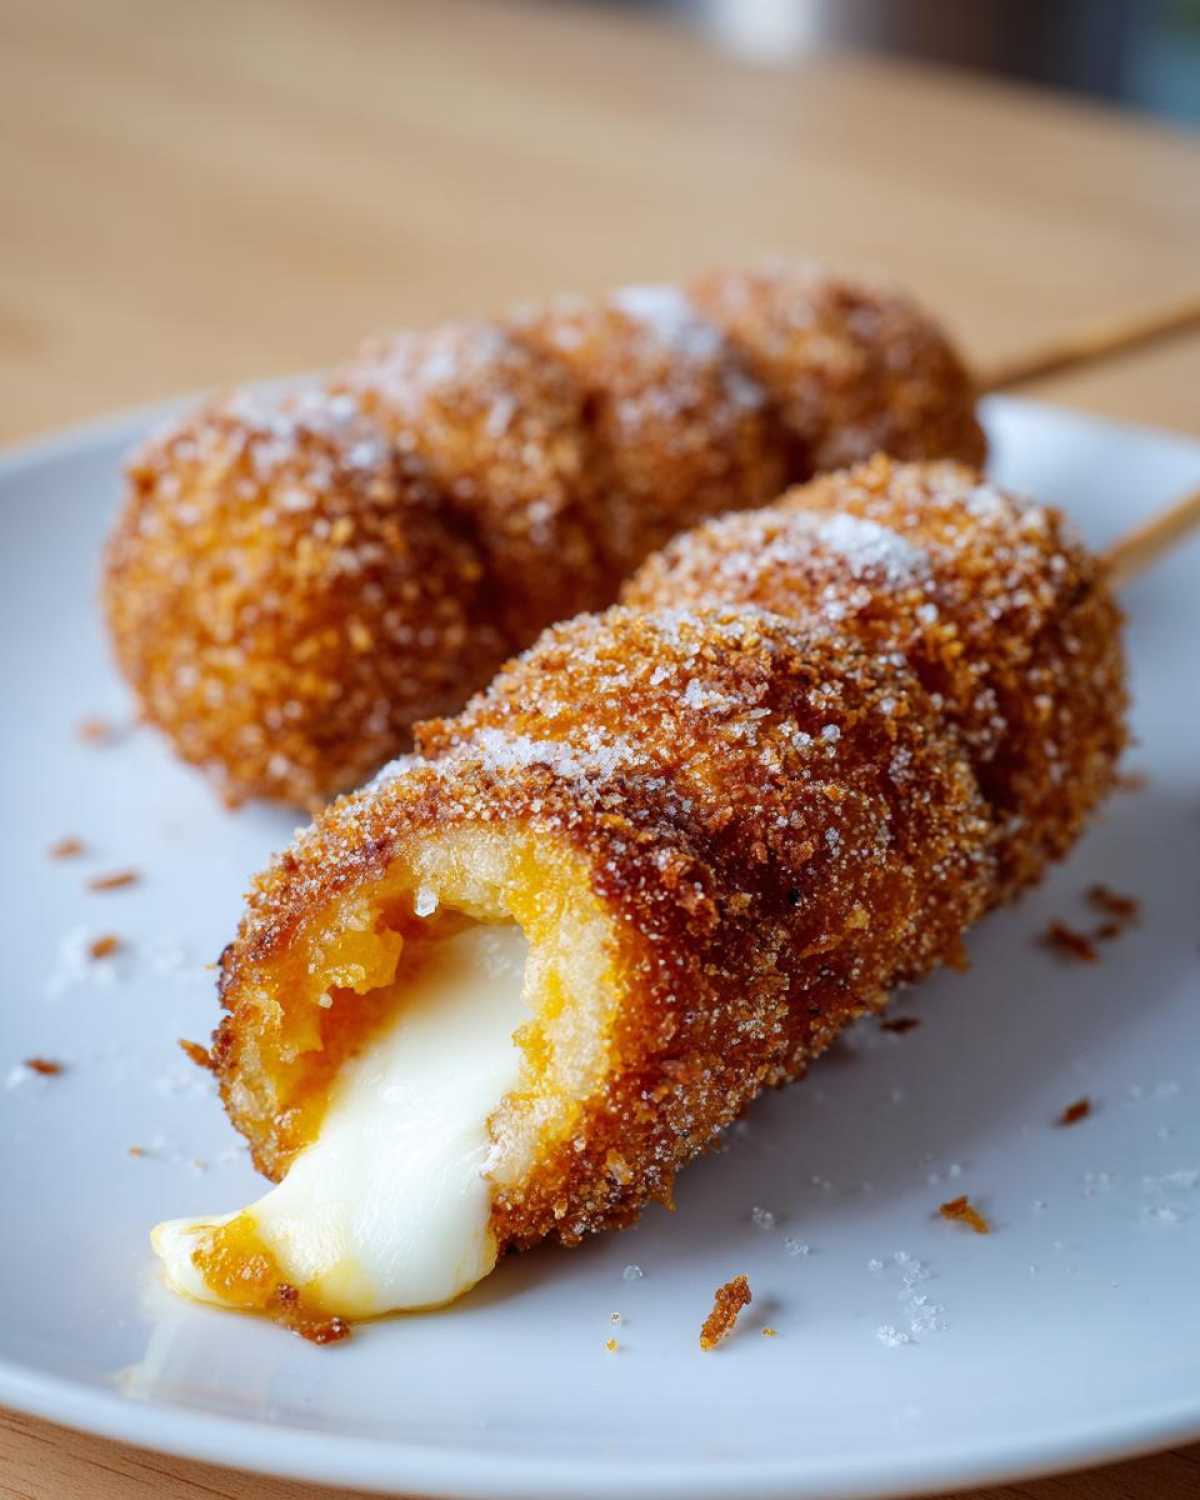
My number one piece of advice for the ultimate stretch is to skip fresh mozzarella, even though it tastes lovely. Fresh kind has too much water and can break down weirdly during the high heat of frying. You really want to stick to low-moisture mozzarella sticks, or if you’re making the half-and-half, cut your block mozzarella into nice, thick pieces.
Also, make sure your meat and cheese are at room temperature before skewering them. If it’s ice-cold inside, the batter cooks while the center stays stubbornly solid! You want everything to heat through together so that glorious cheese stretches like taffy when you pull it apart. For some other great cheesy appetizers, you should see my recipe for Prosciutto Wrapped Mozzarella Bites! For more ideas on achieving that perfect bite, check out the tips over at Feed Your Hunger.
Finishing Touches: Serving Your Korean Corn Dog Like Korean Street Food
We’re in the home stretch, and this final step is what separates a good korean corn dog from the authentic stuff you see all over social media! Right when you pull these glorious, crispy tubes out of the oil and onto the draining rack—while they are still piping hot—you need to work fast.
Grab that container of plain granulated sugar. Seriously, dust them generously! The heat melts the sugar just enough that it sticks perfectly, giving you that signature sweet and savory snack coating. It sounds strange, but trust me, it’s mandatory for the true Korean street food vibe.
Next up are the drizzles! You can always serve them plain, but for the full experience, grab the basics. A zigzag of ketchup, a stripe of yellow mustard, or maybe even a light drizzle of mayonnaise. Pile these onto a big platter—these make the ultimate party appetizers—and watch them disappear! For more incredible ideas for your next gathering, check out my Ultimate Party Sub Recipe.
Korean Corn Dog Variations: Potato vs. Panko
You know I love giving you choices, right? Deciding on your coating is the fun part because it completely changes the final experience of your korean corn dog! If you want that classic, airy crunch that just shatters when you bite it, definitely stick with the panko breadcrumbs. It’s a texture that’s instantly recognizable.
But if you go for the diced potatoes—the *Gamja* style—you get something chunkier, a bit more substantial, and salty from the fries themselves, which pairs beautifully with the sweet sugar dusting! Both methods create incredible crunchy outside, but the mouthfeel is totally different. For more inspiration on crispy coatings, swing by the recipes linked at Just For Fruits.
Storage and Reheating Instructions for Crispy Fried Snacks
Listen, I know leftovers happen! But I’m going to be honest with you—these korean corn dogs are absolutely next-level amazing when they are fresh and hot. That glorious crispy coating we worked so hard to achieve tends to sag a little bit once it cools down and sits in the fridge. It’s just the nature of deep-fried batter!
But don’t toss them! We can try to bring some life back into our remaining crispy fried snacks. Forget the microwave, okay? Microwaves are the enemy of crispiness; they just make everything soft and slightly chewy. That’s a sad ending for a good corn dog!
If you’ve got just one or two left, your best bet is going to be the oven or, even better, the air fryer. If you’re using an air fryer, set it to about 360°F (180°C) and let them cook for about 5 to 7 minutes. Keep an eye on them! If you use the oven, set it to about 375°F (190°C) on a baking sheet. You want high, dry heat to crisp up that batter again.
If you’re planning ahead for a big batch, I always recommend keeping the leftovers in an airtight container in the fridge for up to two days. But honestly, the best way to enjoy them? Make just enough for everyone in one go, or plan to eat the leftovers within 12 hours and reheat carefully. For more tips on reviving crispy items, you have to see how I get my zucchini fries crispy again!
Frequently Asked Questions About Making Korean Corn Dogs
It’s so common to have questions when tackling a new, exciting recipe like this! When I first started experimenting with this easy corn dog recipe, I had a whole list of things I was unsure of. I’ve pulled together the most common queries here so you feel super confident diving into your batch of homemade Korean corn dogs. It’s all about building that trust in the kitchen!
Can I make a Korean corn dog without yeast?
Oh, absolutely you can! Yeast is what gives us that beautiful, slightly fluffy structure, but if you’re short on time or just don’t have any on hand, you can easily swap it out. For this recipe, just leave out the yeast and increase your baking powder to about 2 teaspoons instead. What you end up with is more like a quick bread batter—still delicious, still crunchy, but maybe a tiny bit denser than the yeasted version. It’s a total lifesaver when you need a quick snack!
What is the best oil temperature for frying the korean corn dog?
This is the golden question, my friends! Temperature management is the key to avoiding oil-logged, soggy shells. You must hit that sweet spot of 350°F (175°C). If the oil is too cold, the batter soaks it up before it has a chance to set and crisp. If it’s too hot, the outside burns black before that lovely chicken pesto pasta-level of warmth reaches the center, leaving your mozzarella corn dog cold inside! Keep that thermometer handy; it’s your best friend here.
For even more expertise on getting textures just right, check out the detailed guides over at Honest Food Talks!
Estimated Nutritional Data for This Korean Corn Dog Recipe
Okay, real talk time! Since these glorious, crispy snacks involve deep-frying, we have to be mindful of what we’re putting into our bodies! Here is a general breakdown of the estimated nutrition you can expect from one of these amazing, cheesy korean corn dogs, based on the recipe above.
This information is crucial for those of us who like to keep track! Remember, this is just an estimate, and if you use different sausages, cheese, or a different cooking method (like cutting back on oil absorption), your final numbers will shift slightly. If you’re looking for some lower-carb alternatives for sides, you absolutely have to try my Low-Carb Zucchini Enchiladas recipe!
Here’s the snapshot per serving (one corn dog, including the sugar dusting):
- Serving Size: 1 corn dog
- Calories: 350
- Fat: 20g
- Saturated Fat: 7g
- Carbohydrates: 35g
- Protein: 15g
- Sodium: 450mg
- Sugar: 12g
You’ll notice that sugar content is a little higher than standard dogs because that final toss in granulated sugar really adds up—but that’s what gives it that incredible street food flavor profile we’re after! Enjoy knowing exactly what you’re eating as you indulge in this fantastic sweet and savory snack.
PrintViral Cheesy Korean Corn Dogs: Crispy Potato & Panko Coated Recipe

Master the internet-famous Korean Corn Dog at home! This recipe gives you the secret to an incredibly crispy exterior, whether you choose the potato crust (Gamja Hotdog) or classic panko, paired with a gooey, stretchy mozzarella center. Make this sweet and savory street food snack tonight!
- Prep Time: 30 min
- Cook Time: 15 min
- Total Time: 45 min
- Yield: 6 servings
- Category: Snack
- Method: Deep Frying
- Cuisine: Korean
- Diet: Vegetarian
Ingredients
- 1 cup all-purpose flour
- 1/2 cup sweet rice flour (or substitute with more all-purpose flour)
- 1 teaspoon baking powder
- 1/2 teaspoon salt
- 1 tablespoon granulated sugar
- 1 cup lukewarm water
- 1 packet active dry yeast
- 6 hot dogs or sausages (half mozzarella, half sausage recommended for half-and-half style)
- 6 wooden skewers
- 1 large egg, beaten
- 1 cup panko breadcrumbs (for coating option 1)
- 1 cup finely diced frozen french fries or shredded potato (thawed and patted very dry, for coating option 2)
- Cooking oil, for deep frying
- Granulated sugar, for dusting
- Optional Sauces: Ketchup, yellow mustard, mayonnaise
Instructions
- Prepare the yeast: In a small bowl, combine the lukewarm water and yeast. Let it sit for 5 to 10 minutes until foamy.
- Make the batter: In a large bowl, whisk together the all-purpose flour, sweet rice flour, baking powder, salt, and sugar. Pour in the activated yeast mixture and the beaten egg. Mix until you have a smooth, thick batter. Cover the bowl and let the batter rest in a warm place for 1 to 1.5 hours until it doubles in size.
- Prepare the dogs: Pat the hot dogs or mozzarella sticks completely dry. Insert a wooden skewer firmly into the center of each sausage or cheese stick.
- Set up coatings: Prepare two shallow dishes. Place the panko breadcrumbs in one dish and the diced/shredded potato in the other.
- Coat the corn dogs: Dip each skewered hot dog entirely into the risen batter, ensuring it is fully coated. Let excess batter drip off briefly.
- Apply crust: Immediately roll the battered dog in your chosen coating—either the panko or the diced potato—pressing gently so the pieces adhere well.
- Heat the oil: Pour about 2-3 inches of cooking oil into a deep, heavy-bottomed pot or Dutch oven. Heat the oil to 350°F (175°C). Use a thermometer to monitor the temperature for best results.
- Fry: Carefully lower 1 or 2 corn dogs into the hot oil, ensuring you do not overcrowd the pot. Fry for 3 to 4 minutes, turning occasionally, until the coating is deep golden brown and crispy.
- Drain: Remove the corn dogs with tongs and place them on a wire rack lined with paper towels to drain excess oil.
- Finish and serve: While the corn dogs are still hot, immediately roll them in granulated sugar for that classic sweet and savory flavor. Serve immediately with your favorite sauces for drizzling.
Notes
- For the best cheese pull, use low-moisture mozzarella sticks or cut mozzarella blocks into thick pieces for the half-and-half style.
- If you use the potato coating, ensure the potatoes are extremely dry before coating the batter; this prevents the oil from splattering excessively.
- If you prefer a slightly thinner batter, add a tablespoon or two more water, but keep it thick enough to cling well to the sausage.
Nutrition
- Serving Size: 1 corn dog
- Calories: 350
- Sugar: 12
- Sodium: 450
- Fat: 20
- Saturated Fat: 7
- Unsaturated Fat: 13
- Trans Fat: 0
- Carbohydrates: 35
- Fiber: 1
- Protein: 15
- Cholesterol: 40

Comments are closed.