


Oh, when summer hits and you need something bright, zesty, and unbelievably easy, you know I always have the answer! Forget turning on that hot oven; we are making pure, tropical magic straight from the fridge. Seriously, nothing beats the look on people’s faces when you slice into this stunning dessert and it’s perfectly firm yet so smooth. This is my go-to recipe for family BBQs because it never fails to impress. I am talking about the Ultimate Creamy No-Bake Key Lime Cheesecake. It delivers that intense, tangy lime flavor you dream about without any fuss!
Why This No Bake Key Lime Cheesecake is Your New Favorite Summer Dessert
Okay, if you’ve been searching for a showstopper that doesn’t require any sweat equity (or turning on the oven in July), this is it! This make ahead dessert is my secret weapon for backyard parties. You get all the amazing, bright citrus flavor without the stress.
- No oven needed means less heat in the kitchen!
- That intense, perfectly tangy lime flavor pops every time.
- It sets up beautifully into an ultra-creamy texture on its own.
- You can whip it up the day before, which is a lifesaver!
Achieving the Perfect Creamy Key Lime Cheesecake Texture
What makes this no bake key lime cheesecake feel so luxurious? It’s the filling base! We skip the eggs and rely on full-fat cream cheese beaten until it’s absolutely fluffy—no lumps allowed, trust me. Then we mix in that thick, sweet condensed milk. That heavy combination is what locks in that gorgeous, creamy key lime cheesecake texture once it chills. Just beat that cream cheese for a full minute before anything else goes in!
Ingredients for the Ultimate Key Lime Cheesecake Recipe
Okay, getting the ingredients right is half the battle, especially when we aren’t baking anything! For this key lime cheesecake recipe, we are only dealing with two teams: the crunchy, buttery crust, and that unbelievable, tangy filling. Every measurement has to be spot on to ensure that perfect ‘no-bake’ set. Make sure your cream cheese isn’t straight from the fridge; it should be totally softened so it mixes into silk. I’ve learned that lesson the hard way!
For the Graham Cracker Crust Cheesecake Base
First up is our foundation. We keep this super simple, but you have to press it in tight so it doesn’t crumble when you slice it. You’ll need:
- Graham cracker crumbs (about 1 1/2 cups)
- Granulated sugar for a little extra oomph (1/4 cup)
- Unsalted butter, melted until it’s clear and smooth (exactly 6 tablespoons!)
For the Tangy Lime Dessert Filling
This is where the magic happens and we get that signature punch of flavor. If you use bottled juice, I’ll know! We need the freshest stuff you can find to get that true bright lime dessert taste.
- The essential base: two whole 8-ounce packages of cream cheese, softened!
- Sweetened condensed milk (one 14-ounce can is perfect).
- Your key lime juice—you’ll need about 1/2 cup, which usually means squeezing 6 to 8 little limes.
- Don’t forget the zest! Just 1 teaspoon for that big flavor boost.
- A little splash of vanilla extract to round everything out.
How to Prepare Easy Key Lime Cheesecake Instructions
See? I told you this was going to be easy! There’s no complicated double-boiler or worrying about cracks here. Because this is a no-bake-oreo-cheesecake style of preparation, time is mostly spent waiting for it to set, not actively cooking. Just follow these steps precisely, and you’ll have the best key lime cheesecake ever. It’s mostly mixing, chilling, and then enjoying!
Making and Chilling the Graham Cracker Crust Cheesecake
First, let’s get that base ready. Once your graham crumb mixture is perfectly buttery, you need to press it firmly into the bottom of that 9-inch springform pan. I like to use the flat bottom of a measuring cup to really compress it down so it holds together nicely when serving. Once it’s snug, pop that whole thing into the fridge for about 15 minutes just while you whip up the filling. That little chill time is key for your key lime cheesecake foundation not mixing into the filling.
Mixing the Creamy Key Lime Cheesecake Filling
This technique is crucial for that signature smooth texture. Grab your electric mixer and whip that softened cream cheese until it looks fluffy—I mean *actually* smooth, fluffy, and zero lumps left. Then, slowly beat in the sweetened condensed milk until it’s perfectly blended. Only once those two are unified do you stir in your fresh key lime juice, the zest, and the vanilla. Stir it just until everything is uniform and you see it start to thicken up a bit. Don’t overmix here!
Setting and Serving the No Bake Key Lime Cheesecake
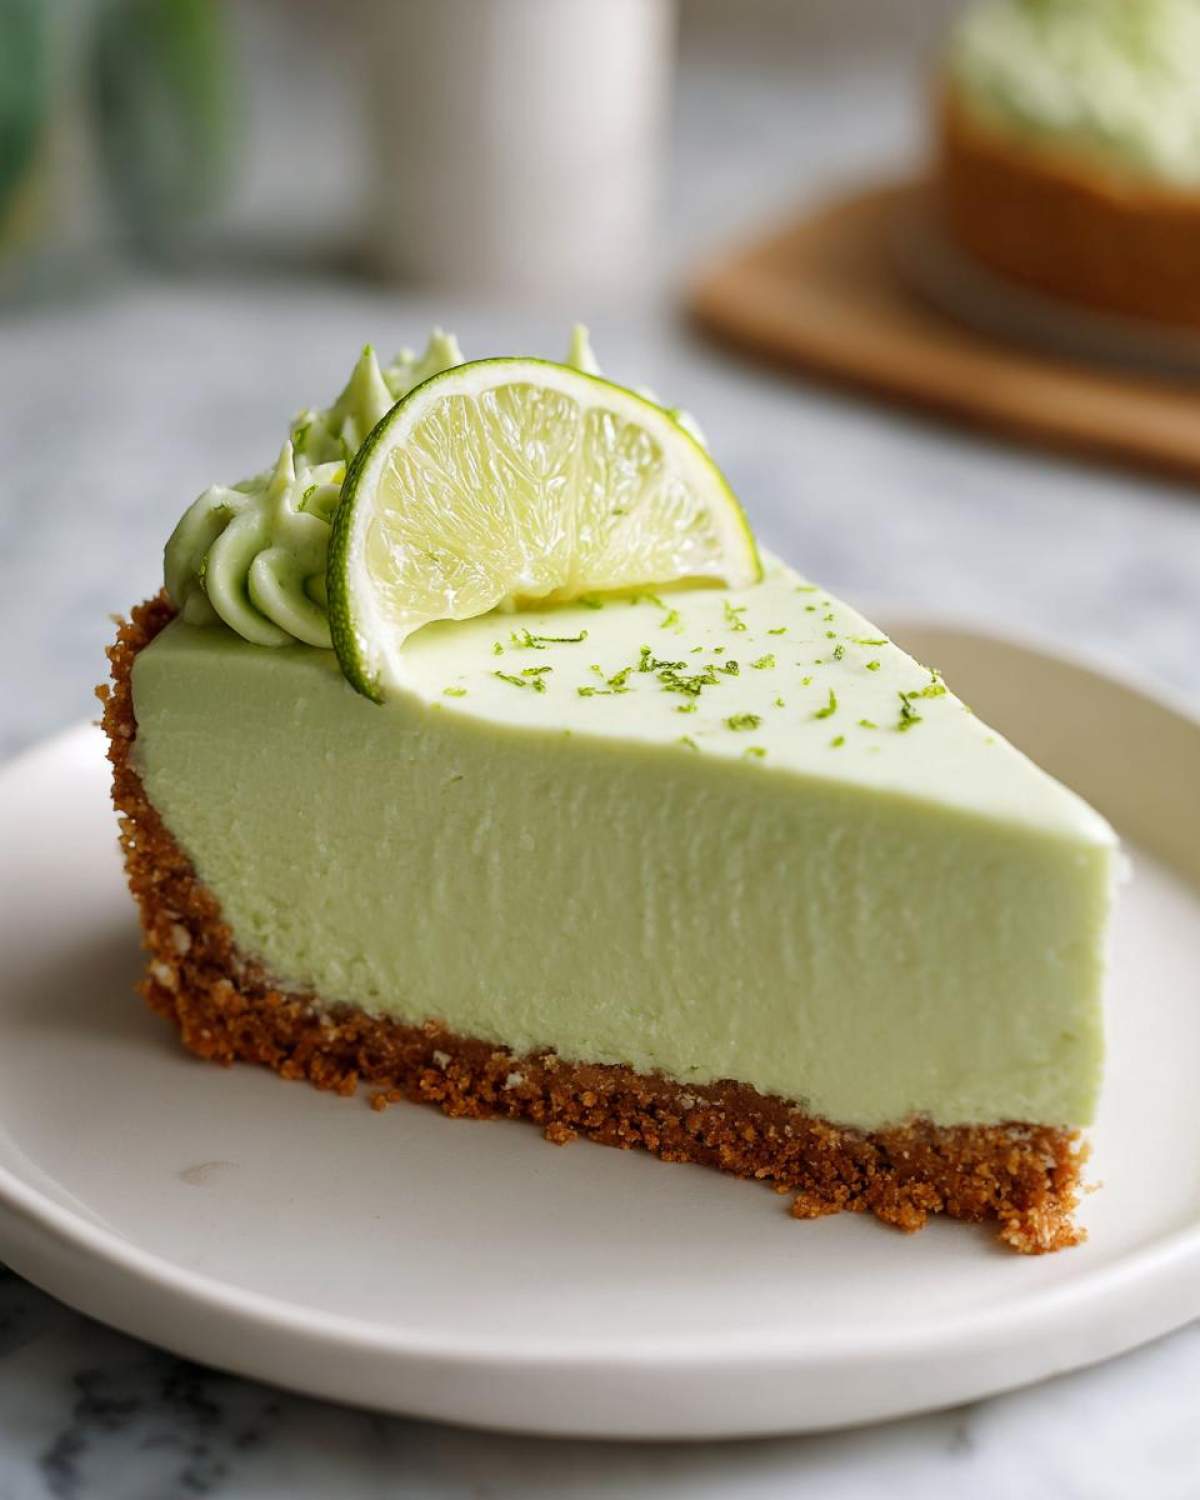
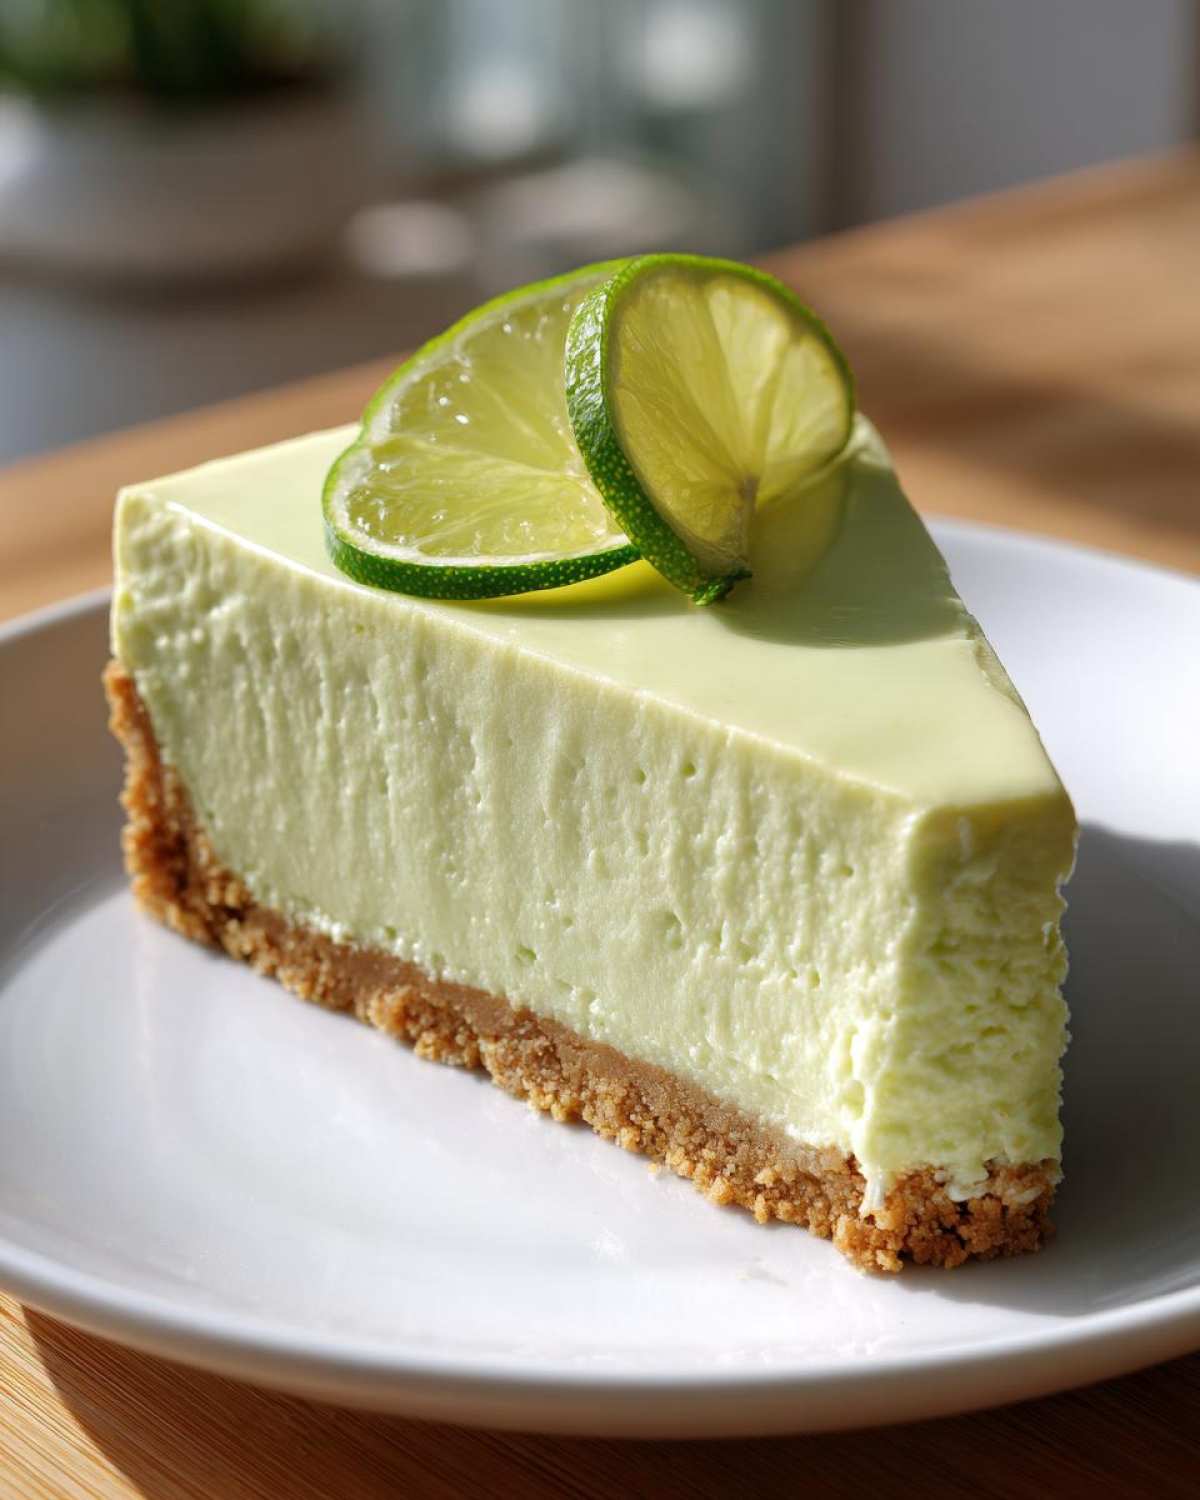
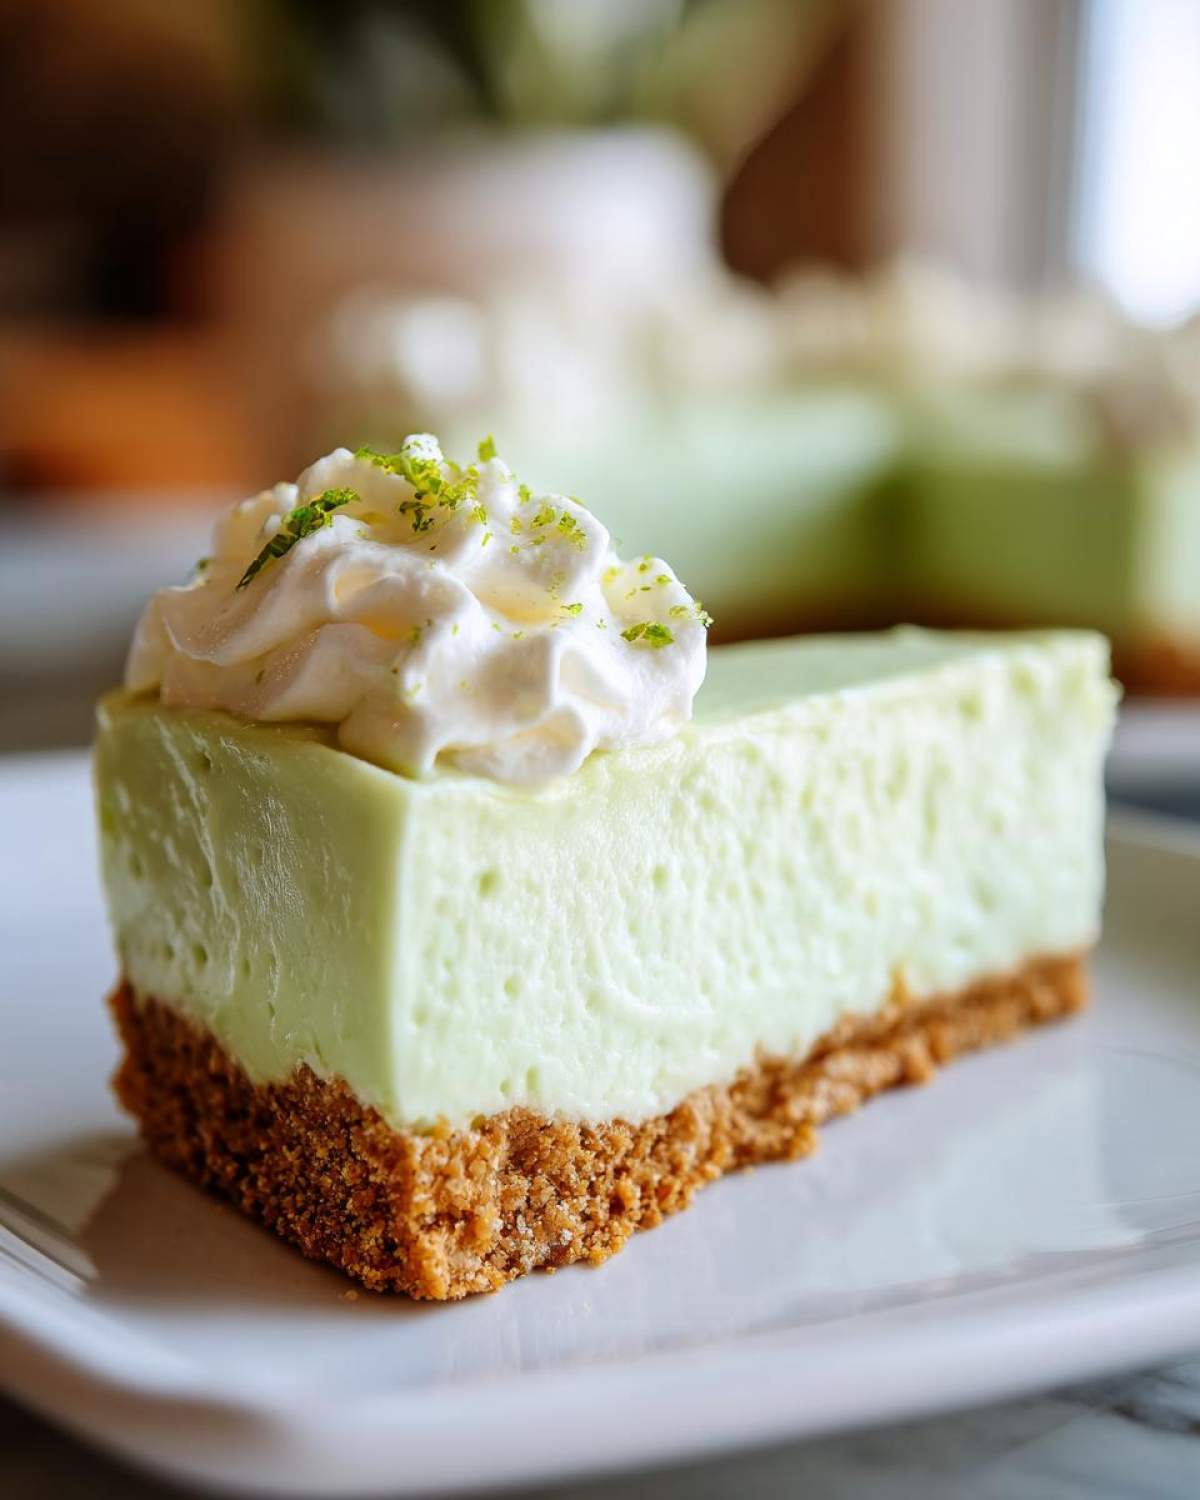
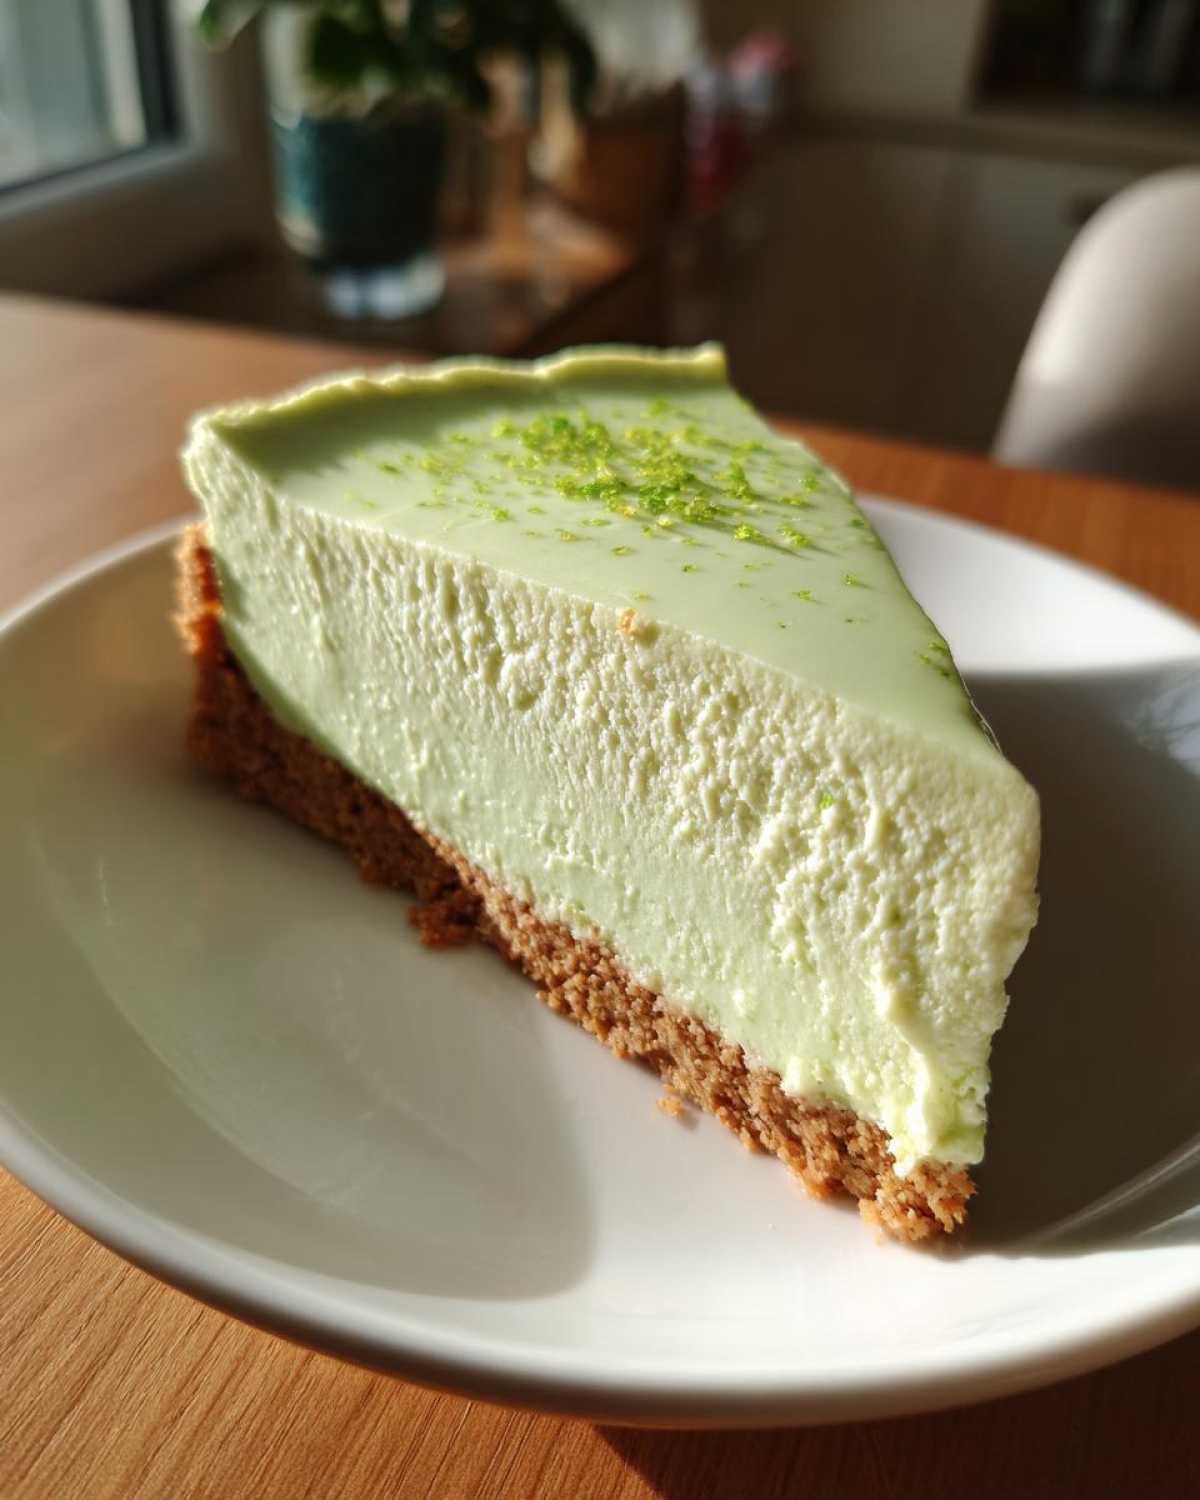
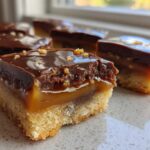
Pour that gorgeous, pale green filling right over your chilled crust. Use a small offset spatula to get the top nice and flat—it’s going to look gorgeous! Lightly cover the pan with plastic wrap—don’t let it touch the surface, just tent it—and move it carefully into the refrigerator. Now, this is the hardest part: you have to wait at least 6 hours, but honestly, overnight is so much better. When it’s totally firm the next day, gently undo that springform ring and decorate it with whipped cream or a few thin lime slices! You did it!
Ingredient Notes and Substitutions for Key Lime Cheesecake
Listen, I know sometimes finding actual key limes is like hunting for treasure, right? For the absolute best, most electric flavor in your creamy key lime cheesecake, you have to use the real deal. They are smaller and way more aromatic. If you absolutely can’t track them down, you can use regular Persian limes, but be careful!
If you switch to regular limes, dial back the amount slightly, like maybe 1/3 cup instead of a full 1/2 cup. Regular limes pack a harsher acid punch, and we don’t want our filling to curdle or taste too sharp. Simple as that!
And don’t stress about pan size, either! If you want faster results or are making treats for a crowd, turn this into mini key lime cheesecakes. Just line your muffin tin with paper liners, fill them up, and the chilling time drops significantly—usually down to about four hours instead of overnight.
Tips for Success: Crafting the Best Key Lime Cheesecake
Now that you have the steps down, let me share a few little secrets I learned over years of perfecting this tangy lime dessert. These small adjustments are what take you from a good cheesecake to someone begging for your recipe!
First, and this is non-negotiable for that ultra-smooth texture: all your dairy must be at room temperature before you even dream of turning on that mixer. I mean the cream cheese especially. If it’s too cold, you’ll get tiny, stubborn lumps, and we want silk! Take it out an hour before you start. It seriously makes all the difference in achieving that creamy key lime cheesecake we love so much.
Second, when you finally add that lime juice, pour it in slowly while the mixer is on low. The acid in the juice reacts with the milk solids and can cause things to seize up if you dump it all in at once. Slow and steady keeps the mixture light and airy inside, even though it’s no-bake!
Finally, don’t skip the zest, but be gentle when you zest those little limes! Only grab the bright green part. If you accidentally scrape into the white pith underneath, your cheesecake will taste bitter, and we are going for bright and zesty, not bitter! A fine microplane grater works best for this delicate job.
Storage and Make Ahead Desserts for Your Key Lime Cheesecake
This is the best part about any make ahead desserts recipe: you almost always get to make it early! Since this is a no-bake key lime cheesecake, it actually tastes better the longer it sits in the fridge, letting those tangy flavors deepen into the crust.
Keep your cheesecake covered tightly with plastic wrap directly in the refrigerator. It holds up beautifully for four full days! If you absolutely must freeze it, go for it—just make sure it’s tightly wrapped in a double layer of plastic and foil. Thaw overnight in the fridge for the best texture when you serve it.
Serving Suggestions for This Tropical Citrus Dessert
Because this tropical citrus dessert is so incredibly bright and tangy on its own, I like keeping the toppings simple so the lime really sings! A light blanket of fresh whipped cream is my absolute favorite—the creaminess cuts through the tartness perfectly. You could also drizzle on a tiny bit of caramel if you wanted something richer, but honestly, a few shavings of fresh lime zest right before serving is all this gorgeous key lime cheesecake needs!
Frequently Asked Questions About Key Lime Cheesecake
I get asked SO many questions about this recipe—it seems everyone wants that perfect, tangy result! Here are the things I hear most often when people try to make their first batch of this key lime cheesecake.
Can I use bottled key lime juice instead of fresh limes?
Technically, yes, you can use it if you absolutely cannot find fresh key limes. But please, listen to me: if you use bottled juice, you will lose some of that bright, complex floral aroma that makes this dessert famous. Plus, the consistency might be a little different. For the truly creamy key lime cheesecake experience, fresh is always the winner!
How long does this make-ahead dessert keep in the fridge?
Because we aren’t baking it, the texture stays perfect longer! If you keep it well-covered with plastic wrap directly on the surface, it stays wonderfully fresh for about four days. It’s a fantastic make ahead dessert because you can often plan to make it Wednesday for weekend guests!
Can I adjust this recipe to bake it instead of no-bake?
I strongly advise against it since this recipe is specifically formulated for chilling! If you try to bake it, you’d need eggs for structure, and the sweetened condensed milk would likely caramelize too quickly and separate. Stick to the chill method if you want that perfect smooth set.
What is the secret to the best Graham Cracker Crust Cheesecake base?
The secret is pressing! Don’t be shy when you push the crumbs into the pan. Use the bottom of a measuring cup or a flat glass to really pack that mixture down firmly. If you leave it too loose, it crumbles apart when you try to slice through that beautiful creamy key lime cheesecake filling.
Estimated Nutritional Data for This Creamy Key Lime Cheesecake
I always try to give you folks an idea of what you’re diving into with this rich creamy key lime cheesecake. Remember, since we aren’t baking, the numbers are based on the exact ingredients listed, and using full-fat dairy means this is definitely a treat! These figures are just estimates, of course, so your final count might shift a tiny bit depending on your brand of cream cheese or how much juice you end up having to use.
- Serving Size: 1 slice
- Calories: 380
- Sugar: 30g
- Fat: 22g
- Cholesterol: 65mg
- Protein: 7g
Ultimate Creamy No-Bake Key Lime Cheesecake

Make a rich, tangy, no-bake key lime cheesecake with a simple graham cracker crust. This recipe is easy to prepare and perfect for summer desserts.
- Prep Time: 20 min
- Cook Time: 0 min
- Total Time: 6 hr 20 min
- Yield: 10 servings
- Category: Dessert
- Method: No-Bake
- Cuisine: American
- Diet: Vegetarian
Ingredients
- 1 1/2 cups graham cracker crumbs
- 1/4 cup granulated sugar (for crust)
- 6 tablespoons unsalted butter, melted
- 2 (8 ounce) packages cream cheese, softened
- 1 (14 ounce) can sweetened condensed milk
- 1/2 cup fresh key lime juice (about 6-8 limes)
- 1 teaspoon lime zest
- 1 teaspoon vanilla extract
- Optional: Whipped cream or lime slices for topping
Instructions
- Combine graham cracker crumbs and 1/4 cup sugar in a bowl. Pour in melted butter and mix until crumbs are evenly moistened.
- Press the crumb mixture firmly into the bottom of a 9-inch springform pan. Chill the crust in the refrigerator for 15 minutes.
- In a large bowl, beat the softened cream cheese with an electric mixer until smooth and creamy.
- Gradually beat in the sweetened condensed milk until fully combined.
- Stir in the key lime juice, lime zest, and vanilla extract until the mixture is uniform and slightly thickened.
- Pour the filling over the chilled crust. Spread the top evenly with a spatula.
- Cover the pan loosely with plastic wrap and refrigerate for at least 6 hours, or preferably overnight, until the cheesecake is firm.
- Before serving, carefully release the springform side. Top with whipped cream or lime slices if desired.
Notes
- Use fresh key lime juice for the best tangy flavor; bottled juice changes the texture slightly.
- If you cannot find key limes, use standard limes, but reduce the amount slightly as they are more acidic.
- To make individual mini cheesecakes, use a muffin tin lined with paper liners and reduce the chilling time to about 4 hours.
Nutrition
- Serving Size: 1 slice
- Calories: 380
- Sugar: 30g
- Sodium: 250mg
- Fat: 22g
- Saturated Fat: 13g
- Unsaturated Fat: 9g
- Trans Fat: 0.5g
- Carbohydrates: 38g
- Fiber: 1g
- Protein: 7g
- Cholesterol: 65mg

Comments are closed.