


Honestly, once you start making your own dips and sauces at home, you just never go back to that jarred stuff. It’s like tasting flavor for the first time! I remember when I first figured out the secret to a stable emulsion for a proper garlic aioli—it was such a game-changer. Forget complicated techniques; this recipe is truly my version of the ultimate, super-creamy dip, focusing heavily on deep, sweet roasted garlic flavor. It tastes gourmet, but trust me, it’s incredibly straightforward. After a few frustrating batches that broke on me, I finally nailed the consistency, and now I make it weekly!
Why This Roasted Garlic Aioli Recipe Stands Out
There are a million quick dipping sauces out there, but this one is different. We focus on maximizing flavor while keeping the process manageable, which is why this roasted garlic aioli
has become the absolute go-to in my kitchen. It’s rich, it’s luxurious, and it’s all homemade!
Deep Flavor from Roasted Garlic
When you roast garlic, the harsh, spicy bite mellows out completely. The heat breaks down those sulfur compounds, turning the cloves sweet and nutty. This transformation gives our aioli a depth you just can’t get from using raw cloves. It’s practically caramelized comfort!
Achieving a Perfectly Creamy Aioli Recipe
I know everyone fears the sauce breaking—it’s the scariest part of making any Creamy Aioli Recipe
from scratch! My method keeps things stable because we use a room-temperature yolk and add the oil just painfully slowly at the start. It’s not hard, it’s just patient, and it guarantees a silky texture every single time.
Ingredients for Your Ultimate Homemade Garlic Aioli
Gathering your supplies is half the fun! When making this Homemade Garlic Aioli
, fresh, high-quality ingredients really shine through, especially since there are so few major components. I always lay everything out on the counter before I start whisking, especially the egg yolk, because temperature matters big time here. You’ll need two heads of garlic for roasting, which sounds like a lot, but trust me, it cooks down beautifully and adds incredible sweetness!
If you’re looking for other great dip ideas that feature lemon and garlic, you should definitely check out my recipe for lemon garlic herb whipped cottage cheese dip. For this aioli, here’s exactly what you need:
- 2 whole heads garlic (for roasting!)
- 1 large egg yolk, room temperature (Non-negotiable for stability!)
- 1 teaspoon Dijon mustard
- 1 teaspoon fresh lemon juice
- 1/2 teaspoon salt
- 1/4 teaspoon black pepper
- 1 cup neutral oil (like canola or grapeseed)
- 2 tablespoons extra virgin olive oil
Step-by-Step Instructions: How to Make Aioli with Roasted Garlic
This is where the magic happens! Don’t let the roasting time scare you; that part happens hands-off in the oven. The real work—the whisking—is surprisingly fast once the garlic is ready. Watching this turn into a thick, beautiful garlic aioli
is so satisfying, and it’s when you realize how simple it is; you just need to follow the flow. Everything comes together based on the order you add things. If you need a super fast version without roasting, try my quick sauce recipe tip in the notes!
- First things first, get that oven working! Preheat to 400°F. Remember to slice just the top off your garlic heads to expose those little cloves. Drizzle them lightly with oil, wrap everything up nice and tight in foil, and pop them in for about 35 to 45 minutes. They’re done when they feel super soft, like sweet butter. Let them cool a bit so you don’t burn yourself.
- Once they’re cool enough to handle, squeeze that gorgeous, soft roasted garlic pulp right out of its skin into a bowl. Mash it with a fork until it’s a smooth paste. You ideally want about two tablespoons of this amazing paste.
- Next, we build the foundation! Grab a fresh, medium bowl and whisk together the egg yolk (make sure it’s room temp!), Dijon mustard, that fresh lemon juice, salt, and pepper. Whisk it until everything is cheerful and mixed.
- Now, pay attention—this is the most important part for learning how to make aioli! Start adding your neutral oil, drop by tiny drop. I mean literally drop by drop while whisking nonstop and vigorously. This is what creates the stable emulsion.
- When you see the mixture getting thick and looking pale, which happens after about a quarter cup of oil goes in, slowly increase the oil to a very thin, steady stream. Keep that whisk moving! When all the neutral oil is incorporated, swirl in those last two tablespoons of extra virgin olive oil for flavor. Taste it, adjust the seasoning, and get ready for the best dip ever.
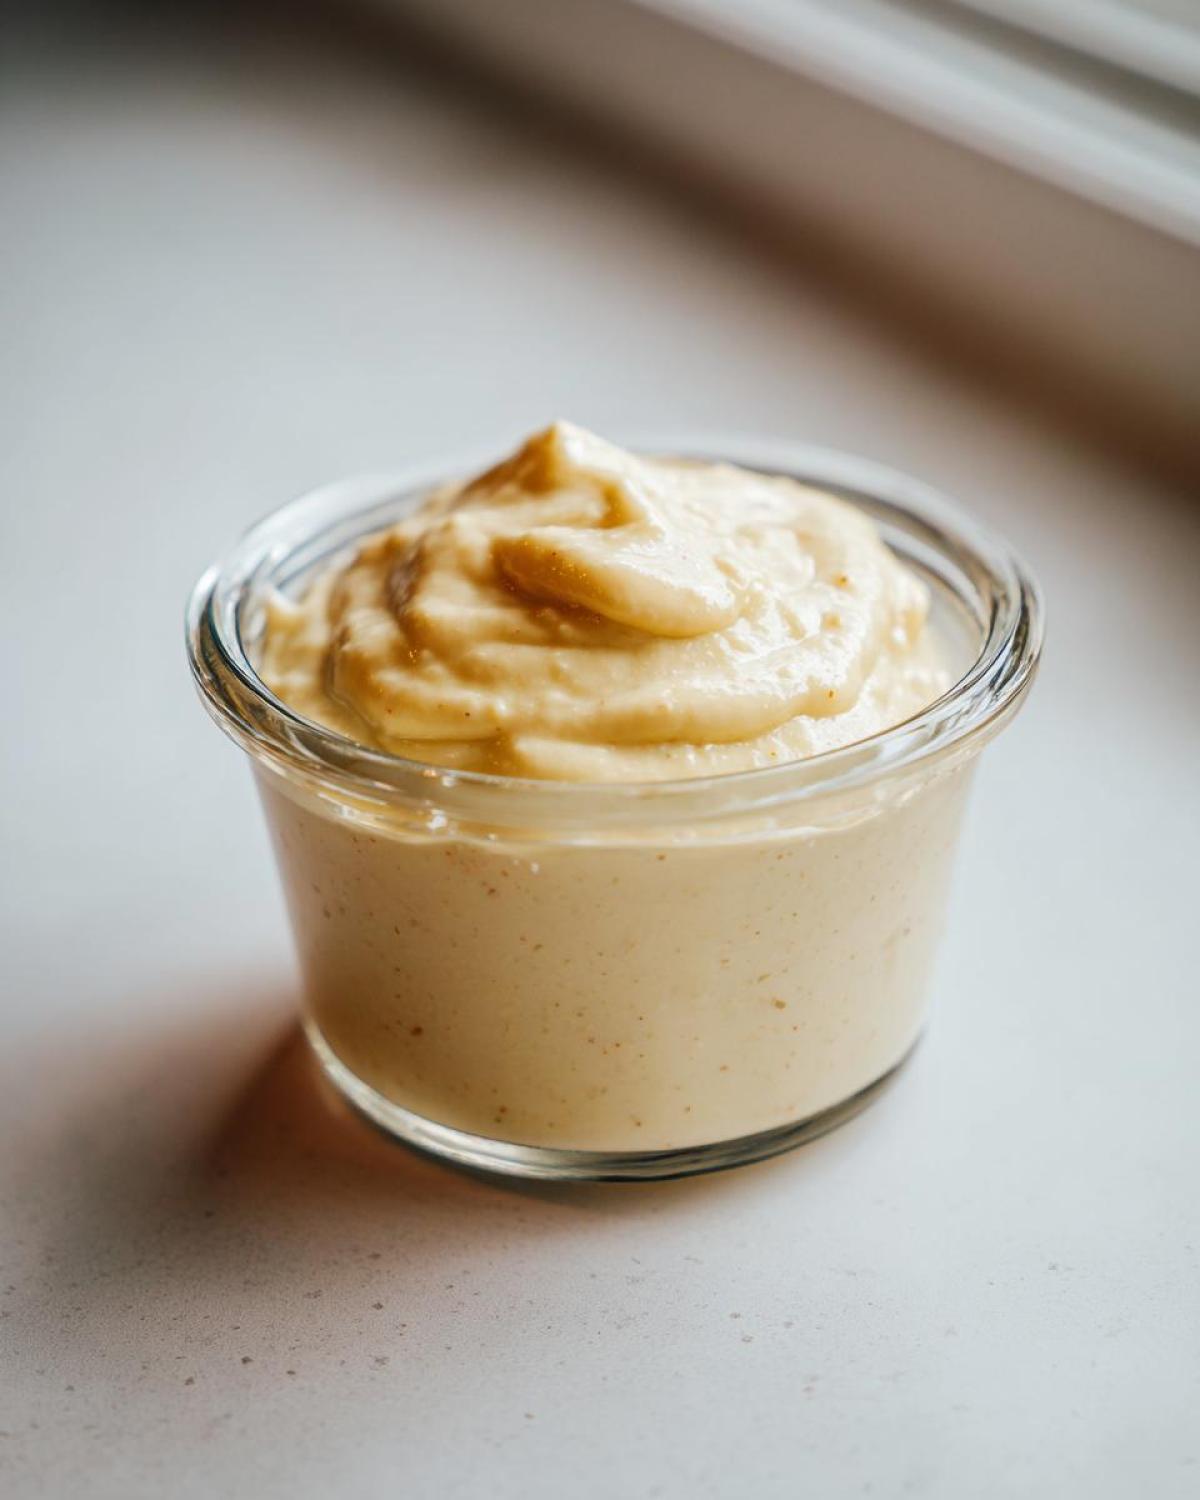
Roasting the Garlic for Deep Flavor
I swear by roasting because raw garlic is just too aggressive for a creamy sauce like this. When you roast it wrapped in foil with just a whisper of olive oil, the cloves caramelize softly. They become wonderfully sweet and earthy, so pungent they don’t need to scream at you. Roasting builds that necessary flavor foundation; it’s the secret to making this feel like a gourmet condiment rather than just garlic mayonnaise.
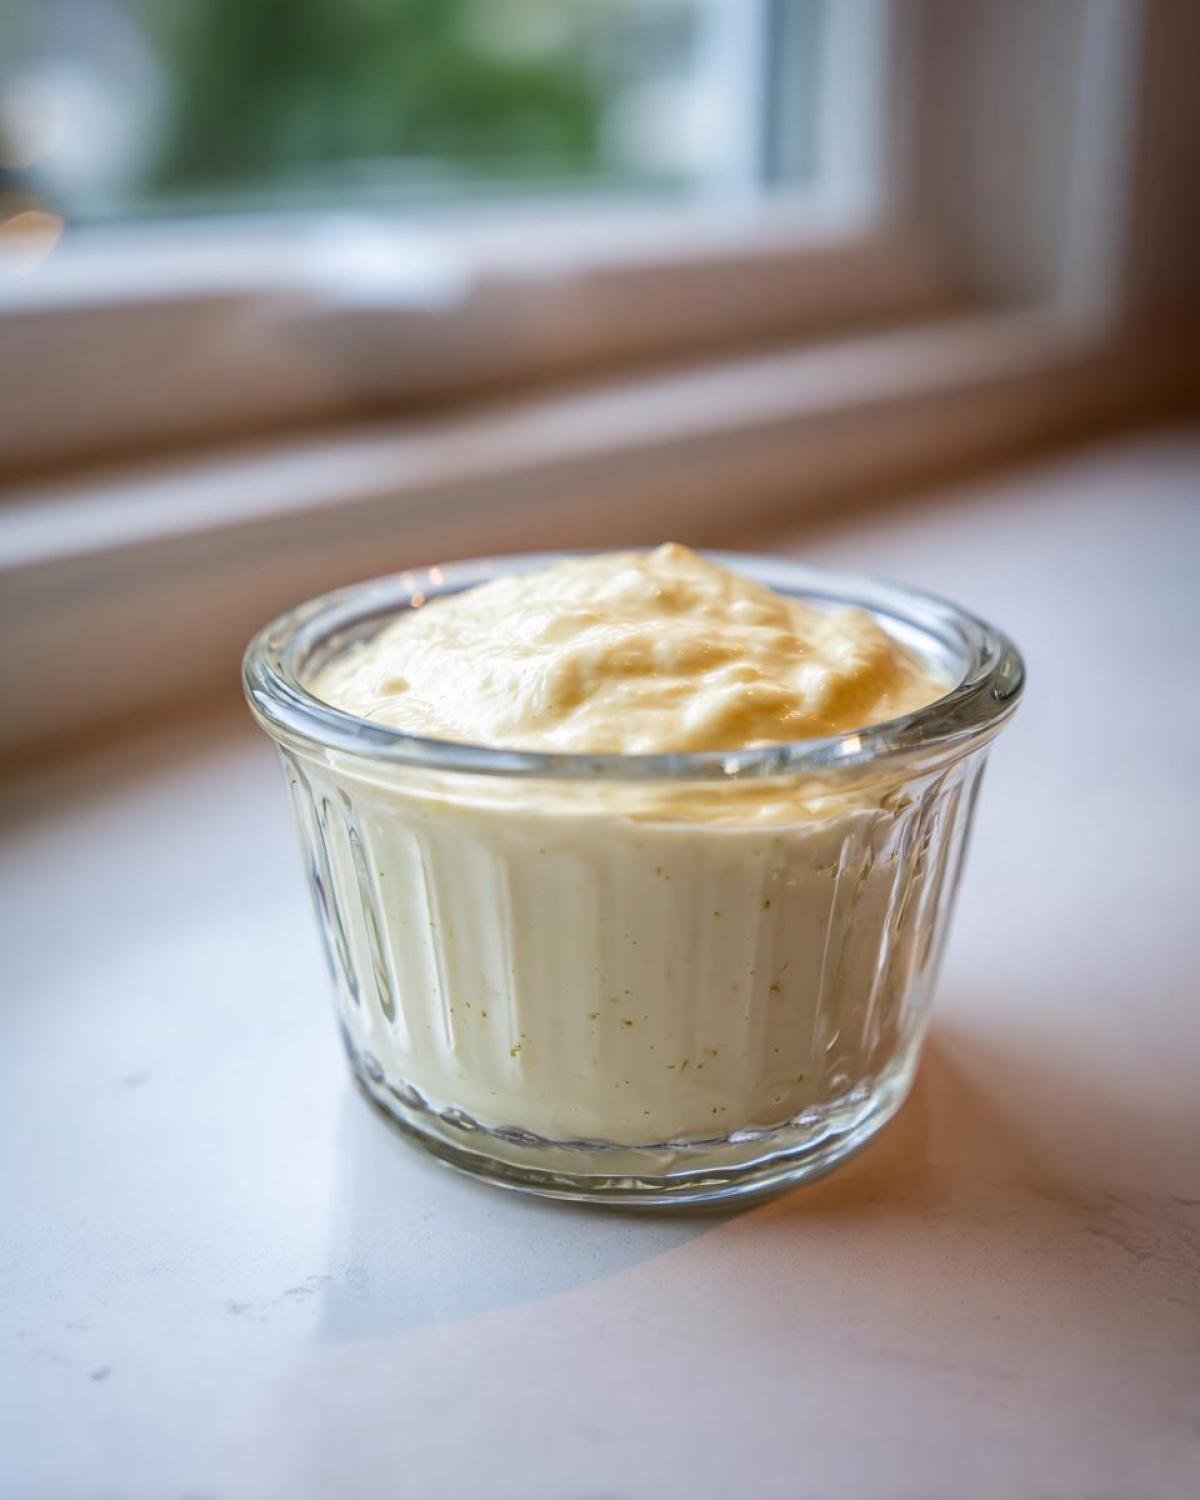
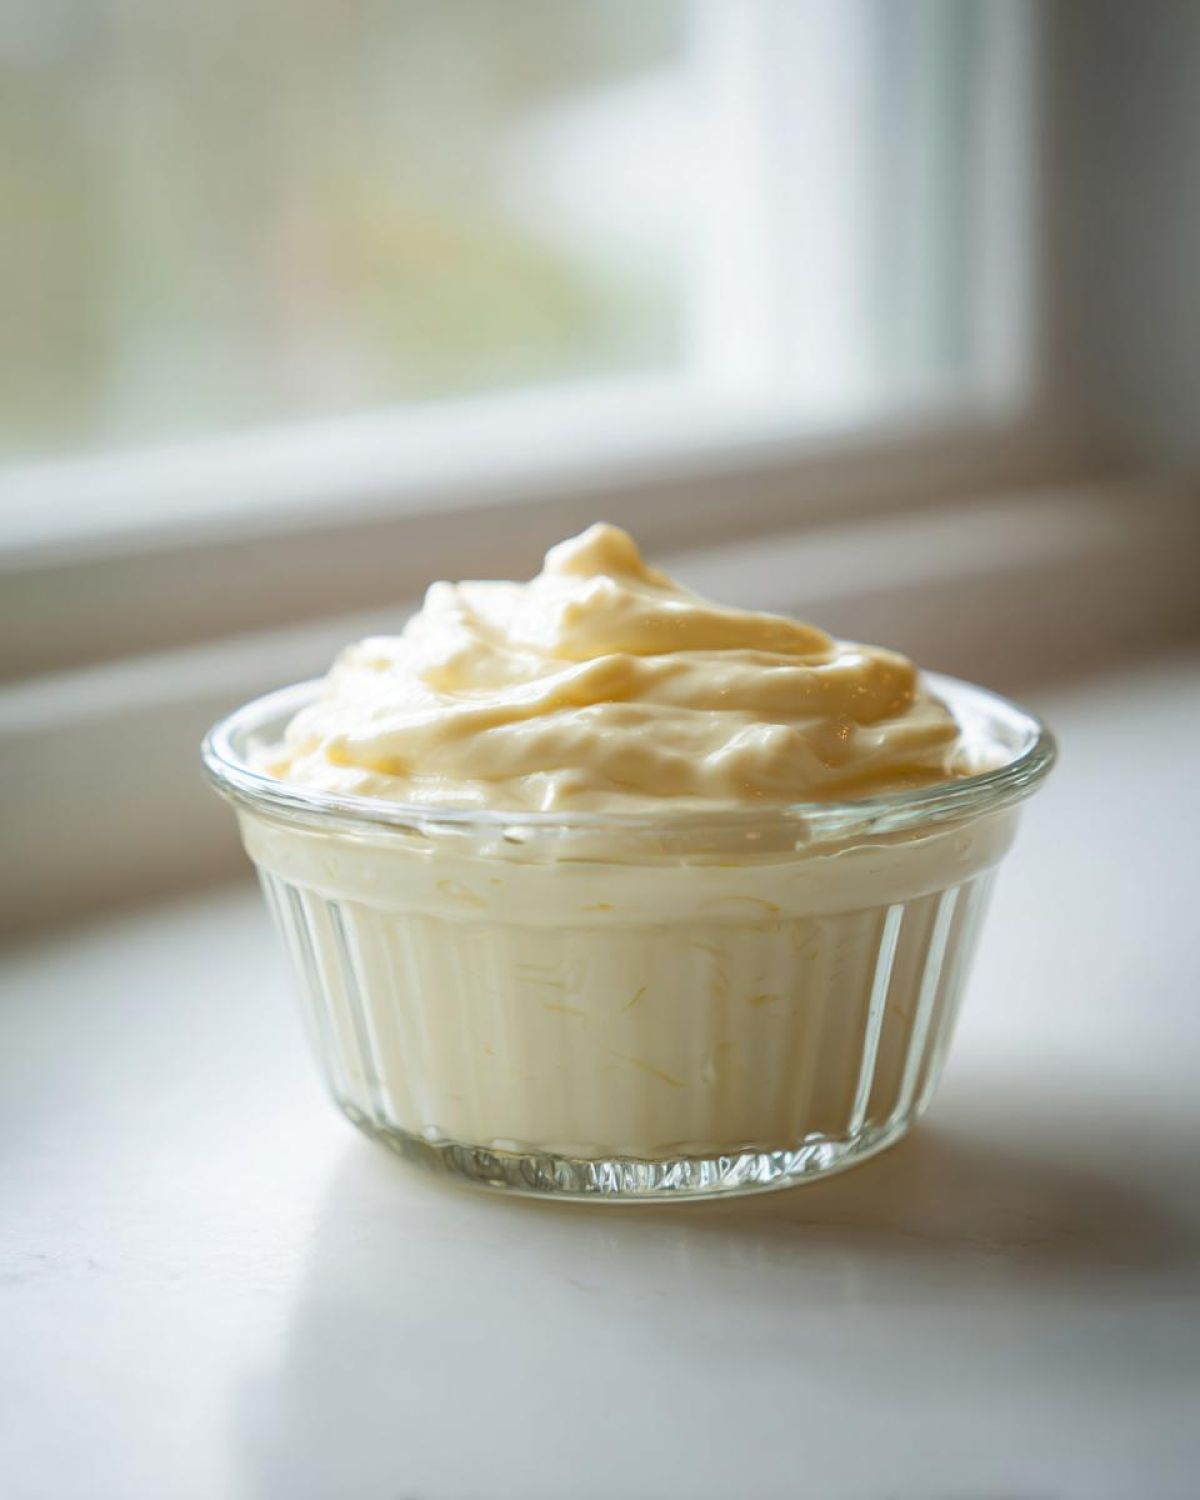
The Emulsification Process for Creamy Aioli
If you rush the oil, the whole thing will collapse, which is why we treat those first few tablespoons of oil like liquid gold! Whisking hard breaks the oil into microscopic droplets that the egg yolk can trap. If you stop whisking while drizzling, the droplets will merge, and you’ll end up with sad, separated oil swimming on the bottom. Vigor and patience equal a perfect garlic aioli
that holds its shape beautifully.
Troubleshooting Your Garlic Aioli
Okay, don’t panic if your garlic aioli
decides to separate on you! It happens to the best of us, usually when the whisking falters for just a second. The good news is that this sauce is almost always salvageable. If yours looks oily and sad, don’t throw it out!
The fix is simple: grab a brand-new, clean bowl. Put just one tiny teaspoon of *warm* water in there. Then, start whisking that warm water, and slowly, *slowly* whisk the broken aioli mixture into the water, just a teaspoon at a time. It acts as a fresh base to re-emulsify the mess. It takes patience, but you’ll bring your beautiful dip back to life!
Versatile Serving Suggestions for This Flavorful Garlic Dip
Now that you have this amazing, rich, homemade Flavorful Garlic Dip
, the absolute best part is figuring out what to smother it on! This isn’t just a sauce; it’s an upgrade button for almost anything savory on your plate. Seriously, I keep a jar in the fridge almost constantly because it makes dinner prep so much faster.
If you’re making something that needs crispiness, this is your answer. Try it with my crispy baked zucchini fries—you won’t be able to stop dipping!
Pairing with Seafood and Vegetables
This aioli is amazing alongside lighter proteins. Forget plain tartar sauce; drizzle this over grilled white fish like cod or halibut. It’s also phenomenal dolloped onto roasted asparagus or even just really good, crisp broccoli florets. The lemon cuts right through the richness perfectly.
As a Sandwich Spread Garlic Base
When you need a serious flavor boost for lunch, this works as the ultimate Sandwich Spread Garlic
. It replaces boring mayo instantly on turkey clubs, ham sandwiches, or even just grilled cheese. It’s especially incredible paired with spicy ingredients, like on top of my chipotle lime salmon tacos—the cool, garlicky flavor balances the heat beautifully.

Ingredient Notes and Substitutions for Garlic Aioli
When perfecting this garlic aioli
, the ingredients matter less for complexity and more for technique. My number one rule here is the egg yolk temperature. You simply must use a room-temperature yolk, or the sauce will refuse to emulsify properly and break apart into oily sadness. It needs to be ready to bond!
Also, notice the oil ratio: we start with a cup of neutral oil. That light oil (like grapeseed) lets the roasted garlic and the two tablespoons of sharp, grassy EVOO really sing without being overwhelmed by heavy olive flavor early on. If you are in a major time crunch, remember you can skip roasting the heads entirely and just mince two fresh cloves of garlic, though the flavor won’t be nearly as mellow and complex. If you want a tang increase, try a tiny bit more lemon juice from that lemon recipe I love!
Storage and Reheating Instructions
Because this is a truly homemade sauce made with fresh egg yolk, we have to be a little smart about how we store our beautiful garlic aioli
. I’m not going to lie; it doesn’t have the preservatives of the store-bought stuff, so proper refrigeration is key!
You need to keep this tightly covered in an airtight container in the main body of your refrigerator. Don’t leave it sitting on the counter—it’s an egg product, so safety first! If you’ve made it right, it should stay perfectly fresh and delicious for up to a week. I usually aim to use it within five or six days just to be on the safe side.
Now, here’s the slightly tricky part about chilling: When you take it out after it’s been cold for a day or two, it will have firmed up a lot. That gorgeous, silky texture you worked so hard for stiffens a bit in the cold, which is totally normal. Don’t try to serve it straight from the fridge!
Take it out about 20 to 30 minutes before you plan on using it. Just let it sit on the counter and come up to room temperature slowly. As it warms up, it will relax and soften right back into that luscious, creamy consistency we love. No need to whisk it again unless it somehow separated (which, if you followed my tips, it shouldn’t!). It’s amazing how something so simple can elevate every meal!
Frequently Asked Questions About Making Aioli
I get so many questions about this sauce, mainly because people assume making a Garlic Mayonnaise Recipe
from scratch is too fussy, but it’s really not! Here are the few things I hear most often from folks trying to master this dip for the first time. I hope these help you feel totally confident in How to Make Aioli! For another great dip idea, check out my cottage cheese recipe too!
Can I skip roasting the garlic in this garlic aioli recipe?
You absolutely can, and you’ll still have a delicious sauce! But know that you are trading depth for speed. Raw garlic is sharp, bright, and quite pungent. Roasting the garlic, like we do here, mellows it out dramatically, making it sweet and earthy. If you use raw, start with just one clove, mince it fine, and then slowly blend it in with the yolk mixture. You’ll get a fantastic, pungent dip, just a different flavor profile than this roasted version!
What is the difference between aioli and mayonnaise?
Traditionally, *true* aioli was just garlic crushed and emulsified with olive oil—no egg! But honestly, nobody makes it that way anymore because it’s super difficult and uses a ton of oil. In modern cooking kitchens, including mine, the term garlic aioli
just means a rich, garlic-flavored mayonnaise. Our recipe uses an egg yolk, which is the stabilizing agent that makes it smooth like mayonnaise, but the roasted garlic makes it special!
How do I make a Lemon Garlic Aioli variation?
This is an easy flavor boost! If you want to lean into that bright, zesty flavor—especially perfect for seafood—just add the zest of half a lemon when you are whisking together the egg yolk, Dijon, salt, and pepper. Then, increase your fresh lemon juice by another half teaspoon or so at the end when you are tasting and adjusting the final seasoning. It brightens everything up beautifully!
Nutritional Estimate for Homemade Garlic Aioli
Alright, let’s talk numbers for a second! I always feel a little bit guilty talking about calories when something tastes this decadent, but it’s good to know what we’re working with, right? Since this is a homemade oil-based dip, it’s definitely rich, but look how low the carbs and sugar are! That’s the magic of a good, clean dip.
Remember, these are just estimates based on the ingredients I used for my batch. If you use a different kind of oil or swap out the Dijon, your numbers might wiggle a bit. You know how I always say to check your labels? Well, for the most detailed info, always take a peek at my general disclaimer page, but here’s the breakdown per two-tablespoon serving size:
- Serving Size: 2 Tbsp
- Calories: 190
- Fat: 21g (Wow, yes, but a lot of that is the un-saturated!)
- Saturated Fat: 2.5g
- Trans Fat: 0g
- Cholesterol: 35mg
- Carbohydrates: 1.5g
- Sugar: 0.1g (Basically zero, yay!)
- Protein: 1g
- Sodium: 150mg
See? It delivers huge flavor for only 190 calories, and virtually no sugar! Pair it with fresh veggies or just a few fries—it’s all about balance when you’re making recipes this delicious!
PrintUltimate Easy Roasted Garlic Aioli

Make a rich, creamy roasted garlic aioli from scratch. This recipe uses roasted garlic for deep flavor and results in a versatile dipping sauce.
- Prep Time: 15 min
- Cook Time: 45 min
- Total Time: 60 min
- Yield: About 1 cup
- Category: Condiment
- Method: Whisking/Emulsifying
- Cuisine: Mediterranean
- Diet: Low Fat
Ingredients
- 2 whole heads garlic
- 1 large egg yolk, room temperature
- 1 teaspoon Dijon mustard
- 1 teaspoon fresh lemon juice
- 1/2 teaspoon salt
- 1/4 teaspoon black pepper
- 1 cup neutral oil (like canola or grapeseed)
- 2 tablespoons extra virgin olive oil
Instructions
- Preheat your oven to 400 degrees Fahrenheit (200 degrees Celsius). Slice about 1/4 inch off the top of each garlic head to expose the cloves. Drizzle the exposed tops with a little olive oil, wrap the heads tightly in aluminum foil, and roast for 35 to 45 minutes until the cloves are soft and golden brown. Let cool slightly.
- Squeeze the soft roasted garlic pulp out of the skins into a small bowl. Mash the pulp with a fork until smooth. You should have about 2 tablespoons of paste.
- In a medium bowl, whisk together the egg yolk, Dijon mustard, lemon juice, salt, and pepper.
- Add the roasted garlic paste to the yolk mixture and whisk until combined.
- Begin adding the neutral oil, drop by drop, while whisking constantly and vigorously. This slow addition is key to emulsification.
- Once the mixture starts to thicken (after about 1/4 cup of oil), you can increase the oil stream to a very thin, steady drizzle, continuing to whisk without stopping.
- When all the neutral oil is incorporated, whisk in the 2 tablespoons of extra virgin olive oil.
- Taste the aioli and adjust salt or lemon juice as needed.
Notes
- If your aioli breaks or separates, place one teaspoon of warm water in a clean bowl and slowly whisk the broken mixture into the water, one teaspoon at a time, to try and re-emulsify it.
- For a quicker, non-roasted version, substitute 2 cloves of raw, minced garlic for the roasted garlic pulp.
- Store finished aioli in an airtight container in the refrigerator for up to one week.
Nutrition
- Serving Size: 2 Tbsp
- Calories: 190
- Sugar: 0.1
- Sodium: 150
- Fat: 21
- Saturated Fat: 2.5
- Unsaturated Fat: 18.5
- Trans Fat: 0
- Carbohydrates: 1.5
- Fiber: 0.2
- Protein: 1
- Cholesterol: 35

Comments are closed.