


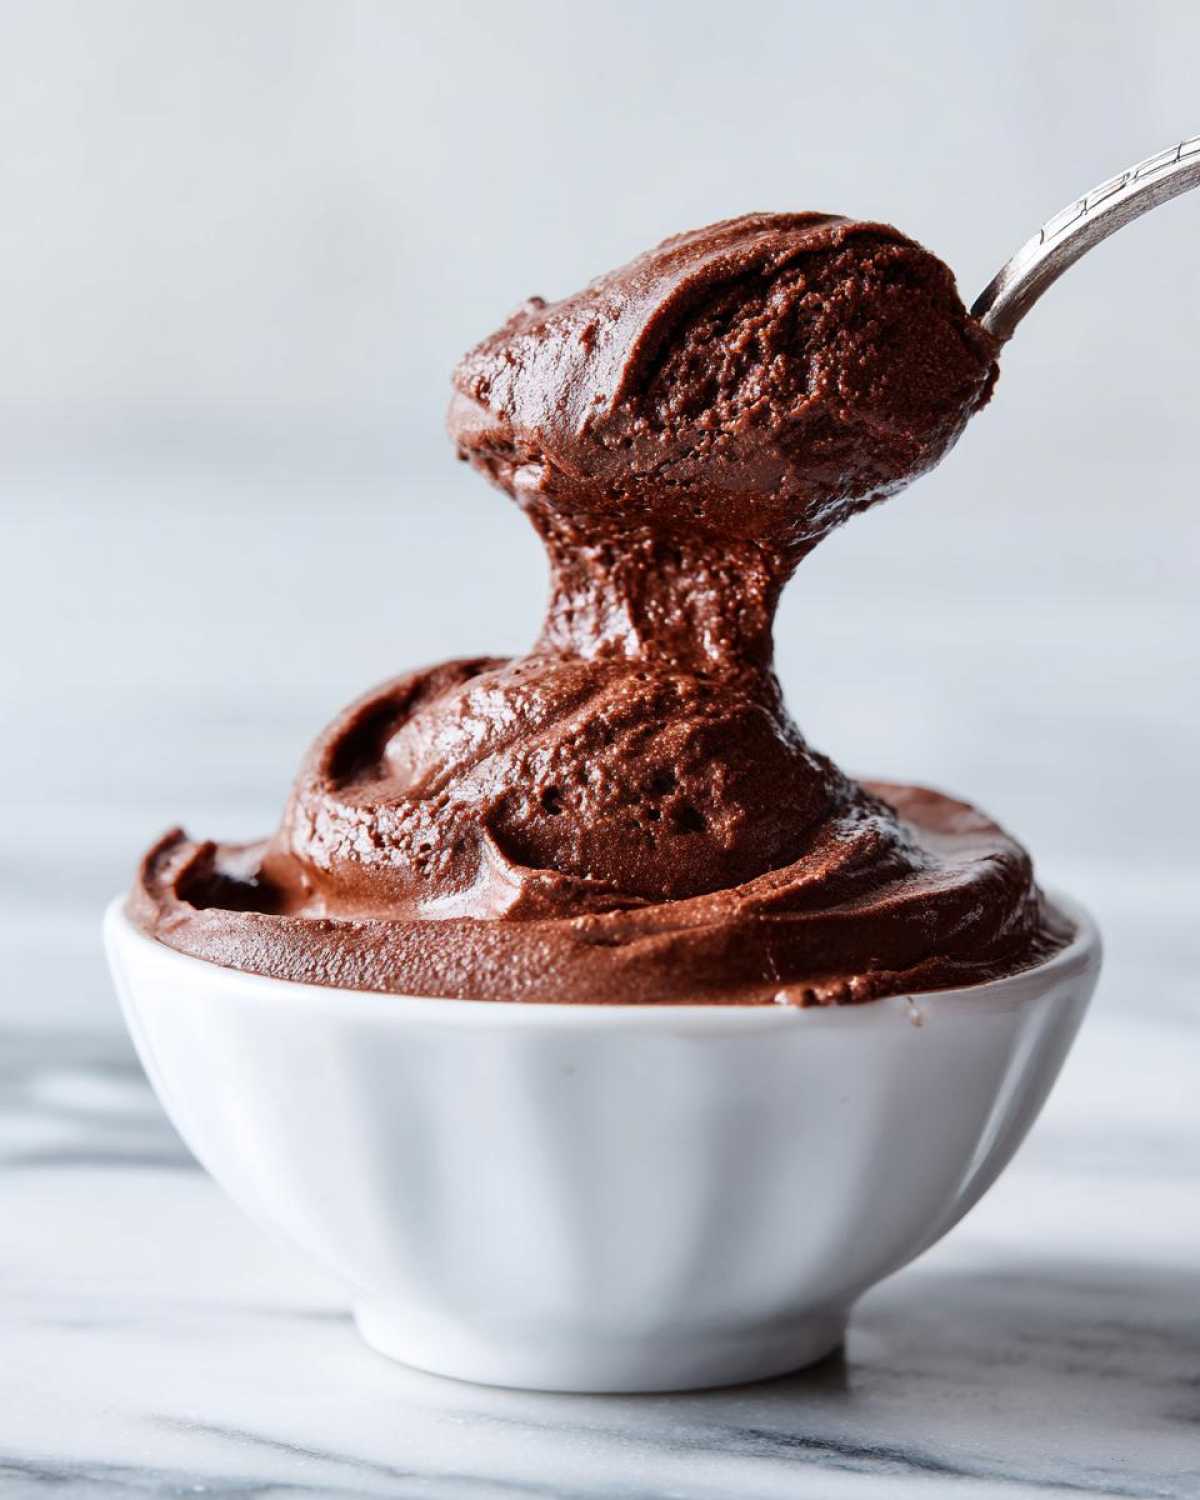
Let’s talk texture, because honestly, that’s what separates a good chocolate dessert from a completely breathtaking one. If you’ve ever tried making a classic chocolate mousse and ended up with something slightly grainy or—oops!—more like pudding, trust me, I’ve been there. That’s why I keep this easy, no-bake recipe for truly silky smooth chocolate mousse locked down. It was a game-changer for me when I finally stopped overcomplicating things.
This isn’t some fussy recipe that requires a double boiler and a degree in pastry arts. This homemade mousse recipe uses standard ingredients you likely have chilling in your fridge right now. Mastering this rich dark chocolate mousse made me realize that true decadence doesn’t require fuss. Prepare to impress everyone at your next gathering!
Why This is the Best Chocolate Mousse Recipe You Will Ever Make
When I tell people this is the best chocolate mousse recipe they’ll try, I’m not exaggerating! The main reason I love it is that it hits all the must-have notes for a perfect dinner party dessert: it’s unbelievably creamy, it looks super elegant, and you don’t even have to turn on the oven. Seriously, zero baking required!
We’re talking about achieving that velvety chocolate mousse texture without any confusing steps. I want you to feel like a pro when you pull these out of the fridge. If you need richer chocolate mousse cups for a special night, this recipe, which you can see in more detail right here, is the go-to.
Key Features of Our Easy Chocolate Mousse
What makes this particular creamy chocolate dessert shine over the rest? It’s all about structure and speed. If you’re new to making mousse, this is your absolute starting point.
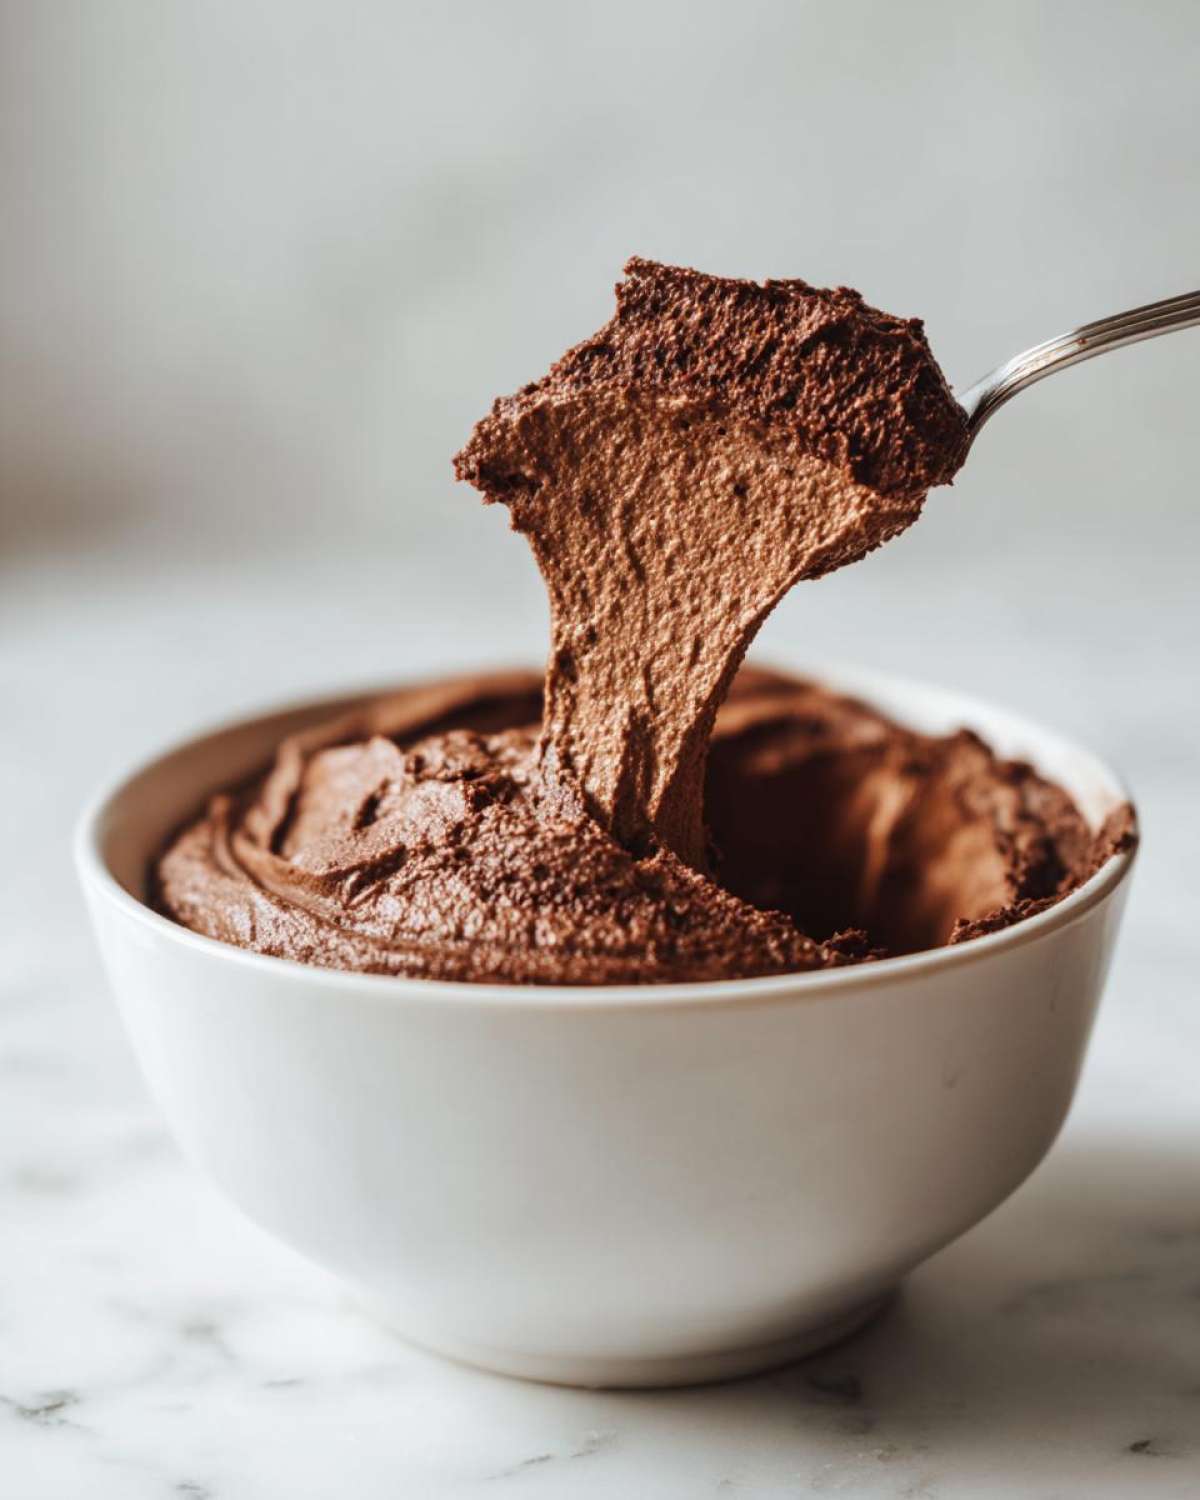
- Silky smooth texture guaranteed—no graininess allowed!
- It’s inherently a no bake dessert, meaning your oven stays free for other things.
- Prep time is under 20 minutes, making it a fantastic quick chocolate dessert for unexpected guests.
- We use a simple technique that minimizes the concern about raw ingredients.
Gathering Ingredients for Your Silky Smooth Chocolate Mousse
Okay, before we dive into the actual mixing, we need to talk about our supporting cast—the ingredients! Remember, for a genuinely decadent chocolate treat, you can’t skimp here. The quality truly makes the difference in this homemade mousse recipe.
For the chocolate component, I insist on bittersweet, and try to grab one that’s at least 60% cocoa, maybe even 70% if you like that deep, rich dark chocolate mousse flavor. Chop it finely, trust me on that one; it melts so much easier!
Next up: the eggs! This recipe calls for separating them, and this is critical for that airy result. We use the yolks for richness and the whites primarily for lift later on. And please, make sure your heavy cream is ice cold. If it’s even slightly warm, you won’t get those beautiful stiff peaks we need for this no bake dessert!
Ingredient Notes and Substitutions for Perfect Chocolate Mousse
When choosing your chocolate, think about what you love to eat plain. If you wouldn’t snack on 50% milk chocolate, don’t use it here; use that good bittersweet stuff! Since this recipe relies on the eggs for some serious structure, omitting them completely changes the game. If you *must* avoid eggs entirely, you’ll be looking at a different recipe altogether, probably relying on gelatin or just heavy cream and melted chocolate only.
But for this method, treat the egg separation carefully—no yolk contamination in those whites, or they won’t whip up properly! Also, don’t try substituting the vanilla extract; it really helps cut through the richness and brightens up all that lovely chocolate flavor. It’s a tiny amount, but it matters for the final taste of this simple mousse instruction set.
Simple Mousse Instructions for a Creamy Chocolate Dessert
Now for the fun part—turning glorious melted chocolate into an elegant sweet treat! Remember, precision here is what gets you that velvety chocolate mousse texture, which is why I really want you to pay attention to the temperatures and the mixing order. Don’t rush the cooling step for the chocolate base after you melt it; warm goo meeting whipped cream is a recipe for disaster!
First, melt that bittersweet chocolate until it’s glossy and beautiful, then let it cool down just slightly before you stir in those lovely egg yolks and vanilla. Once that rich base is ready, move onto your whipped cream. We whip that until it holds medium peaks. If you want to see how I get my cream exactly right every time, check out my tips for making a wonderfully creamy chocolate mousse recipe.
Next comes the magic of folding. This is where we introduce air without popping the bubbles we just created. Follow these steps carefully, and you’ll have the best chocolate mousse you’ve ever tasted.
Technique Tip: Achieving the Perfect Fold for Your Chocolate Mousse
Folding seems scary, but it’s just gentle mixing! You take about a third of your whipped cream and briskly stir it into the chocolate base. This process is called ‘sacrificing’ the first bit of cream—it lightens up that heavy chocolate mixture so it’s easier to incorporate the rest. Once it’s roughly combined, you gently fold in the remaining whipped cream using a wide spatula, cutting down the middle and sweeping the mix up and over. Do this until there are no more white streaks, but stop immediately! Over-folding deflates everything, and we lose that signature airy, silky smooth mousse quality instantly.
Chilling Time for the Ultimate Chocolate Mousse
Once everything is folded gently, spoon your mixture into your individual dishes. Since this is a no-bake dessert, chilling is your friend! You absolutely need a minimum of four hours in the refrigerator. If you can manage it, I always aim for six hours, or even overnight.
This extended chill time allows those fats (the chocolate and the cream) to truly set up and firm the structure. Trying to rush cooler sets means the mousse will be soupy when you serve it, and you certainly won’t get that clean, melt-in-your-mouth experience you deserve from this decadent chocolate treat.
Tips for Success When Making Homemade Mousse Recipe
I’ve learned a few things the hard way over the years experimenting with this homemade mousse recipe to get that perfect velvety chocolate mousse every single time. My biggest disaster was trying to skip chilling time entirely—I thought I could get away with just 90 minutes in the fridge because I was running late for friends. Guess what? I ended up serving semi-liquid chocolate soup! Never again. Always give it those four hours minimum.
Also, let’s talk about boosting the flavor profile. If you want to take this basic chocolate mousse up a notch, try using dark chocolate that registers at 70% cocoa solids or higher. That intense base flavor stands up better against the sugar and cream. It makes for a much more profound, indulgent sweet treat!
Here are my non-negotiable little secrets for foolproof results with this creamy chocolate dessert:
- Chill everything for the cream: Seriously, put your mixing bowl and those whisk attachments in the freezer for fifteen minutes before you start whipping the heavy cream. Cold ingredients mean maximum volume, which is key for a light, not heavy, mousse.
- Don’t melt too much at once: If you are scaling up the recipe, melt the chocolate batch by batch. Overheating a huge bowl of chocolate can cause it to seize or become dull, and that definitely ruins the silky smooth outcome.
Variations on Classic Chocolate Mousse
This recipe is, at its heart, a beautiful, classic French chocolate mousse base. But who doesn’t love a little customization, right? Once you nail the technique for this velvety chocolate mousse, playing around with flavors becomes the best part! It’s a fantastic platform for endless creativity.
I know many of you are looking for something extra special, maybe because you’re making this for a serious chocolate lover. My favorite way to amp up the decadence is by turning it into a double chocolate mousse. After you’ve fully folded in the whipped cream but before you gently fold in those stiff egg whites, toss in about a quarter cup of those tiny mini chocolate chips.
When those chips chill, they provide little pockets of solid chocolate texture throughout the creamy base. It’s not just smooth anymore; it’s textured, too! If you’re interested in exploring other deep chocolate approaches, like using avocado, I’ve got a completely different take on a rich chocolate base you might enjoy looking at right here.
Another ridiculously easy trick that changes the whole profile? Just a whisper of coffee! Literally, grab a third of a teaspoon of instant espresso powder—the fine stuff—and dissolve it in the teaspoon of vanilla extract before you add it to the yolk mixture. The coffee doesn’t make it taste like mocha, per se; it actually just deepens and intensifies the natural flavor of the dark chocolate. It’s a subtle but amazing flavor enhancement for this easy chocolate mousse.
Or, if you want a brighter, more elegant chocolate dessert feel, try grating the zest of one small orange right into the melted chocolate after you take it off the heat. Orange and dark chocolate are just magic together, I swear!
Serving Suggestions for Your Decadent Chocolate Treat
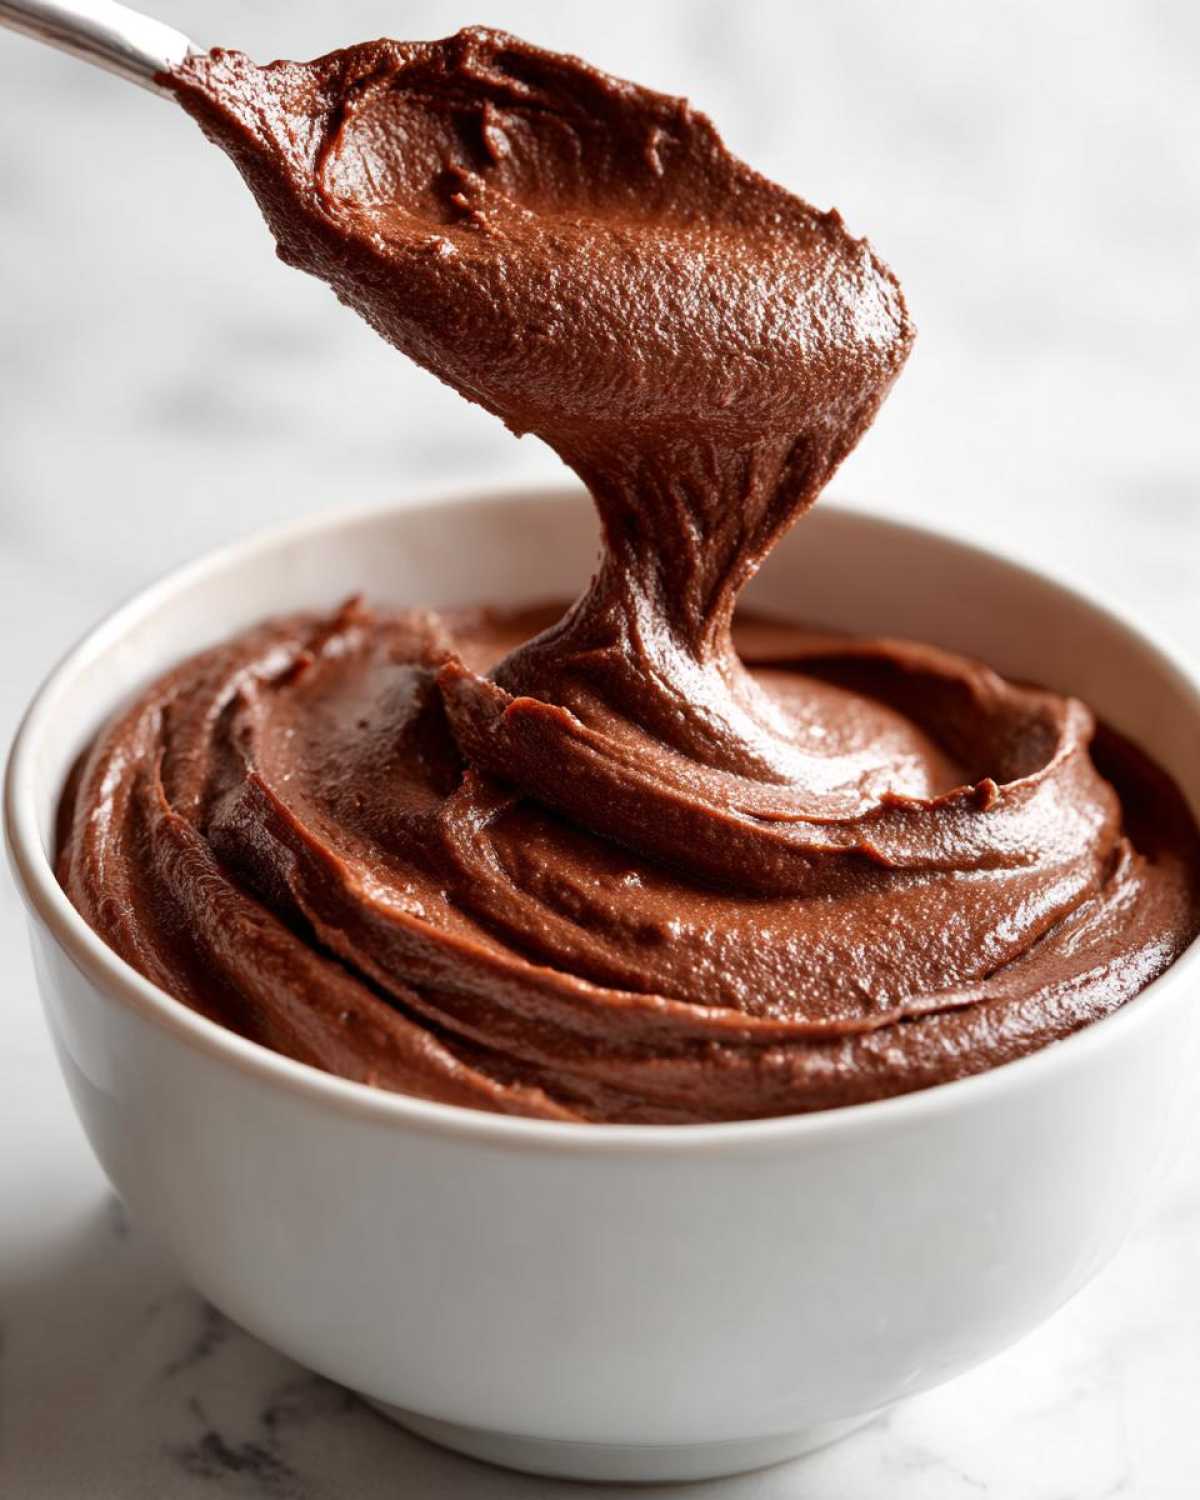
The actual serving of this beautiful, velvety chocolate mousse is where you get to be an artist! After all that careful folding and chilling, we don’t want to just drop a dollop into a bowl, right? Since this is meant to be an elegant chocolate dessert, presentation really matters, and it’s so easy to do when the mousse itself is so perfect.
I usually stick to small, clear glass ramekins or martini glasses—they show off the height and the smooth texture beautifully. Once they are set, the garnishing should be simple. A light dusting of high-quality unsweetened cocoa powder just before serving lifts the color and adds a touch of bitterness that balances the sweetness of this creamy chocolate dessert.
For a pop of color and freshness, you can never go wrong with berries. Fresh raspberries or thinly sliced strawberries are my go-to partners for rich dark chocolate mousse. They cut through the richness perfectly. Even a single perfect mint leaf placed on top makes it look like it came straight from a fancy Parisian cafe.
But if you really want to make people swoon over this no bake dessert, you need texture contrast. Remember how a crunchy element was mentioned in what people look for? You absolutely have to try serving a small spoonful of chocolate mousse alongside something crispy. If you’ve got some leftover almond tuiles or thin chocolate shavings, that works great.
My absolute favorite pairing, though, is making a fine crumble from crisp cookies. If you have some of my brown butter cookies—you can find that recipe here—just crush them up a bit and sprinkle them over the top or even layer them slightly underneath the mousse in the dish before the final chill. That mix of the cold, silky smooth mousse against a warm, buttery crunch? Wow. That’s peak indulgence right there!
Storage and Reheating Instructions for Chocolate Mousse
Once you’ve successfully navigated the creaming, folding, and chilling process, the last thing we want is to ruin this perfect, velvety chocolate mousse by storing it wrong! Since this is a truly simple mousse instruction set culminating in a no bake dessert, storage is super straightforward, but you still need to be mindful of keeping that air in there.
The best way to store leftover chocolate mousse is in the individual serving dishes you used, making sure they are covered tightly. Plastic wrap pressed directly onto the surface of the mousse works wonderfully to prevent a skin from forming. Keep it right in your refrigerator. Because this chocolate dessert relies on air and chilled fats for its structure, putting it in the fridge seals in that perfect silky smooth texture.
When it comes to how long it lasts, I find this homemade mousse recipe is best enjoyed within two days. Around day three, you might start noticing a slight loss of that light, airy lift, though the flavor is still amazing. It should keep safely for up to four days if it was covered properly!
Now, let’s address reheating, although this is a bit of a funny question for a chilled dessert! You never, ever want to reheat chocolate mousse. If you try to warm this up, you’ll just end up with a puddle of glorified, slightly gritty chocolate sauce, and we definitely don’t want that! This is meant to be served cold for that decadent chocolate treat experience.
What if you made way too much and want to save it for later next week? Good news: you can freeze it! If you freeze individual servings (covered really well with plastic wrap and then foil), it will last about a month. When you want to eat it, you cannot reheat it; you must thaw it slowly in the refrigerator overnight. It might lose a tiny bit of its original fluffiness coming out of the freezer, but it will still be incredibly creamy and delicious. Just give it a quick stir on the surface with a tiny spoon if it looks a little separated when thawed, and enjoy your quick chocolate dessert later on!
Frequently Asked Questions About Making Chocolate Mousse
I always get the same handful of questions when people try making this rich dark chocolate mousse for the first time. It’s only natural! This is a French chocolate mousse technique, so a few procedural questions always pop up. Don’t worry, I’ve got you covered with the answers that will guarantee you get that perfect, indulgent sweet treat every time. If you want to see my overall method for getting the best structure, I talk about it extensively when I share this creamy chocolate dessert here.
Can I make this chocolate mousse recipe without raw eggs?
That is such a good and important question! This classic recipe does rely on separating and whipping the eggs for that classic structure—the yolks add density and the whites add huge lift. If you are nervous about using raw eggs in a creamy chocolate dessert, you have a couple of options. I’ve seen people have success making a totally different style of mousse using just chocolate and stabilizing the heavy cream with powdered sugar until it’s super stiff, and then skipping the egg whites entirely.
However, if you stick to my recipe, just know that the eggs are cooked slightly by the warm chocolate when incorporated, and they are fully stabilized once everything is thoroughly chilled. Also, always make sure you’re using the absolute freshest, highest quality eggs you can find for this homemade mousse recipe!
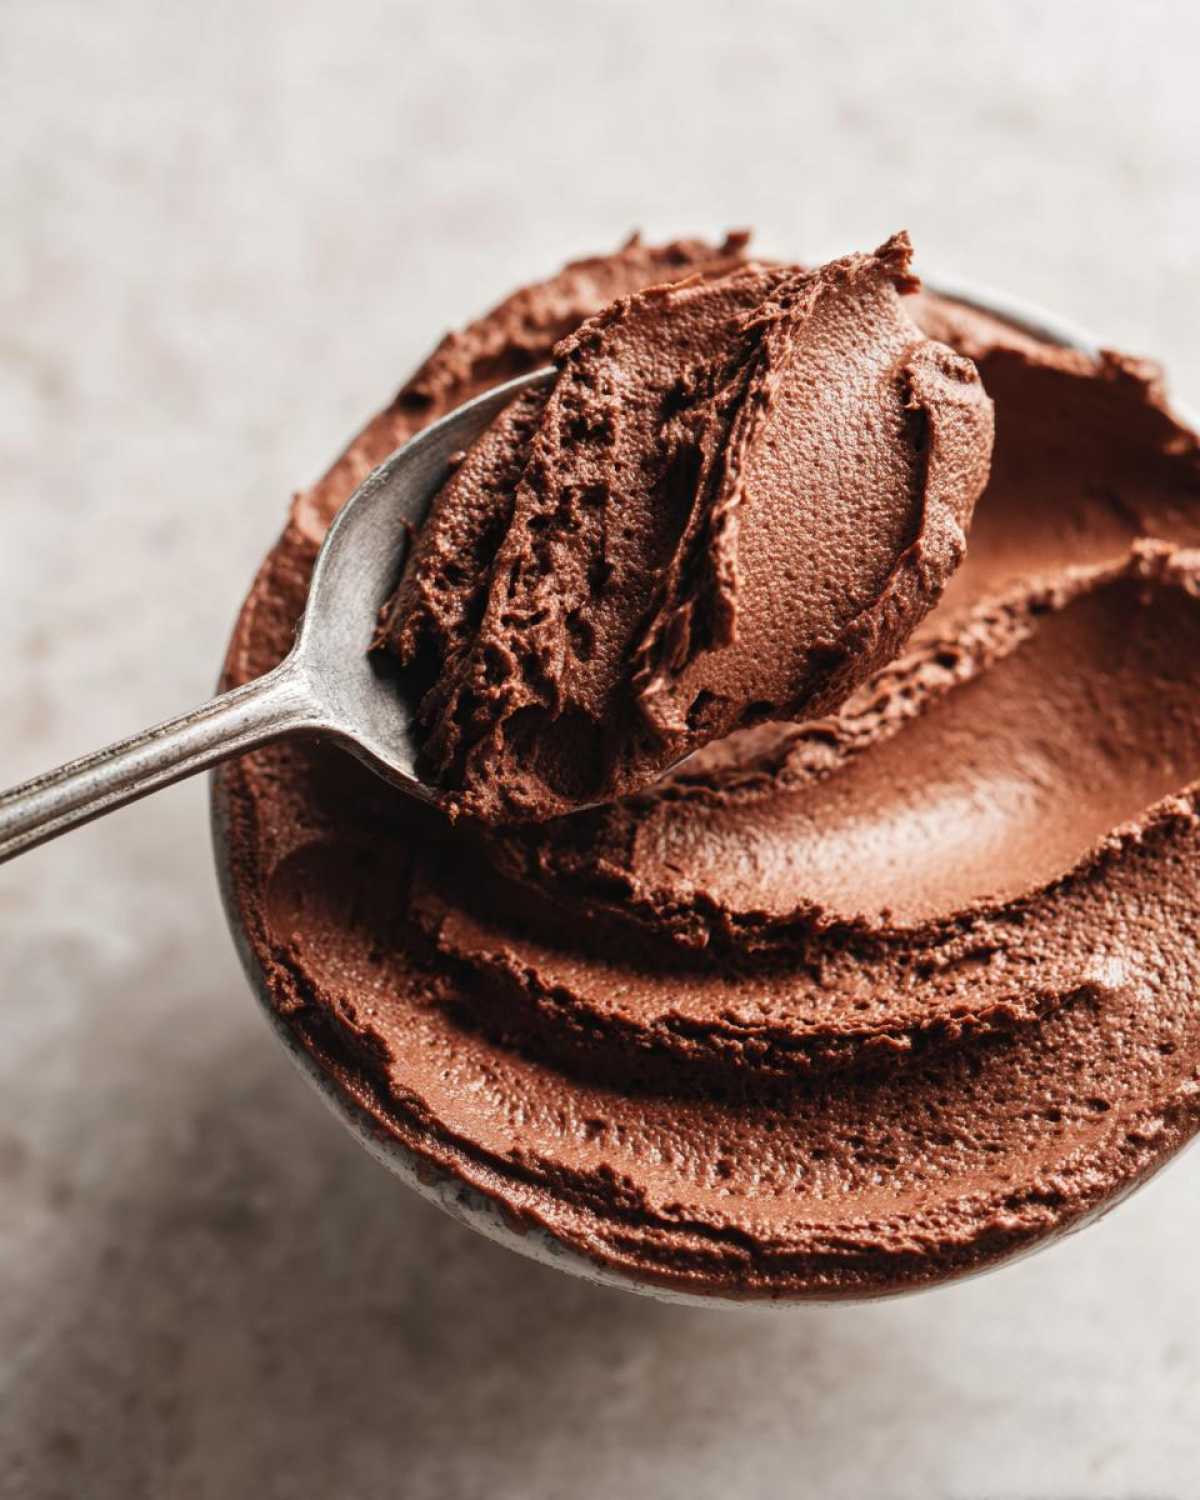
How do I ensure my chocolate mousse is truly silky smooth?
This is the number one goal, right? You want that velvety chocolate mousse experience! Two things guarantee silkiness: First, when you melt your chocolate, make sure it’s perfectly smooth and cooled just enough so it doesn’t deflate your whipped cream—if it’s too hot, it melts the fat in the cream, making the whole thing runny. Second, and this is huge, you must be gentle with the folding, especially when incorporating the egg whites.
If you stir aggressively, you’ll crush the air bubbles we worked so hard to create, and that results in a grainy or collapsed texture instead of the beautiful, yielding texture you get with this easy chocolate mousse. Gentle, slow folding is the key to this no bake dessert success!
Is this considered a quick chocolate dessert?
That depends on what you mean by “quick”! If you mean hands-on time, then absolutely yes! The prep time for this simple mousse instructions is really fast—I think I got mine mixed up in about 20 minutes flat last week. So for getting the ingredients combined, it’s one of the quickest elegant chocolate desserts out there.
But, you do still have to wait for the chilling time. Because this is a no bake dessert, the refrigerator does all the work setting the structure, and that takes at least four hours, minimum. So while the prep is quick, you need to plan ahead a bit. You can’t whip this up and serve it ten minutes later, but four hours flies by when you’re making other dinner party preparations!
Estimated Nutritional Data for This Creamy Chocolate Dessert
I know some of you are big on tracking, so I pulled together the estimated nutritional breakdown for this indulgent sweet treat. Keep in mind, since we’re talking about a homemade mousse recipe using specific fats and sugars, these numbers are always going to be an estimate and can shift depending on the exact bittersweet chocolate brand you use!
This data is based on four generous servings—and trust me, these servings are satisfying! You get a good amount of richness here, so use it as a guide, but don’t treat it like gospel. If you use a slightly darker chocolate, or add a little extra whipped cream when folding, the numbers move a tiny bit.
Here is the general snapshot per serving for this rich dark chocolate mousse:
- Serving Size: 1 serving
- Calories: 450
- Fat: 32g (mostly beautiful cocoa butter fat!)
- Saturated Fat: 18g
- Cholesterol: 180mg (thanks to those egg yolks!)
- Carbohydrates: 35g
- Sugar: 25g
- Protein: 8g
The biggest variables here are the chocolate percentage you choose and how much sugar you incorporate when whipping the yolks. But honestly, when you taste how absolutely velvety chocolate mousse this is, you’ll realize those calories come packed with pure joy. This isn’t the kind of easy chocolate mousse you worry about; it’s the kind you savor!
PrintEasy No-Bake Silky Chocolate Mousse
Make a rich, creamy, and velvety chocolate mousse without baking. This simple recipe uses minimal ingredients for a perfect dessert.
- Prep Time: 20 min
- Cook Time: 0 min
- Total Time: 4 hr 20 min
- Yield: 4 servings
- Category: Dessert
- Method: No-Bake
- Cuisine: French
- Diet: Vegetarian
Ingredients
- 6 ounces bittersweet chocolate, chopped
- 4 large eggs, separated
- 1/4 cup granulated sugar
- 1 teaspoon vanilla extract
- 1 cup heavy cream
Instructions
- Melt the chopped chocolate in a heatproof bowl set over a saucepan of simmering water, stirring until smooth. Remove from heat and let cool slightly.
- In a separate bowl, whisk the egg yolks with the sugar until pale and thick. Stir the slightly cooled melted chocolate and vanilla extract into the yolk mixture.
- In a clean, dry bowl, beat the heavy cream until medium peaks form. Gently fold half of the whipped cream into the chocolate mixture to lighten it. Then, fold in the remaining whipped cream until just combined. Do not overmix.
- In a third clean bowl, beat the egg whites until stiff peaks form. Gently fold the egg whites into the chocolate mixture in two additions, taking care to keep the mixture airy.
- Spoon the mousse into individual serving dishes or one large bowl. Chill in the refrigerator for at least 4 hours, or until firm.
Notes
- For a richer flavor, use dark chocolate with at least 70% cocoa solids.
- If you prefer a double chocolate mousse, fold in 1/4 cup of mini chocolate chips after incorporating the whipped cream.
- Chill the mixing bowls and whisk attachments before whipping the cream for better volume.
Nutrition
- Serving Size: 1 serving
- Calories: 450
- Sugar: 25
- Sodium: 45
- Fat: 32
- Saturated Fat: 18
- Unsaturated Fat: 14
- Trans Fat: 0
- Carbohydrates: 35
- Fiber: 3
- Protein: 8
- Cholesterol: 180


Comments are closed.