


G’day, friends! If you’re anything like me, you’ve probably spent countless hours scrolling, thinking: Can I actually have rich, creamy ice cream that fits my goals? The answer, my friends, is a resounding YES! I’ve found the absolute secret to making that viral, ultra-creamy, high-protein cottage cheese ice cream, and trust me, it tastes like pure indulgence. For me, bringing that joyful, nourishing feeling from my Sunday kitchen into every day is essential, and this recipe lets me have decadent frozen treats without the sugar crash later. Forget everything you think you know about this ingredient; we’re about to transform it into the ultimate healthy indulgence. If you want to know more about that journey, you can always check out my story over on my About Me page!
Why This Cottage Cheese Ice Cream is Your New Favorite Healthy Frozen Dessert
I’m telling you, this isn’t just another recipe; it’s the solution to all my late-night sweet cravings! If you’ve been searching for a genuinely delicious, high protein ice cream recipe that doesn’t taste like chalk, you’ve found it. This version of cottage cheese ice cream is truly a game-changer because it packs nearly 20 grams of protein per serving, keeping me full and happy. It’s the perfect guilt free dessert because we skip nearly all traditional sugar but pack in the flavor.
I used to avoid homemade ice cream because pulling out the machine felt like a whole weekend project. But this—this is a miracle! It’s a true no-churn dream that comes together in five minutes in the blender. It solves that deep, creamy craving without the energy crash I usually get from high-sugar treats. It’s my go-to summer dessert recipe that feels utterly decadent.
The Secret to Ultra Creamy Cottage Cheese Ice Cream Texture
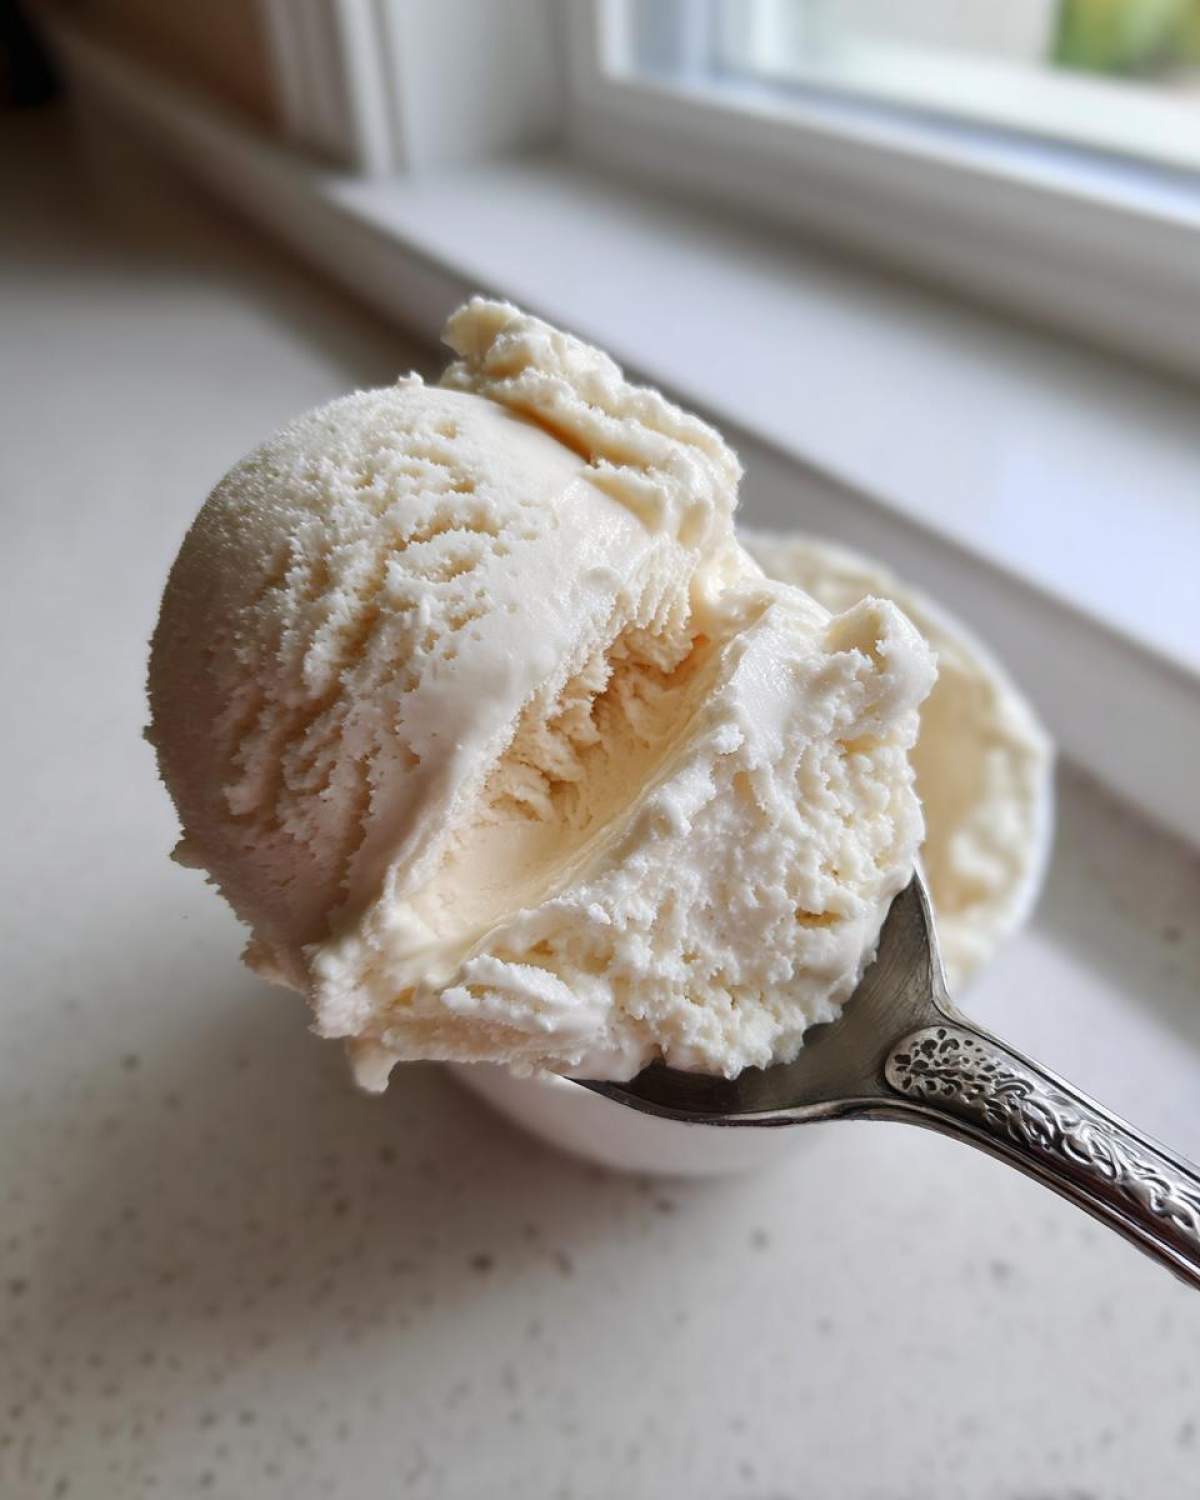
Now, let’s talk texture, because this is where most people get scared off. They think cottage cheese means lumps, right? Nope! The magic for this creamy cottage cheese treat happens because we are blending it into oblivion. A good, high-speed blender breaks down those curds completely, essentially turning the dairy into a super-smooth, rich base. It eliminates the graininess entirely, giving you that luxurious, smooth finish usually reserved for machine-churned ice creams.
Gathering Your Ingredients for Cottage Cheese Ice Cream
Okay, gather ‘round! The beauty of this cottage cheese ice cream recipe is seriously the minimal ingredient list. You aren’t shopping the perimeter of the store for a million things; you need the core four, and maybe one optional fifth item for a serious protein punch. Keep these measurements precise, trust me, because they create the perfect balance between sweet, creamy, and frozen.
Here is what you need for two servings of this incredible, healthy frozen dessert:
- 1 cup full-fat cottage cheese
- 1/4 cup milk (we’ll chat non-dairy options in a moment!)
- 2 tablespoons sweetener (I use monk fruit, but read on for alternatives)
- 1 teaspoon vanilla extract
- 1 scoop vanilla protein powder (this is optional, but highly recommended for that protein packed sweets boost)
Ingredient Notes and Smart Substitutions
I just wanted to spend a quick moment chatting about those core items because they make all the difference between a decent frozen treat and truly spectacular cottage cheese ice cream.
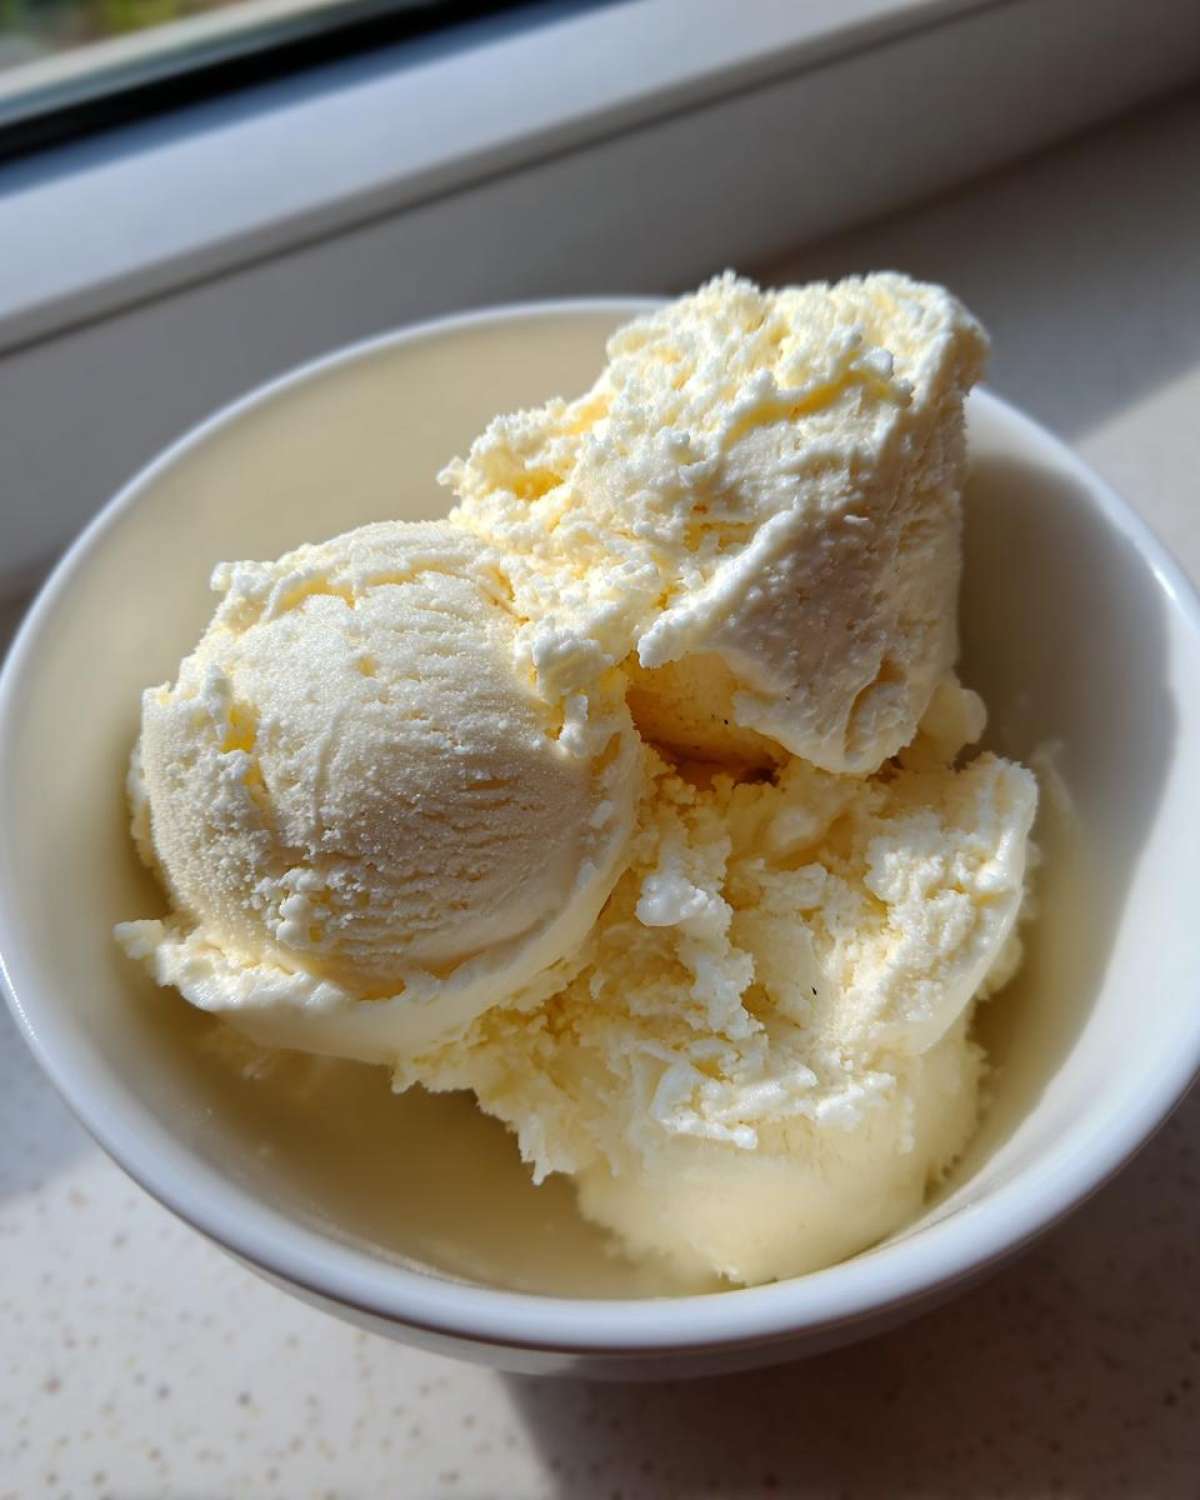
First, please, please use the full-fat cottage cheese if you can get it. If you use low-fat or fat-free, you risk ending up with something I’d delicately call an icy brick. The fat content is what keeps this guilt free dessert creamy once it hits the deep freeze!
For sweetening, it depends on your goals. If you are aiming for a very low-sugar ice cream alternative, use a zero-calorie option like monk fruit or erythritol. If you are fine with a touch of sugar and want that richer flavor, maple syrup works miracles with the mild tang of the cheese. Just know that using pure liquid sweetener might make the final texture a *tiny* bit softer than the granular substitutes.
And finally, that protein powder: Yes, it makes this an amazing high protein ice cream recipe! If you use it, make sure it’s a high-quality brand you like the flavor of, because you will taste it. It adds firmness and structure, too, which is fantastic!
Step-by-Step Instructions for Quick Homemade Cottage Cheese Ice Cream
This is the part where we turn humble ingredients into something magical! Seriously, this whole process, start to finish before freezing, takes about five minutes flat. It’s why I love this as a quick homemade ice cream solution when a craving hits unexpectedly. Grab your high-speed blender—this is non-negotiable for the texture we want!
First things first: Dump your cottage cheese, milk, sweetener, and vanilla extract right into the blender jar. Don’t be shy! Make sure your cottage cheese isn’t straight from the fridge; room temperature helps things blend easier, although honestly, my blender is powerful enough to handle it cold.
Now, you have to blend. And I mean blend. You are going to blend this mixture on high speed until it is completely, utterly velvety smooth. I’m talking 60 to 90 seconds, maybe more. Stop the blender, check for any sneaky curds clinging to the sides, scrape them down, and blend again! If you still see white specks after that, you haven’t blended enough. This blending step is what makes this a phenomenal easy blender dessert.
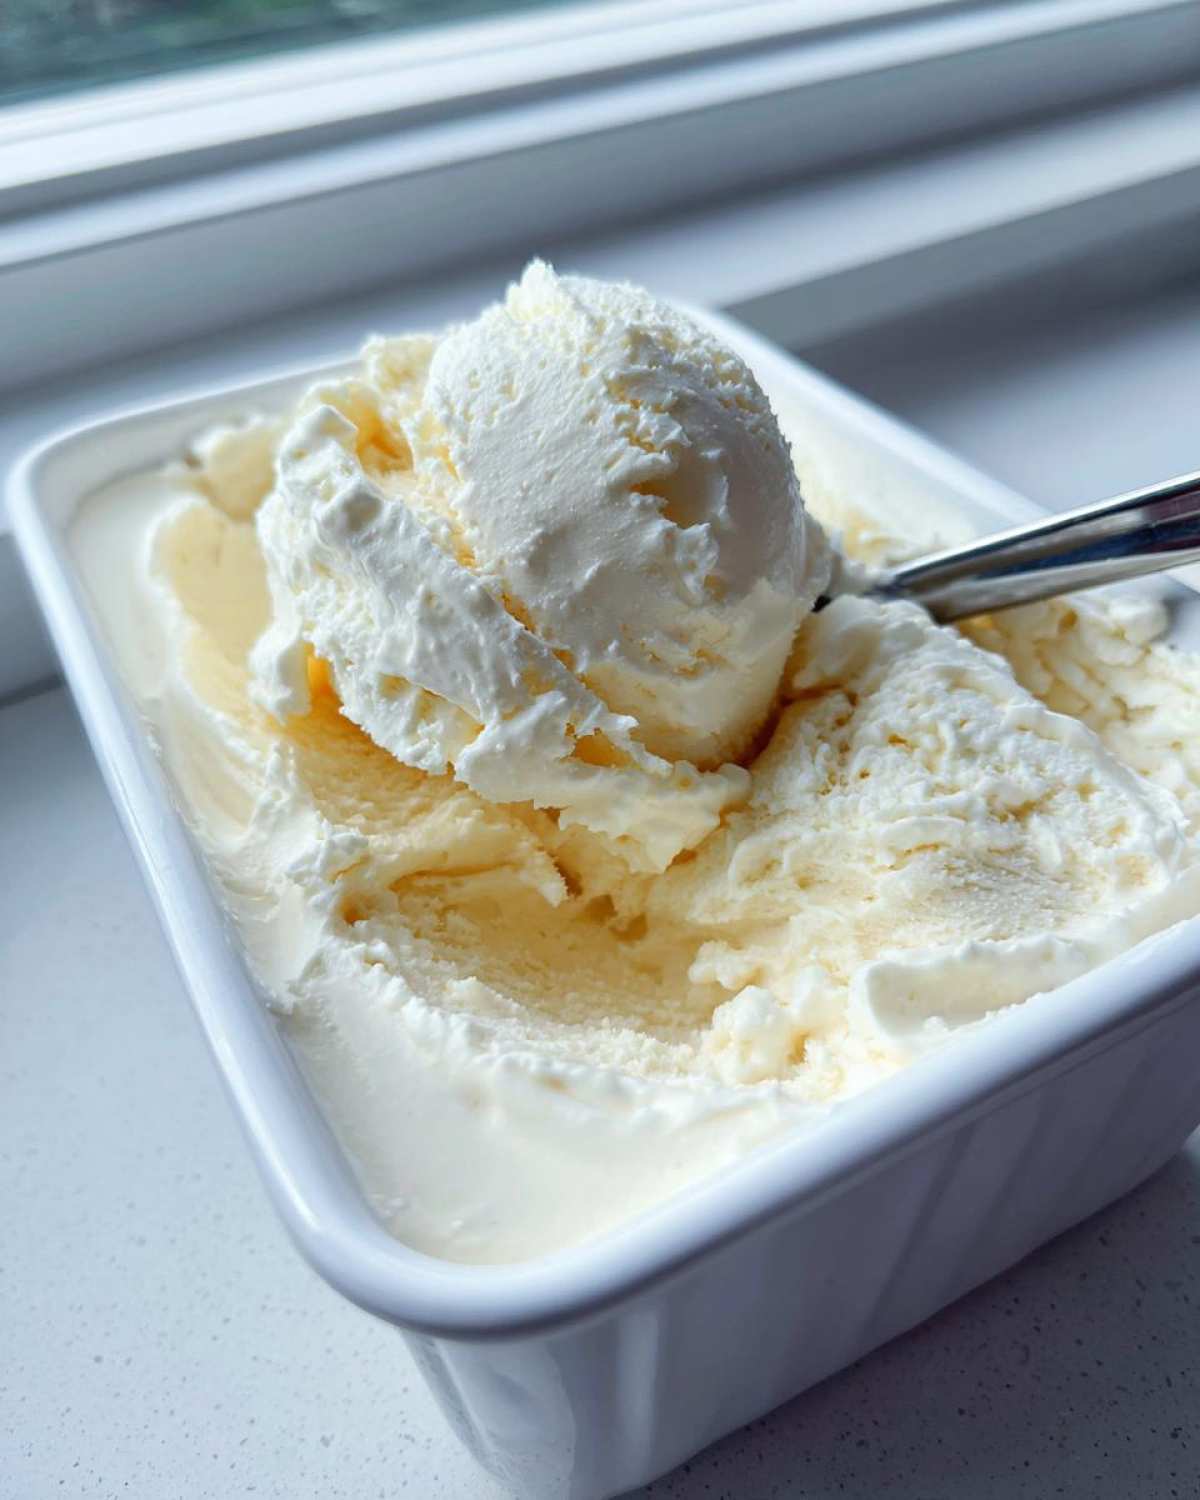
If you’re leveling up with protein powder, this is the time to add it. If you add it too early, it can sometimes try to clump up, so we add it toward the end and just pulse until it’s incorporated. Now, pour that gorgeous, thick liquid into whatever freezer-safe container you chose—a loaf pan works great!
Freezing and Achieving the Perfect Scoopable Consistency
Here’s the patience part, and I know it’s tough when this smells this good! You’ve got to cover that container tightly. I like to press plastic wrap right against the surface of the mixture before putting the lid on. This helps prevent any ice crystals from forming on the top layer. Then, pop it into the freezer for a minimum of 4 to 6 hours. Honestly, overnight is even better for the firmest set.
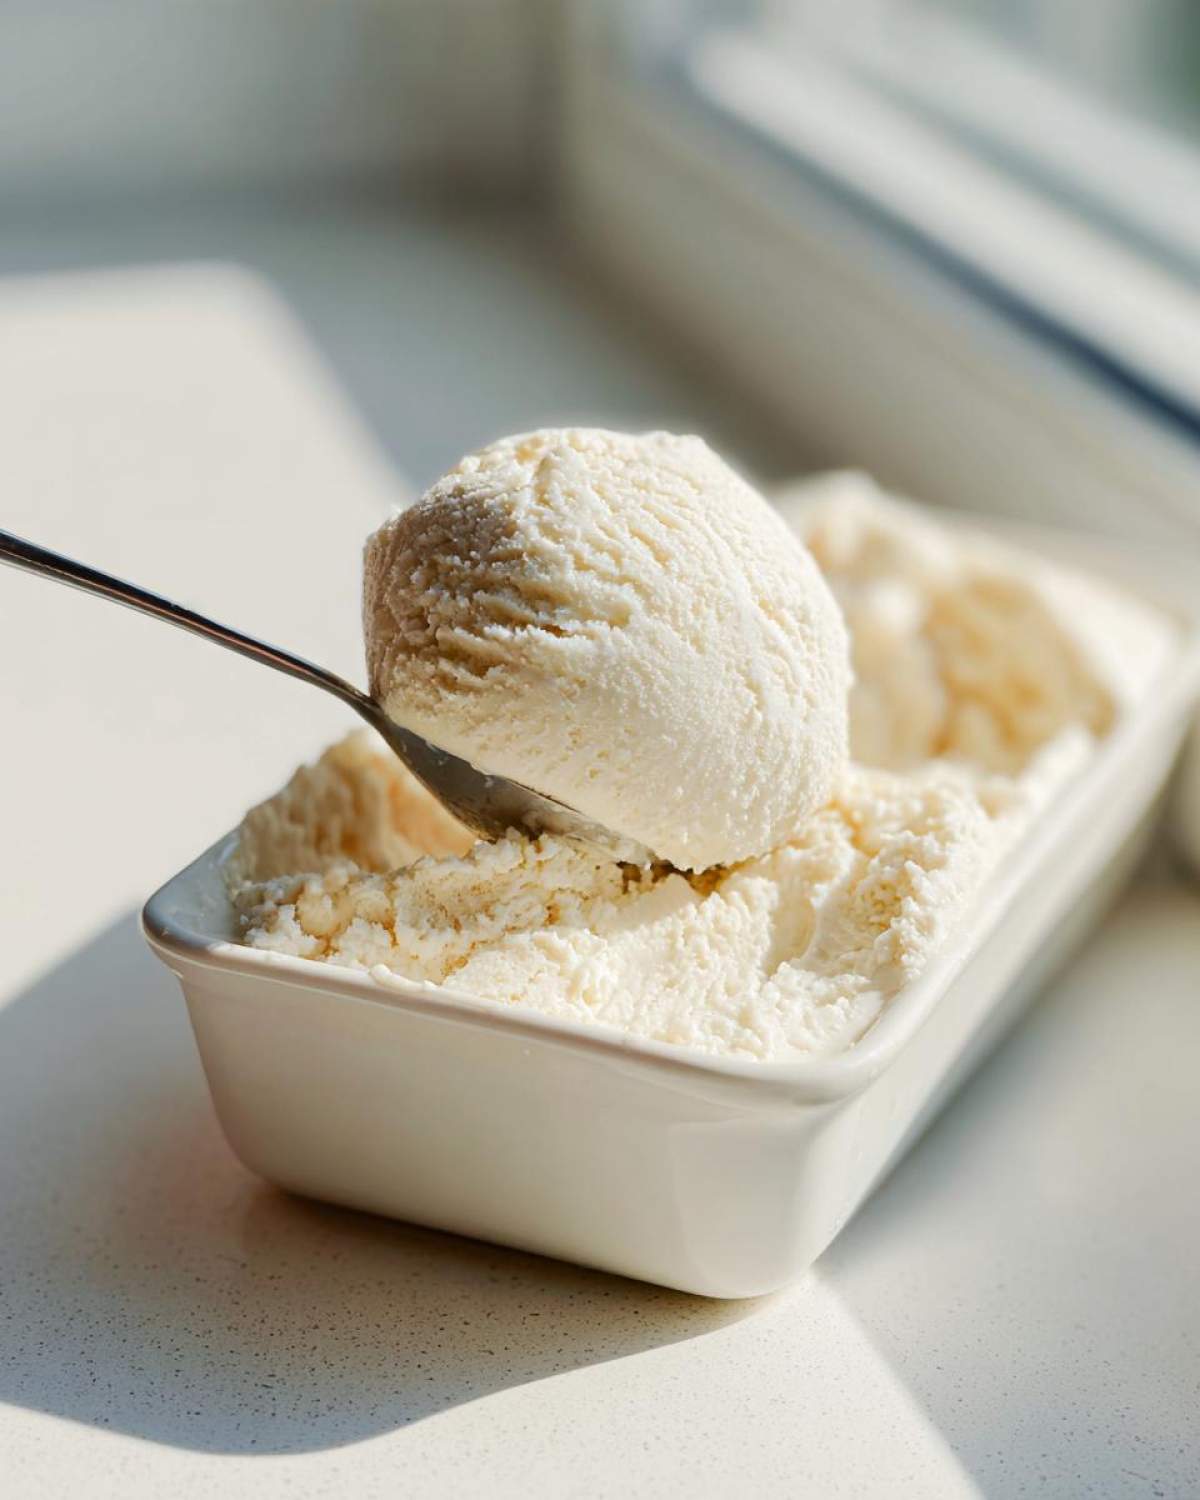
But wait, don’t dig in yet! This is the final crucial step for enjoying this cottage cheese ice cream properly. When you pull it out, it’s going to be rock solid—remember, no churning involved! You absolutely need to let it sit on the freezer for 5 to 10 minutes before attempting to scoop. This tempering time is what transforms it into that perfectly scoopable, creamy cottage cheese treat we are aiming for. Don’t skip the warm-up!
Making Ninja Creami Cottage Cheese Recipes from This Base
Okay, I know so many of you have jumped on the Ninja Creami bandwagon, and honestly, I get it! That machine makes *magic*. The good news is that this vanilla base is one of the absolute best Ninja Creami cottage cheese recipes you can start with. It’s so versatile for making a phenomenal high protein ice cream recipe that is ready in minutes once frozen!
If you’re using the Creami, you skip the lengthy freezing time for tempering—the machine does the work for you! So, instead of freezing for just 4 to 6 hours, you need to make sure your base is frozen completely solid, usually overnight is best for the Creami. If you pour the mixture in and it’s still soft, you’ll mostly just get a thick milkshake, which is fine, but that’s not the creamy ice cream everyone is raving about!
Once it’s rock solid in the outer pint container, pop it into the machine and run it on the standard “Lite Ice Cream” or “Ice Cream” setting. It will probably come out looking a little crumbly, which is super normal when you use high-protein bases, so don’t panic!
This is the best part: If it looks powdery, just add a tiny splash—maybe a teaspoon or two—of milk or water, put the container back in, and hit the “Re-Spin” button. Seriously, that little re-spin is what guarantees that dreamy, smooth texture we associate with the best cottage cheese ice cream. It turns that frozen base into the most divine, soft-serve-like texture. Perfect for satisfying that quick craving for a protein packed sweet treat!
Flavor Variations for Your Creamy Cottage Cheese Treat
Okay, you’ve made the perfect vanilla base—that’s fantastic! But why stop there when this base is ready to become literally any flavor of healthy frozen dessert you can dream up? This is where the real fun begins and where you can customize this cottage cheese ice cream to hit whatever flavor note you’re craving. Since it’s naturally mild, it takes inclusions brilliantly.
Think of this vanilla mixture as your blank canvas. Chocolate chips are always a winner, as are swirls of peanut butter or fresh fruit. The general rule for additions is pretty simple: Mix them in *after* the primary blend is smooth, right before you pour it into the freezer container.
I actually shared a fantastic little swirl technique when making my no-churn minted ice cream, and I use that exact concept here for swirls! It just requires folding your chunky mix-ins in gently by hand or pulsing them briefly at the end. If you love swirls, you should definitely take a look at how I handle those creamy ribbons in this other no-churn recipe.
How to Make Chocolate Cottage Cheese Dessert
If you’re craving something rich, this is the easiest swap you’ll ever make. To turn your base into a chocolate cottage cheese dessert, you don’t need melted chocolate, which can mess with the texture when freezing! Instead, just blend in 1.5 to 2 tablespoons of unsweetened cocoa powder right along with your vanilla and sweetener.
Start with 1.5 tablespoons and taste the mixture (I know, I know, raw batter tastes amazing!). If you want it deeper, add the extra half tablespoon. Remember, the flavor will mellow slightly when frozen, so you want it to taste *slightly* too chocolatey when it’s wet. This keeps your final high protein ice cream recipe tasting deeply satisfying and rich!
For a strawberry version, just throw in about 1/2 cup of frozen strawberries during the initial blend. They’ll break down beautifully and give you a vibrant, naturally sweet, strawberry protein ice cream!
Storage and Keeping Your Protein Packed Sweets Fresh
Alright, the hard part is over—it’s blended, and it’s frozen! Now we need to make sure we keep this beautiful cottage cheese ice cream in its best possible shape until you devour it. Because this is a quick homemade ice cream without all the stabilizers you find in store-bought tubs, how you store it matters a lot for keeping that crucial creamy texture.
The absolute number one rule for keeping any homemade frozen dessert fresh is air exposure—that’s what causes freezer burn, turning your smooth treat into icy shards. So, when you put your container into the deep freeze, make sure you press a layer of plastic wrap directly onto the surface of the ice cream before you seal the lid. I mean it—push it right down until it touches the mixture. This creates a barrier against any lingering moisture in the freezer air.
How long does it last? Honestly, for the absolute best texture, I recommend eating it within about two weeks. After that, even with the plastic wrap trick, you might start noticing it gets a little harder because of the simple ingredients. It’s still perfectly safe, of course, but the texture of these protein packed sweets really shines within that first week or so. I never typically find it lasts that long anyway; it disappears too fast!
When you pull out your container after a few days or weeks, just remember that crucial step from earlier: Don’t rush it! You need to let it stand on the counter for those 5 to 10 minutes. This little bit of tempering time wakes up the flavor and gets it back to that perfect, scoopable consistency, no matter how long it’s been chilling. Enjoy those leftovers from your amazing, healthy frozen dessert!
Troubleshooting Common Issues with Homemade Frozen Desserts
Even with the best recipe in the world—and trust me, this recipe is tried and true—sometimes things don’t come out exactly as we pictured them right out of the freezer. That’s okay! That’s just cooking, right? When we’re dealing with cottage cheese ice cream, which is naturally lower in conventional sugar stabilizers, it sometimes needs a little nudge to get that perfect texture. Don’t worry if your first attempt isn’t perfect; that’s how we learn to make it an amazing low sugar ice cream alternative the next time around!
I’ve run into a couple of common snags myself over the years of testing this creamy cottage cheese treat, and I want to save you the trouble. Usually, the issues boil down to two things: texture when it’s freshly blended, or hardness after it’s done freezing.
My Mixture Was Grainy or Icy After Blending
If you taste your mixture before freezing and it feels a little… gritty? That’s usually a sign that the cottage cheese didn’t fully break down. Remember how intensely I stressed that blending step? We need those curds pulverized! If you have a slightly less powerful blender, you might need to blend for a full two minutes, maybe stop once or twice to scrape down the sides aggressively.
If you’ve blended until you’re tired and it still feels off, the next time you make this high protein ice cream recipe, use the full-fat version of the cheese. Seriously, it makes a huge difference in the luxurious mouthfeel. Full-fat breaks down smoother and holds its creaminess much better than the lower-fat options when it freezes. It’s the key to avoiding that icy texture in your cottage cheese ice cream batch.
The Ice Cream Came Out Like a Block of Wood
This is perhaps the most common issue with homemade, no churn ice cream, especially when we skip the traditional sugar and stabilizer levels of store-bought tubs. If you scoop it out and it feels like you could chip a tooth, don’t panic and don’t throw it out! It just means it’s too cold for the current state of the mixture.
The solution here is simple: tempering. Remember how I mentioned letting it sit on the counter? For an ice-solid block, you might need a little longer than the standard 5 to 10 minutes. Try 15 or even 20 minutes for that hard block. You want it to soften just enough around the edges so that when you run your spoon through it, it creates soft ribbons, not cracks. This is especially important if you skipped protein powder in favor of just the base ingredients for a lighter treat—the powder helps prevent that ultra-hard freeze. Give it time, and even the hardest batch of this guilt free dessert will become delightfully scoopable!
Frequently Asked Questions About Cottage Cheese Ice Cream
I know you might still have a few little questions buzzing around about whipping up this cottage cheese ice cream. It’s natural when you’re trying something new, especially when moving toward healthier desserts! I’ve pulled together some of the most common things I get asked about, hoping to clear things up so you can get to freezing faster! If you ever want to read through the full site guidelines, our disclaimer is available right here.
Can I make this a low sugar ice cream alternative?
Absolutely, you can! That’s one of the main reasons I love this recipe so much—it’s inherently flexible for managing sugar intake. If you want this to be a true low sugar ice cream alternative, skip the maple syrup entirely. Instead, use non-nutritive sweeteners like erythritol or monk fruit blends. I find these work fantastically well in the blender, and because they don’t actually count as sugar, they don’t interfere with the freezing process nearly as much. If you’re experimenting with making this a keto cottage cheese dessert, monk fruit is definitely your best friend here. The base flavor stays nice and neutral, just waiting for a low-carb mix-in like sugar-free chocolate chips!
Do I need an ice cream maker for this cottage cheese ice cream recipe?
This is the best part! No, you absolutely do not need an ice cream maker. This cottage cheese ice cream recipe is specifically designed as a no churn ice cream base. We rely 100% on the high-speed blender to do the hard work of emulsifying the cheese into a super-smooth base, and then we rely on the freezer to firm it up. It’s perfect for those afternoons when you realize you want a quick homemade ice cream treat but don’t have the time or the machine attachment ready. If you *do* happen to have a Ninja Creami, you can absolutely use this base, but for the standard version, the blender and freezer do all the heavy lifting for your protein packed sweets!
What kind of cottage cheese gives the creamiest result?
If you want the smoothest, richest result for your creamy cottage cheese treat, always reach for full-fat cottage cheese. I know, I know, we’re trying to keep things healthy, but the lack of water content in the full-fat version prevents those dreadful ice crystals from forming. Low-fat tends to freeze much harder and can result in a slightly grainy or icy texture once it’s fully set. See, sometimes the original, richer option is actually the best way to achieve that desired healthy frozen dessert texture!
Can I use this recipe for other flavors, like strawberry protein ice cream?
You bet you can! This vanilla base is just waiting for you to play with it. For something like a strawberry protein ice cream, I usually recommend using frozen strawberries. You blend them right in with the cottage cheese mixture! Using frozen fruit helps keep the base cold, which aids in getting a nicer set in the freezer. If you try it, just make sure your blender can handle the frozen chunks; sometimes adding a tiny splash more milk helps things move along until you get that smooth blend. It’s such a fun way to get fruit into your frozen snacks! It’s the perfect way to create a high-protein dessert.
Estimated Nutritional Snapshot
You know I always like to keep things transparent here at Sunday Flavor, especially when we’re talking about turning decadent cravings into something genuinely good for you! Since every single component in this recipe—especially the sweetener and protein powder—can change the final numbers, please treat this information as a really helpful *estimate* only. This breakdown is based on using the core ingredients listed and one standard scoop of vanilla whey protein powder.
For the sake of calculation, I’ve based this snapshot on the yield of 2 servings. This is your foundational look at why this cottage cheese ice cream is such a powerhouse:
- Serving Size: 1/2 cup
- Calories: About 180
- Protein: A whopping 20 grams!
- Fat: 7g
- Carbohydrates: 12g
- Sugar: Only 4g (this is the best part!)
See? High protein, low sugar—it’s the perfect blueprint for a guilt free dessert or a fantastic post-workout treat. These numbers prove that you really don’t have to sacrifice good nutrition just because you want something cold and sweet on a hot afternoon. It’s satisfying without being heavy. Enjoy!
PrintViral High-Protein Vanilla Cottage Cheese Ice Cream (No-Churn)

You will love this creamy, high-protein cottage cheese ice cream. It is a healthy frozen dessert that requires no ice cream maker and comes together quickly in a blender. Make this guilt-free treat today.
- Prep Time: 5 min
- Cook Time: 0 min
- Total Time: 4 hours 5 min
- Yield: 2 servings
- Category: Dessert
- Method: No Churn/Blender
- Cuisine: American
- Diet: Vegetarian
Ingredients
- 1 cup full-fat cottage cheese
- 1/4 cup milk (dairy or non-dairy)
- 2 tablespoons sweetener (like monk fruit, erythritol, or maple syrup)
- 1 teaspoon vanilla extract
- 1 scoop vanilla protein powder (optional, for extra protein)
Instructions
- Place the cottage cheese, milk, sweetener, and vanilla extract into a high-speed blender.
- Blend on high speed until the mixture is completely smooth and creamy. Scrape down the sides as needed.
- If using protein powder, add it now and blend until just combined.
- Pour the mixture into a freezer-safe container, like a loaf pan or an airtight container.
- Cover the container tightly with a lid or plastic wrap pressed directly onto the surface of the mixture.
- Freeze for at least 4 to 6 hours, or until firm.
- Before serving, let the ice cream sit on the counter for 5 to 10 minutes to soften slightly for the best texture.
- Scoop and enjoy your protein packed sweet treat.
Notes
- For the creamiest texture, use full-fat cottage cheese. Low-fat versions can freeze harder.
- If you are using a Ninja Creami, process the mixture from frozen according to your machine’s instructions, then add a splash of milk and re-spin if needed for a soft-serve consistency.
- Add mix-ins like chocolate chips or peanut butter swirls after the initial blend, stirring them in by hand before freezing.
Nutrition
- Serving Size: 1/2 cup
- Calories: 180
- Sugar: 4
- Sodium: 350
- Fat: 7
- Saturated Fat: 4
- Unsaturated Fat: 3
- Trans Fat: 0
- Carbohydrates: 12
- Fiber: 1
- Protein: 20
- Cholesterol: 25


Comments are closed.