


Oh, are you having one of those weeks where your schedule is totally packed, but your sweet tooth is screaming for attention? I totally get it. After my corporate days, I learned that filling your life with joy doesn’t require hours of complicated baking! That’s why these **Cool Whip Candy** squares are an absolute lifesaver for me. Seriously, this is the ultimate shortcut. It’s a no-bake dream that comes together with just three core ingredients, making it happen faster than you can brew your morning coffee. If you need a quick win, just remember you can find even more speedy ideas to start your day right here! Trust me, this simple, creamy treat brings that beautiful “Sunday Flavor” energy even on a chaotic Tuesday.
Why This Cool Whip Candy is Your New Favorite No Bake Dessert
Honestly, when I first made this, I kept thinking, “Is that it?” The payoff on effort versus deliciousness is just incredible. Forget fiddly tempering or babysitting the stove—this recipe is pure magic tucked into three simple elements. It’s the definition of whipping up joy when you need it most. If you love these kinds of easy wins, you should check out my easy 5-ingredient soup ideas, too!
The Ultimate 3 Ingredient Dessert Shortcut
- It requires almost no time actively working standing up.
- This is one of the most wonderfully **budget friendly sweets** you can make—perfect for when you need a crowd-pleaser without breaking the bank.
- It falls perfectly into the category of **easy candy recipes** for beginners.
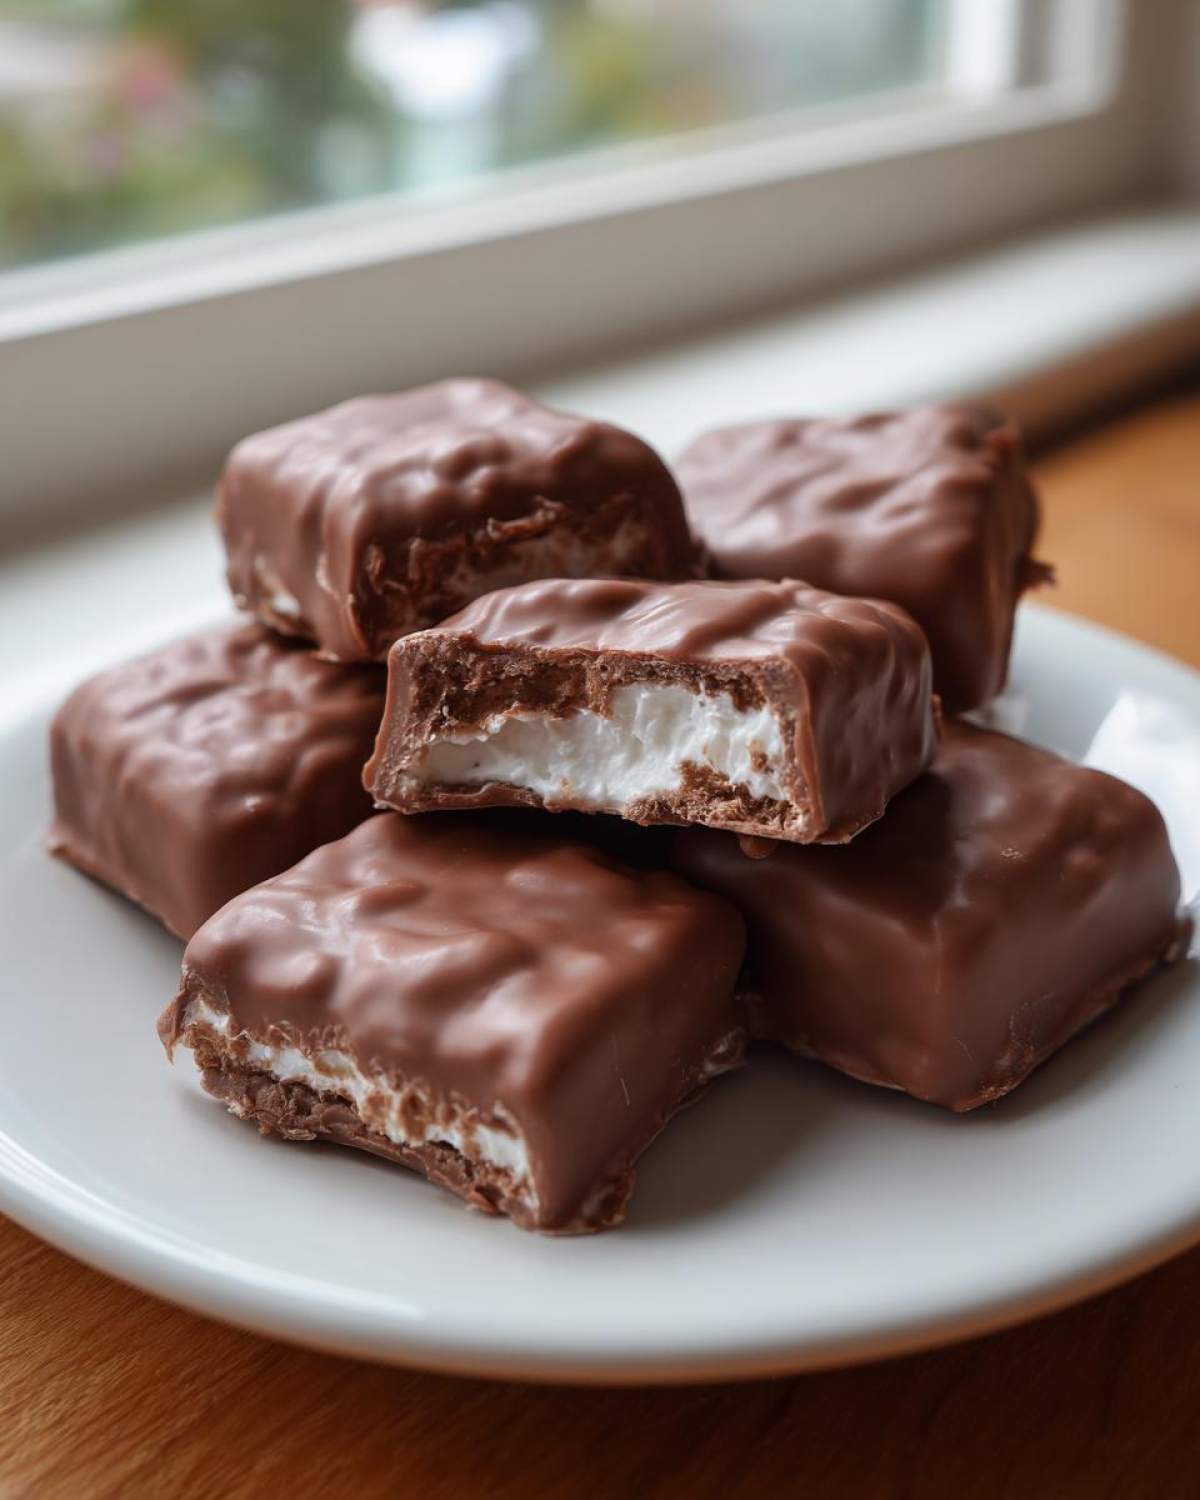
Texture Perfection: The **Fluffy Chocolate Candy** Center
The inside is what sells this! It’s that light, airy, melt-in-your-mouth feeling you get from those famous fluffy candy bars. That texture is why this reigns supreme among **copycat candy recipes**. It’s surprisingly stable once frozen, too, which makes that chocolate coating go on like silk.
Gathering Ingredients for Your Cool Whip Candy
Okay, since this is one of our go-to **no bake desserts**, we need to be precise with what we pull out of the freezer and pantry. Even though it’s simple, the quality of your ingredients makes a huge difference in the final texture of these **homemade candy bars**. We are relying on that wonderful, stabilized **whipped topping dessert** here—not the real dairy stuff, because that just won’t freeze right for us!
Ingredient List: For the Homemade Candy Bars
- 1 cup powdered sugar
- 1 (8 ounce) container frozen whipped topping, thawed
- 1 (12 ounce) package semi-sweet chocolate chips
- 1 tablespoon shortening or coconut oil (this is for that beautiful, smooth coating!)
Ingredient Spotlight: Why Shortening or Oil is Needed
Listen, you could skip the extra tablespoon of shortening or coconut oil, but then your chocolate coating will likely crack and flake off the second you try to snap a piece of candy. That little bit of fat keeps the melted chocolate beautifully fluid and pliable, ensuring when the frozen center hits it, the coating stays gorgeous and smooth. Trust me on this one; it makes the chocolate dip way less stressful!
Step-by-Step Guide to Making **Cool Whip Candy**
Alright, this is where the magic happens, but don’t panic! Since this is one of the most satisfying **no oven baking** methods out there, the structure relies entirely on temperature. We need that base to be absolutely solid. This whole process is incredibly straightforward, but we need to respect the freezer time—I’ll stress that again!
Preparing the Fluffy Base and Freezing
First things first: line your 8×8 inch pan with parchment paper, making sure you leave a nice big flap hanging over the sides. We’re calling that our candy lift! In a bowl, gently fold together the powdered sugar and that thawed whipped topping. I mean *gently*. If you mix too hard, you will whip the air right out of it, and instead of **fluffy chocolate candy**, you’ll end up with something kind of dense. Mix only until you can’t see the white streaks of topping anymore. Press that fluffy goodness into your prepared pan and move it straight to the freezer. Seriously, commit to at least four hours, or better yet, overnight!
Creating the **Easy Chocolate Coating Candy**
Once your block is rock solid—and I mean rock solid—you can get the coating ready. In a microwave-safe bowl, combine your chocolate chips and your spoonful of shortening or oil. Now, for the most important chocolate tip: use 30-second bursts. Stir completely between each burst. If you try to blast it for a full minute, you risk scorching those chips, and burnt chocolate smells up the whole kitchen, trust me. Keep zapping and stirring until you have a beautiful, glossy pool of chocolate ready for dipping.
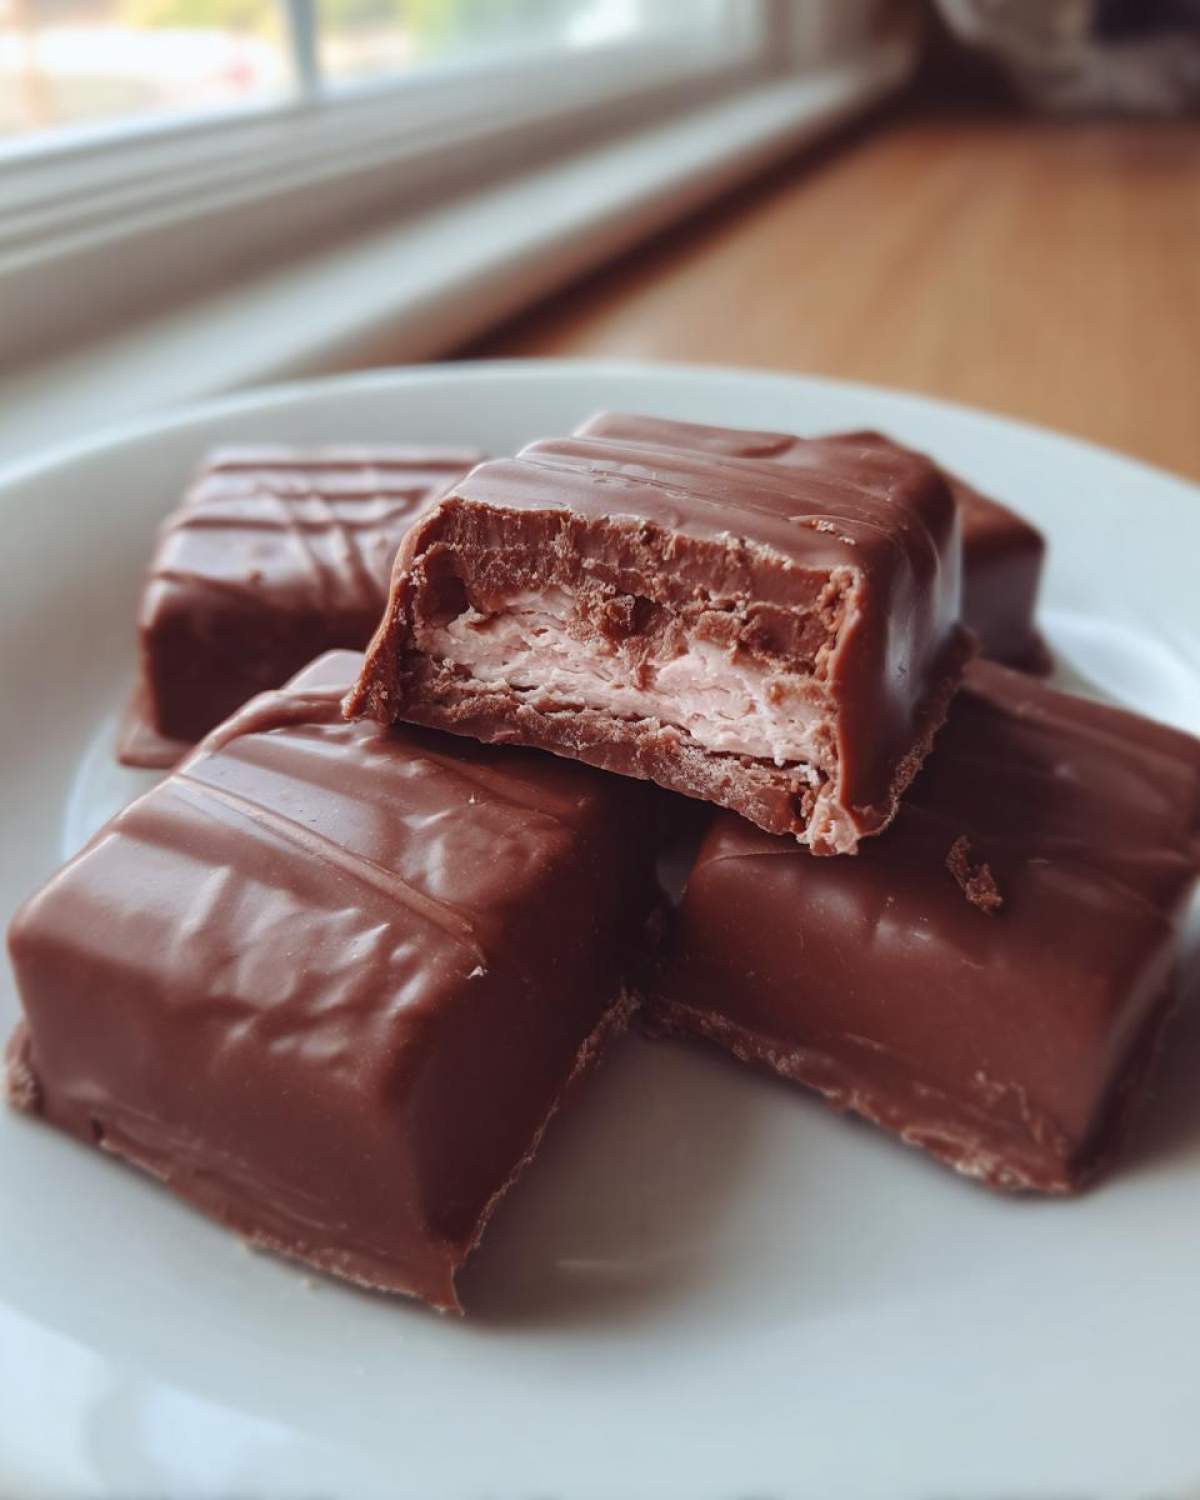
Coating and Setting the **Creamy Chocolate Treats**
Now we work fast! Lift that frozen block out using those parchment overhangs and slice it into small squares. Use a fork or a toothpick to dip each square quickly into the melted chocolate. Let the extra drip off before placing it back on a new sheet of parchment paper. Because the internal candy is frozen solid, the chocolate sets up so fast—it’s one of the best parts about these **last minute dessert ideas**! Pop them back into the fridge for just 15 minutes, or until that chocolate shell is firm, and they are ready to go.
If you’re already dreaming up other simple bake-free ideas, have a look at my recipe for no-bake Oreo cheesecake—it’s another winner!
Tips for Perfect **Cool Whip Candy** Texture
Even when a recipe is this simple, texture can make or break it, right? Since we are working with a frozen base made from **whipped topping dessert**, temperature control is key to keeping that lovely, light structure. I’ve made too many batches that were either too soft or got that weird grainy crystallization. If you ever have questions about how I handle my digital kitchen, you can check out my guidelines right here, like my privacy policy.
Troubleshooting Common **Cool Whip Candy** Issues
If you notice your base seems really deflated after mixing it with the sugar, that means your thawed whipped topping wasn’t cooperating, or you mixed too vigorously. Next time, make sure you fold really gently! If the sugar feels gritty when you are mixing, give it an extra minute of folding to let it dissolve properly into the topping before you chill it.
Now, if you cut into it and it feels too soft before you even dip it? Don’t worry about it! Just pop the whole thing back in the freezer for another hour. Better too cold than too gooey when you try to dip it!
Storage and Serving Suggestions for **Cool Whip Candy**
Since these are technically **frozen dessert recipes**, storage is super easy, which is just another reason I love them for **quick holiday treats**! The absolute best place for these is the freezer. Keep them tucked away in an airtight container—I usually use a rigid plastic one to prevent them from getting squished. They will stay perfect for weeks that way, making them fantastic for prepping ahead of time for your upcoming celebrations.
When it comes time to serve them up as part of those gorgeous **holiday dessert tray ideas**, just pull them out about 10 to 15 minutes before you want people to dig in. That little bit of time softens the center just enough so it isn’t rock hard, but the chocolate coating stays nice and crisp. If you ever need to check out my general guidelines for kitchen safety, you can always review my official disclaimer!
Variations on Classic Cool Whip Candy
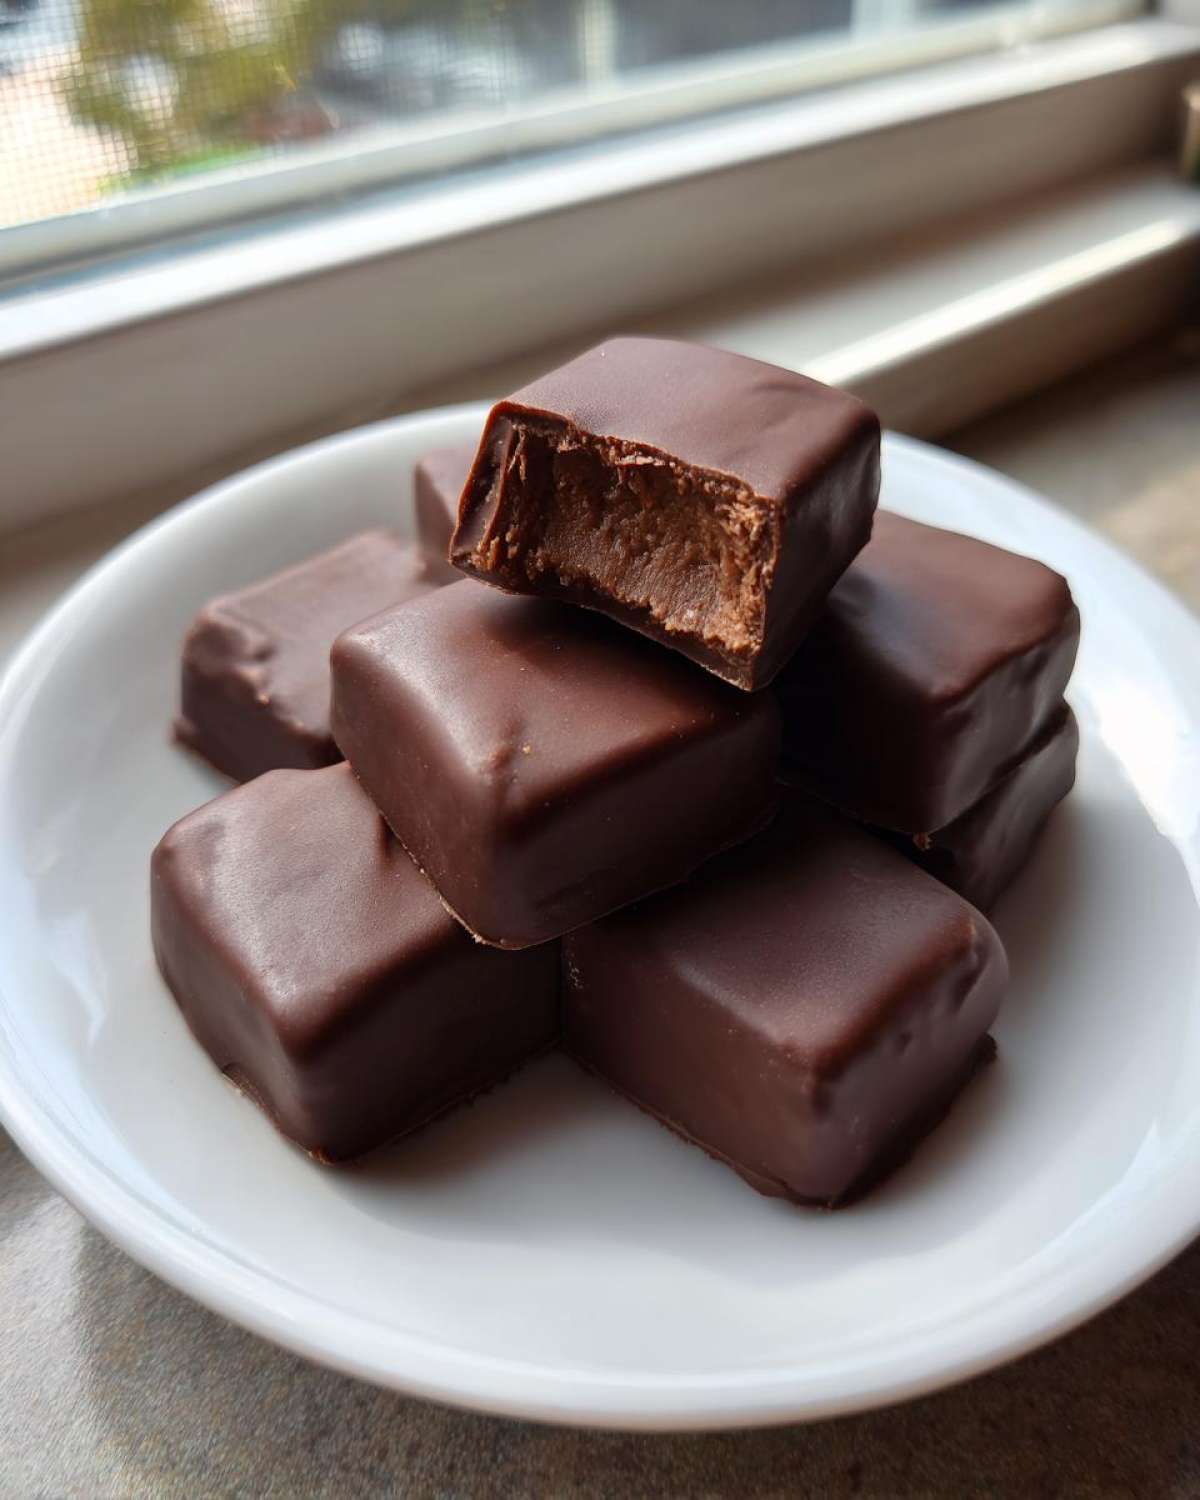
While this base recipe is absolutely perfect as is—my favorite kind of simplicity—sometimes you just want to dress it up a tiny bit, right? And it’s so fun to customize these **simple sweet snacks**! You don’t need to turn on the oven to give them a fun twist. It’s all about playing with extracts or trying different coatings.
For the filling, try mixing in just half a teaspoon of vanilla extract before you freeze it. If you want something a little richer, use almond extract instead. Or, if you’re feeling adventurous with your chocolate dipping, skip the semi-sweet chips and use white chocolate sometimes! Just be sure to use that little bit of shortening with the white chocolate, because it sets up a little differently.
Making Cool Whip Candy Festive
This is where the real fun happens, especially around the holidays! Right after you dip a perfectly frozen square into that melted chocolate, don’t let it sit for the setting process just yet. Immediately sprinkle on your decoration of choice! Crushed peppermint is gorgeous, or you can use those fun little colored sprinkles. They stick beautifully before the chocolate hardens. If you ever need to reach out about recipe adjustments or anything else, my contact page is just right here!
Frequently Asked Questions About Making **Cool Whip Candy**
I always get so many questions about this recipe because people are amazed at how simple it is! Since we’re relying on freezing and simple pantry staples, there are a few things readers always want to know to guarantee that perfect, fluffy result. If you’re curious about the rules behind my site, make sure you take a peek at my cookie policy.
Can I use real whipped cream instead of whipped topping for this **cool whip candy**?
Oh, that’s a common thought, especially if you prefer dairy! But please, trust me on this one: skip the real whipped cream here. Commercial whipped topping (like Cool Whip) is stabilized with oils and gums, which is what allows it to freeze rock-solid around the powdered sugar mixture and hold that amazing fluffy shape. Real whipped cream has too much water and fat; if you freeze it, you’ll end up with a watery, crystallized mess instead of the solid **homemade candy bars** we are aiming for.
How long does this **no bake dessert** last?
The great news is you can make a huge batch and forget about them! Because they are fully coated in chocolate and stored cold, they last ages in the freezer if you keep them properly sealed in an airtight container. I’d say they are perfectly good for several weeks. That said, the texture is absolutely divine when they are fresh—the first week is probably when the center is at its fluffiest peak, so try to eat a few right away!
What is the best way to cut the frozen block for the **homemade candy bars**?
This is crucial for preventing messy chips and cracks! Do not try to cut the frozen block straight out of the freezer. Pull that big slab out of the pan using the parchment paper and let it sit on the counter for about five to ten minutes. You want it semi-frozen, not rock-solid. Then, grab your largest, sharpest knife—a chef’s knife works great—and cut straight down firmly. A little patience here means cleaner edges for your **creamy chocolate treats**!
Estimated Nutrition for This **Whipped Topping Dessert**
Okay, I know we aren’t whipping up these **Cool Whip Candy** bites for their health benefits—they are a treat, pure and simple! But I always want to give you an idea of what you’re working with, just like I do with all my favourite **simple sweet snacks**. Please remember that since we are using semi-sweet chips and a standard container of whipped topping, these numbers are estimates per single bite-sized piece.
When keeping things like this on hand for satisfying cravings, transparency is my whole philosophy here at Sunday Flavor. If you ever want to read more about how I handle data and privacy on the site, you can always review my GDPR compliance statement.
Here’s the breakdown based on our recipe yielding about 30 pieces:
- Serving Size: 1 piece
- Calories: 110
- Sugar: 14g (That’s the fun part!)
- Fat: 6g
- Protein: 1g
See? Super manageable for a little chocolate fix! Because they are small and come together so easily, they make for perfect **budget friendly sweets** that we allow ourselves to enjoy freely.
Share Your Sunday Flavor Creations
Oh, I absolutely cannot wait for you to try this **Cool Whip Candy**! It’s one of those recipes that just delivers pure, unadulterated joy with zero fuss. When you make it—and I really hope you do—please come back and tell me all about it! Did you stick to the classic chocolate, or did one of those fun variations catch your eye?
The best part of running Sunday Flavor is seeing all your incredible creations pop up online. When you share your photos, tag me! I want to see those shiny chocolate coatings and those perfectly cut squares on your holiday trays. Don’t forget to leave a rating—five stars if it brought a little bit of Sunday joy to your busy week! You can check out more about my journey so far by popping over to my About Me page.
If you’ve made these fluffy delights, share them! And if you are looking for another phenomenal texture experience, you have to check out the amazing original over at Delish Craze—they have some fantastic inspiration, too!
Happy tasting, and I hope this sweet little shortcut makes your day feel a bit more like a Sunday!
Cheers,
Chloe
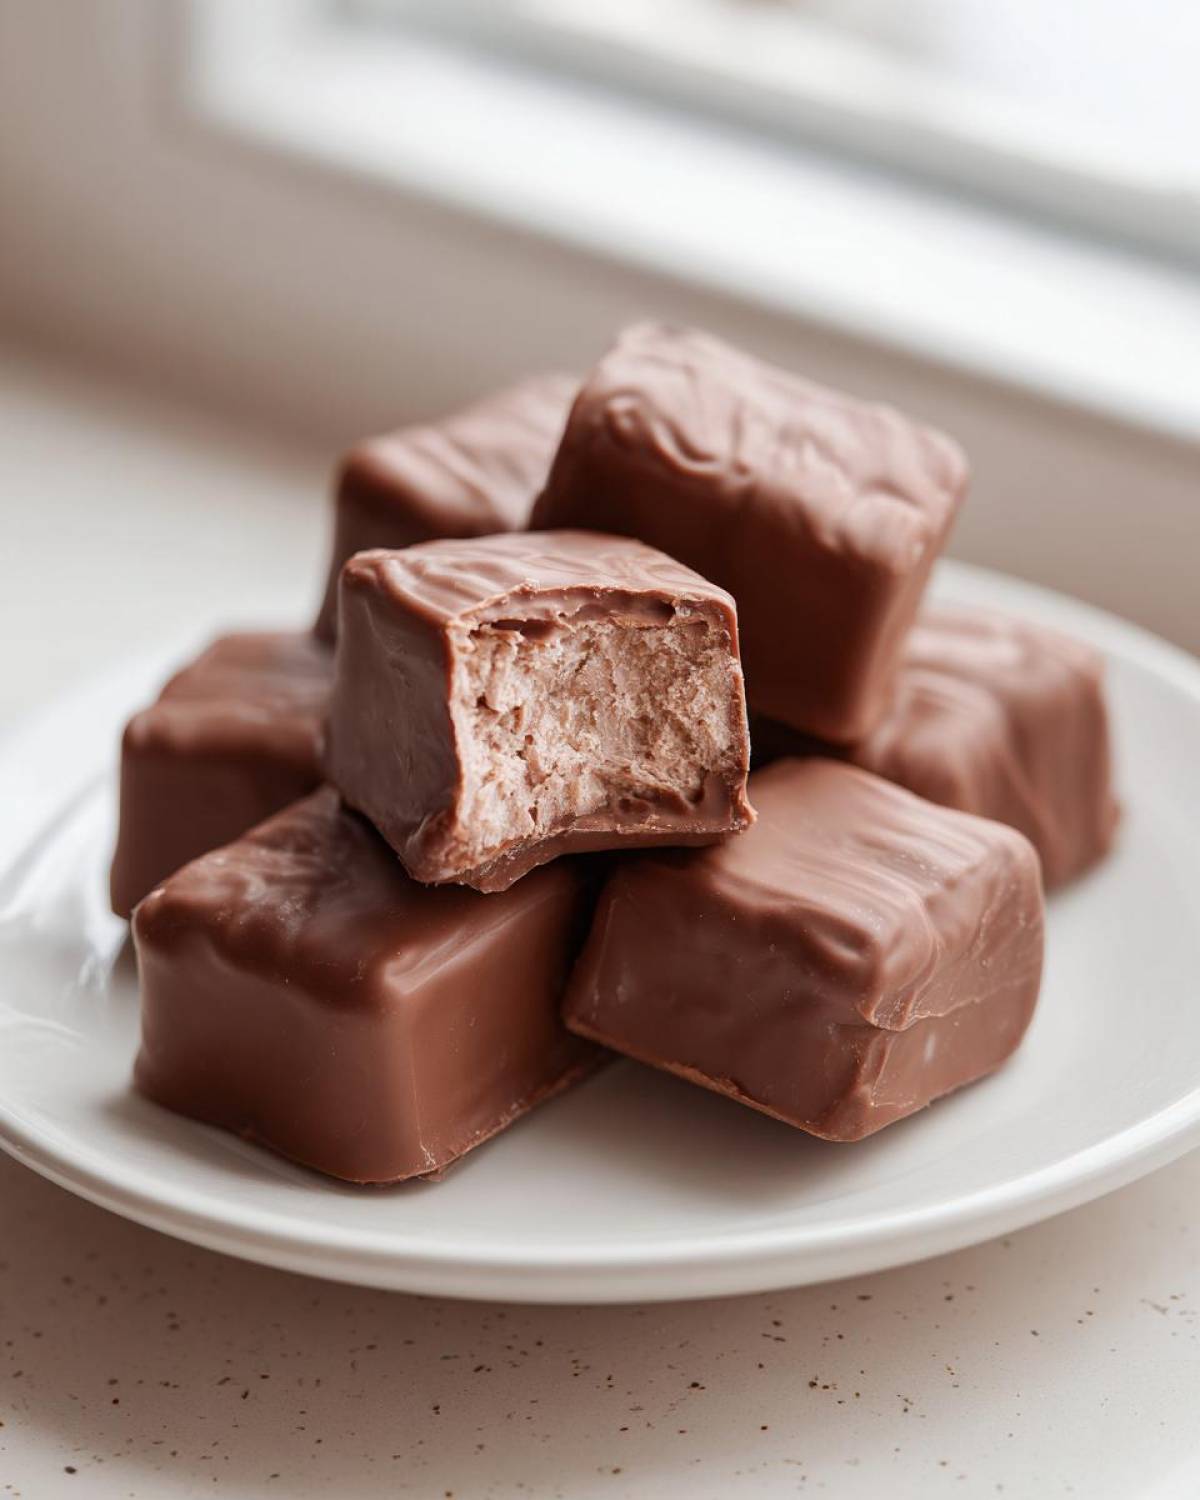
PrintEasy 3-Ingredient Cool Whip Candy (3 Musketeers Copycat)

Welcome this simple, no-bake Cool Whip Candy into your kitchen! This recipe creates a light, fluffy center, similar to a 3 Musketeers bar, coated in chocolate. It is a fast, budget-friendly sweet perfect for holiday trays or last-minute dessert needs.
- Prep Time: 15 min
- Cook Time: 2 min
- Total Time: 4 hours 17 min
- Yield: About 30 pieces
- Category: Candy
- Method: No-Bake/Freezing
- Cuisine: American
- Diet: Vegetarian
Ingredients
- 1 cup powdered sugar
- 1 (8 ounce) container frozen whipped topping, thawed
- 1 (12 ounce) package semi-sweet chocolate chips
- 1 tablespoon shortening or coconut oil (for coating)
Instructions
- Line an 8×8 inch pan with parchment paper, leaving an overhang for easy removal.
- In a medium bowl, mix the powdered sugar and the thawed whipped topping until just combined. Do not overmix, or the mixture will deflate.
- Press the mixture evenly into the prepared pan.
- Freeze the mixture for at least 4 hours, or until completely firm.
- Once frozen solid, lift the block out of the pan using the parchment paper overhang. Cut the block into small, bite-sized squares.
- In a microwave-safe bowl, combine the chocolate chips and shortening. Microwave in 30-second intervals, stirring well after each interval, until the chocolate is smooth and fully melted.
- Dip each frozen candy square into the melted chocolate, allowing excess chocolate to drip off. You can use a fork or a toothpick to handle the pieces.
- Place the coated candies back onto a parchment-lined baking sheet.
- Refrigerate the candies until the chocolate coating is set, about 15 minutes. Store leftovers in an airtight container in the freezer.
Notes
- For the best texture, make sure your whipped topping is fully thawed but still cold when mixing with the sugar.
- If you want a slightly different flavor, substitute milk chocolate chips for the semi-sweet ones in the coating.
- This recipe is excellent for making ahead of time; keep the finished candy frozen for the best texture.
Nutrition
- Serving Size: 1 piece
- Calories: 110
- Sugar: 14g
- Sodium: 15mg
- Fat: 6g
- Saturated Fat: 3.5g
- Unsaturated Fat: 2.5g
- Trans Fat: 0g
- Carbohydrates: 15g
- Fiber: 0.5g
- Protein: 1g
- Cholesterol: 3mg


Comments are closed.