


You know those parties where everyone clusters around one specific dish? That’s always my cheese ball. Seriously, figuring out the ultimate cheese ball recipe was game-changing for my entertaining game! I remember when I first tried making a proper one for New Year’s Eve five years ago; I was so nervous it’d turn into soup, but wow, it set the bar for all future savory party food ideas.
This version, heavy on the sharp cheddar and coated in fresh herbs and crunchy nuts, is the absolute best because it requires zero cooking. It’s your shortcut to looking like a hosting hero. Trust me, once you nail this simple, classic spread, you’ll never look back!
Why This Classic Cheese Ball Recipe Is Your New Favorite Easy Appetizer Recipe
Honestly, the reason this particular savory cheese spread stands above the rest comes down to texture—it’s firm when chilled, delightfully spreadable at room temperature, and that combination of sharp cheddar and tangy cream cheese is just unbeatable. It’s truly the best kind of crowd pleasing appetizer because it caters to everyone!
Making this is so foolproof. Here’s why I keep coming back to it:
- It’s the ultimate easy appetizer recipe that requires no oven time.
- You get bragging rights because it feels fancy, but it’s pure simplicity.
- It’s a total make ahead appetizer; chill it, forget it, and serve it later!
Perfect for Holiday Spread and Game Day Snacks
This is the superstar of the holiday spread, no contest. Whether it’s Christmas Eve, a cozy New Year’s Eve party, or just a low-key Sunday watching football, this cheese ball always shows up and saves the day. It looks gorgeous on your serving platter, pairing perfectly with all the other dips and treats.
You can even whip up a batch while you’re making other items for the party because it’s so hands-off once it’s in the fridge.
Ingredients for the Best Cheese Ball Recipe
Getting started on this simple savory bite is, frankly, the best part because you just gather everything you need and toss it together. Precision matters here, though! Using softened cream cheese and good quality sharp cheddar makes all the difference in achieving that smooth, creamy base for our homemade cheese spread. You want to make sure everything is measured out before you start mixing so you can just whip it up fast.
Here’s what you need to gather for this fantastic appetizer:
- 8 ounces cream cheese, softened
- 4 ounces sharp cheddar cheese, shredded
- 1/4 cup sour cream
- 1 teaspoon Worcestershire sauce
- 1/2 teaspoon garlic powder
- 1/4 teaspoon onion powder
- 1/4 teaspoon salt
- 1/4 teaspoon black pepper
- 1/2 cup finely chopped pecans or walnuts
- 2 tablespoons fresh parsley, finely chopped
How to Prepare This Simple Savory Bites Cheese Ball Recipe
Okay, let’s get into the action! Preparing this amazing treat is so straightforward, but the order of operations is key to getting that signature texture right. When you start mixing, make sure everything is ready to go. The first step in this cheese ball recipe sets the whole foundation: you need to beat that cream cheese until it’s absolutely luxurious and smooth before you even think about adding the shredded cheddar. Don’t forget to check out how I make my ultimate party sub while you wait for things to chill!
- In a medium bowl, combine the softened cream cheese, shredded cheddar cheese, sour cream, Worcestershire sauce, garlic powder, onion powder, salt, and pepper. Mix until completely smooth and well combined.
- Cover the cheese mixture and chill in the refrigerator for at least 1 hour to firm up slightly. This chilling step is non-negotiable, folks!
- In a small, shallow dish, combine the chopped nuts and fresh parsley. Mix them together well. This is your stunning outer shell!
- Remove the chilled cheese mixture from the refrigerator. Shape the mixture into a ball using your hands or a rubber spatula. Don’t press too hard!
- Roll the cheese ball completely in the nut and herb mixture until it is evenly coated on all sides.
- Wrap the finished cheese ball tightly in plastic wrap and refrigerate for at least 2 hours, or up to 2 days, before serving. Patience pays off!
- Serve cold with crackers, pretzels, or vegetable sticks.
Tips for Perfect Cream Cheese Appetizers
Achieving that creamy, perfect texture for your cream cheese appetizers really comes down to temperature control. When you soften the cream cheese, don’t rush it by microwaving it until it’s melty; that messes up the fat structure. You want it soft enough that your finger leaves an imprint, but still cool. If you leave it too long and the mixture gets sloppy after mixing, just pop the whole bowl into the freezer for ten minutes before you try to shape it.
Also, if you use your hands to shape it, wet them slightly—it stops the cheese from sticking to you! A quick chill after shaping is what locks in that perfect ball shape so you can roll it cleanly in the herbs without making a mess everywhere.
Ingredient Notes and Substitutions for Your Cheese Ball Recipe
I love tinkering with recipes, and this base is so versatile! Sure, the classic version with sharp cheddar is unbeatable for that tangy bite, but knowing you can make easy swaps is key when you’re stocking the fridge for a last-minute get-together. If you’re out of cheddar, don’t panic! You can definitely swap in Monterey Jack or even some Swiss for a slightly nuttier profile in your cheese ball recipe.
Also, if you want to jazz this up and make it a little more exciting—especially if you’re serving folks who appreciate a little heat—add a teaspoon of prepared horseradish right into the cheese mix. It gives it a wonderful little zing! You can also check out these awesome jalapeño cheddar corn fritters if you’re in a spicy mood, but for the cheese ball, horseradish amps up the flavor subtly.
Making Variations of the Classic Party Snack Cheese Ball Recipe
You know, this classic cheese ball recipe is wonderful just as it is, coated in those savory herbs, but sometimes you need to switch things up if you’re serving the same crowd all the time! If you love dips, you probably already have mixes lying around that can transform this into something totally new. It’s super fun to offer two cheese balls side-by-side!
I always have a few flavor profiles in my back pocket for when I need quick, exciting entertaining food ideas. Since the base of cream cheese and cheddar is so perfect, you just need to swap out or boost the seasonings.
Creating a Cheddar Ranch Cheeseball Flavor Profile
Oh my gosh, the Cheddar Ranch version is unbelievably easy and always vanishes first. This variation takes that creamy base we mixed up and just amps up the savory game. All you need to do is skip the Worcestershire sauce and the onion/garlic powders from the original recipe. Instead, right when you are mixing the softened cream cheese and cheddar, you stir in about two tablespoons of dry ranch seasoning mix. That’s it!
When you roll it, forget the herbs and nuts—you want to roll the whole thing in crushed, crispy fried onions or maybe even some super finely crushed bagel chips for texture. It becomes this amazing, tangy Ranch dream. It’s a serious upgrade to any simple savory bites platter.
Ideas for a Jalapeno Cheese Ball Addition
If you’re serving people who like a bit of a kick—and honestly, who doesn’t?—you need the Jalapeño Popper version. This requires draining canned pickled jalapeños incredibly well—I mean, blot them dry with a paper towel, almost until they crumble gently. Then, you stir about a quarter cup of those diced d Jalepeños right into that spiced cheese mixture along with maybe an extra ounce of Monterey Jack for smoothness.
For the coating on this spicy twist, I highly recommend chopping up some crispy bacon bits—nothing beats bacon on anything, right? Or, if you want to stick with the theme, use panko breadcrumbs mixed with a little smoked paprika for color. If you love heat, you absolutely must check out my recipe for jalapeño cheddar corn fritters for another awesome savory bite!
Serving Suggestions for Your Herbed Cheese Ball
A spectacular cheese ball deserves an epic delivery system, right? We talked about serving this with crackers and pretzels, and those are the absolute classics that you just can’t skip! The salty crunch of a good water cracker or a sturdy pretzel snap is the perfect vehicle for this tangy, herby cheese spread. This is truly one of the best entertaining food ideas because everything pairs well with it.
Don’t forget the veggies if you’re loading up the platter! Sliced cucumbers or crisp bell pepper strips are amazing for dipping, especially if you’re serving the lighter, less rich versions of the cheese ball. Having a good selection of appetizer with crackers and fresh produce ensures everyone finds something they love to scoop up that incredible cheese mixture.
If you want to go all-out, serve it alongside my recipe for the ultimate party sub; it rounds out the snack table perfectly!
Storage and Make Ahead Appetizer Tips for This Cheese Ball Recipe
If you’re planning a menu for a big event, let me tell you a secret: this is your best friend! This cheese ball recipe is designed to be a make ahead appetizer. You saw in the instructions that we chill the mixture for an hour before shaping, but that’s just the starting point.
Once it’s shaped and rolled in the herbs and nuts, you wrap it TIGHTLY in plastic wrap and let it hang out in the fridge. You can safely make it up to two full days ahead of time! This takes so much pressure off you right before the guests arrive. When it’s time to serve, you just unwrap it, maybe let it sit on the counter for literally five minutes to take the hard chill off, and boom—instant party centerpiece.
This keeps it tasting fresh and lets the flavors meld beautifully. Honestly, I think the day-old cheese ball tastes even better sometimes, especially if you’re making a batch early for a huge holiday spread!
Frequently Asked Questions About Making a Cheese Ball Recipe
I always get questions when I bring this out—it just looks so good that people assume it’s tricky! But trust me, these answers solve all the little worries you might have about mastering this classic party snack. Knowing these few tricks ensures you always deliver a perfect appetizer, whether you’re planning for a big holiday or just some easy game day snacks.
Can I use different nuts for the coating?
Absolutely! Pecans and walnuts are my go-tos because they have that perfect crunch, but feel free to swap them out. Chopped almonds work beautifully, or even toasted sesame seeds if you want a slightly different texture. Just make sure the nuts are finely chopped so they adhere well to the cheese ball. If you have severe nut allergies, you can skip the nuts entirely and just roll the ball in fresh herbs, smoked paprika, or crispy vegetarian bacon bits. It’s still going to be an amazing, crowd pleasing appetizer!
What is the best way to soften cream cheese quickly?
If you forgot to take your cream cheese out in time, don’t even think about microwaving it in chunks—that just melts the edges and leaves the middle brick-hard! The best trick for getting soft cream cheese fast is to cube it into small inch-sized pieces and then let those pieces sit out on a plate for about 15 to 20 minutes. You can cover the plate loosely with plastic wrap. The smaller pieces warm up so much faster, and you keep the integrity of the fat structure better than if you tried to blast the whole block.
How do I keep the cheese ball from getting too soft at a party?
This is super important when you’re setting out a full spread! If your party lasts hours, the cheese ball will eventually start sweating a bit, especially if your kitchen is warm. To combat this, make sure you serve the cheese ball directly on a well-chilled plate or platter. Keep the plate in the fridge until the moment you serve it. If it’s sitting out for a long time, consider placing the serving platter inside a larger bowl filled with ice to keep it cool underneath. This helps it maintain its structure and keeps it fresh while everyone munches away!
If you need more last-minute entertaining tips, make sure you swing by my recipe for the ultimate party sub!
Estimated Nutritional Data for This Savory Cheese Spread
It’s always good to know what you’re nibbling on, even when it tastes this good. Remember, these numbers are just estimates based on the classic ingredients list, and they will absolutely change if you add bacon or use different cheese ratios. This data is calculated per serving size, assuming 1/12th of the finished ball.
- Serving Size: 1/12 of ball
- Calories: 110
- Fat: 10g
- Saturated Fat: 6g
- Carbohydrates: 2g
- Protein: 5g
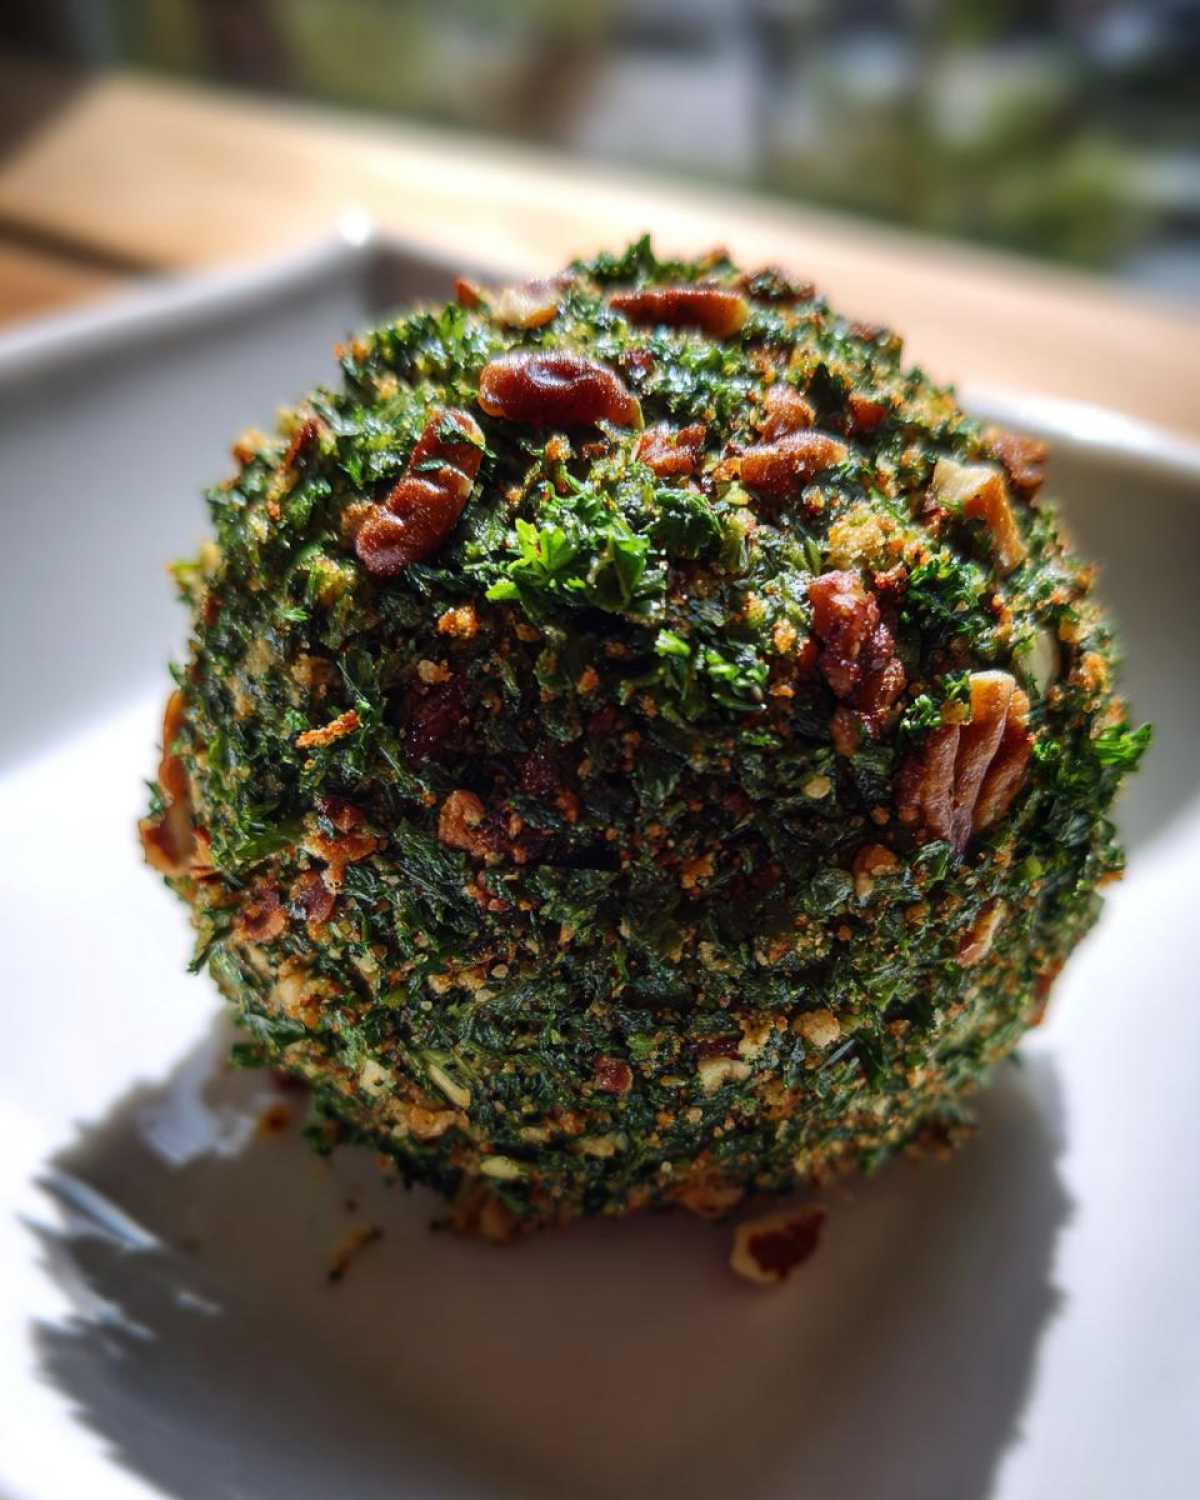
Classic Herb and Nut Coated Cheese Ball Recipe

Make this easy, classic cheese ball for your next party or holiday gathering. It is a simple, make-ahead appetizer coated in fresh herbs and crunchy nuts.
- Prep Time: 15 min
- Cook Time: 0 min
- Total Time: 15 min
- Yield: 12 servings
- Category: Appetizer
- Method: Chilling
- Cuisine: American
- Diet: Vegetarian
Ingredients
- 8 ounces cream cheese, softened
- 4 ounces sharp cheddar cheese, shredded
- 1/4 cup sour cream
- 1 teaspoon Worcestershire sauce
- 1/2 teaspoon garlic powder
- 1/4 teaspoon onion powder
- 1/4 teaspoon salt
- 1/4 teaspoon black pepper
- 1/2 cup finely chopped pecans or walnuts
- 2 tablespoons fresh parsley, finely chopped
Instructions
- In a medium bowl, combine the softened cream cheese, shredded cheddar cheese, sour cream, Worcestershire sauce, garlic powder, onion powder, salt, and pepper. Mix until completely smooth and well combined.
- Cover the cheese mixture and chill in the refrigerator for at least 1 hour to firm up slightly.
- In a small, shallow dish, combine the chopped nuts and fresh parsley. Mix them together.
- Remove the chilled cheese mixture from the refrigerator. Shape the mixture into a ball using your hands or a rubber spatula.
- Roll the cheese ball completely in the nut and herb mixture until it is evenly coated on all sides.
- Wrap the finished cheese ball tightly in plastic wrap and refrigerate for at least 2 hours, or up to 2 days, before serving.
- Serve cold with crackers, pretzels, or vegetable sticks.
Notes
- For a different flavor, substitute 1/4 cup of shredded cheddar with shredded Monterey Jack or Swiss cheese.
- If you prefer a spicier version, add 1 teaspoon of prepared horseradish to the cheese mixture.
- You can prepare the cheese ball mixture up to three days ahead of time and store it, shaped but not yet coated, in the refrigerator. Coat it just before serving.
Nutrition
- Serving Size: 1/12 of ball
- Calories: 110
- Sugar: 1
- Sodium: 150
- Fat: 10
- Saturated Fat: 6
- Unsaturated Fat: 4
- Trans Fat: 0
- Carbohydrates: 2
- Fiber: 0
- Protein: 5
- Cholesterol: 30


Comments are closed.