


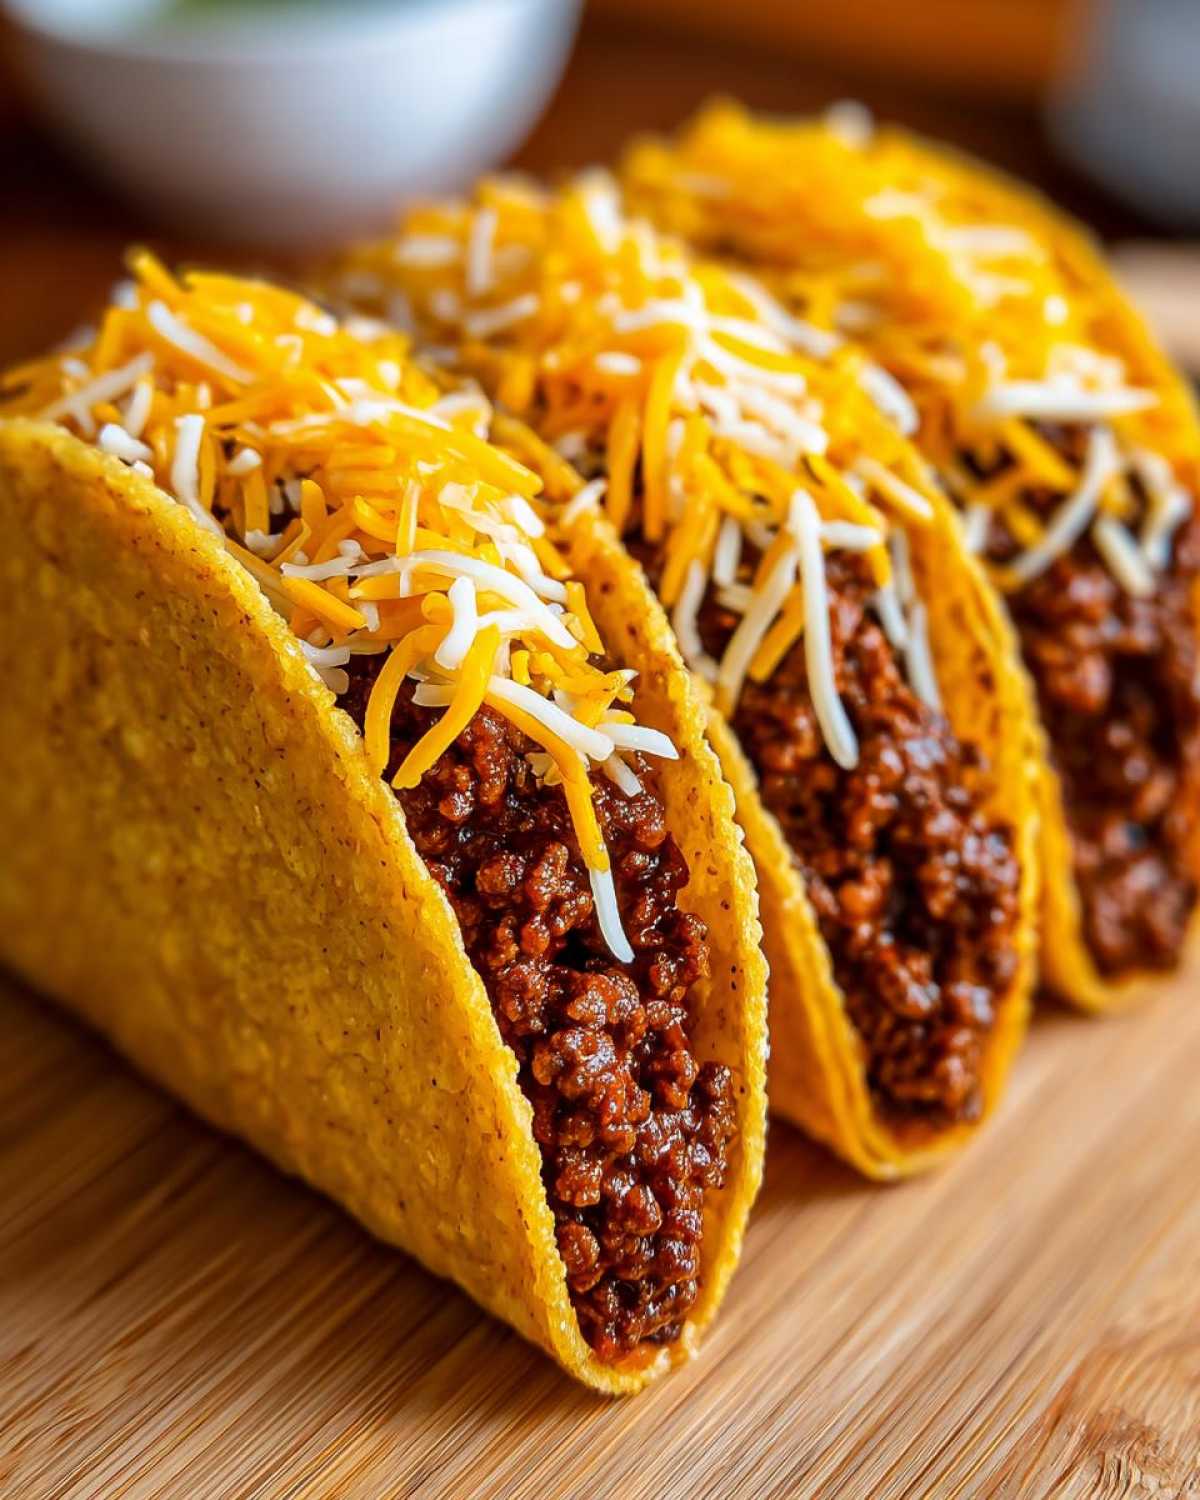
Oh, friends, let’s talk about taco night because, honestly, sometimes you just need that comforting crunch without the messy oil splatter of deep-frying. I’ve spent years perfecting my weeknight rotation, and I landed on the absolute best way to get that satisfying texture: baking! Trust me, once you nail the technique for Baked Beef Tacos with Melted Cheese, you’ll never look back. This recipe is game-changing because we prep everything on one sheet, we get wonderfully crisp shells, and that cheese? It gets beautifully golden and gooey every single time. It cuts down on cleanup significantly, which, let’s be real, is half the battle after a long day. This method is my secret weapon.
Why This Baked Beef Tacos with Melted Cheese Recipe Works (Family Friendly Baked Dinner Ideas)
This method seriously solves all the classic taco night problems. I love that I can pull this off on a Tuesday because it’s fast, fun, and uses the oven so much of the work is hands-off. It’s quickly become one of my go-to Family Friendly Baked Dinner Ideas for a reason!
- No mess! We skip the stovetop oil splatter entirely.
- The shells get incredibly crispy—no more soggy bottoms, ever.
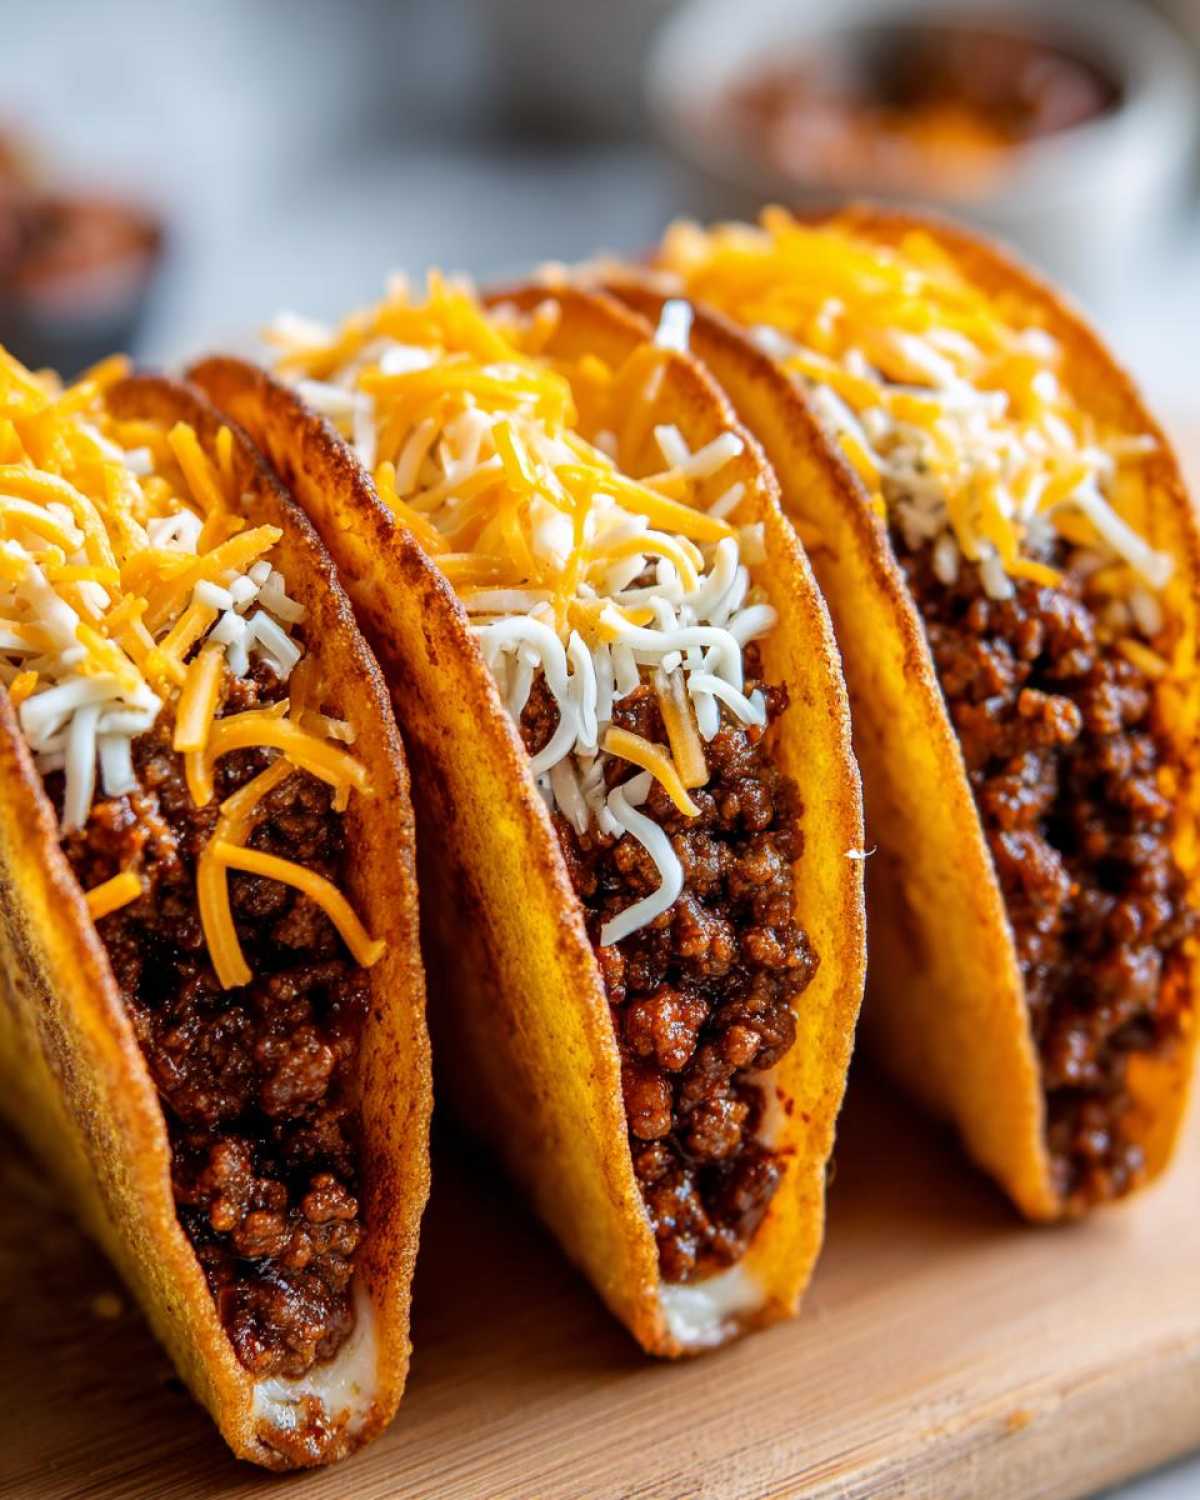
- The cheese melts evenly and gets bubbly right on top of the piping hot filling.
Ingredients Needed for Cheesy Baked Ground Beef Tacos
Gathering your ingredients for these Cheesy Baked Ground Beef Tacos is super straightforward. Remember, quality counts here, especially for the cheese!
You’ll need about one pound of ground beef—I usually grab the 80/20 mix because a little fat helps the flavor shine. Then grab your seasoning, water, and the key decision-makers for texture:
- 12 hard taco shells OR 12 soft corn tortillas (use full-fat cheese if you can!).
- 2 cups shredded Monterey Jack or cheddar cheese blend—shred it fresh if you want the absolute best melt for your tacos!
Step-by-Step Instructions for Baked Beef Tacos with Melted Cheese
Okay, this is where the magic happens in our Oven Baked Tacos Recipe! We get everything ready so fast. First, get your oven set to 375 degrees Fahrenheit. While that’s heating up, we move quickly to the stove. The goal here is to create a flavorful filling that isn’t swimming in liquid—that’s the secret to crispy shells!
Preparing the Seasoned Beef Filling (Make Ahead Taco Filling)
You’ll brown your pound of beef in a skillet over medium heat. Listen to me: you MUST drain off every bit of excess grease when it’s done. Soggy beef equals soggy tacos! Once drained, stir in your taco seasoning and half a cup of water. We’re going to simmer that just until the liquid thickens up nice and tight, which usually takes about five minutes. If you’re planning ahead, this is the perfect Make Ahead Taco Filling; just let it cool and stash it in the fridge!
Pre-Baking the Shells (Crispy Taco Shells Baking Method)
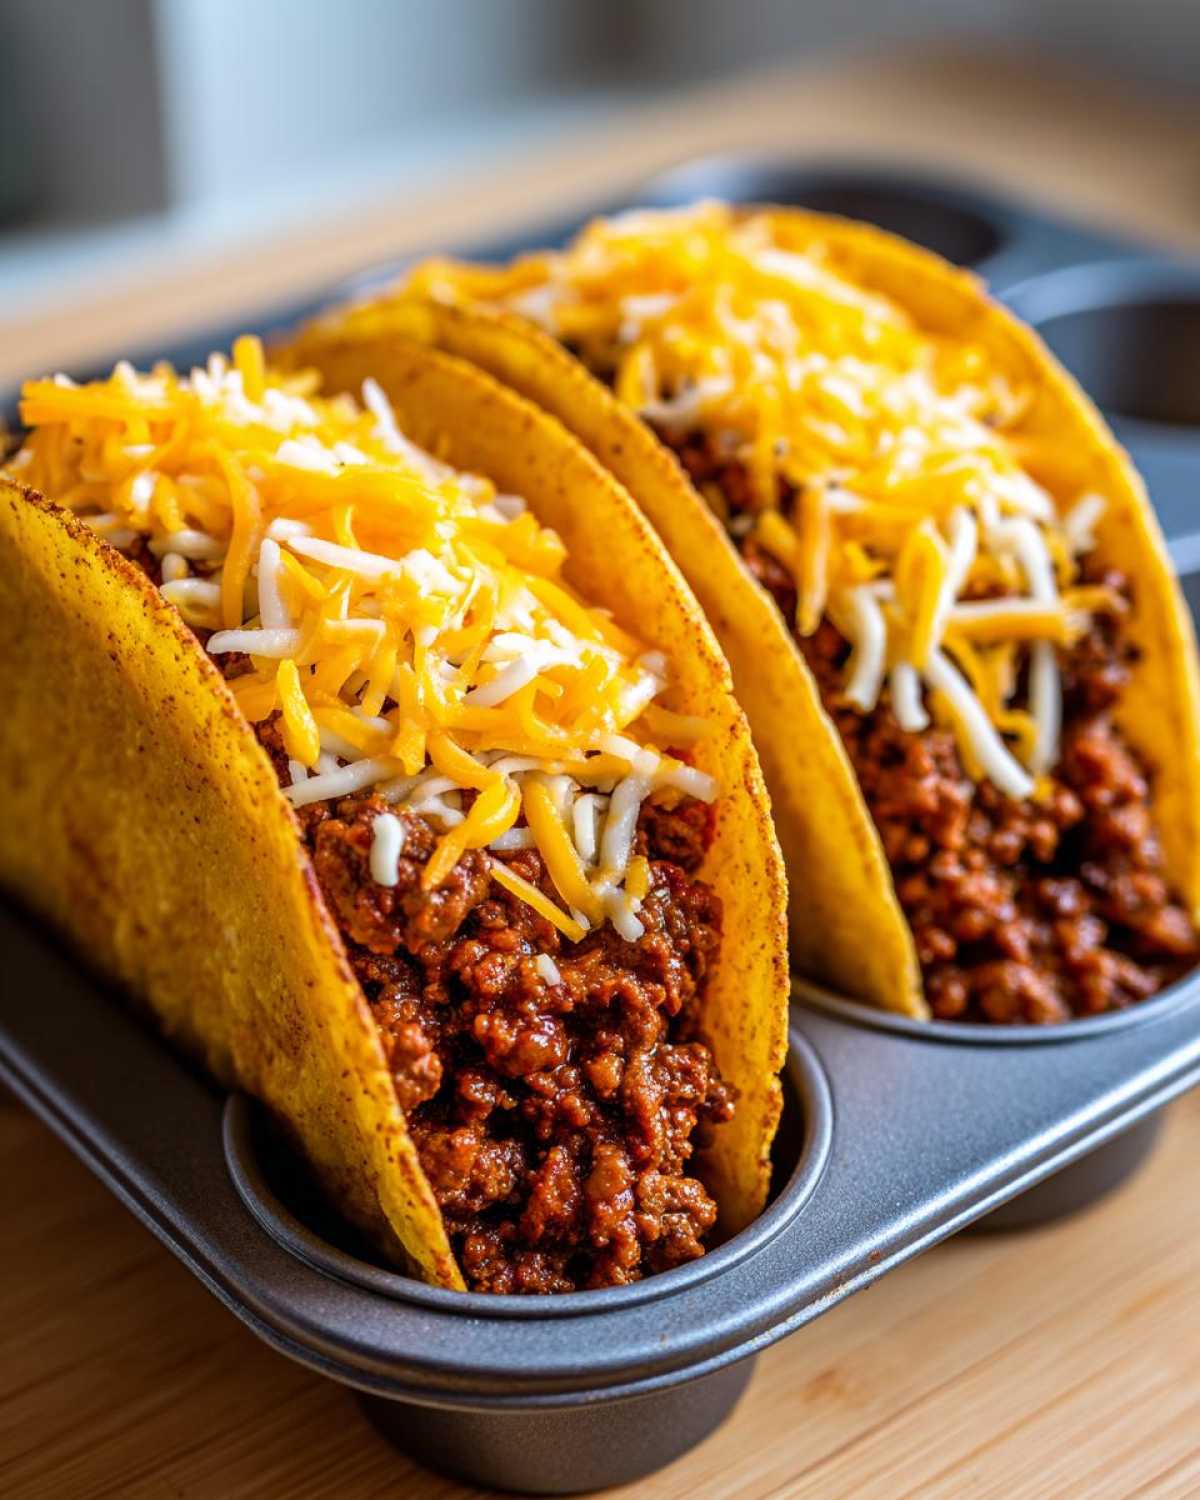
Now for the crucial shell step to achieve that Crunchy Tacos Without Frying texture. If you’re using rigid hard shells, stand them up in a muffin tin so they hold their shape while baking. If you’re going with softer corn tortillas, brush them *lightly* on both sides with oil and gently fold them into a U-shape on a baking sheet. Pop them in the empty oven for just five minutes. This just crisps them up and gives them the backbone they need before they get the filling.
Assembling and Achieving Perfect Melted Cheese on Tacos (Best Way To Melt Cheese on Tacos)
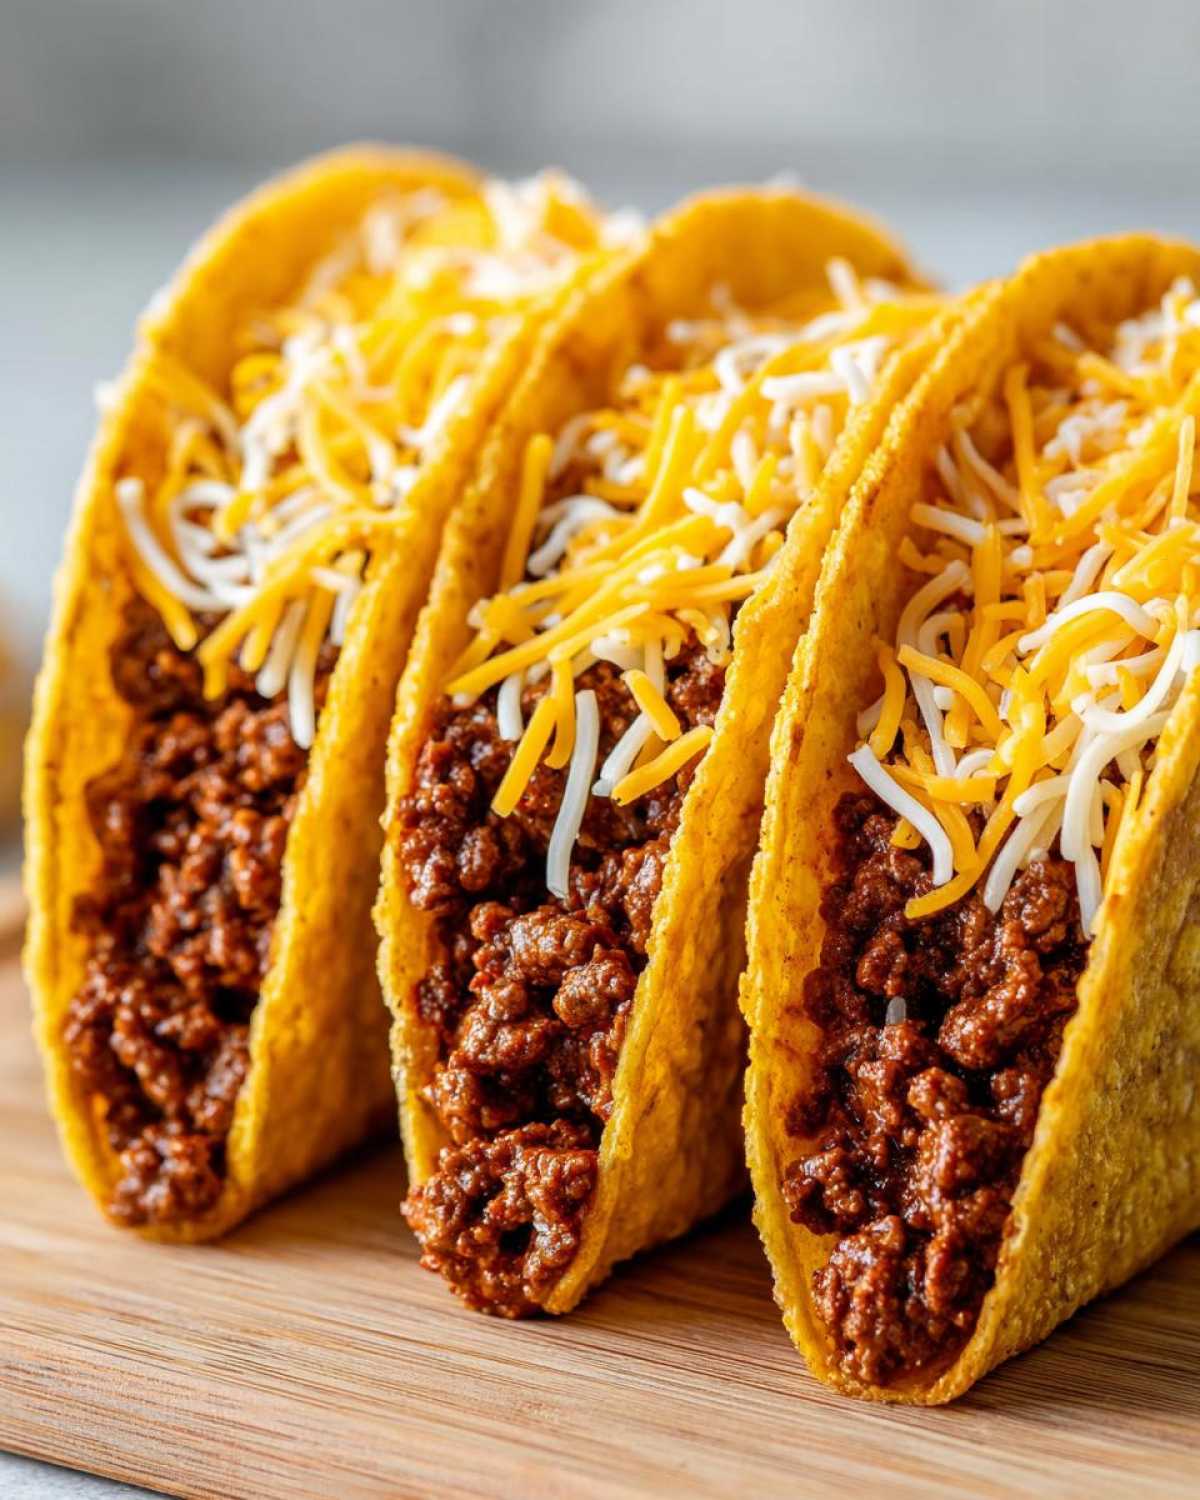
Pull those warm shells out! Spoon your drained beef filling evenly into each pre-baked shell. Don’t overstuff them, or they’ll collapse! Now, be generous with that shredded cheese. Pile it high! Return the filled tacos to the oven for another 8 to 10 minutes. You’re watching for that glorious moment when the cheese bubbles and looks lightly golden—that’s how you get the Best Way To Melt Cheese on Tacos every time.
Expert Tips for Perfect Baked Beef Tacos with Melted Cheese
I’ve messed up enough tacos to learn a thing or two along the way, and I want you to skip my early mistakes! Getting this right is all about controlling moisture and choosing the right dairy. If you follow these final checks, you’ll master How To Bake Hard Tacos perfectly.
Choosing the Right Cheese for Maximum Melt
Don’t grab the pre-shredded stuff if you can avoid it, because they coat those bags in starches that stop them from melting smoothly. Stick to bricks of Monterey Jack or bags labeled “Mexican Blend”—they are designed to get stringy and gooey. Parmesan? Forget about it for tacos; it just gets oily and hard! Always shred your cheese fresh right before you layer it on thick.
Shell Stability and Texture Control
The most common issue I hear about when people try to bake soft tortillas is that they flop over when you try to fill them. The trick is making sure that first 5-minute pre-bake really sets the fold. When you lay those soft corn tortillas on the sheet, fold them firmly into a tight ‘U’ shape and press the bottom crease down a bit with your finger. That gives them just enough rigidity to hold the beef without collapsing under the weight of the melted cheese.
Serving Suggestions for Your Baked Taco Dinner
The best part about pulling these crispy, cheesy beauties out of the oven is dressing them up! Since the shells are already perfectly crisp and the beef is warm, what you want are toppings that bring coolness and contrast. Don’t hold back on the fresh toppings—they balance out all that comforting, baked goodness.
I always have fresh cilantro, crisp shredded lettuce, and tons of lime wedges waiting. A dollop of sour cream or Greek yogurt is non-negotiable for me. If you’re serving these as part of a bigger spread or even making Sheet Pan Tacos Recipe style meal, you can actually toss your peppers and onions on the side of the pan during the last few minutes of baking to warm them up slightly. It just elevates the whole experience!
Storage and Reheating Baked Beef Tacos with Melted Cheese
Leftovers! Oh, I rarely have them, but when I do, I have specific rules to keep the texture alive. Never, ever store the assembled tacos together. The cheese and meat turn the shells immediately soft, and nobody wants that the next day!
Keep the seasoned beef filling in an airtight container in the fridge—it’s great for up to three days. Store any cold toppings like lettuce or sour cream separately. When you’re ready for Round Two, the best reheating method is definitely the oven. Pop those shells (even if they have a little meat/cheese left) onto a baking sheet at 350 degrees for about five minutes. That little blast of dry heat brings back a nice crispness that the microwave just ruins!
Frequently Asked Questions About Oven Baked Tacos
I always get questions when people try this method the first time, but don’t fret! These are usually the things folks are wondering about when they look up Easy Beef Tacos in Oven recipes.
Can I use ground turkey instead of beef in this Baked Beef Tacos with Melted Cheese recipe?
You absolutely can! Ground turkey works just fine, but since it’s much leaner than the 80/20 ground beef I usually use, you might need to add a tiny splash more water or even a little oil when you simmer the seasoning in. Turkey tends to dry out faster, so just keep an eye on it while it simmers so you don’t lose all that wonderful flavor we worked hard to build!
What temperature should I use for the ‘Easy Beef Tacos in Oven’ method?
The magic number for this recipe is 375 degrees Fahrenheit. It’s high enough to make sure those shells crisp up nicely during that pre-bake, but it’s not so scorching hot that you burn the cheese before the filling has a chance to heat all the way through. This temperature gives you that perfect, bubbly, molten top layer in just 8 to 10 minutes!
How do I make the shells crunchy without frying?
This is the best part, right? It all comes down to that initial 5-minute bake before you add anything! If you are using the pre-formed hard shells, standing them up in the muffin tin lets the dry heat circulate all around them. If you are using softer corn tortillas, you just need to brush them lightly with oil on both sides, fold them into that U-shape, and let the oven do the work. That initial blast of heat dries them out just enough to be crispy but not brittle!
Nutritional Estimate for Cheesy Baked Ground Beef Tacos
I always like to give a little idea of what you’re looking at nutritionally, even though my real focus is always taste! Here are the general estimates for one of these cheesy tacos, based on the ingredients listed in the full recipe. Remember these numbers are just guidelines, because how much cheese you load on is entirely up to you!
For one taco, the estimated breakdown is roughly:
- Calories: 280
- Fat: 15g
- Protein: 18g
- Carbohydrates: 18g
Just make sure you check out the full sourcing notes here, as specific brands will change these values slightly. These really are wonderful comfort food tacos!
Share Your Perfect Baked Beef Tacos with Melted Cheese Creations
Now that you have my secrets for getting those shells perfectly crisp and the cheese molten and bubbly, I absolutely need to know how they turned out! Baking is one thing, but seeing your creations is what keeps me excited about sharing recipes.
Did you stick to the hard shells or go for the soft tortilla fold? Let me know in the comments below! I always read every single one, and your feedback helps me tweak things for future batches. If you took a gorgeous photo of your fully loaded, cheesy masterpieces, please tag me on social media! Seeing my favorite Baked Beef Tacos with Melted Cheese on your dinner table makes my entire week.
Go ahead, make dinner happen, and then drop me a line! Happy cooking, my friend!
PrintOven-Baked Crispy Beef Tacos with Ultimate Molten Cheese Topping

This recipe shows you how to bake ground beef tacos in the oven for crispy shells and perfectly melted cheese without frying.
- Prep Time: 10 min
- Cook Time: 20 min
- Total Time: 30 min
- Yield: 12 tacos
- Category: Dinner
- Method: Baking
- Cuisine: Mexican-American
- Diet: Low Fat
Ingredients
- 1 pound ground beef
- 1 tablespoon taco seasoning mix
- 1/2 cup water
- 12 hard taco shells or 12 soft corn tortillas
- 2 cups shredded Monterey Jack or cheddar cheese blend
- 1 tablespoon vegetable oil (optional, for soft tortillas)
Instructions
- Preheat your oven to 375 degrees Fahrenheit.
- Brown the ground beef in a skillet over medium heat. Drain off any excess grease.
- Stir the taco seasoning and water into the cooked beef. Simmer for 5 minutes until the liquid reduces slightly.
- Prepare the shells: If using hard shells, place them upright in a muffin tin or a specialized taco baking rack. If using soft tortillas, lightly brush both sides with oil (if desired) and gently fold them into a U-shape, placing them on a baking sheet.
- Bake the shells empty for 5 minutes to crisp them slightly.
- Remove the shells from the oven. Spoon the seasoned beef mixture evenly into each shell or tortilla.
- Top each taco generously with the shredded cheese.
- Return the filled tacos to the oven. Bake for an additional 8 to 10 minutes, or until the cheese is fully melted and bubbly.
- Remove from the oven and serve immediately with your preferred toppings.
Notes
- For softer shells that hold fillings well, use soft corn tortillas and bake them on a sheet pan.
- You can prepare the beef filling ahead of time and store it in the refrigerator for up to three days. Reheat before assembling the tacos.
- To prevent the cheese from burning, watch the oven closely during the final baking stage.
Nutrition
- Serving Size: 1 taco
- Calories: 280
- Sugar: 1
- Sodium: 450
- Fat: 15
- Saturated Fat: 7
- Unsaturated Fat: 8
- Trans Fat: 0
- Carbohydrates: 18
- Fiber: 2
- Protein: 18
- Cholesterol: 55


Comments are closed.